Dynamic image (clipart)
Last updated: April 29, 2026
Dynamic images are places where you can add pre-set images to your designs. It can be a single image or a collection of images for customers to choose from, that is why they are dynamic!
They are a very versatile element, that can be used in many ways on your designs. For example:
if you want to add a fixed graphic to your design (like a nice quote, or a frame) you can add it as a dynamic image
if you want to give customers clipart options to choose from (like choosing their own pet, or their hairstyle) you can upload all those options into a dynamic image
if you want to add a mask to your designs (to give a texture or distressed effect to your design, or a cool shape) you can upload it into a dynamic image
A dynamic image is represented on the canvas by a dashed line, showing the image you uploaded onto it inside. If you have uploaded multiple images into it, you will only see one of them at a time.
Dynamic images can have one or multiple images in them. The file types supported by dynamic images are JPG and PNG. If you want to add vectors to your design check dynamic vectors.
How It Works
When you add a Dynamic Image to your design:
Shoppers see a pre-set image or a list of image options to choose from.
If you’ve uploaded multiple images, shoppers can switch between them by selecting from a product option (like dropdowns or swatches). Only one image will show at a time—whichever one matches their selection.
You define the position, size, and behavior of the image; shoppers don’t upload or modify the artwork.
If Movable Image is enabled, shoppers can also reposition or resize the image within the area you define.
In this article:
To add a dynamic image
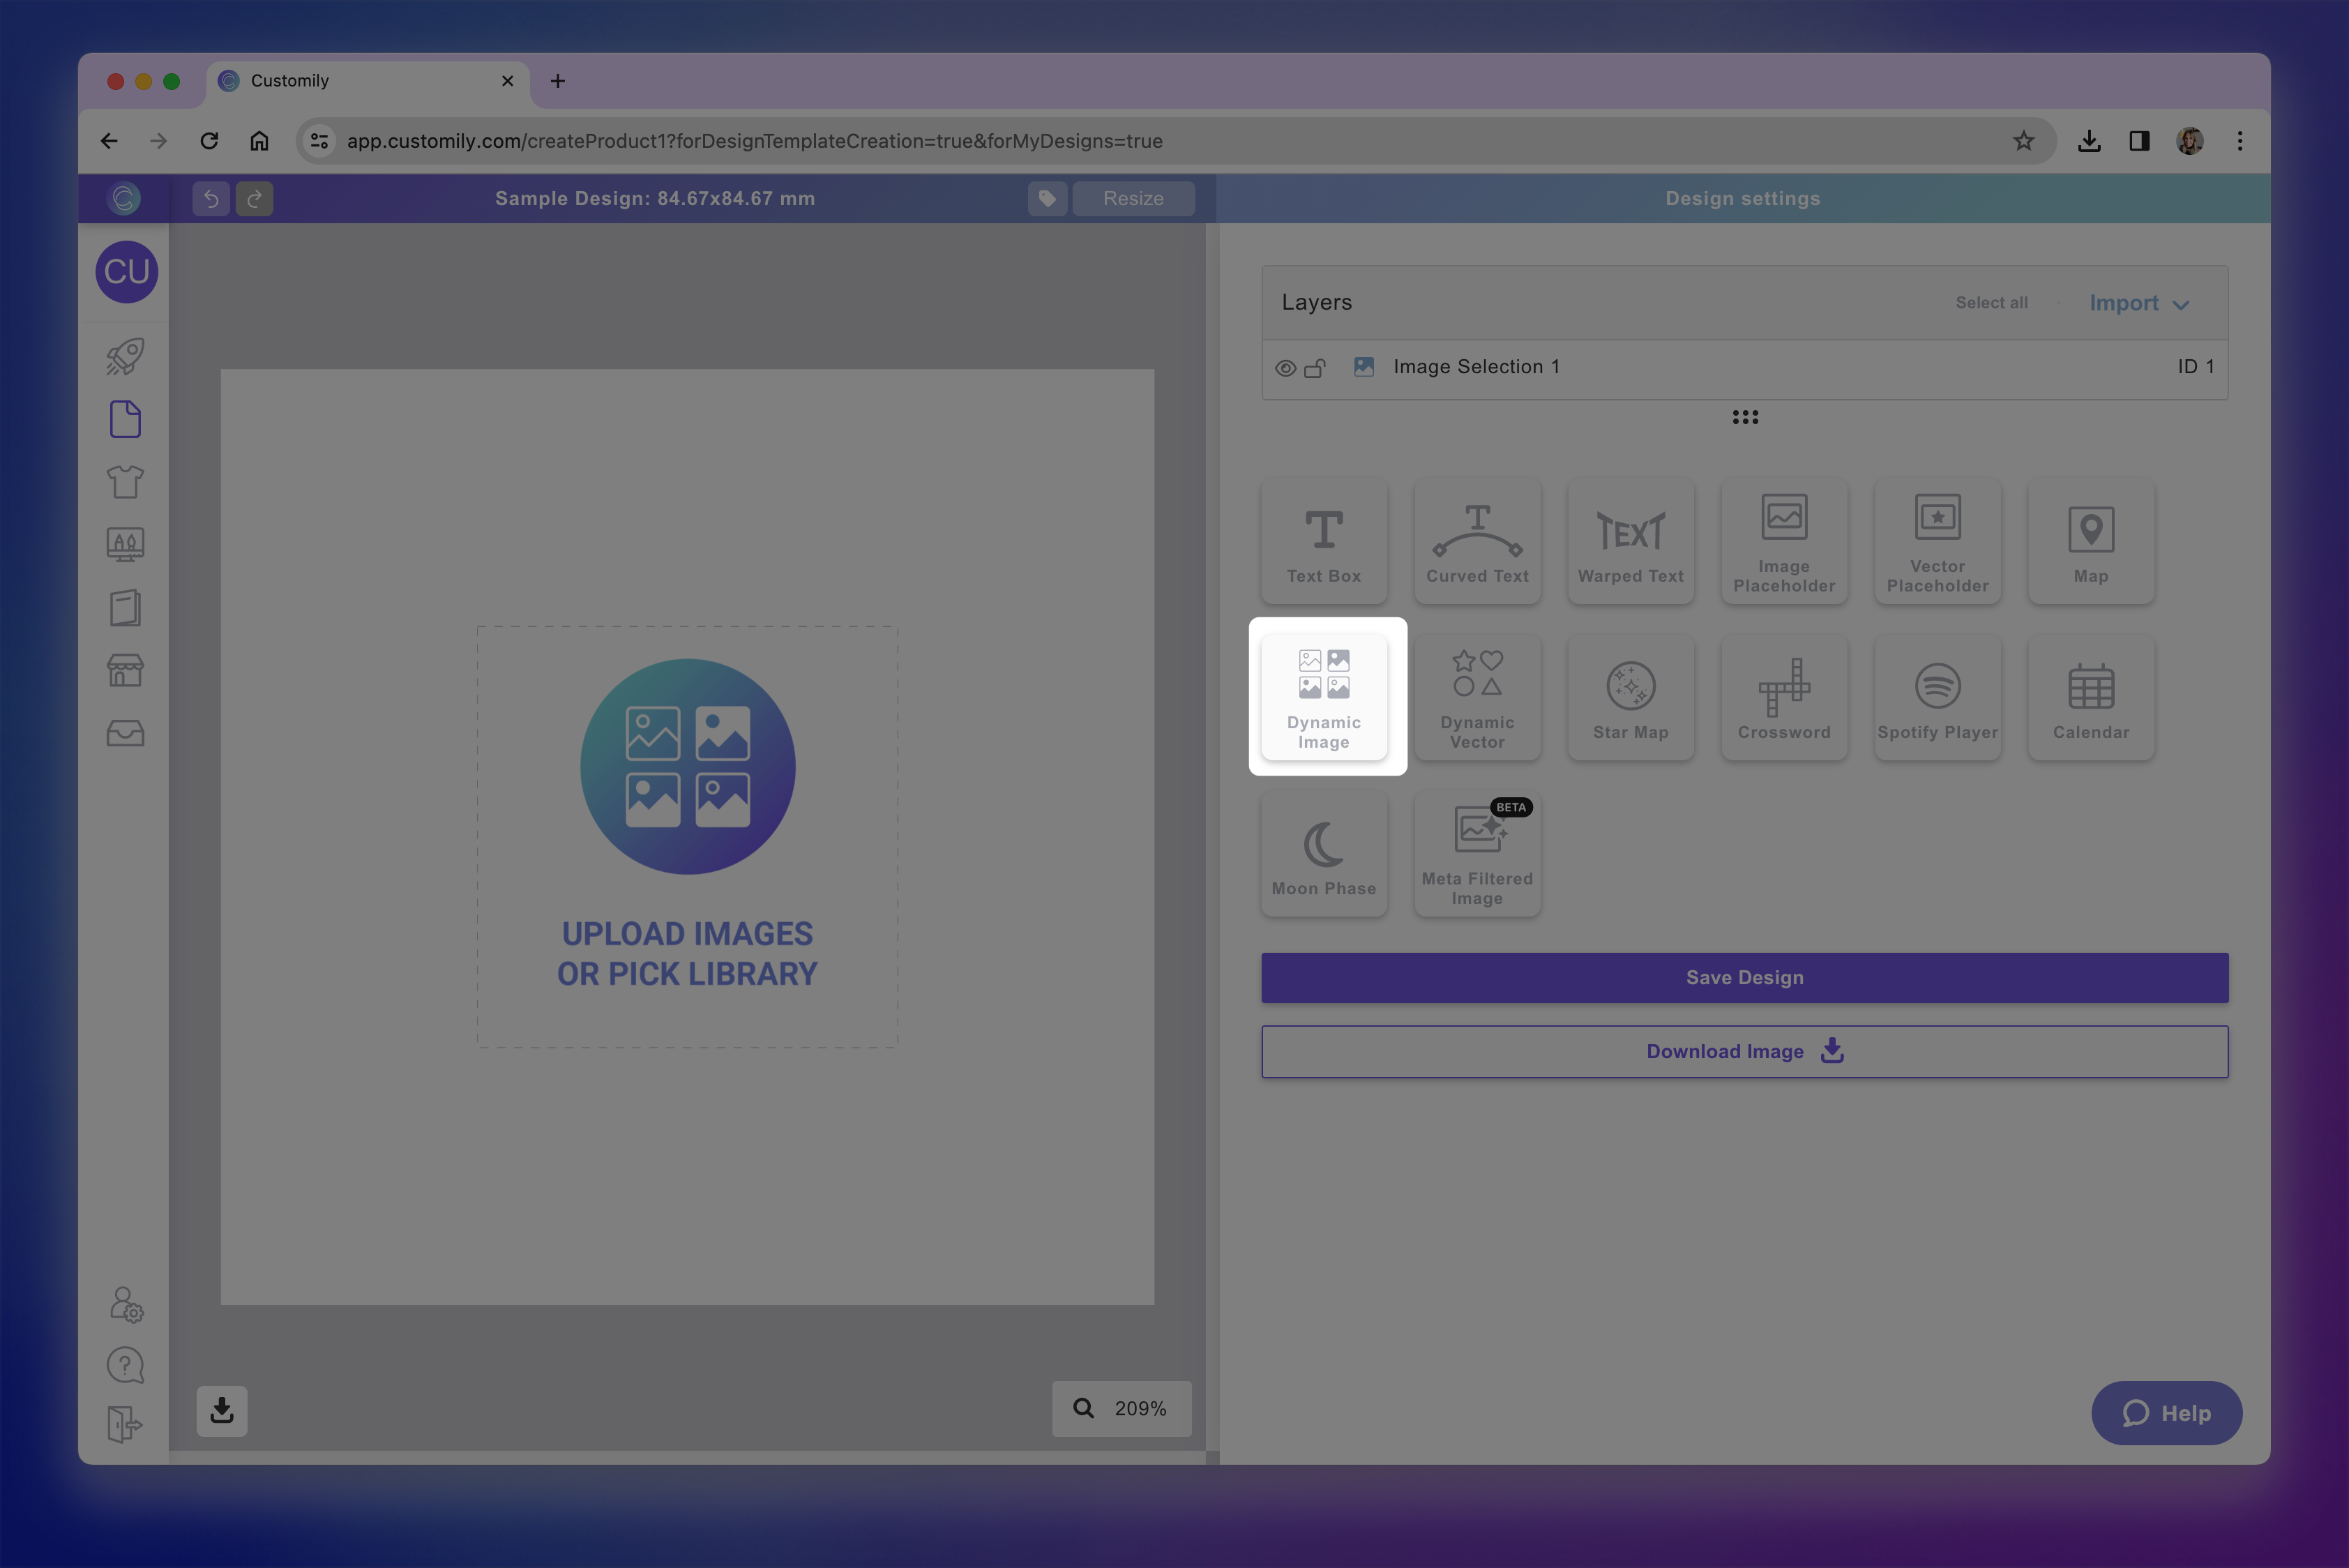
You can add dynamic images on Designs, Templates, and Product bases by clicking the Dynamic Image button.
Each dynamic image you add will have a Name that you can edit, and a Unique Id for you to easily identify it.
Adding image/s options into the dynamic image
After creating the element you will need to add the image/s that will go in it. You can add images in two ways:

By default, the first image is added in option 1, and the following images are added in the consecutive options (2, 3, etc.).
To add image/s into the dynamic image manually
Select the dynamic image
Click the +Add image option button
Select the image or images (using shift) you want to upload

You will see all the image options displayed. To see how they look, just click through them.
To delete a color option, click the 🗑 next to the color value.
To edit the color option, click the ✏ next to the color value, and pick a new color.
Tip
You can change the image options order by clicking the dots to the left of the image option. Simply click and drag to rearrange them.
To add image/s into the dynamic image using libraries
First, you have to create an image library. You can learn how to create an image library here.
Select the dynamic image
Click Pick Library
Choose the image library you'd like to use

You will see all the image options displayed. To see how they look, just click through them.
Tip
If you want to change the order of the color options, you can do so by editing the library. Learn how to edit a library here.
If the library has a category, you can switch categories to browse all of them. You can also use the search bar to easily find a specific option.

Important
Images uploaded into the dynamic images will be set to fit the dynamic image area. So we always recommend uploading images with the same sizes, to avoid unwanted changes in size when switching between image options (this is a classic thing that happens when using hair clipart, because of the size difference between long and short hair). Here you can learn how to prepare your images before adding them to a dynamic image (or an image library) to make sure they are all the perfect size.
Transform the dynamic image
Directly on the canvas or by expanding the Transform toolbox, you can transform the dynamic image:

Keep in mind
Transforming the dynamic image will transform all the images it contains inside. So if for example, you rotate the dynamic image element, all images inside it will be rotated. If you want to transform one image option only, you should edit the image before uploading it into the dynamic image element.
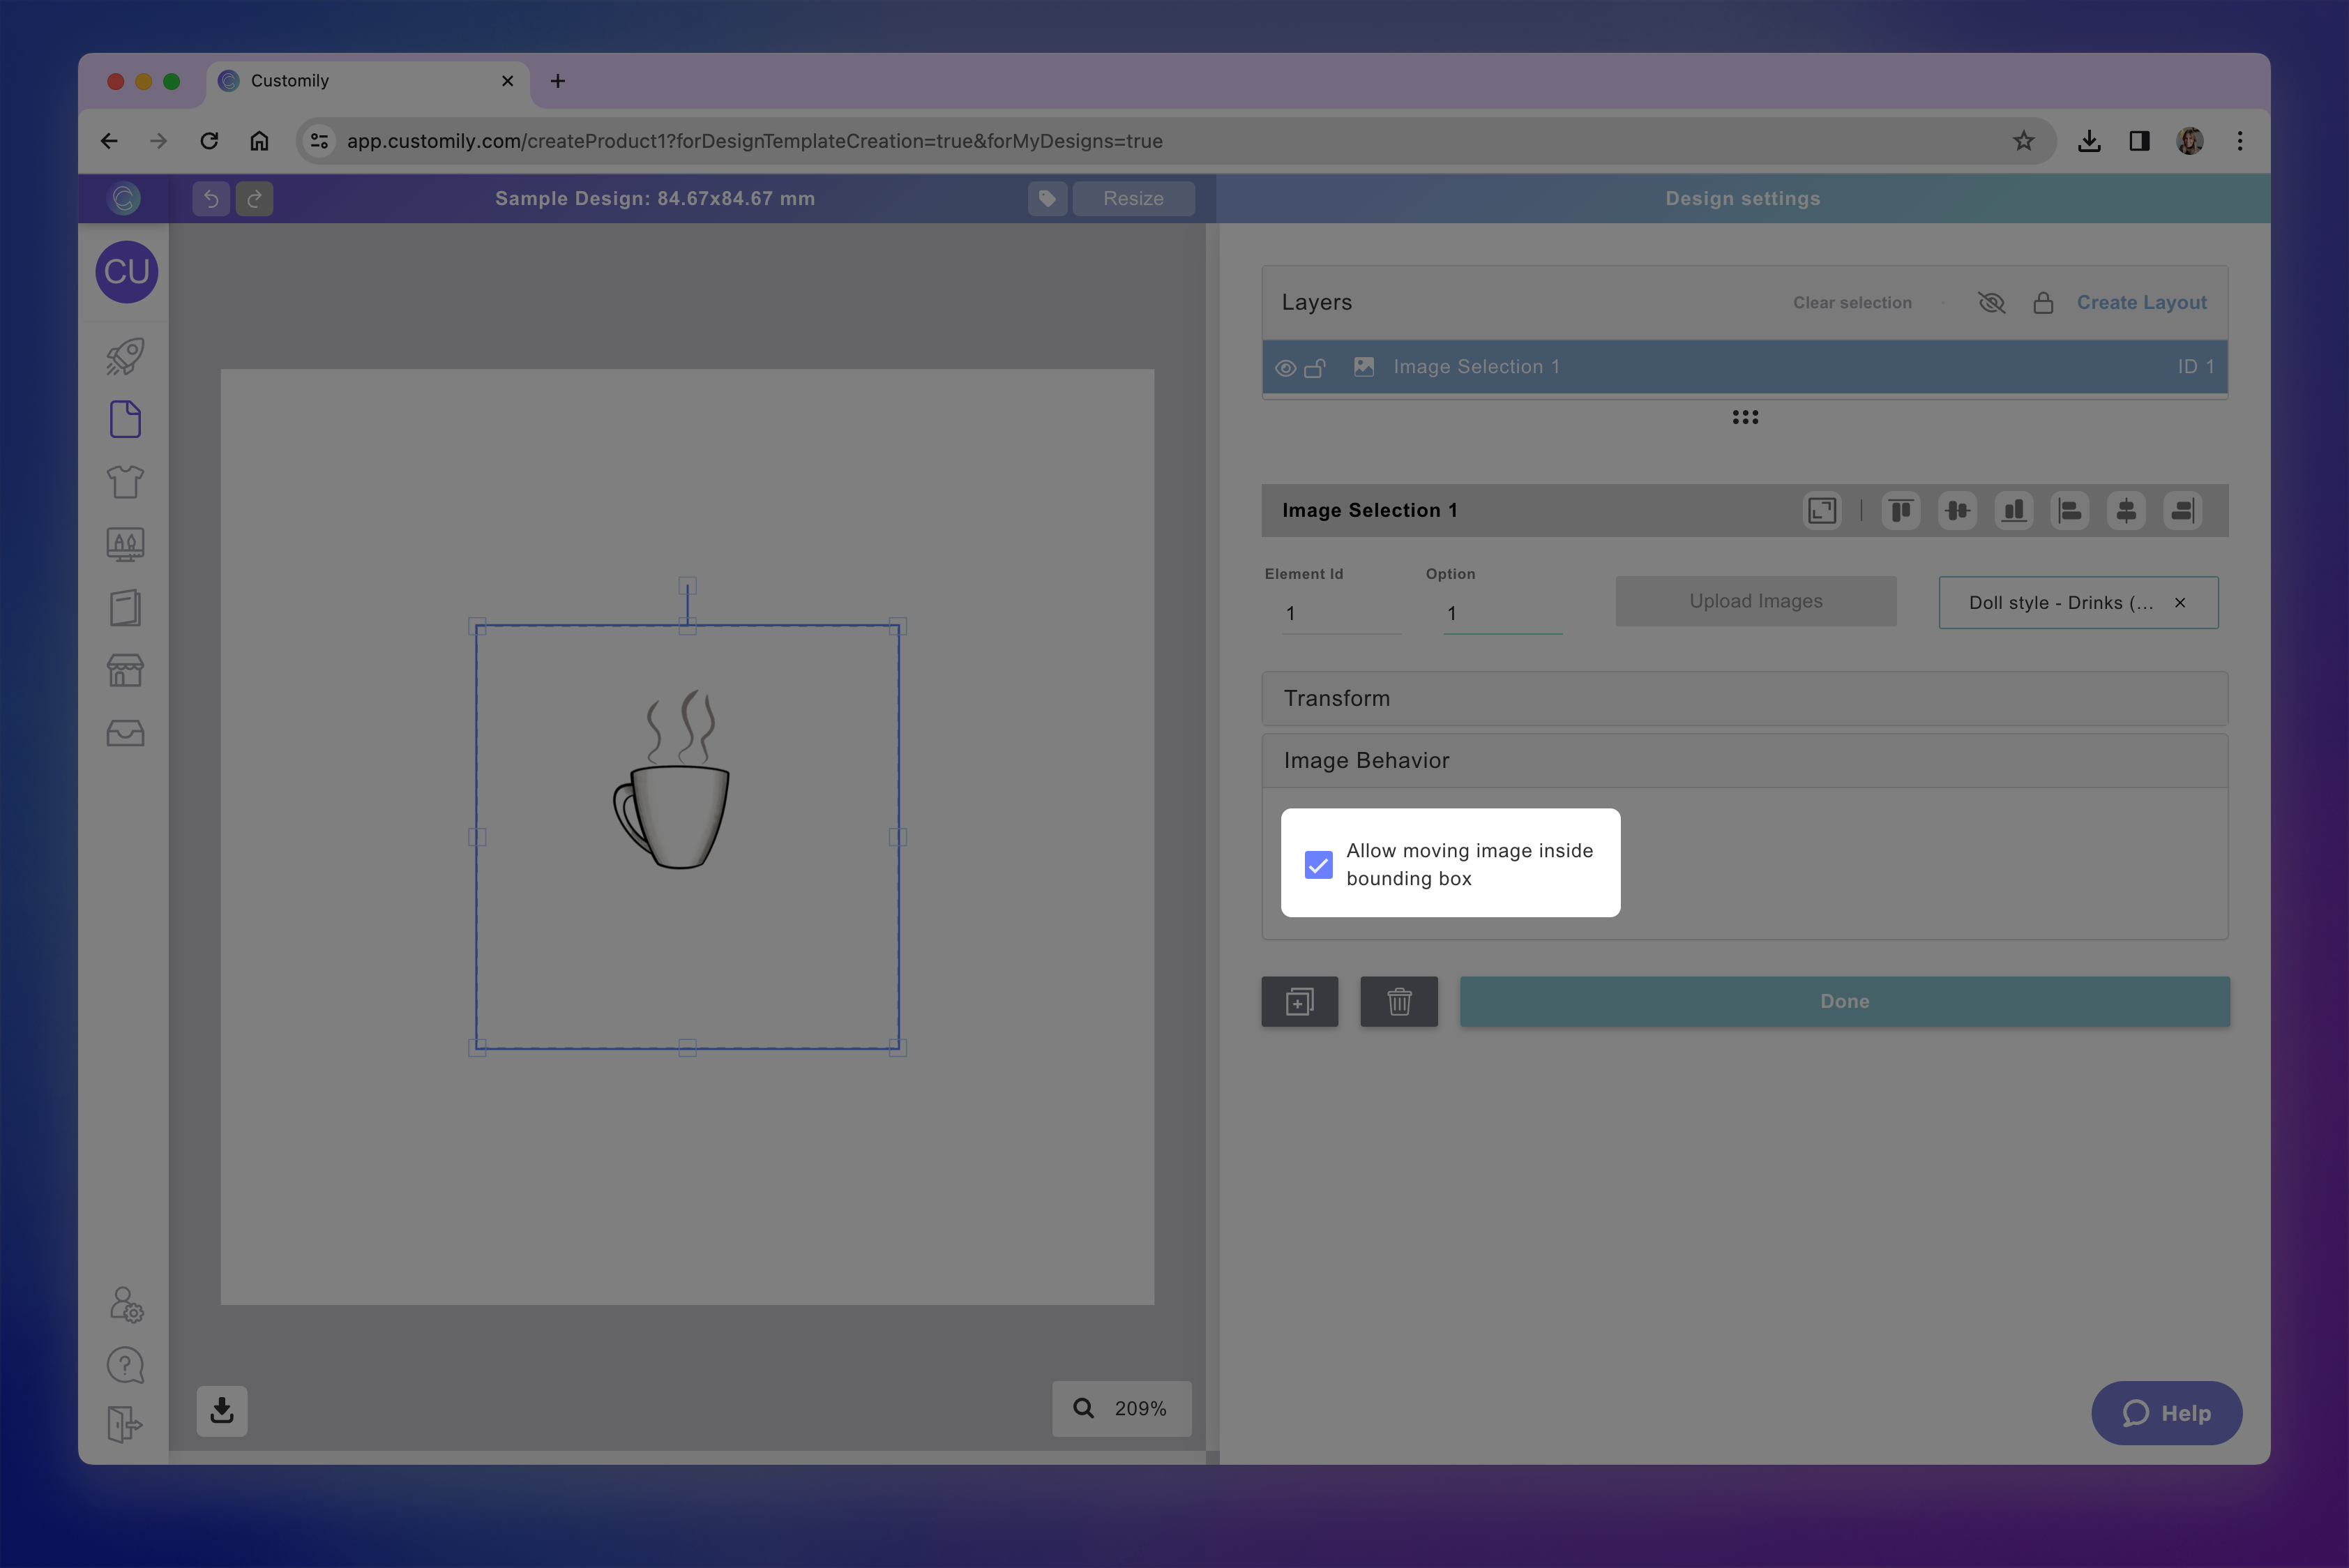
Allow moving the Dynamic image
Enabling this option allows shoppers to move the image around within a defined area of your design.
When enabled, shoppers can click and drag the image during personalization, giving them more control over the final result.
To allow moving a Dynamic image:
Select the dynamic image element
Expand the Image Behavior toolbox
Check Allow moving image inside bounding box
Once enabled:
The dynamic image bounding box turns red, showing the area within which the customer can move the image.
This red area defines the limits—the customer won’t be able to drag the image outside of it.
If you want to make the area bigger, just resize the image placeholder on the canvas or with the tool box.