Layouts
Last updated: April 29, 2026
When your designs offer multiple variations, you can easily select and organize your elements in different layouts directly from the Layer Panel.
For example, if you offer the same design, but for 1 dog, 2 dogs, and 3 dogs, you can organize your design on 3 layouts, so you will only show one design at a time, depending on what your customer chooses.
Organizing your designs in layouts will then create the option for the customer to choose between layouts when personalizing. This means it will allow your customer to easily change from one layout to the other and only see the options corresponding to each one of them.
Keep in mind
Working with layouts can be a bit advanced, so make sure you fully understand how to create simpler designs (without so many variations) before diving into it!
To create a new layout
Select the elements on the Layer panel
Click on the Create Layout button
Tip
Easily rename the layouts by clicking them twice. The name of the layout is what is used later on as a label for the option your customer will interact with. So naming the layout like you would call the option will save you a lot of work.
To create more layouts
You can create new more layouts from scratch, by applying the same method described above. Or you can clone the existing layout and work with it to create a new one.
Select the layout you want to copy
Click the clone button or Ctrl/Cmd+D to clone the layout
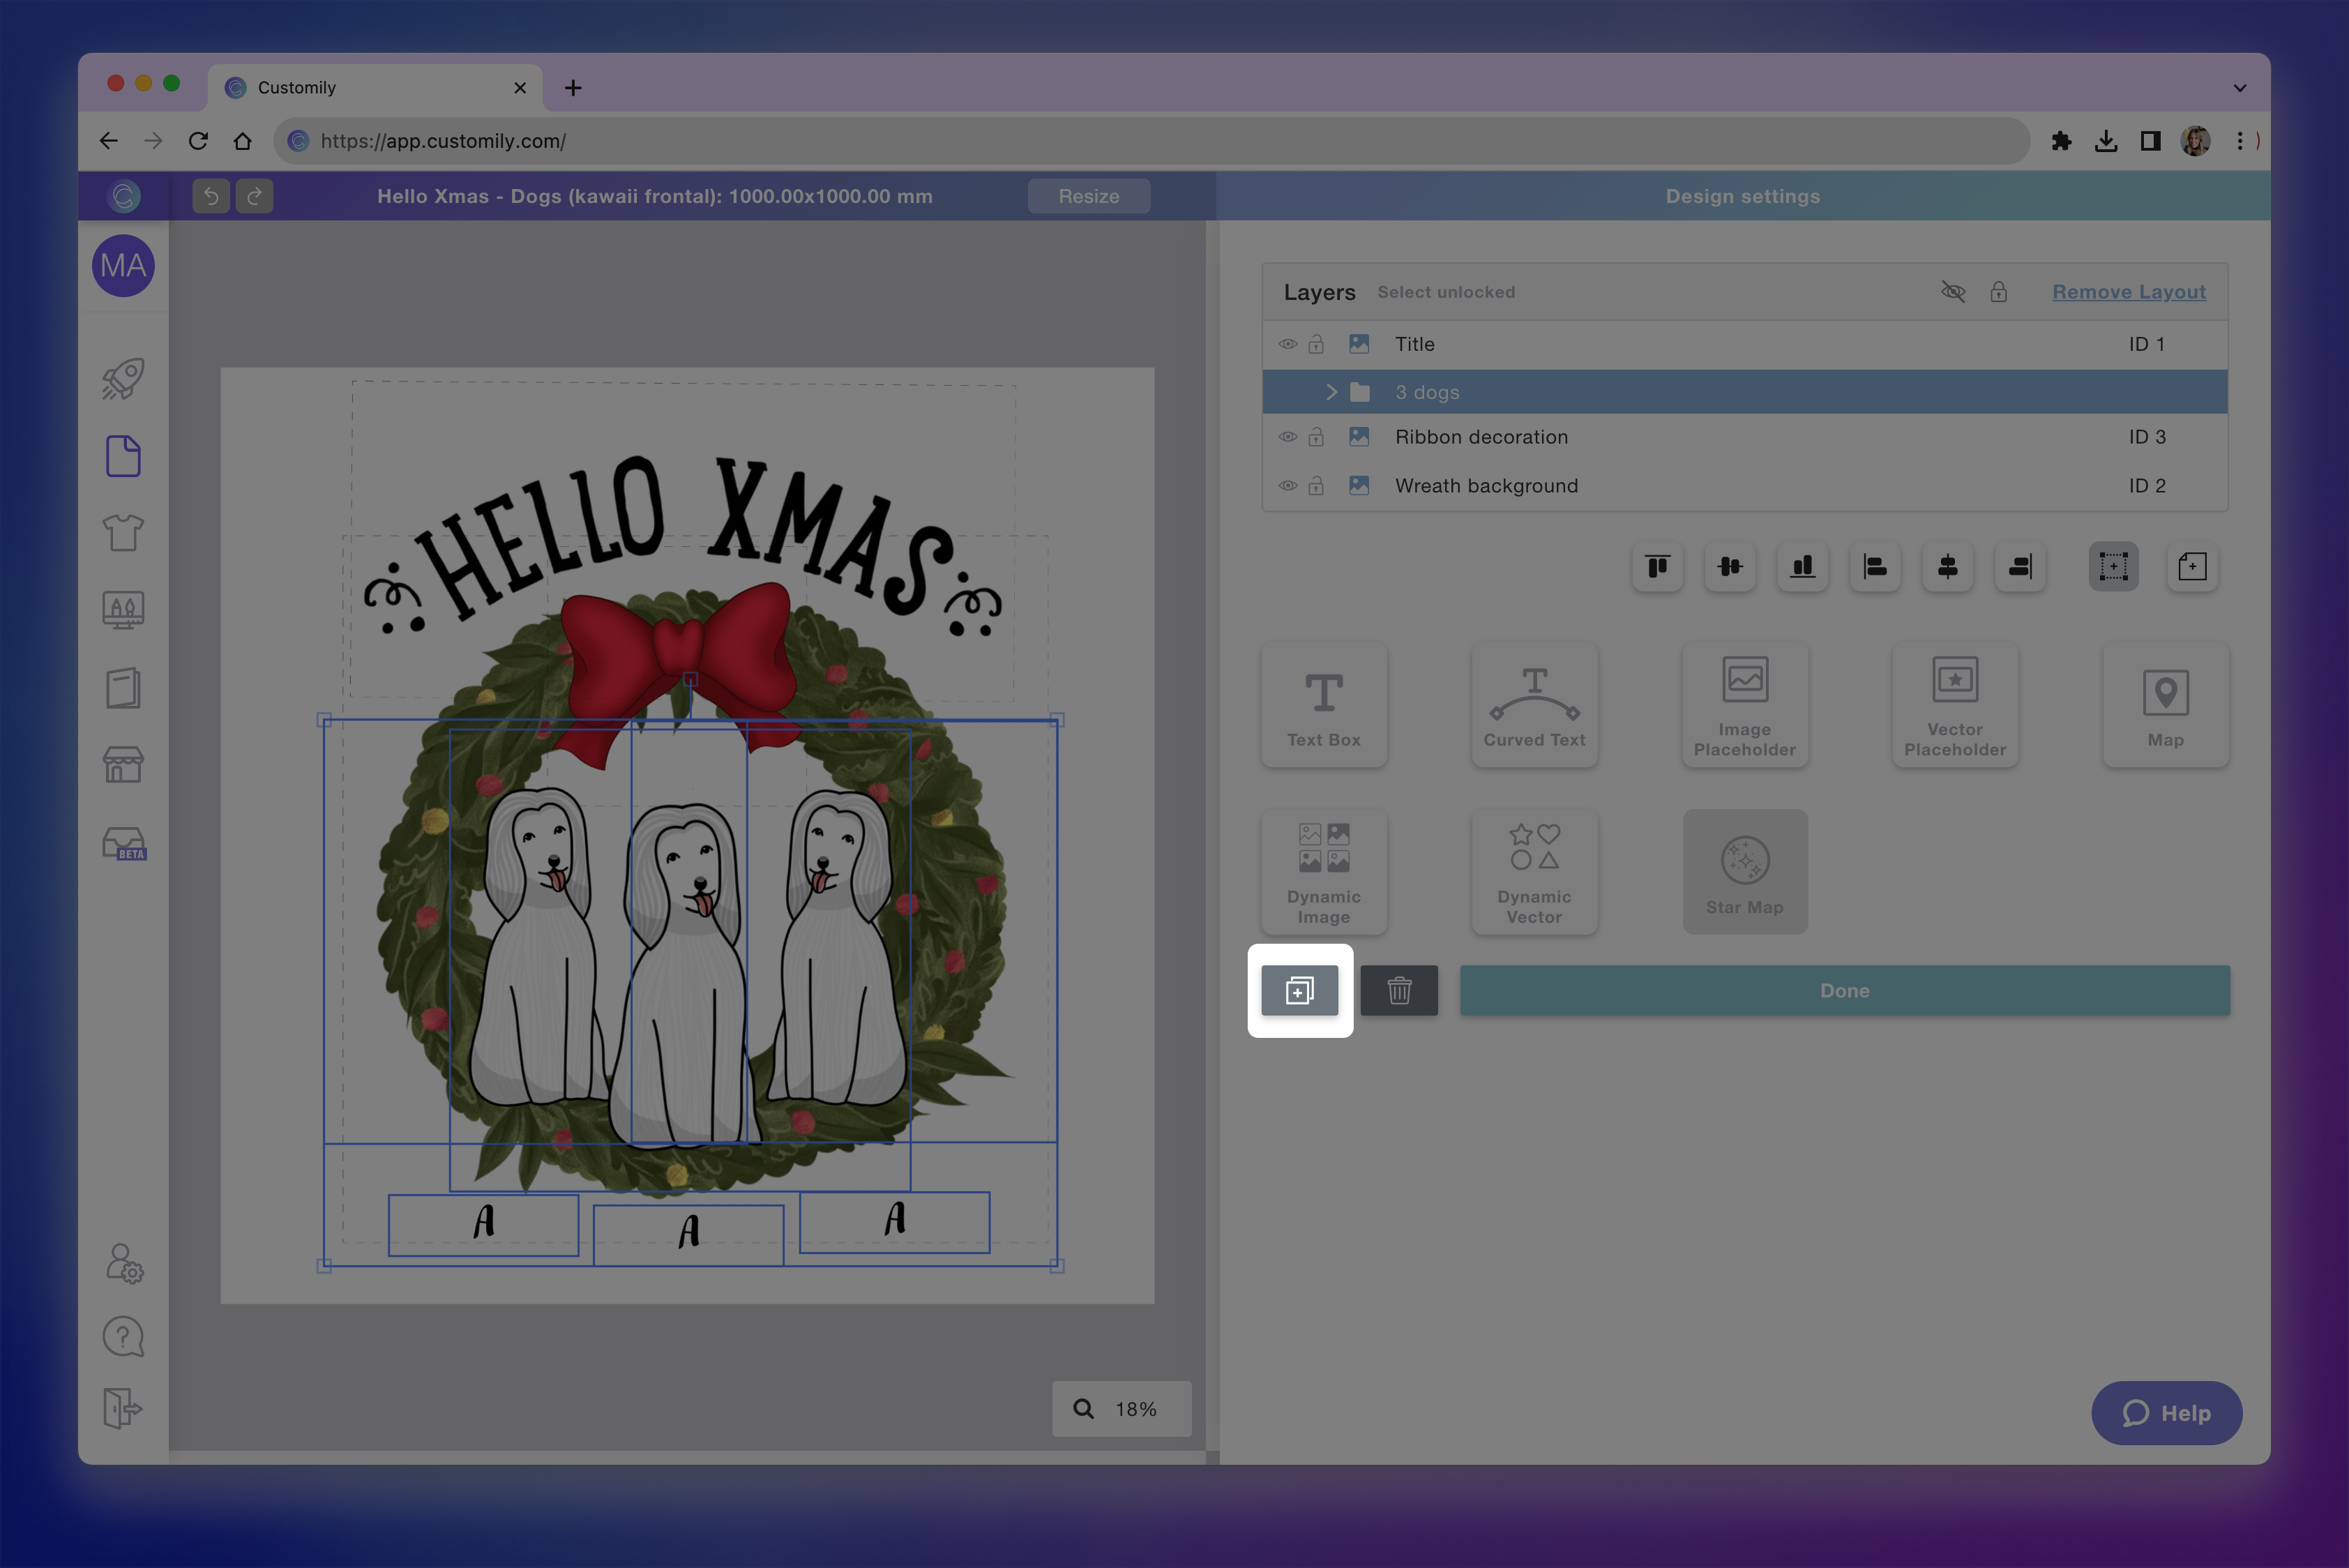
Edit the new layout as you want
It is important that you clone the layout (not copy/paste!) so each element is the same across layouts. To understand the difference between cloning a layout and copy/pasting it, you can check out this video.
Tip
When creating products that offer different "Number of..." options (for example, "Choose the number of dogs") it is very helpful to start with the layout that has more elements. Then you can clone the entire layout, and remove the elements you don't want in it to create the layouts with fewer options.