Moon Phases
Last updated: April 28, 2026
The Moon Phase element allows shoppers to personalize products by selecting a meaningful date—such as a birthday, anniversary, or special occasion—and displaying the corresponding moon phase from that night.
How It Works
When you add a Moon Phase to your design:
Shoppers choose a date using a date picker.
The moon image updates in real time to reflect the moon phase on that night.
You can use the default moon images provided by Customily or upload your own.
In this article:
To add a Moon phase
You can add moon phases on Designs and Templates, by clicking the Moon Phase button.
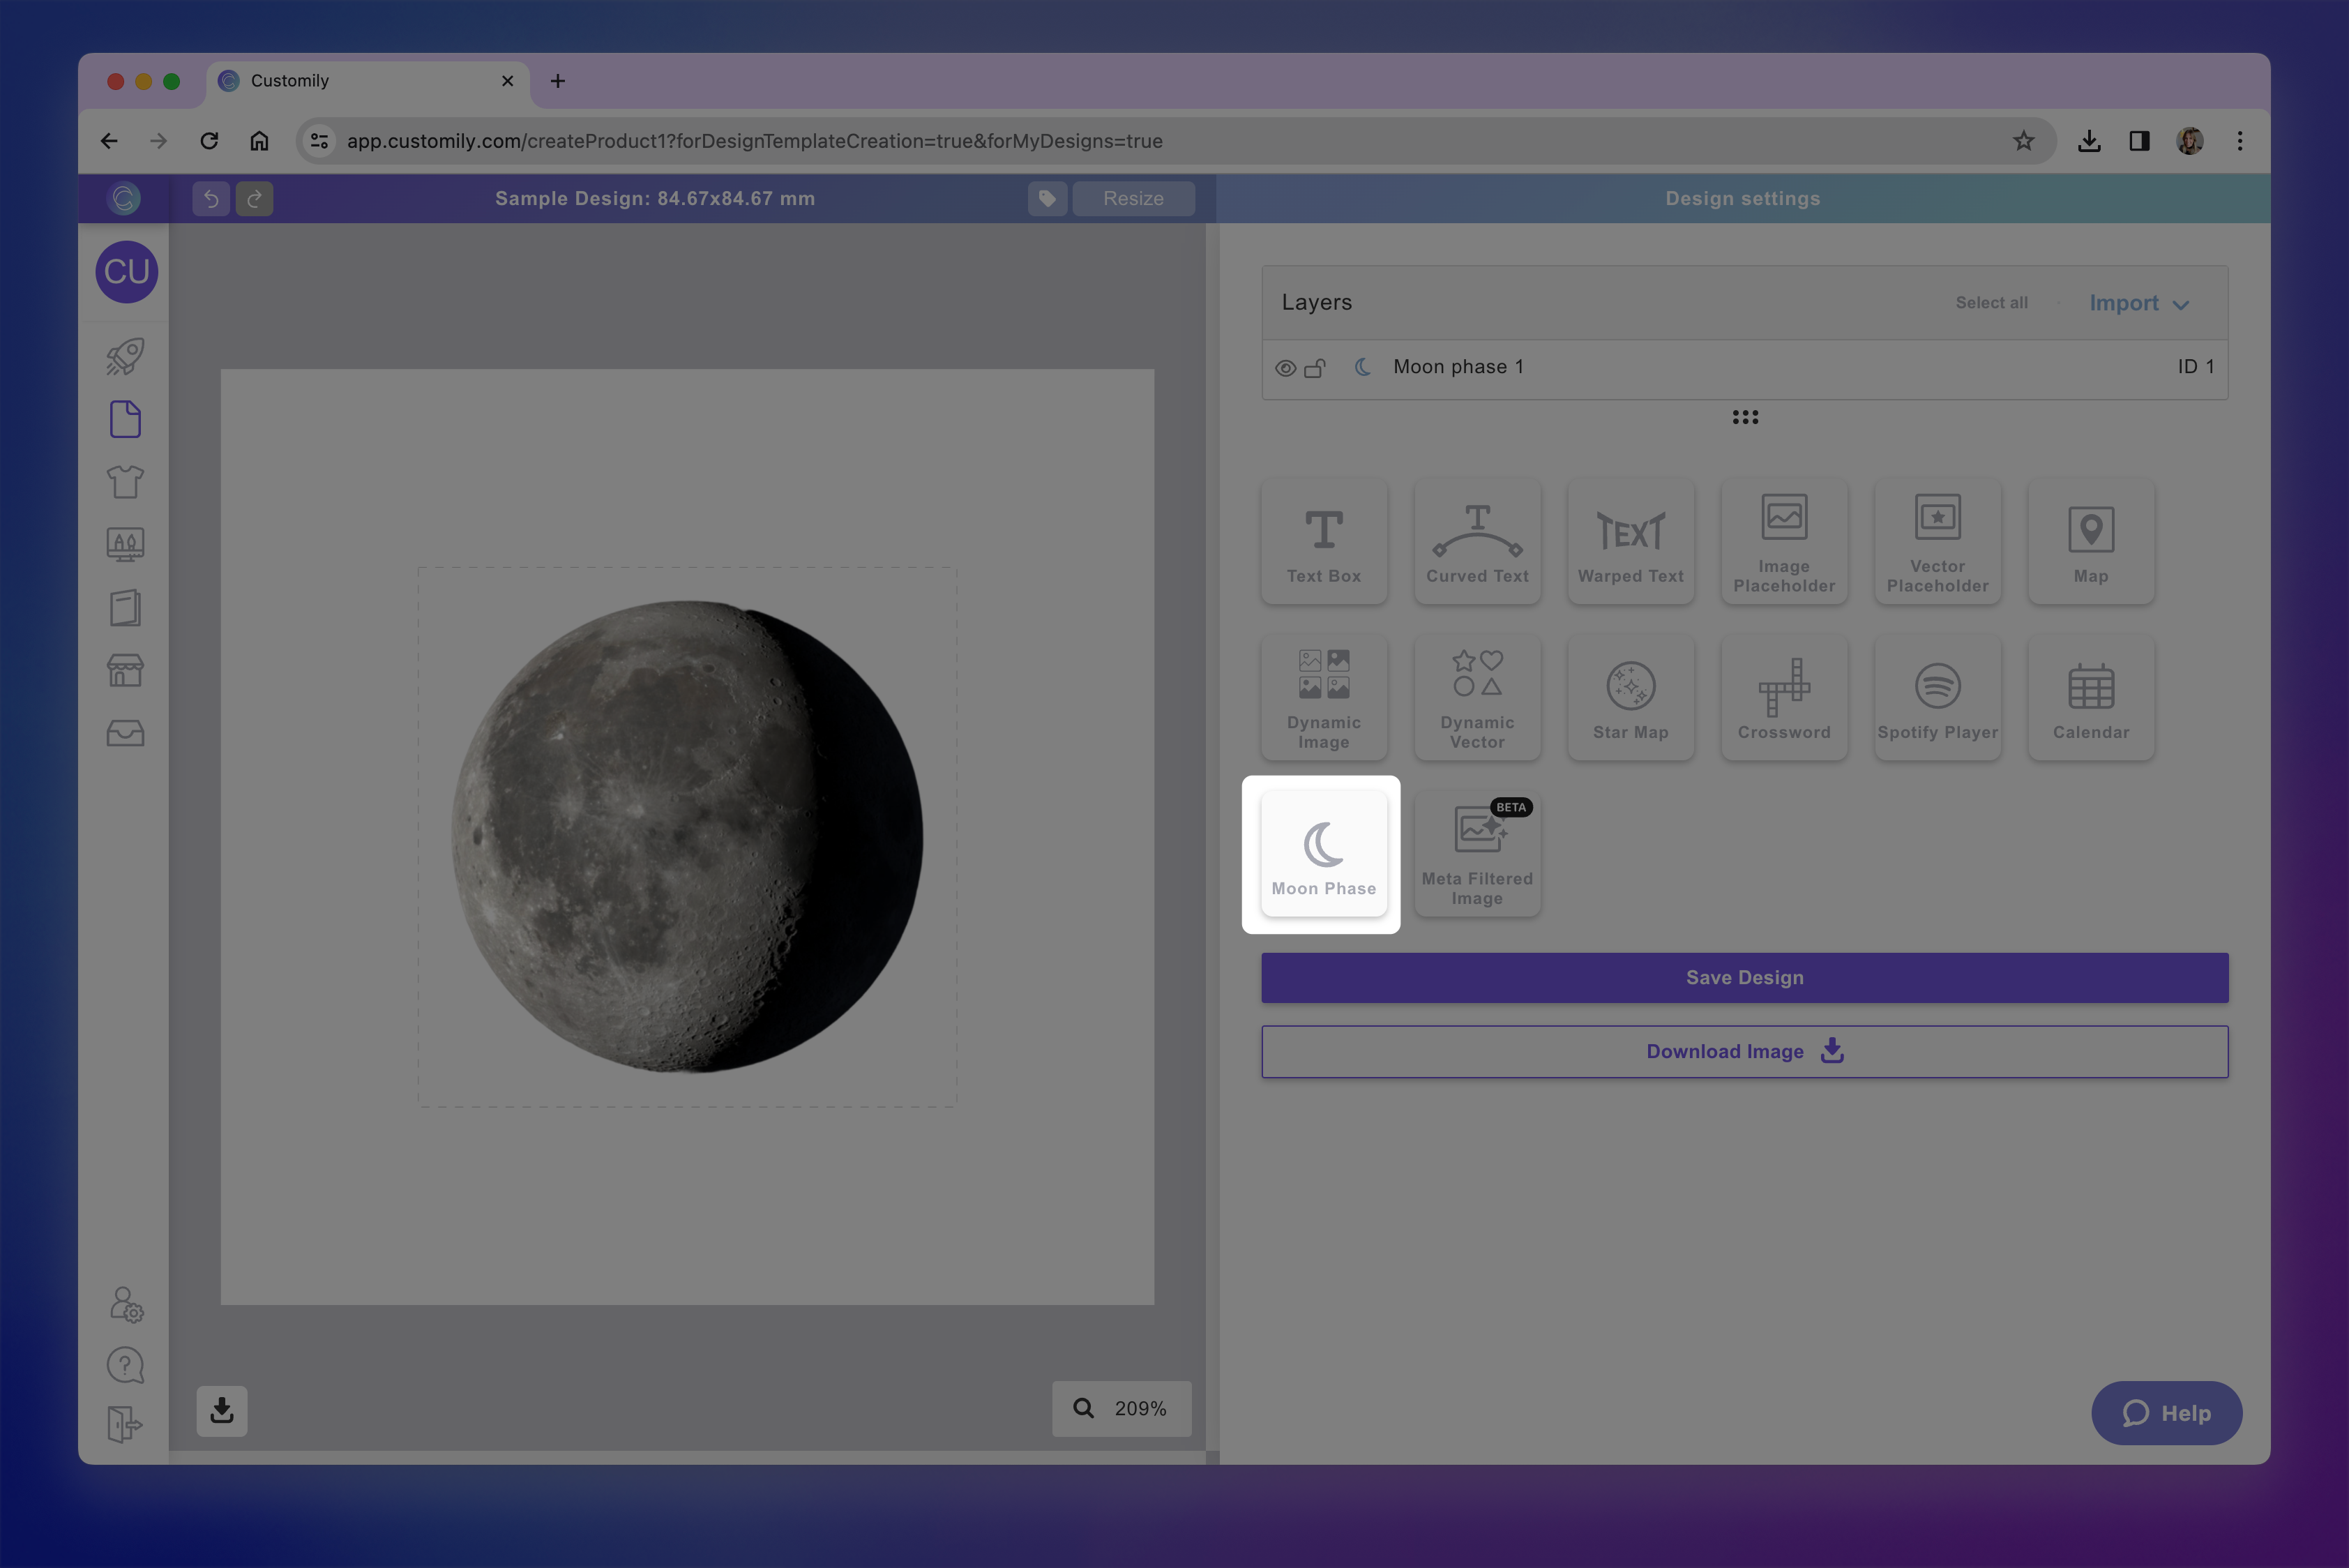
Each moon phase you add will have a Name that you can edit, and a Unique Id for you to easily identify it.
Using your own moon images
By default, moon phases will use Customily’s built-in moon image set, but you can upload your own if you'd like a custom style.
To use your own images:
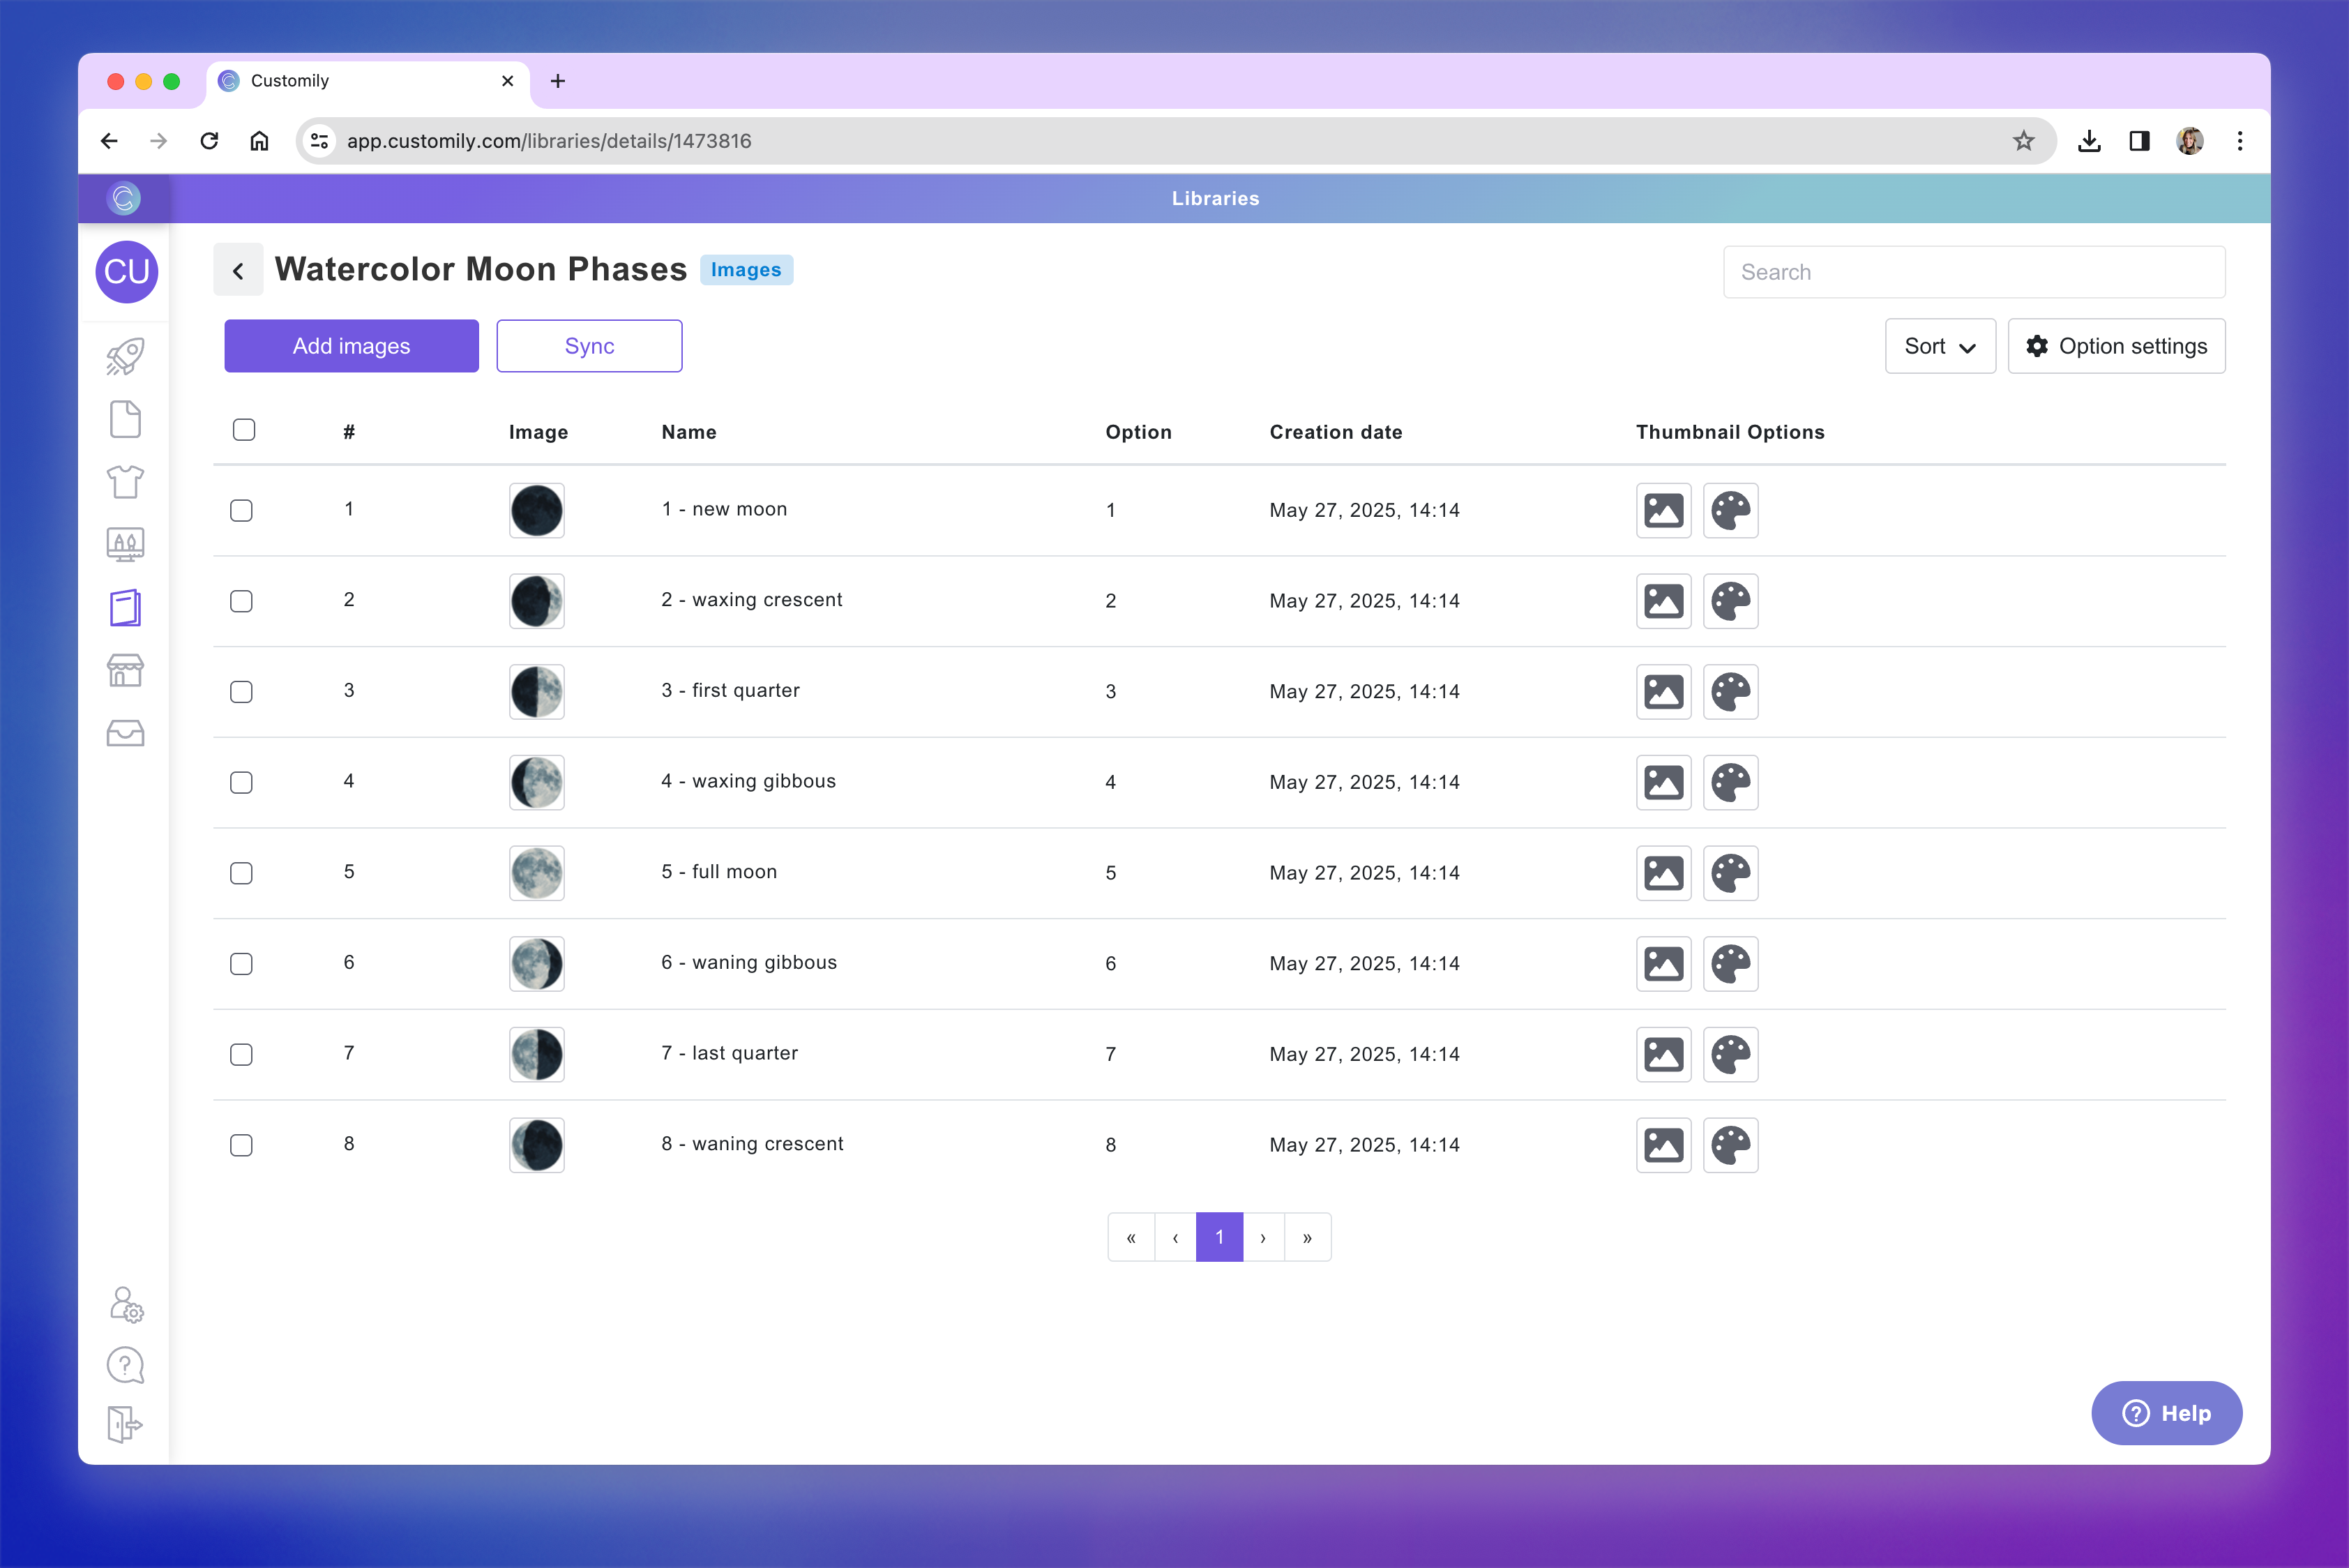
Create an Image Library with 8 images—each representing one moon phase. You can learn how to create an Image Library here.
Make sure you upload the images on your library in this exact order:
New Moon
Waxing Crescent
First Quarter
Waxing Gibbous
Full Moon
Waning Gibbous
Last Quarter
Waning Crescent
On the design, select Pick Library and choose the Library you created.

Your Image Library will be applied to the Moon Phases, you can see how it looks by either changing the date, or browsing through the moon phase image options manually.

Tip
Make sure the images you use are consistent in style and size for the best results.
Transform the moon phase
Directly on the canvas or by expanding the Transform toolbox, you can transform the moon phase's:
