On this tutorial, we are going to learn how to create a preview for a nameplate product, and how to connect that with your store.
Nameplates, also known as name necklaces, are a very popular piece of jewelry, in which customers can type their own name or phrase, and see it as a cutout text.
Nameplates, also known as name necklaces, are a very popular piece of jewelry, in which customers can type their own name or phrase, and see it as a cutout text.

Step 1: Creating the template on Customily
To begin with, we'll create the template on Customily.
1. Login into Customily with your user credentials
2. Click create template on the top left corner
3. On Step 1 settings:
1. Login into Customily with your user credentials
2. Click create template on the top left corner
3. On Step 1 settings:
- Give the template a name
- Create a new page of 100 x 100 mm

Once the settings are correct, click start
4. Add a new Text Box, and resize it so it fills the majority of the canvas

5. Go to the Character Toolbar and select the font you'd like to use for the name necklace.
Make sure you choose a font that's available on the nameplate catalog.
Fonts Available
Fonts for nameplates are special since they are edited to include the chains of the necklace as part of the font. Our team has a set of fonts that work perfectly for nameplates, below you'll find the catalog that shows these fonts.
If you'd like to use your own font for a nameplate, contact our team and they'll let you know what is needed in order to modify it to be compatible with our nameplate options.
If you'd like to use your own font for a nameplate, contact our team and they'll let you know what is needed in order to modify it to be compatible with our nameplate options.

Tip
If you'd like to give your customers multiple font options, just follow the steps on how to add multiple fonts to a text field
6. Click Done and Next to go to the next step and configure the metal colors.
7. On Step 2, you can choose an image as background or a plain color. We recommend using white.
8. Select the text element, open the Color Toolbox and give the text the metal colors you'd like to use. Make sure you select the Texture: Metal to give the metallic effect to the necklace.
7. On Step 2, you can choose an image as background or a plain color. We recommend using white.
8. Select the text element, open the Color Toolbox and give the text the metal colors you'd like to use. Make sure you select the Texture: Metal to give the metallic effect to the necklace.

Tip
If you'd like to give your customers multiple color options, just follow the steps on how to add multiple colors to a text field or use the color picker option.
9. You can try some text to see how the necklace looks.

Remember, this is a test text, customers will never see what you type here, it's only for you to give the preview a try.
10. Click Done and Next to go to the final Step and review. On Step 3, simply click Save to save your template.
Step 2: Connecting the preview template with your store
Now that we have the template, it's time to connect it with your eCommerce. Steps here will vary depending on which platform you are working with.
Shopify & WooCommerce
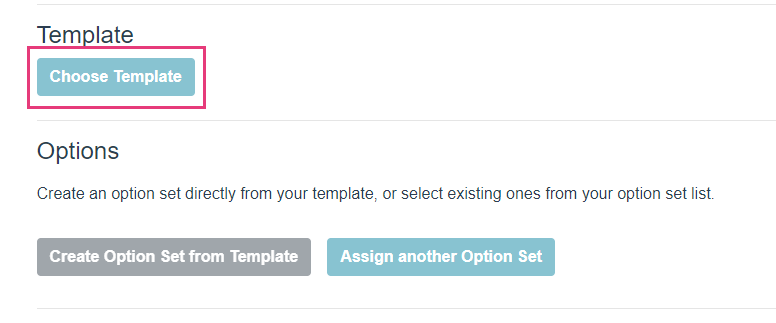
1. Open Store and go to Link products to connect the template we created with a product on your store.
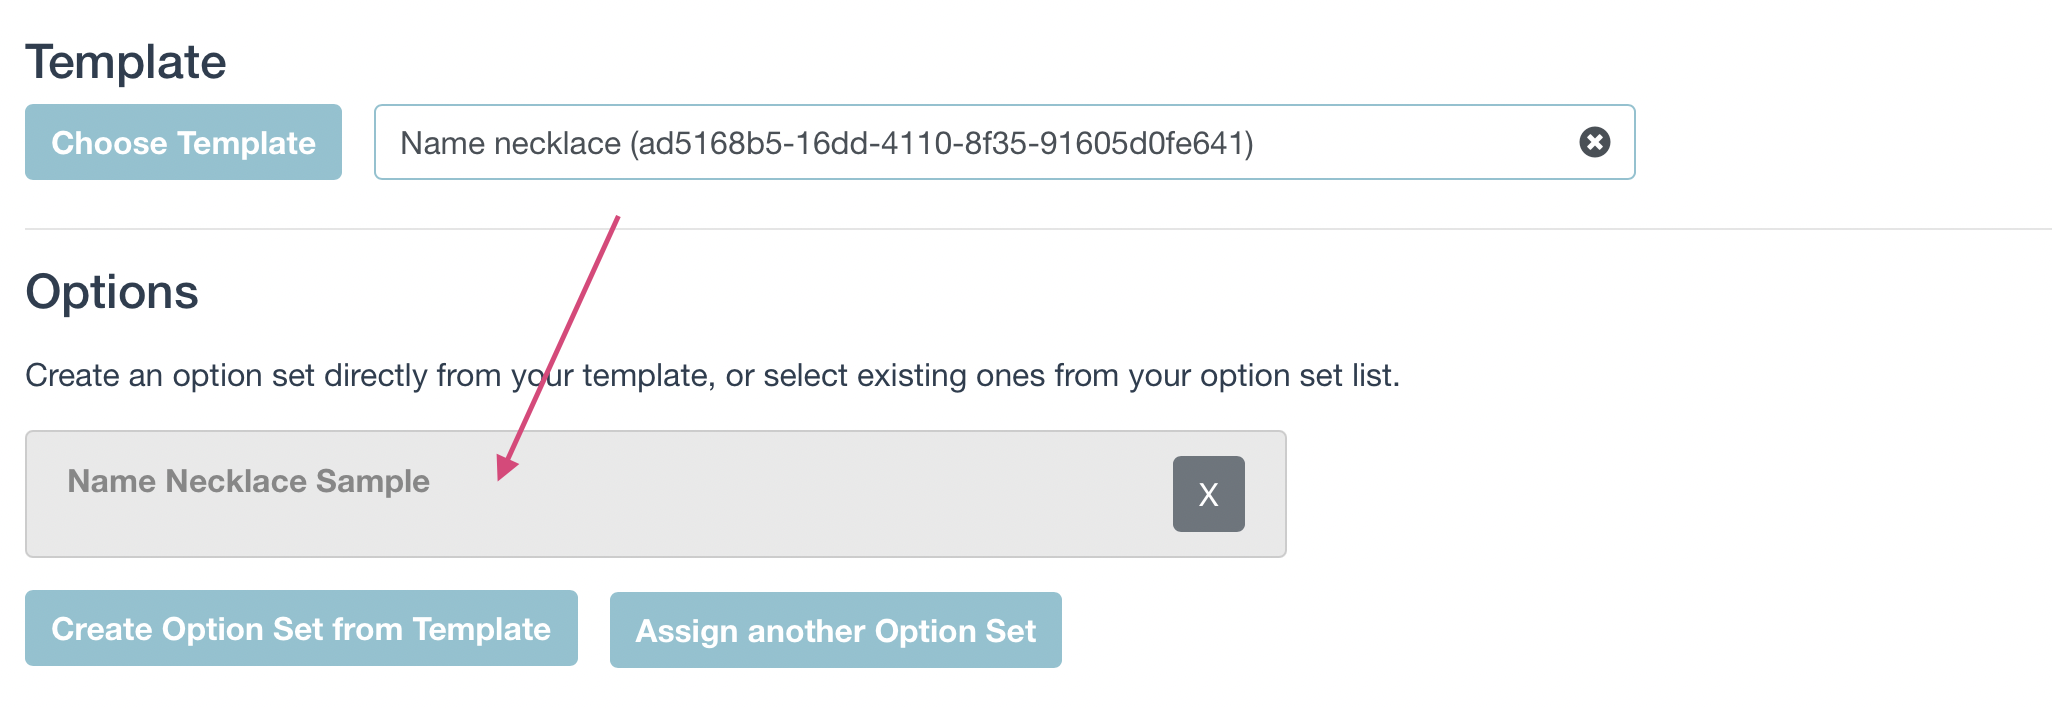
2. Look for the product you previously created in your store and connect it by selecting the template you've just created.
2. Look for the product you previously created in your store and connect it by selecting the template you've just created.

3. Select Create option Set from Template to create the necessary options for customers to interact with your product.
4. Once that's done, click on the created option set to edit it.

5. Find the Text Input Option and click to expand it so you can configure it:
- Check "Add chains to nameplate" option. This will automatically add the chains at the beginning and end of the text.

Walmart & Custom
1. Open Manage Options and go to Option Sets.
2. At the end of the page you will find the option to create a new option set from template.

Select the template you've just created and create the option set.
3. Once that's done expand the Text Input Option in the new option set to configure it properly:
- Give it an option label (the title of the option)
- Set a max. number of characters if desired
- Check "Add chains to nameplate" option. This will automatically add the brackets needed at the beginning and end of the text so the necklace shows the chains.

4. Save the option set, and then go back to the Link menu, to assign the options set to the listing on your store.
Nameplate Font Catalog

Share
Was this article helpful?
Have more questions? Submit a request