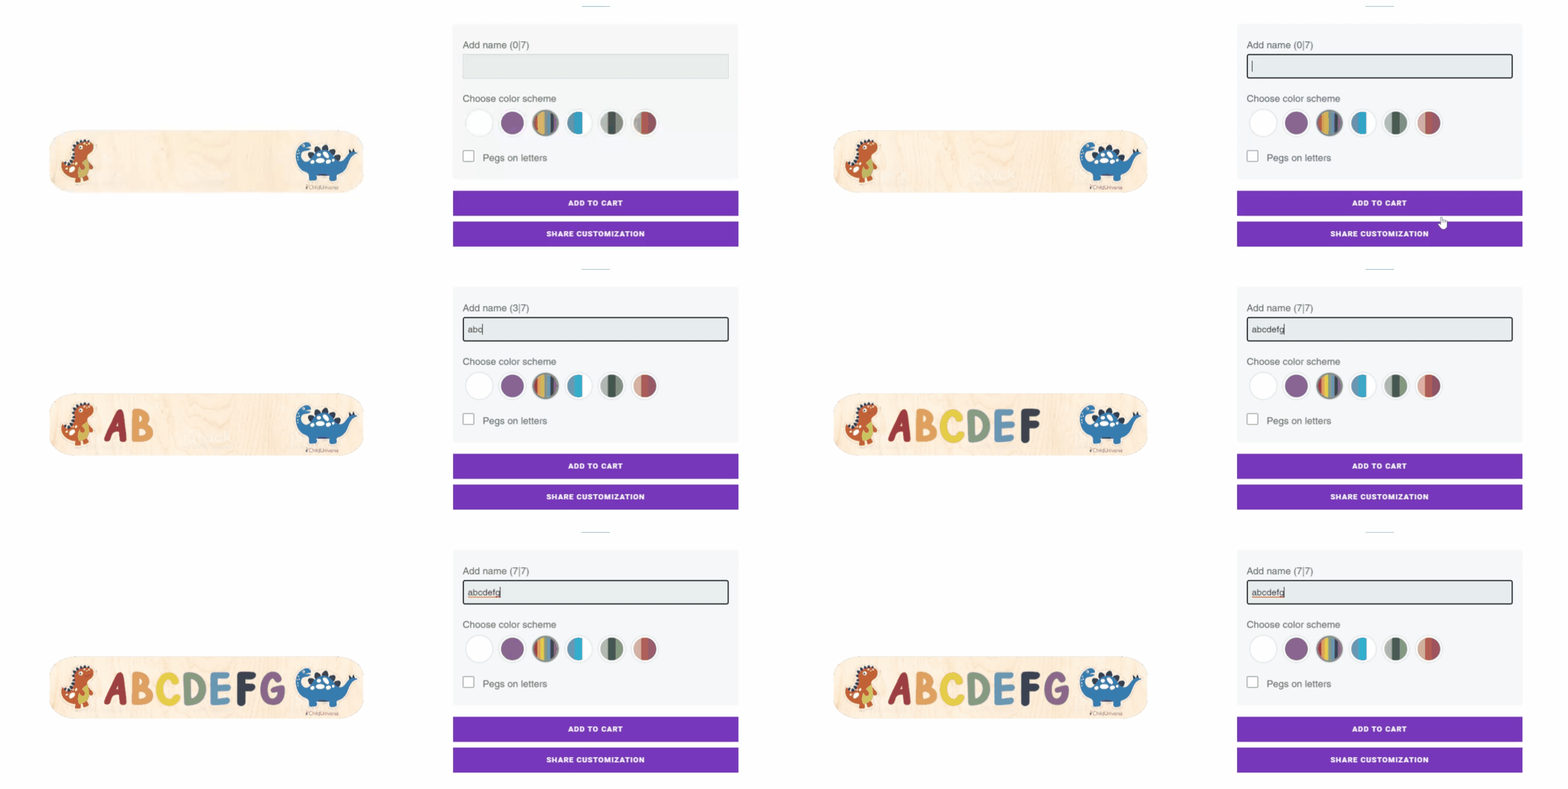
In this tutorial you'll learn how to add text using dynamic images. This is very useful if you want to create personalizations that involve more artistic text (not just a plain font). For example if you offer diamond studded jewelry, multi-color wooden letters, or chocolate letters on a cake, you can do this with Customily!
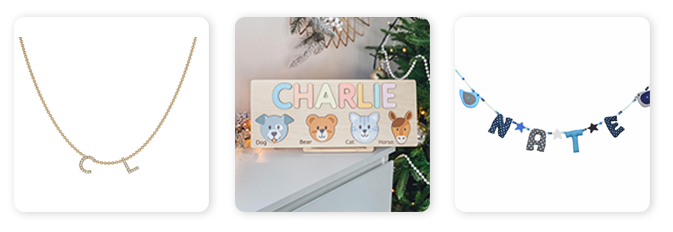
To create this effect we are going to work with image libraries, and dynamic images. Follow the steps below to achieve it.
1. Create a library with the images (or vectors) of your alphabet
- Go to Libraries > Image libraries (or Vector libraries depending on what you want to use).
- Click Add library.
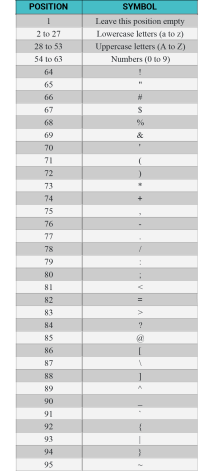
- Add the images (or vectors) of all the letters for your library. Follow the chart below to know in which position to upload each letter. We recommend you at least upload all the letters from the alphabet so customers will be able to type without any issues.
Important
It is very important you follow the chart above, and upload each image of your letters in it's corresponding option. You should always leave the first option empty, and start by uploading the letter A on option 2, otherwise this won't work.
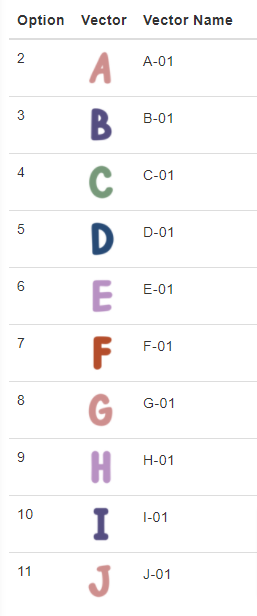
2. Create a dynamic image (or dynamic vector) for each letter on your personalization
- Create a dynamic image or dynamic vector (depending on what you are using) for each letter. The amount of characters depends on how many letters you want your customers to be able to type.
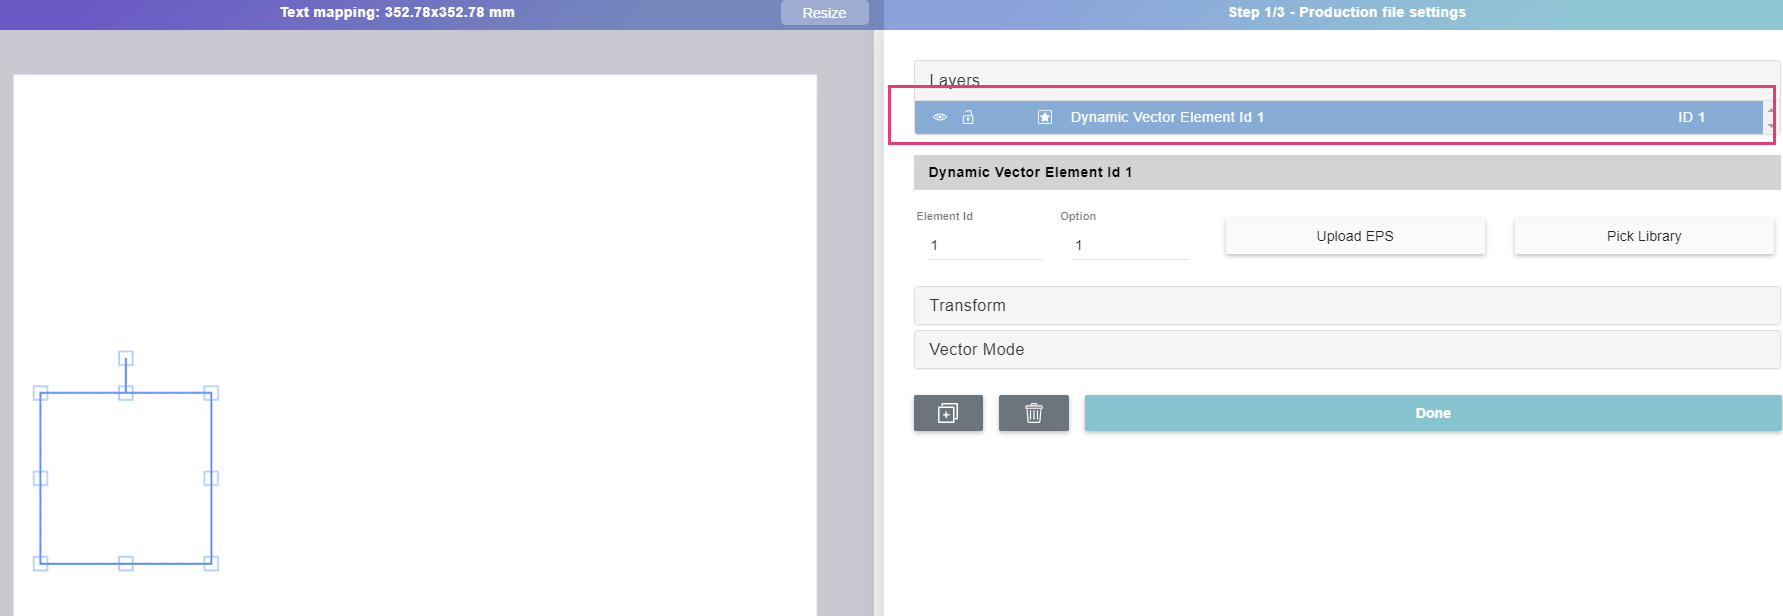
- The Id for the dynamic images/vectors needs to be consecutive. In this case, we've created 5 elements from ID 1 to ID 5, because customers will be able to type a max. of 5 characters.
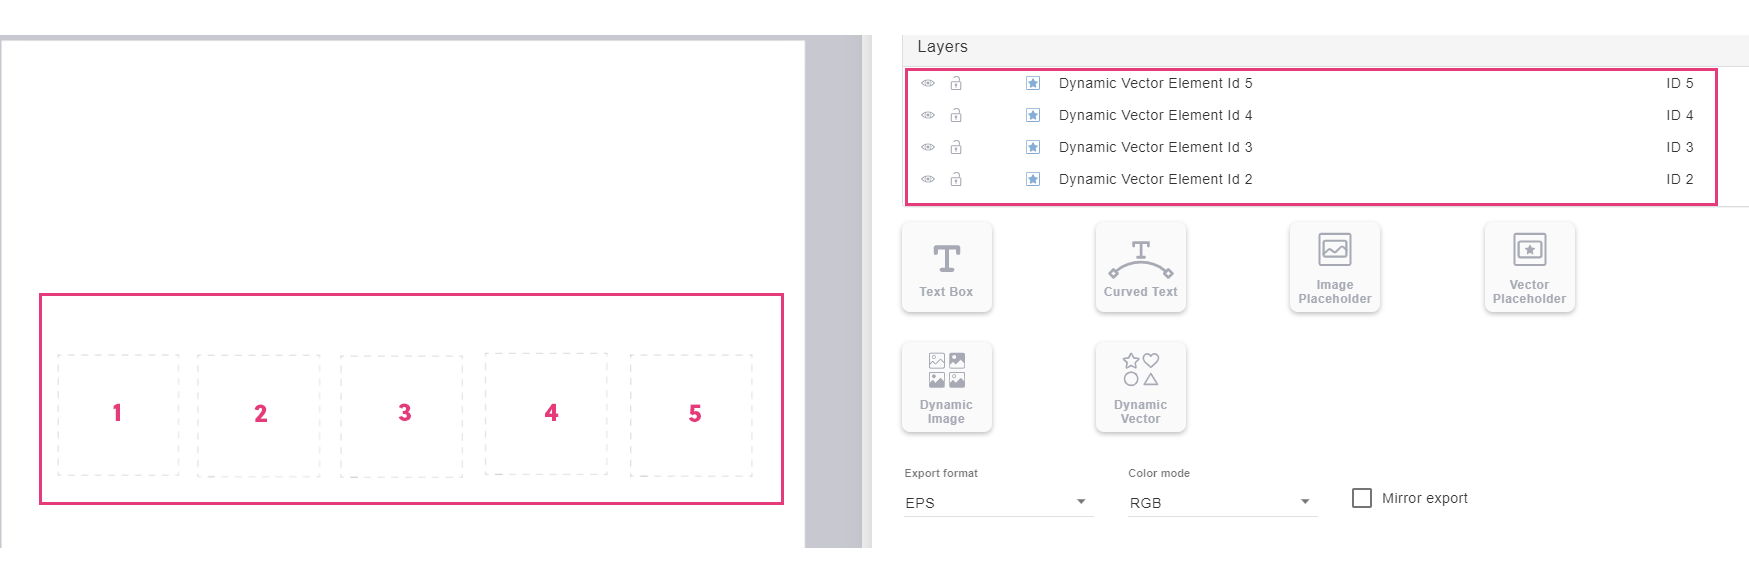
3. Assign the library you've previously created to each of the dynamic elements in your template.
To add your library click on the element you want to edit from your layers' list. And click on Pick library. Choose the library you've created.

4. The spacing can be controlled in both steps of the template by moving the container to the required position.
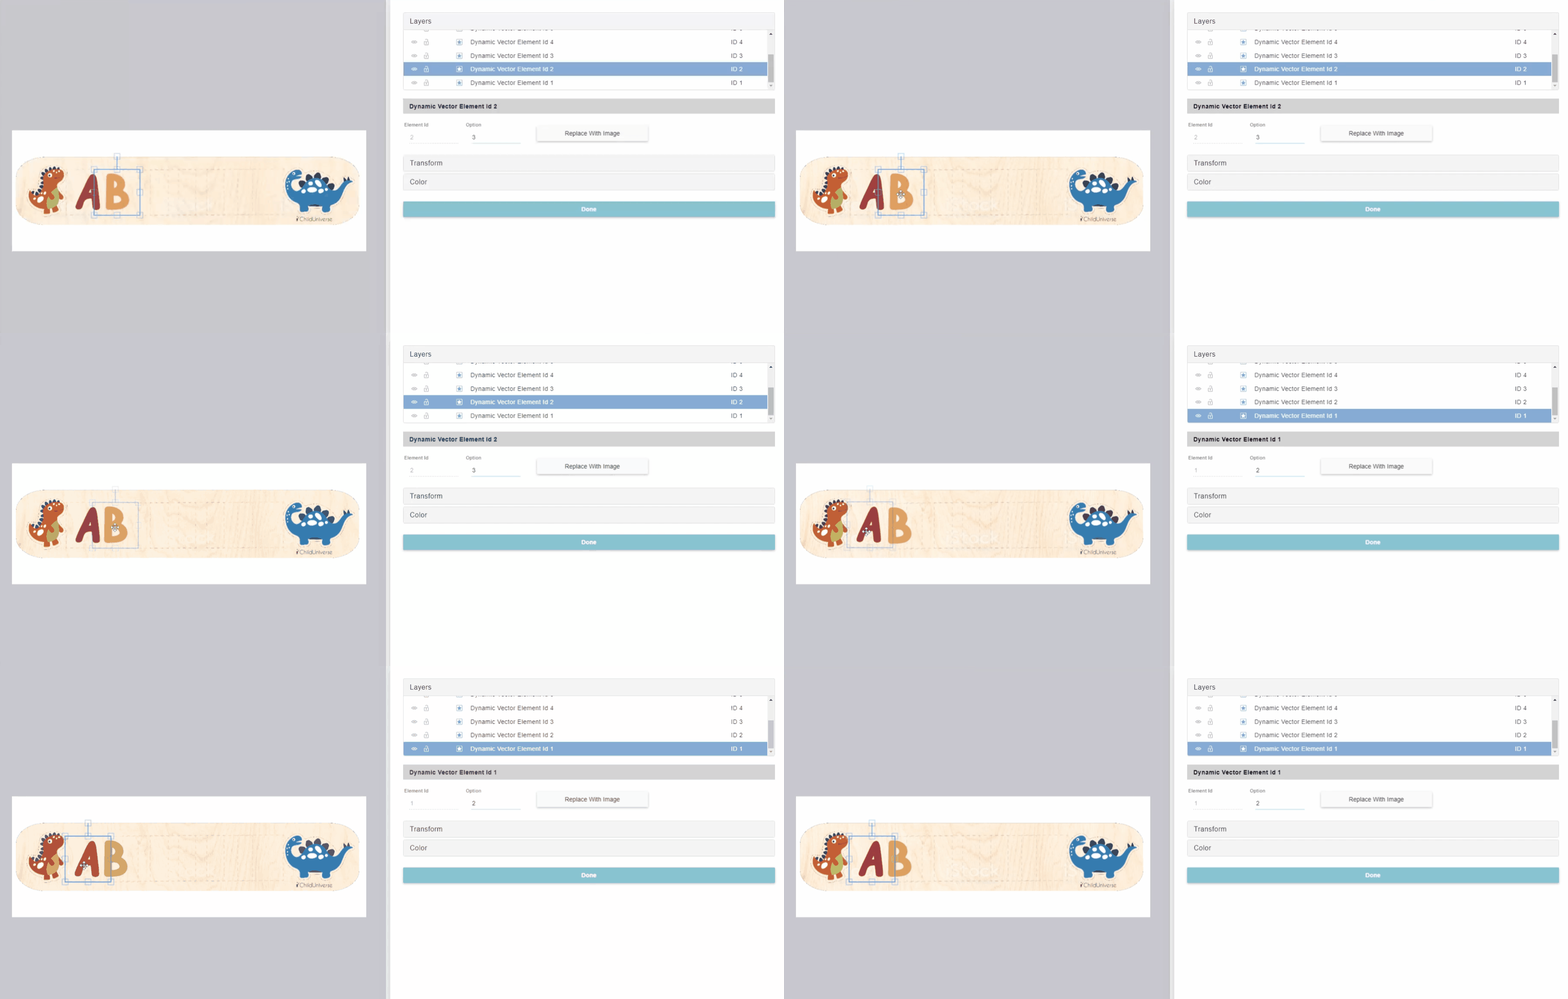
3. Creating the options set
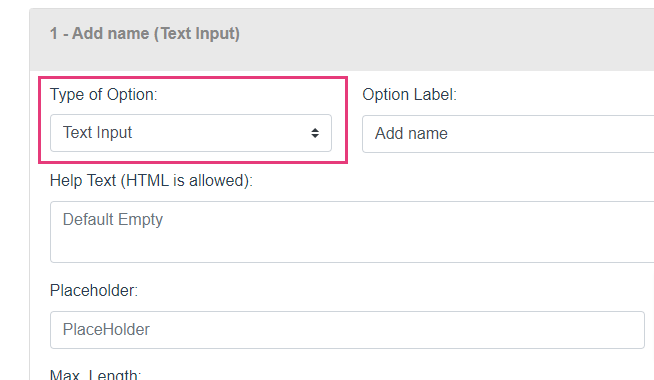
To allow your customers to add their text you need to create a Text Input option in your options set.
- On your options set click Add Option. Then choose option type text input.
- Under Customily functions choose "Dynamic vector/ Dynamic Image".

- Then, you will need to add the ID for the element where the first letter will be placed. In our case is ID 1.


- Set a limit for the max length of characters so the customer's text does not exceed the letters we created for this product, in this case it was 5.
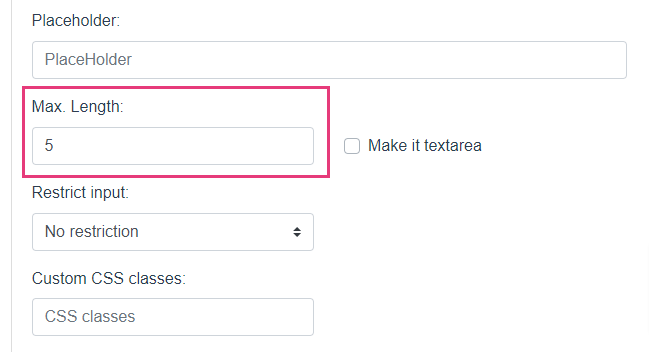
- Save your option set, then go to the product you want to use it with and assign the option set to it. Once the product is saved you'll be able to personalize with images as text!
Share
Was this article helpful?
Have more questions? Submit a request