The Categories feature lets you organize elements from libraries into different groups. Categories can be applied to:
- Dynamic Image Libraries
To create a Category
1. Open an Image Library or create a new one as shown here.
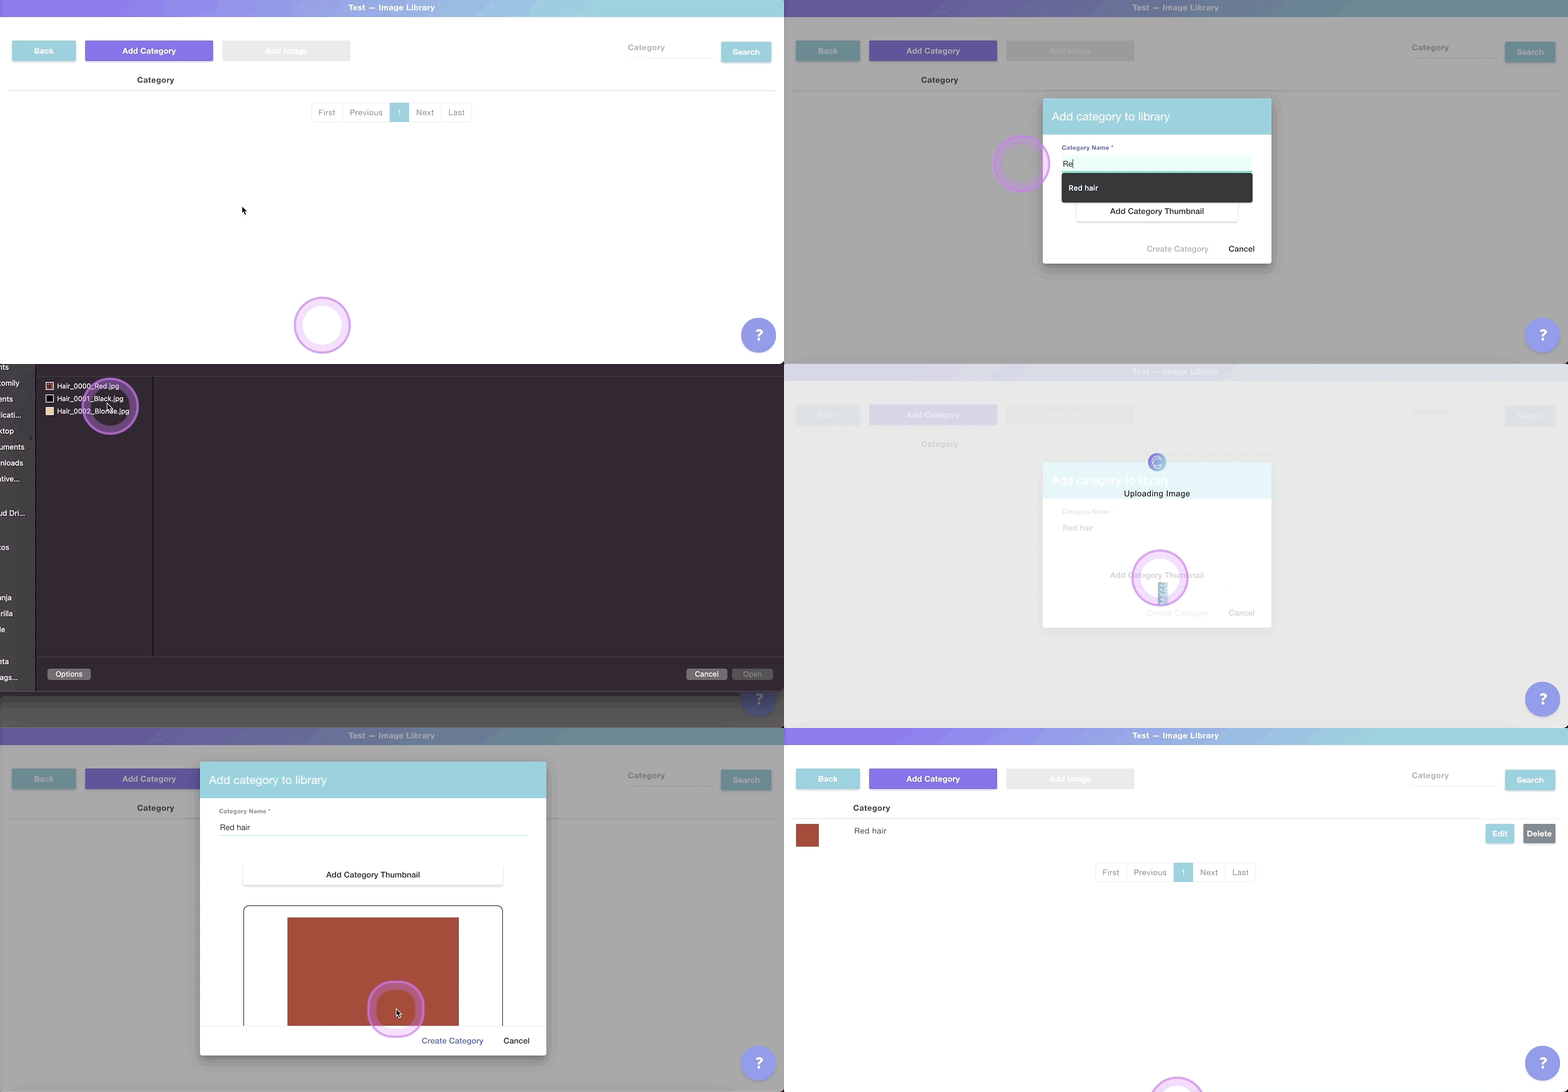
2. Click Add Category to create a new category
3. Name your category and add a category thumbnail
Tip:
The category thumbnail is used to easily recognized what category you're in, so make sure you are using an image that accurately represents that group of images.
If you are using Shopify, then the thumbnail will be used to create the swatch for that category option.
To add image options to your category
1. Click Edit to see the category and add, delete or modify image options in it
2. To add a new image option click Add Image
3. Choose the image option you are going to add. If this is the first image you are adding to the category, then it will be option 1
Tip:
If you want to assign an image to a different option, you can either type the option number or click the arrows next to it to change options.

4. Click Upload Image(s) to select the image you want to add to that option.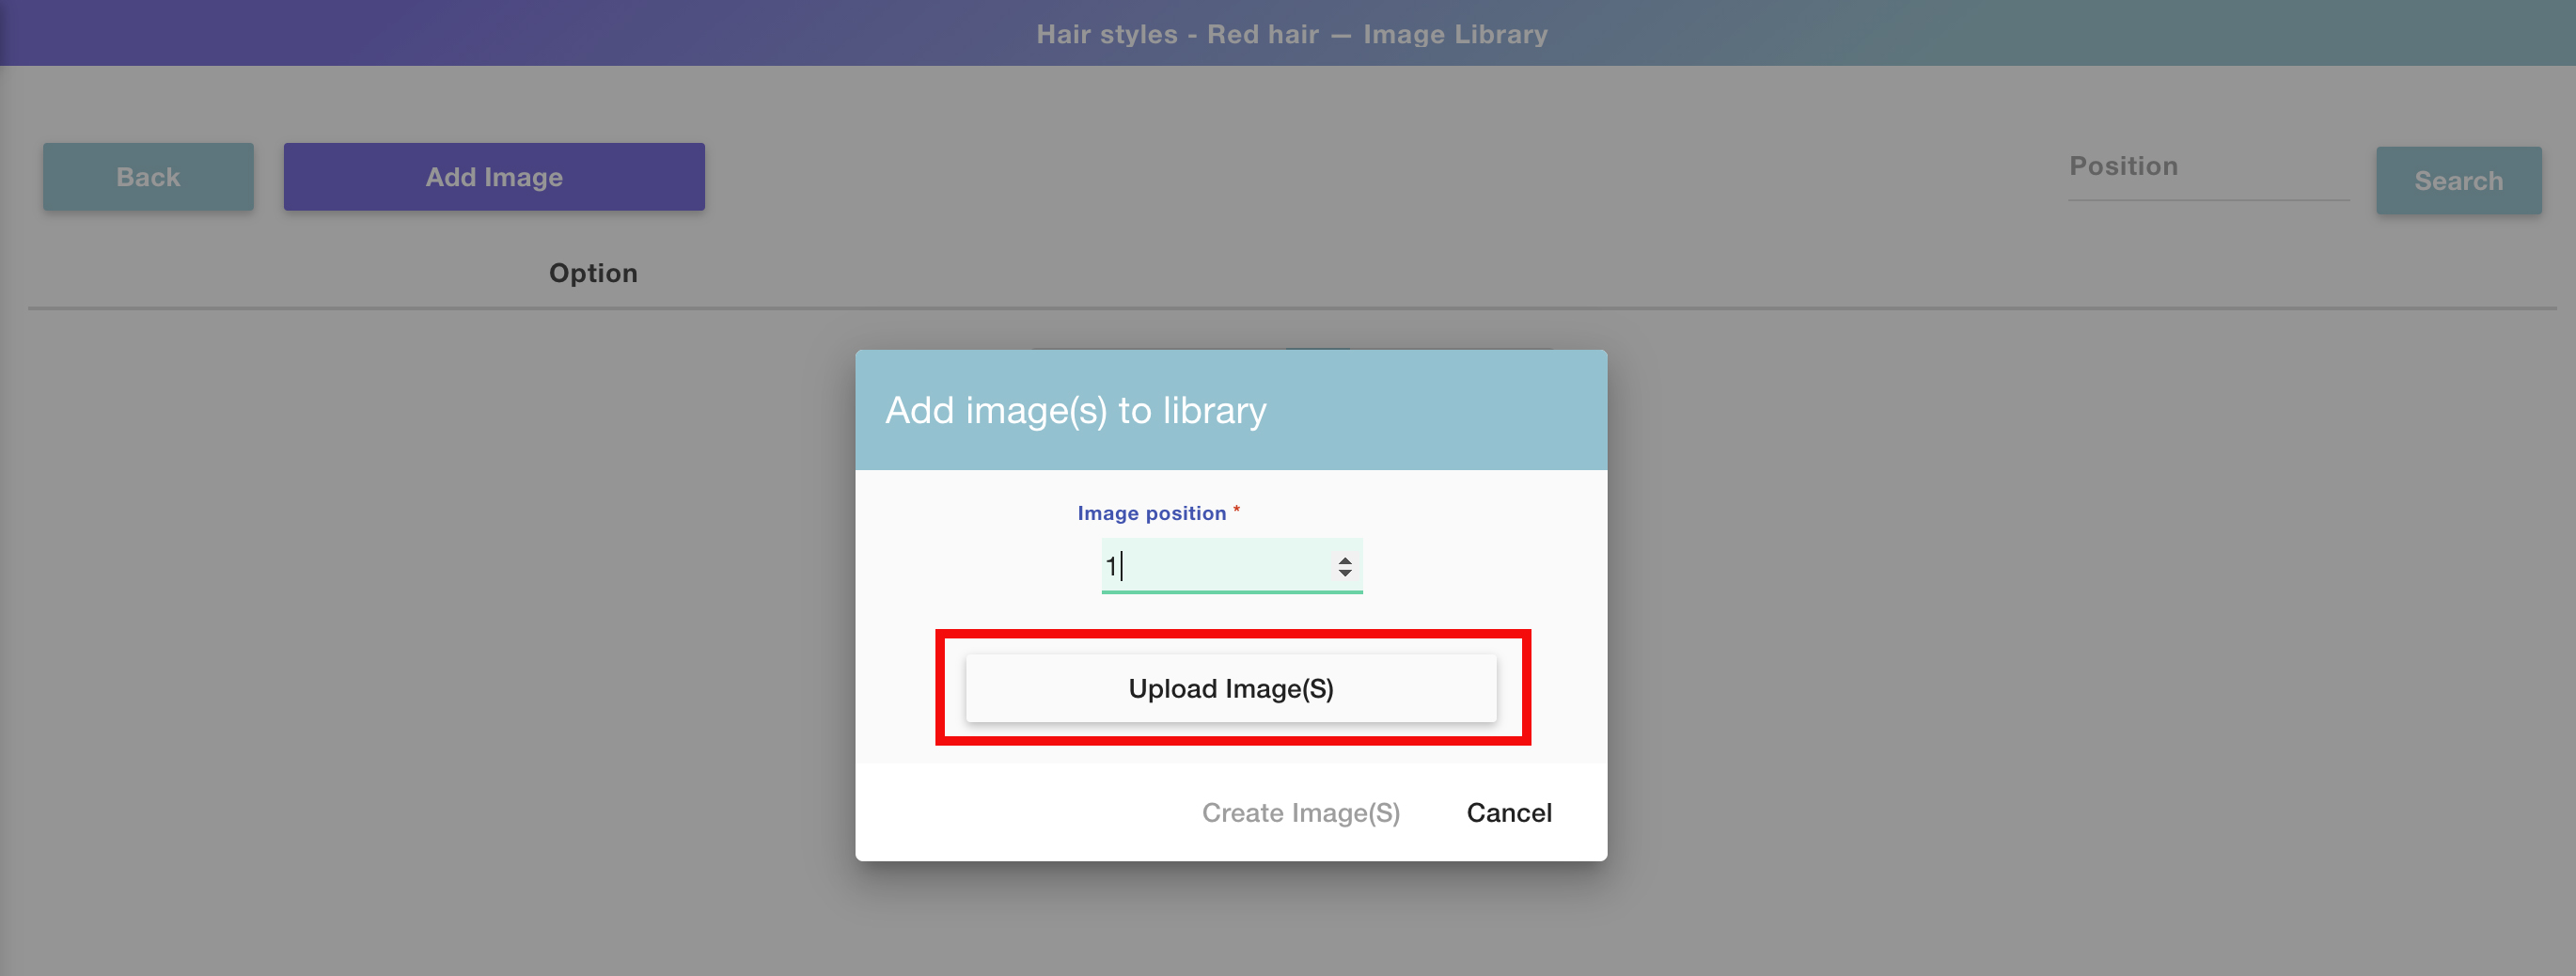
Pro tip!!
You can upload multiple images in consecutive positions by selecting them altogether from the upload dialog. The images will be uploaded in the same order as the files appear on your folder. 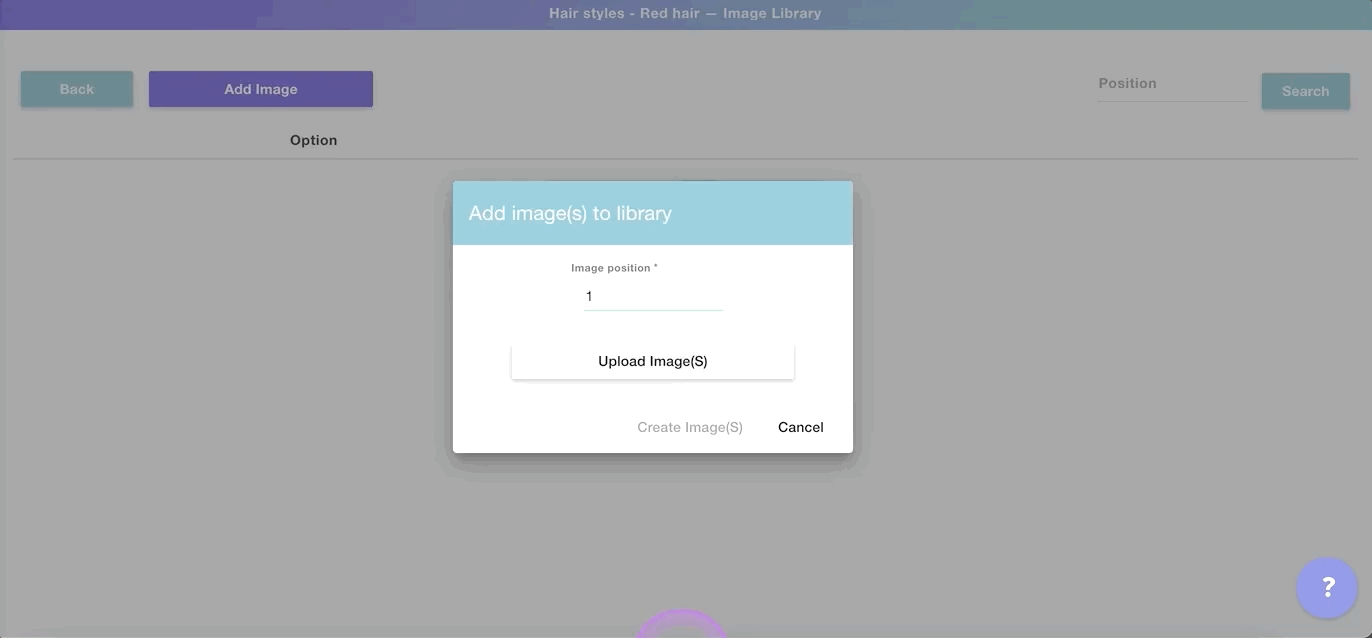
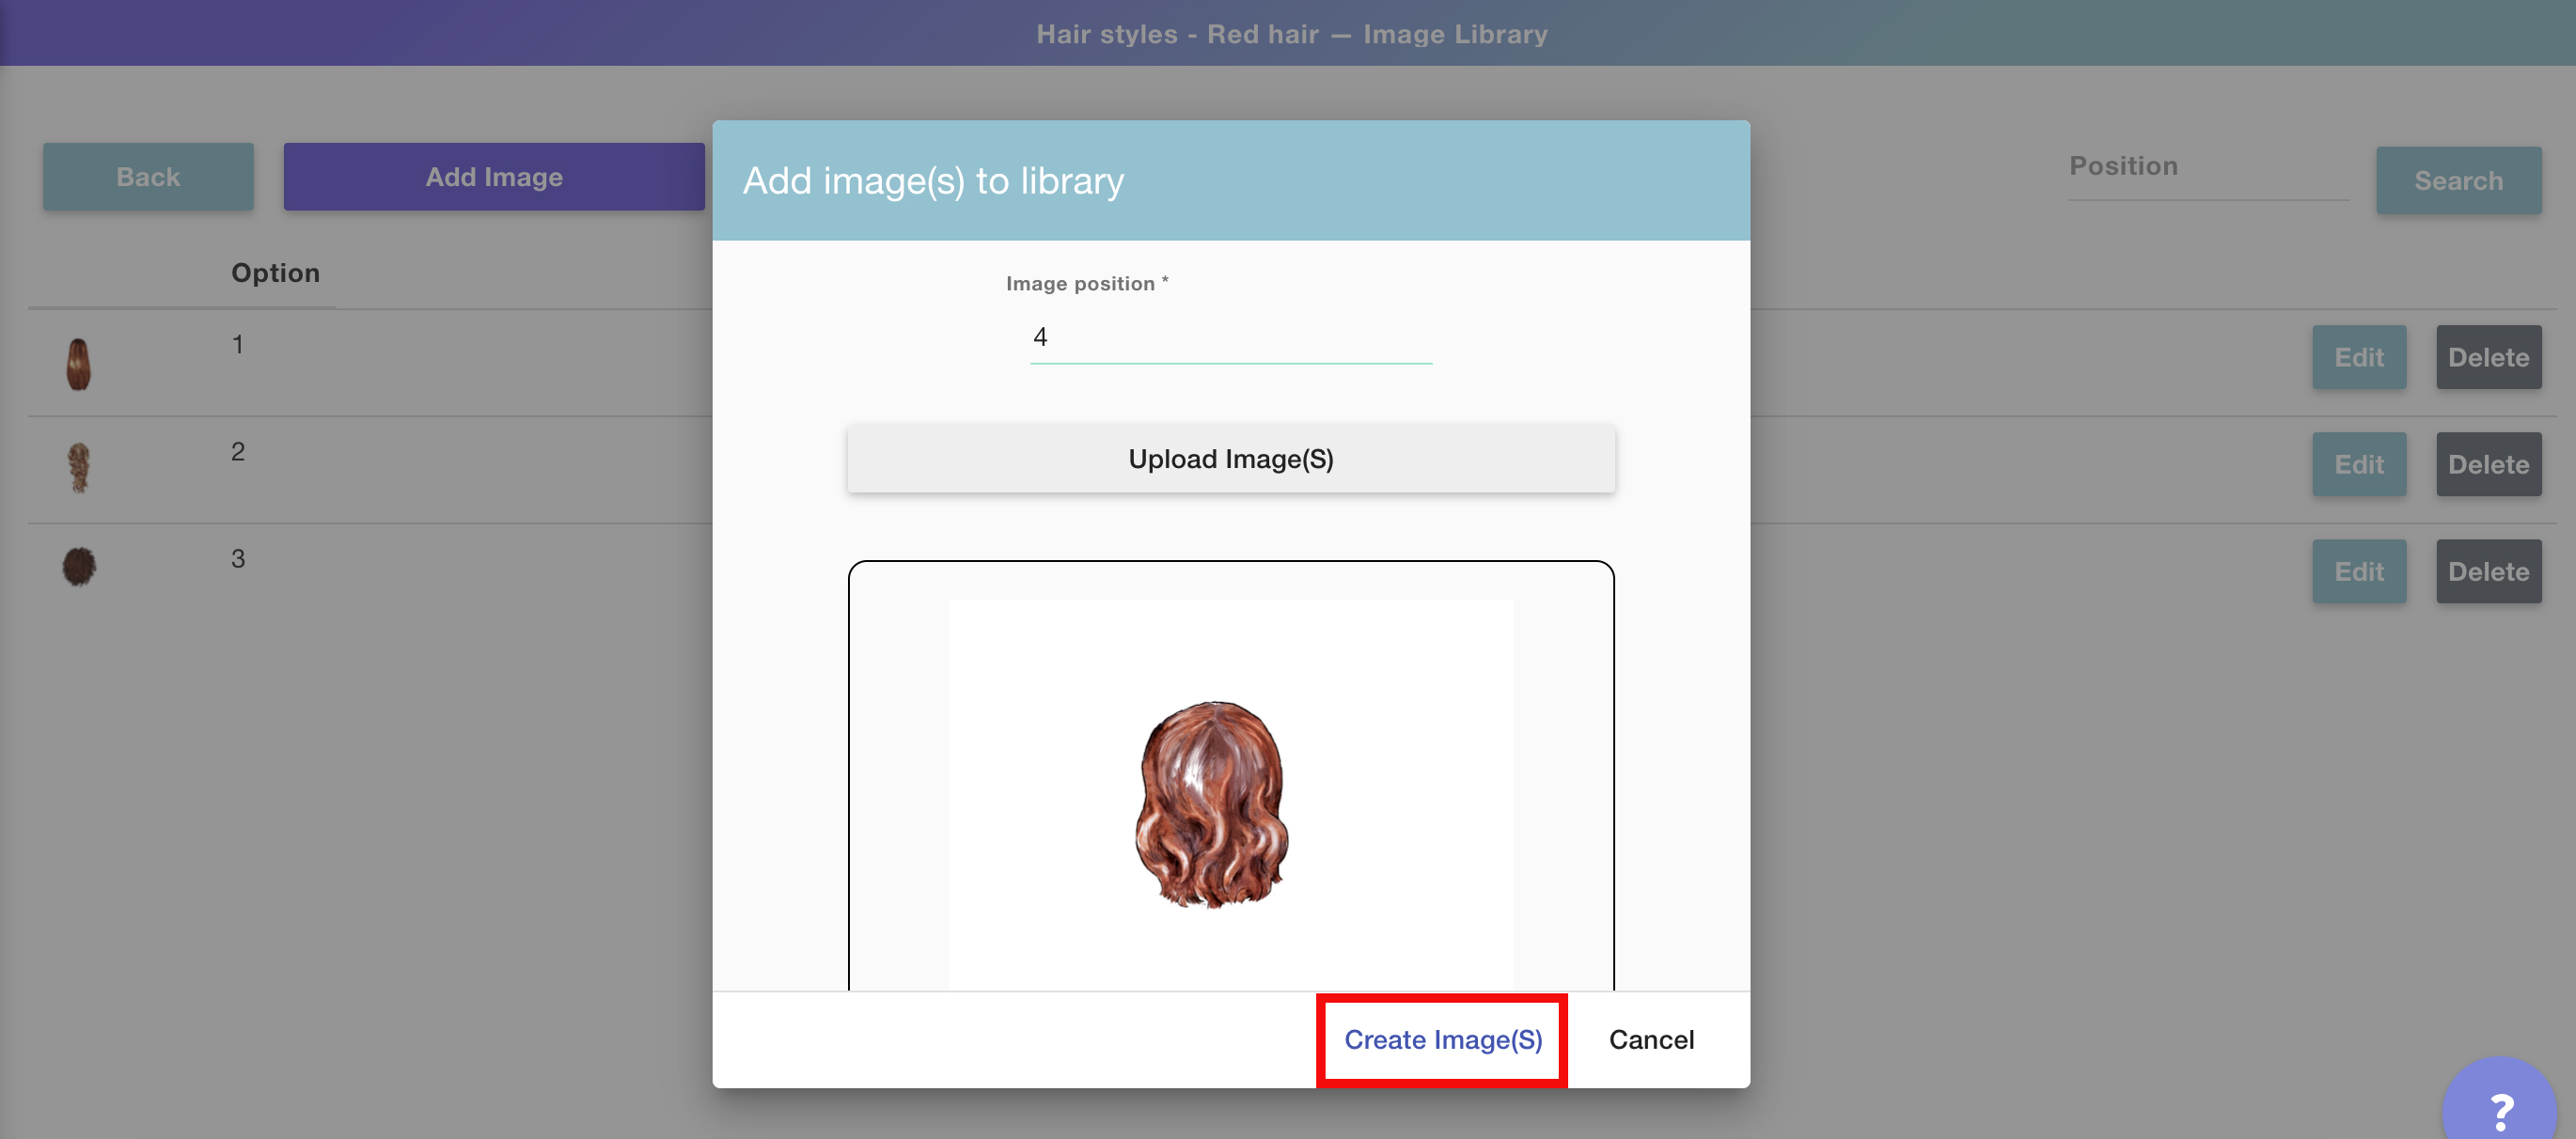
5. Once the image, or multiple images, are uploaded click Create Image(s)
5. You'll now see the first image was saved into the first option, and so on. Repeat this as many times as images you want to add to the library. At the end of the process, you'll have something like this:
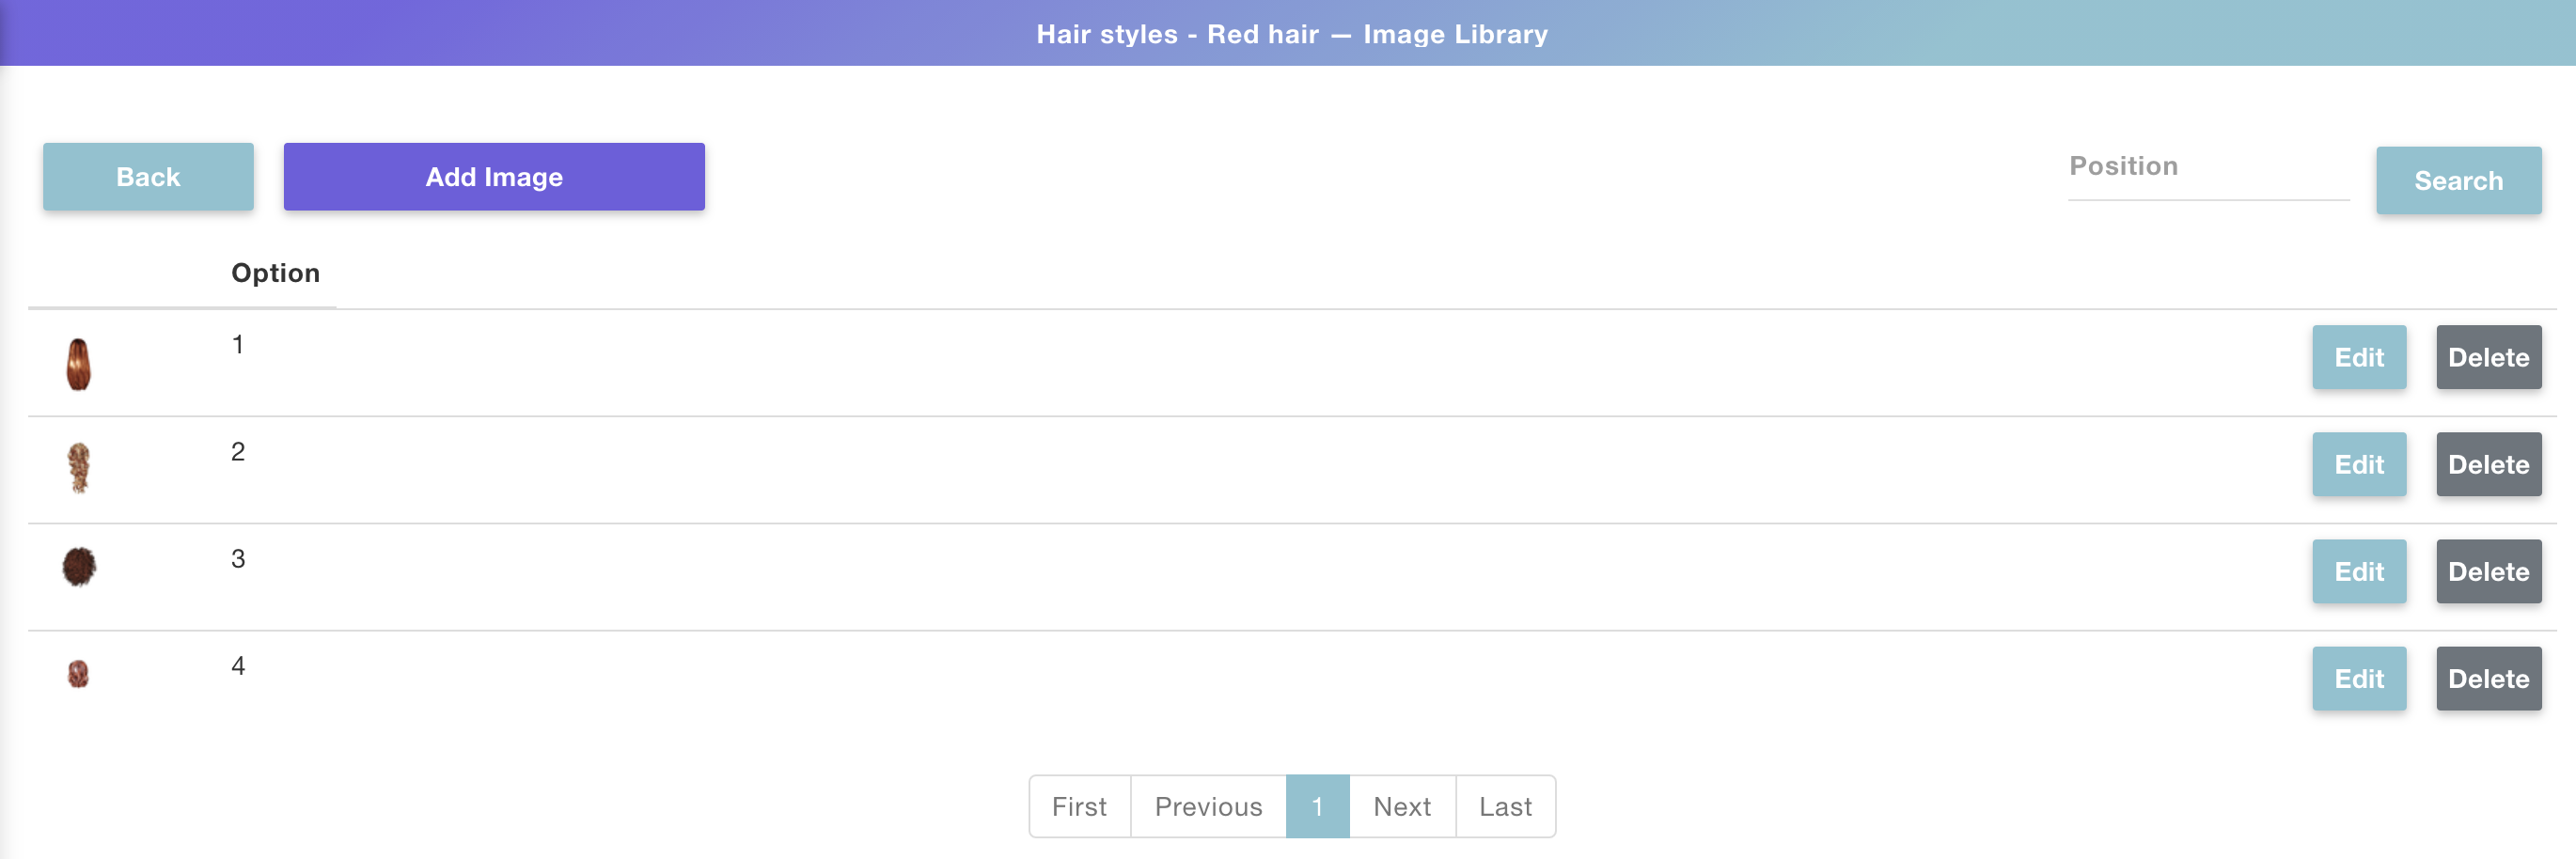
5. You'll now see the first image was saved into the first option, and so on. Repeat this as many times as images you want to add to the library. At the end of the process, you'll have something like this:
Tip:
Every extra image you add will be automatically added to the following option. For example, if you already have 4 options, the next image you'll add will be added by default in image option 5, unless you change that manually of course.
Keep in mind that as you create different categories, the options will be created in order. So if on the first category you have up to 4 image options, then on the second category the image options will start uploading on option 5.
To edit an image category
1. Select any category you want to edit from your category list and click the Edit button

2. Once inside the category, you can either add new images, edit existing images, and delete existing images.
Do you have a Shopify store?
If you have a Shopify store, when creating categories you can create an option set automatically with the conditions already set! Learn how to do this here.
Share
Was this article helpful?
Have more questions? Submit a request