Image Upload
Last updated: April 28, 2026
Image Upload lets shoppers upload their own images — whether it's a pet photo, a logo, a drawing, or anything else they want to add to the design. They’ll see a button that opens a file picker, and once an image is uploaded, it will appear directly in your product preview.
You can configure how the image upload looks and behaves, and decide how it will be used to personalize.
In this article:
Settings you can configure on an Image Upload
When you select Image Upload as the option type, you’ll be able to configure how the upload button behaves and appears in your store.
To configure these, expand the option in your Option Set and scroll through the available settings.
Click any item below to jump directly to it:
🛠 Basic Settings
⚙️ Advanced Settings
Label
Text that appears above the upload image button on your product page (e.g., “Add your photo”).

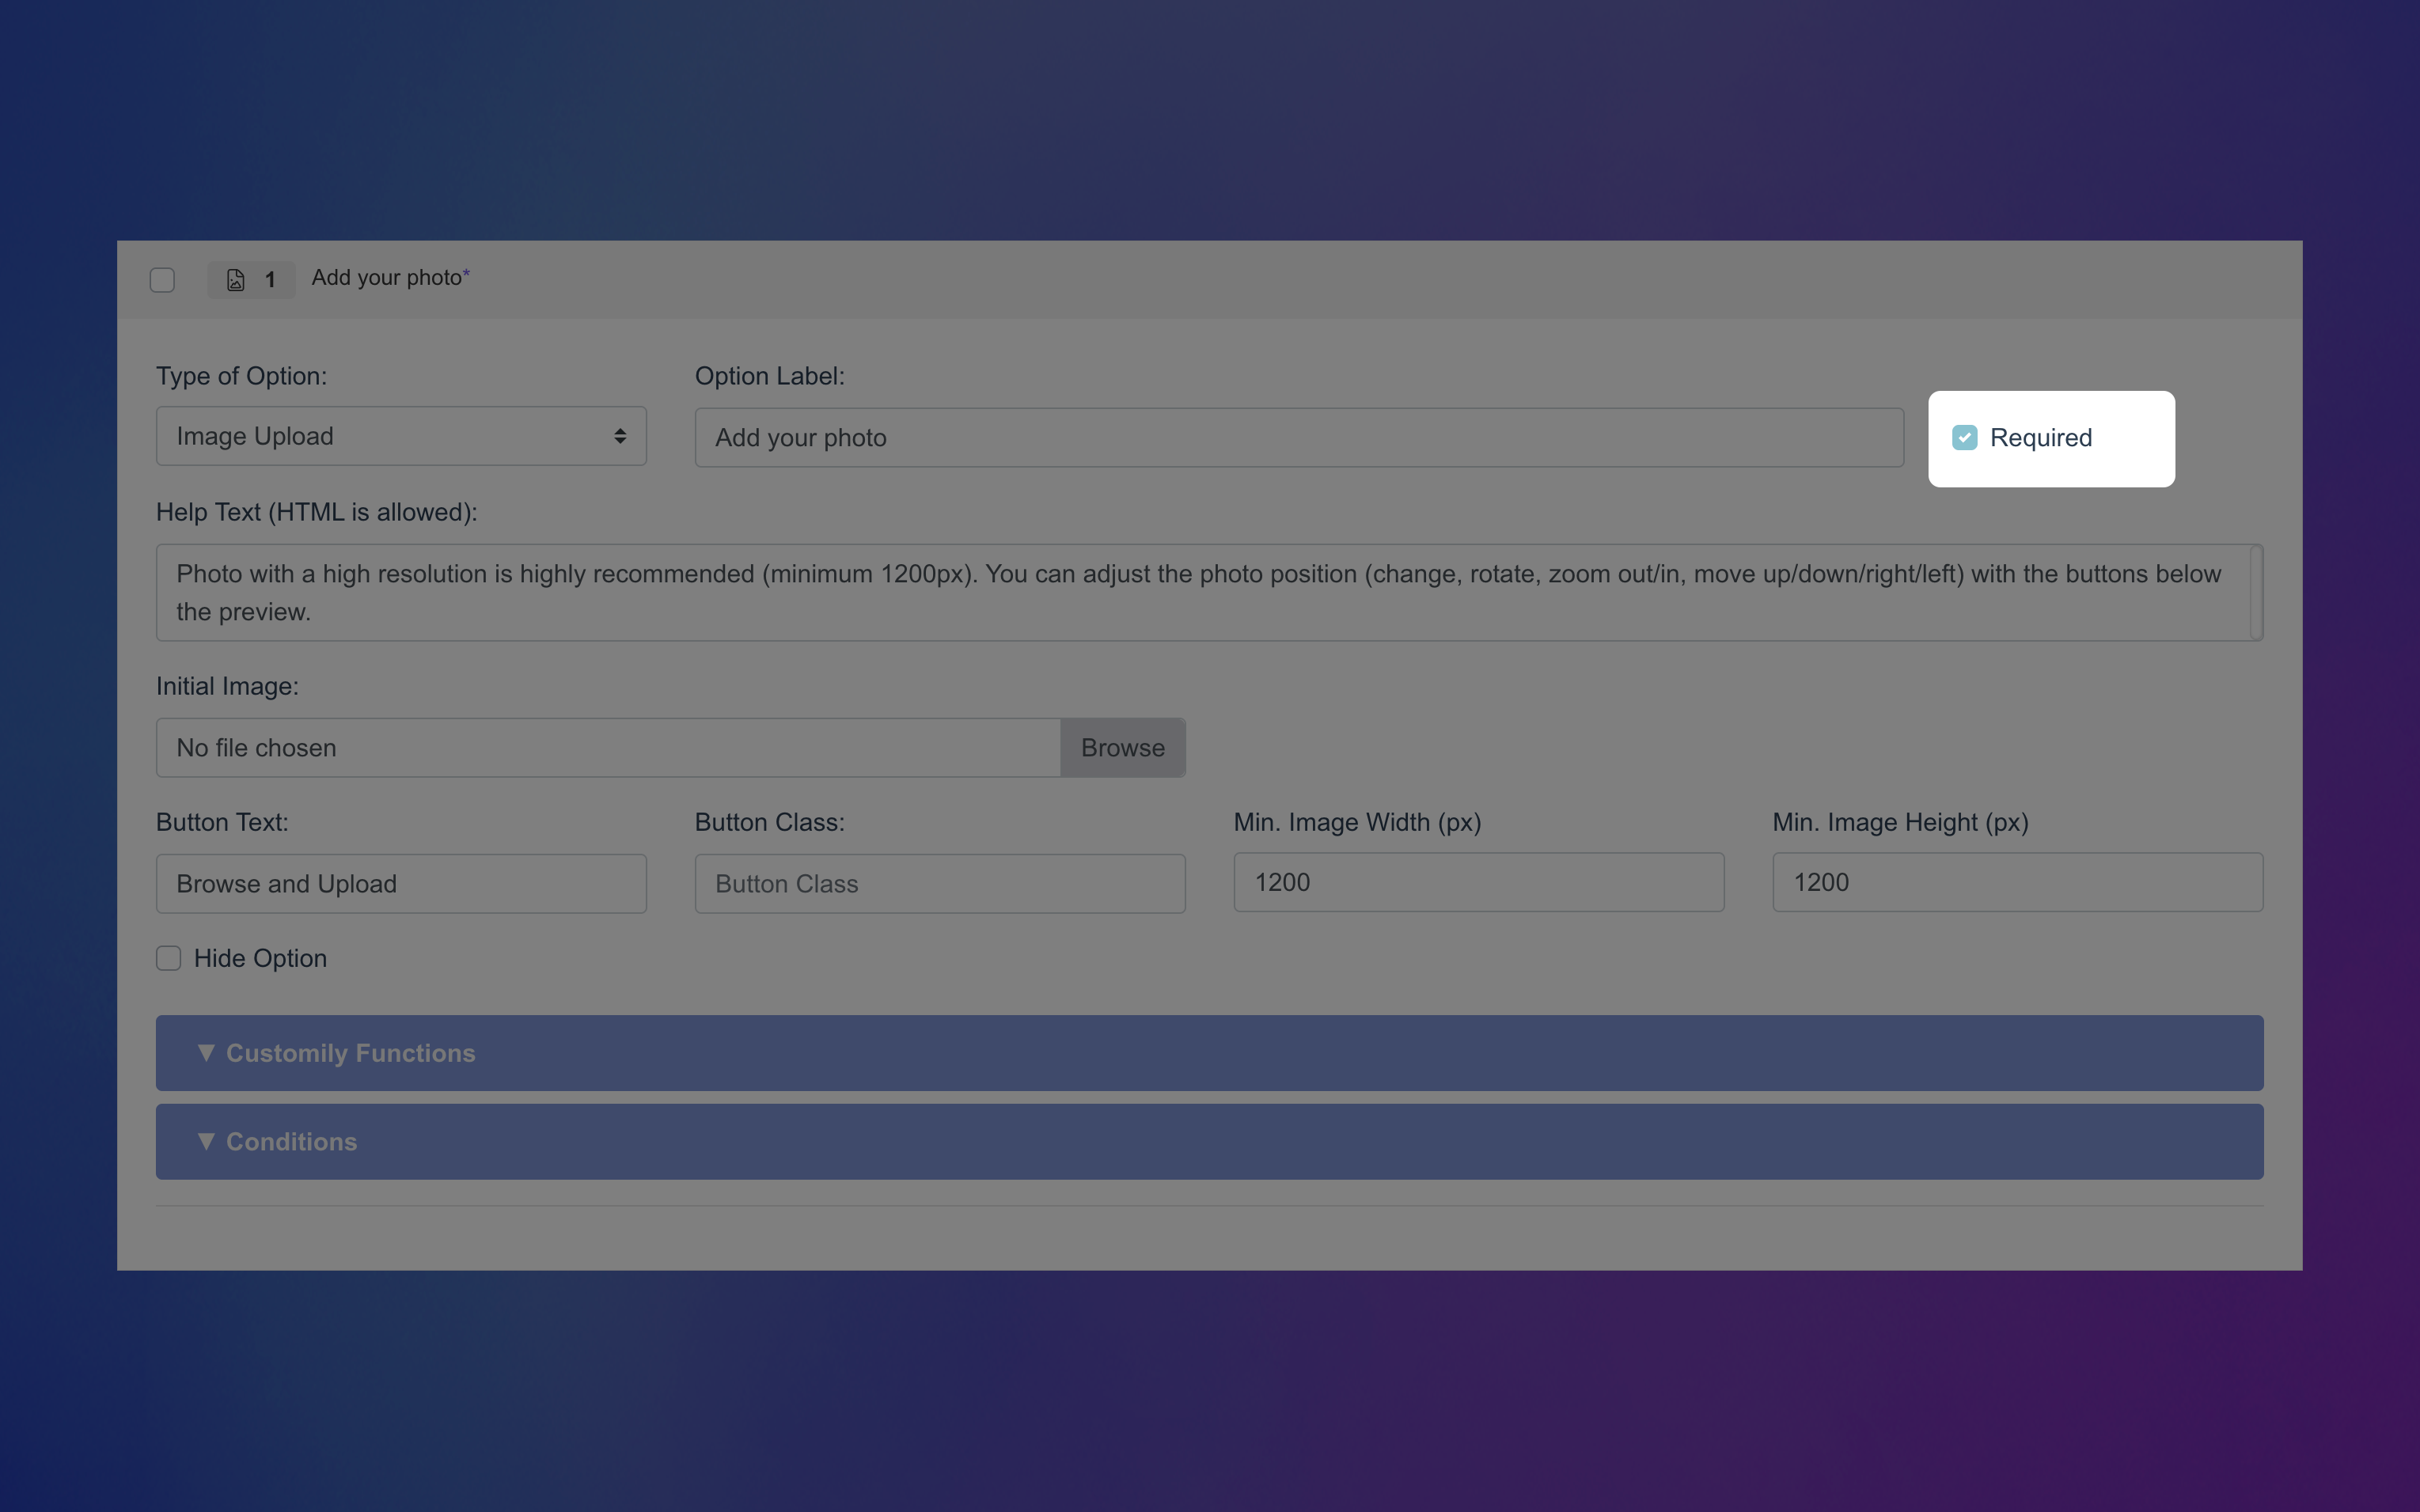
Required
Make this field mandatory by enabling this toggle. If it's required, shoppers won't be able to complete their purchase without uploading an image. An * next to the option label will indicate it is required on the storefront.
Help Text
Add a short description below the upload button to guide your shoppers. Great to give helpful tips so shoppers know what kind of image works best or what to expect, specially if the image will have some filters applied (e.g.,"Upload a clear, front-facing photo for best results.", or "Recommended size: 1000×1000px.").

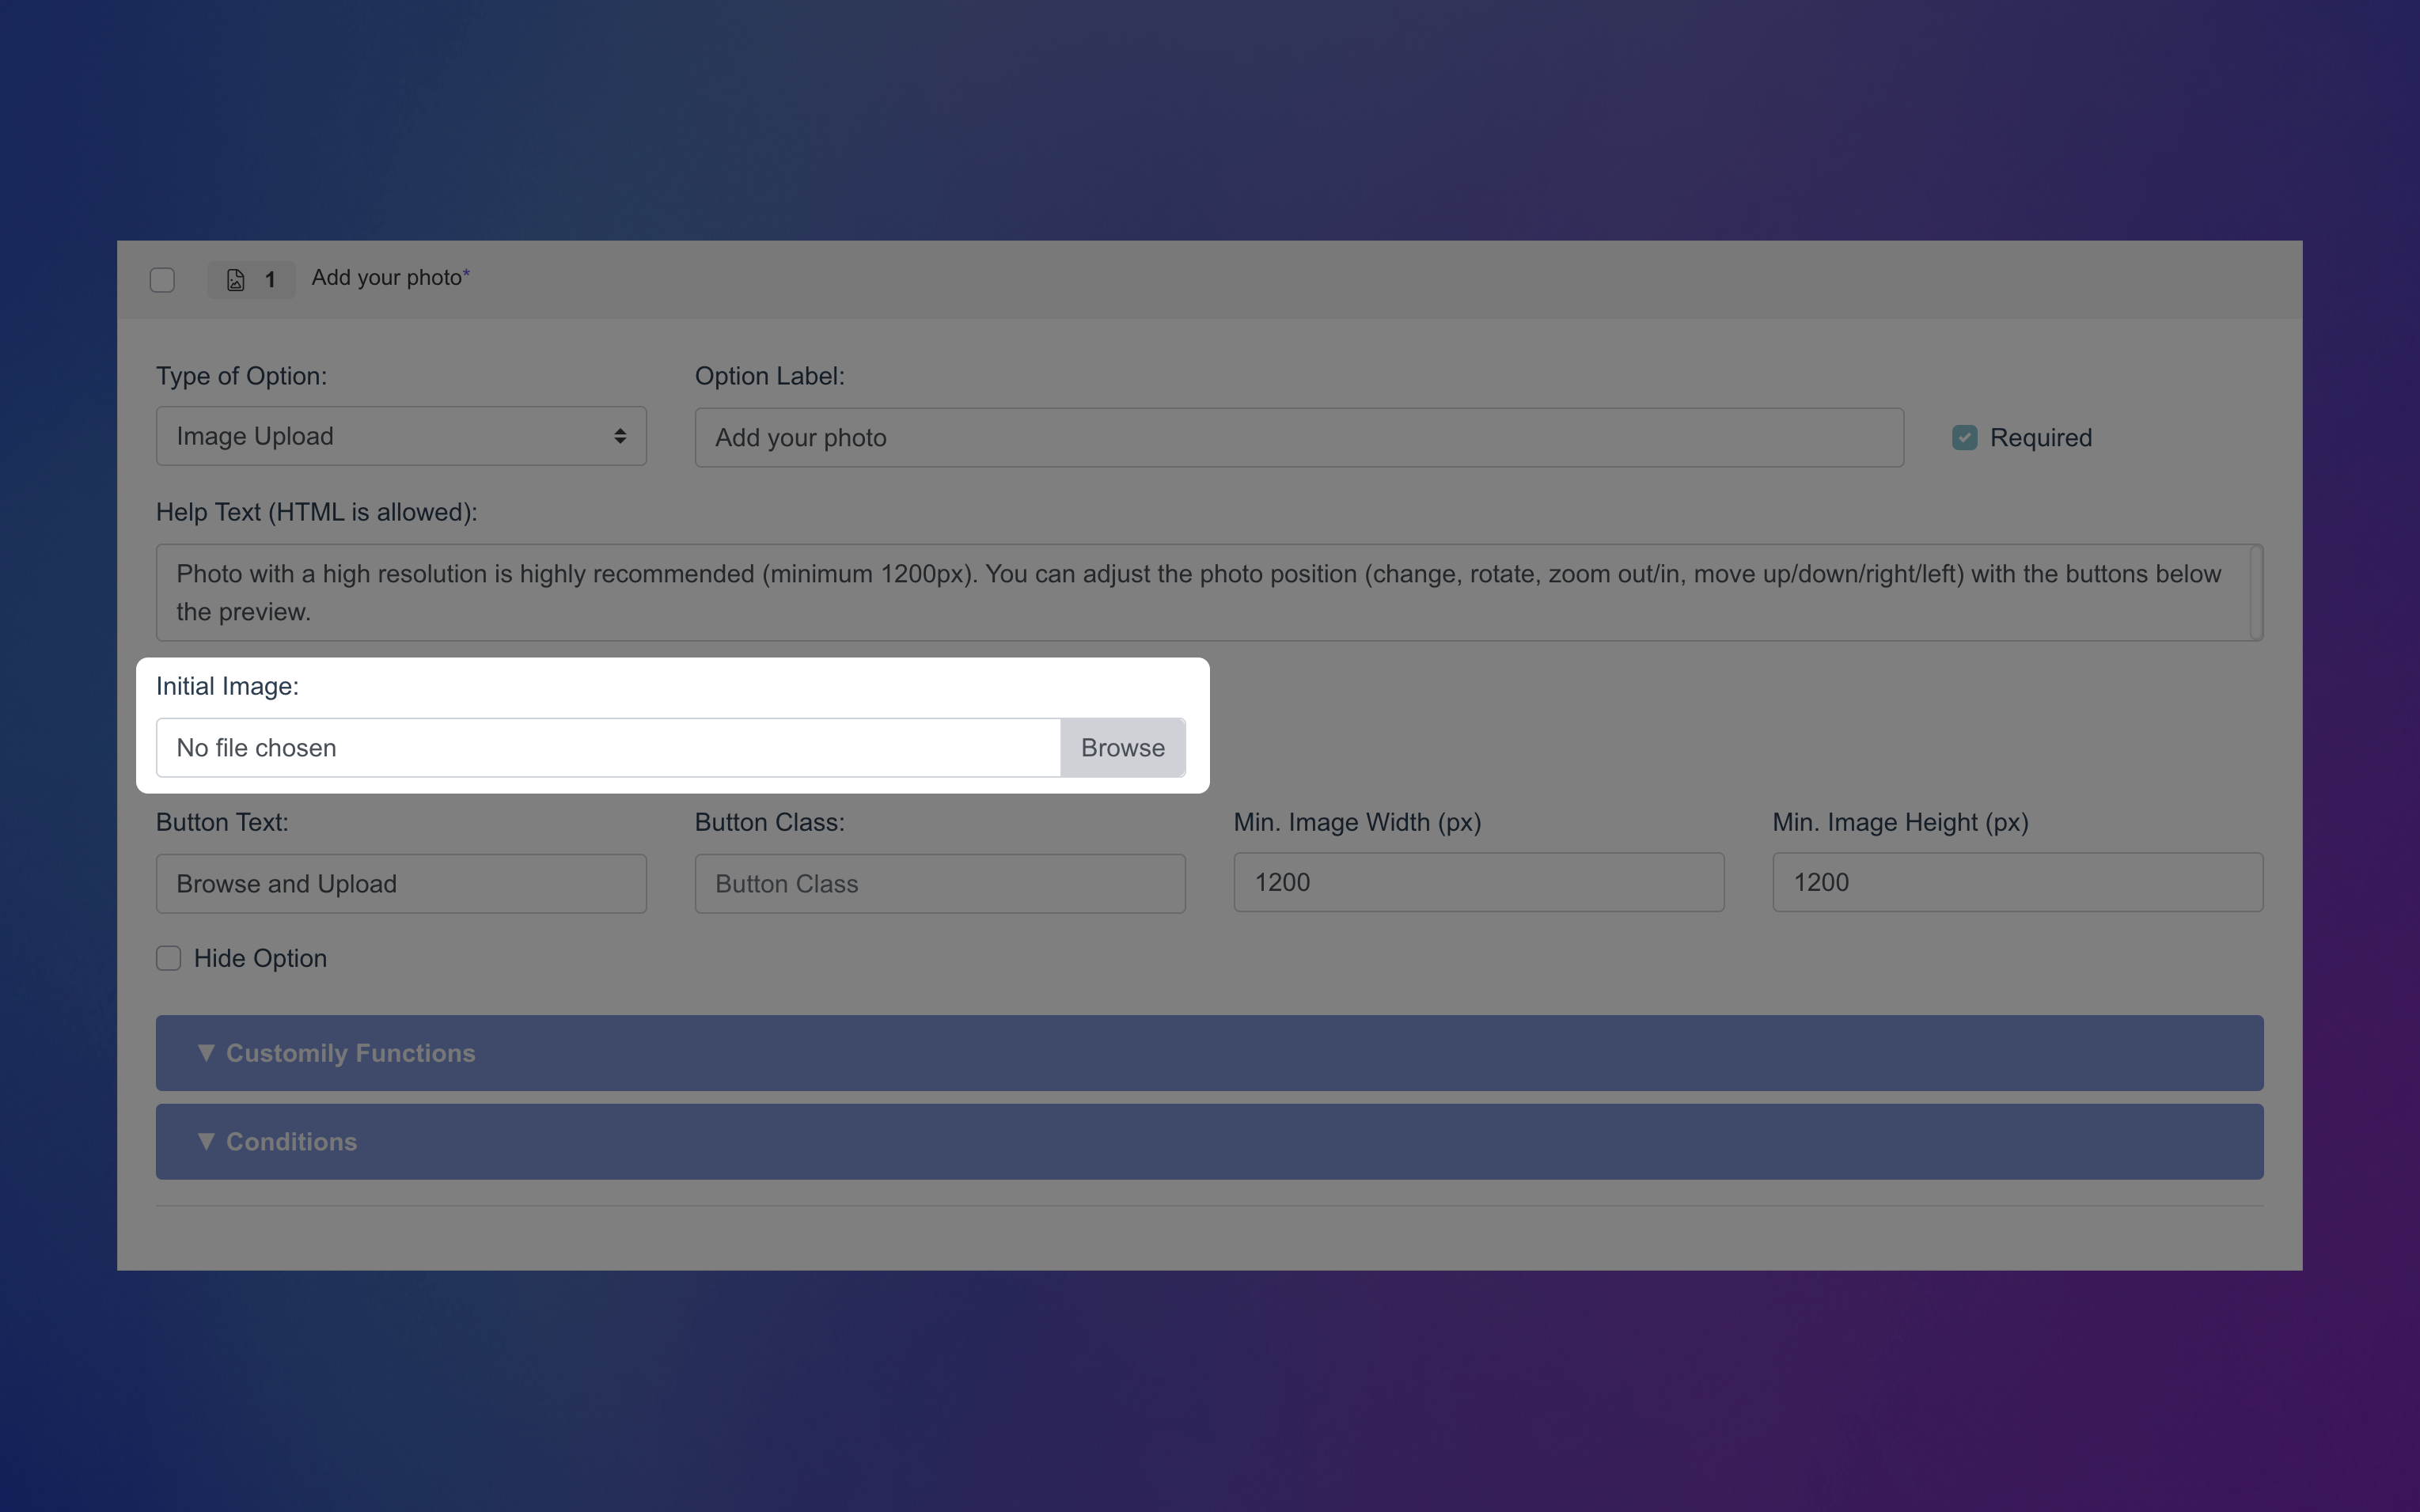
Initial Image
Pre-fill the image placeholder with a specific photo that will show in the preview right away. Great to upload something that says "your image goes here" or an example picture.
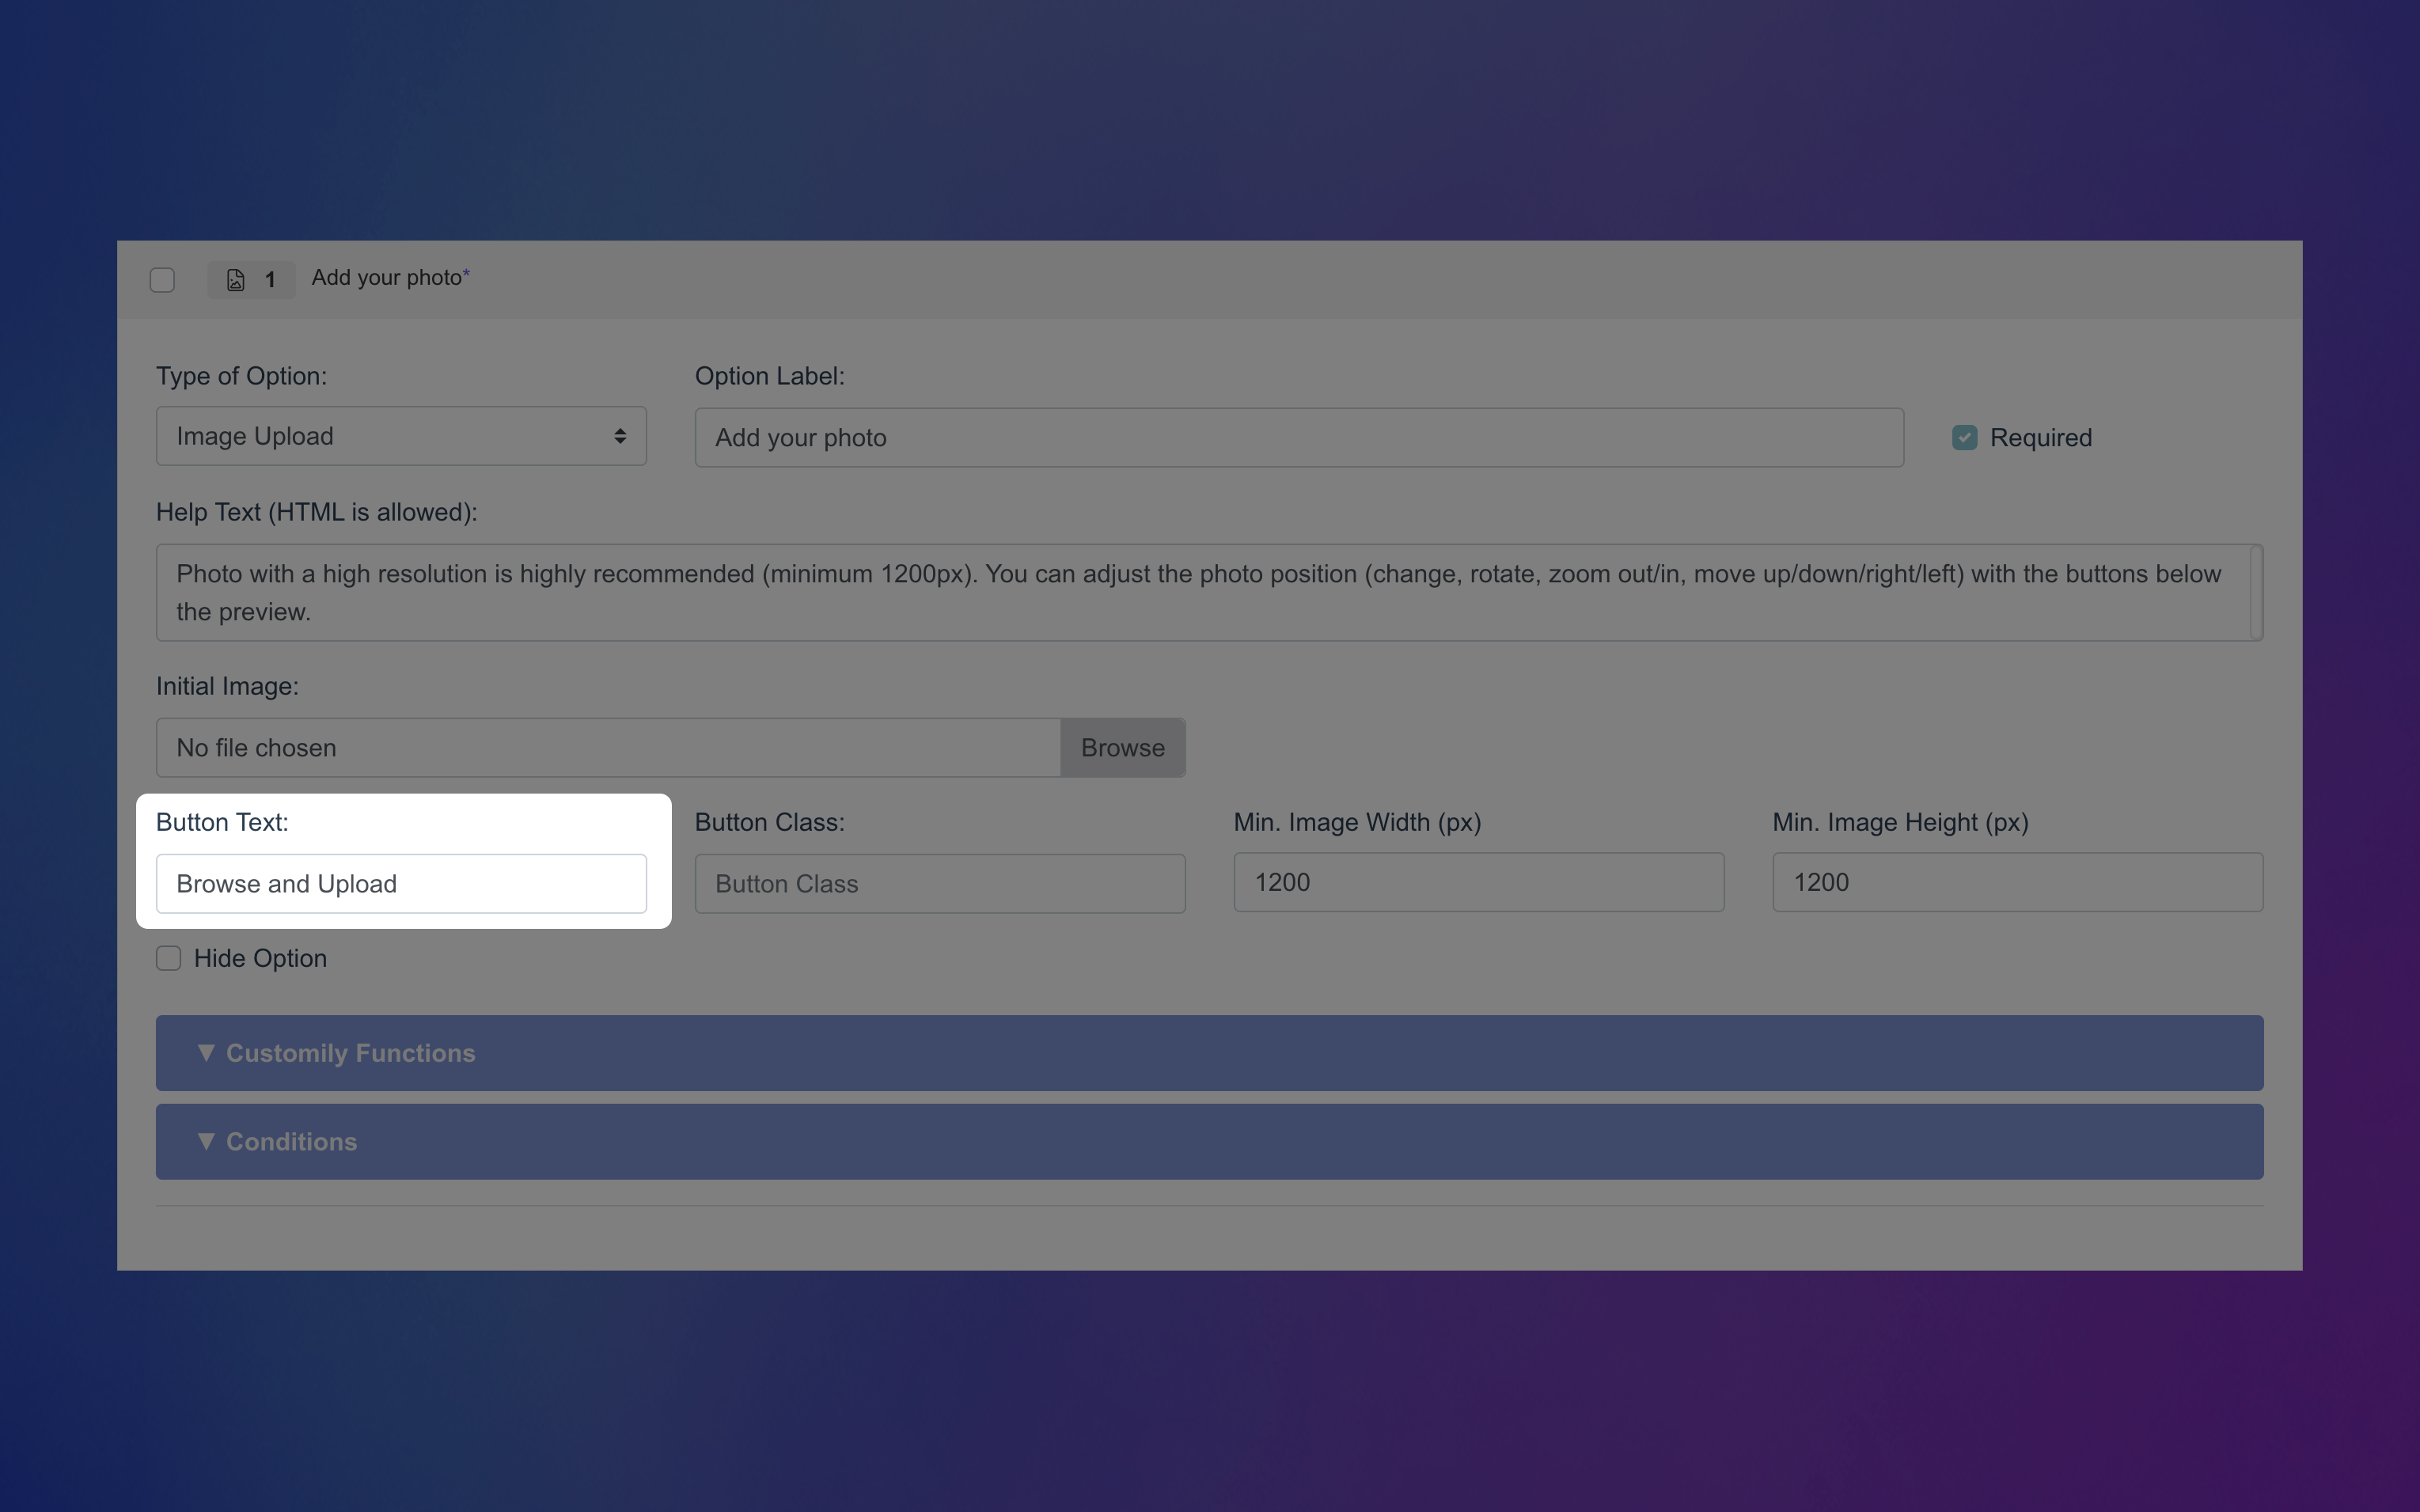
Button Text
Customize the label on the upload button shown to shoppers. You can use something simple like “Upload” or “Browse,” or tailor it to match your product — for example, “Add Your Pet’s Photo” or “Upload Your Artwork.”
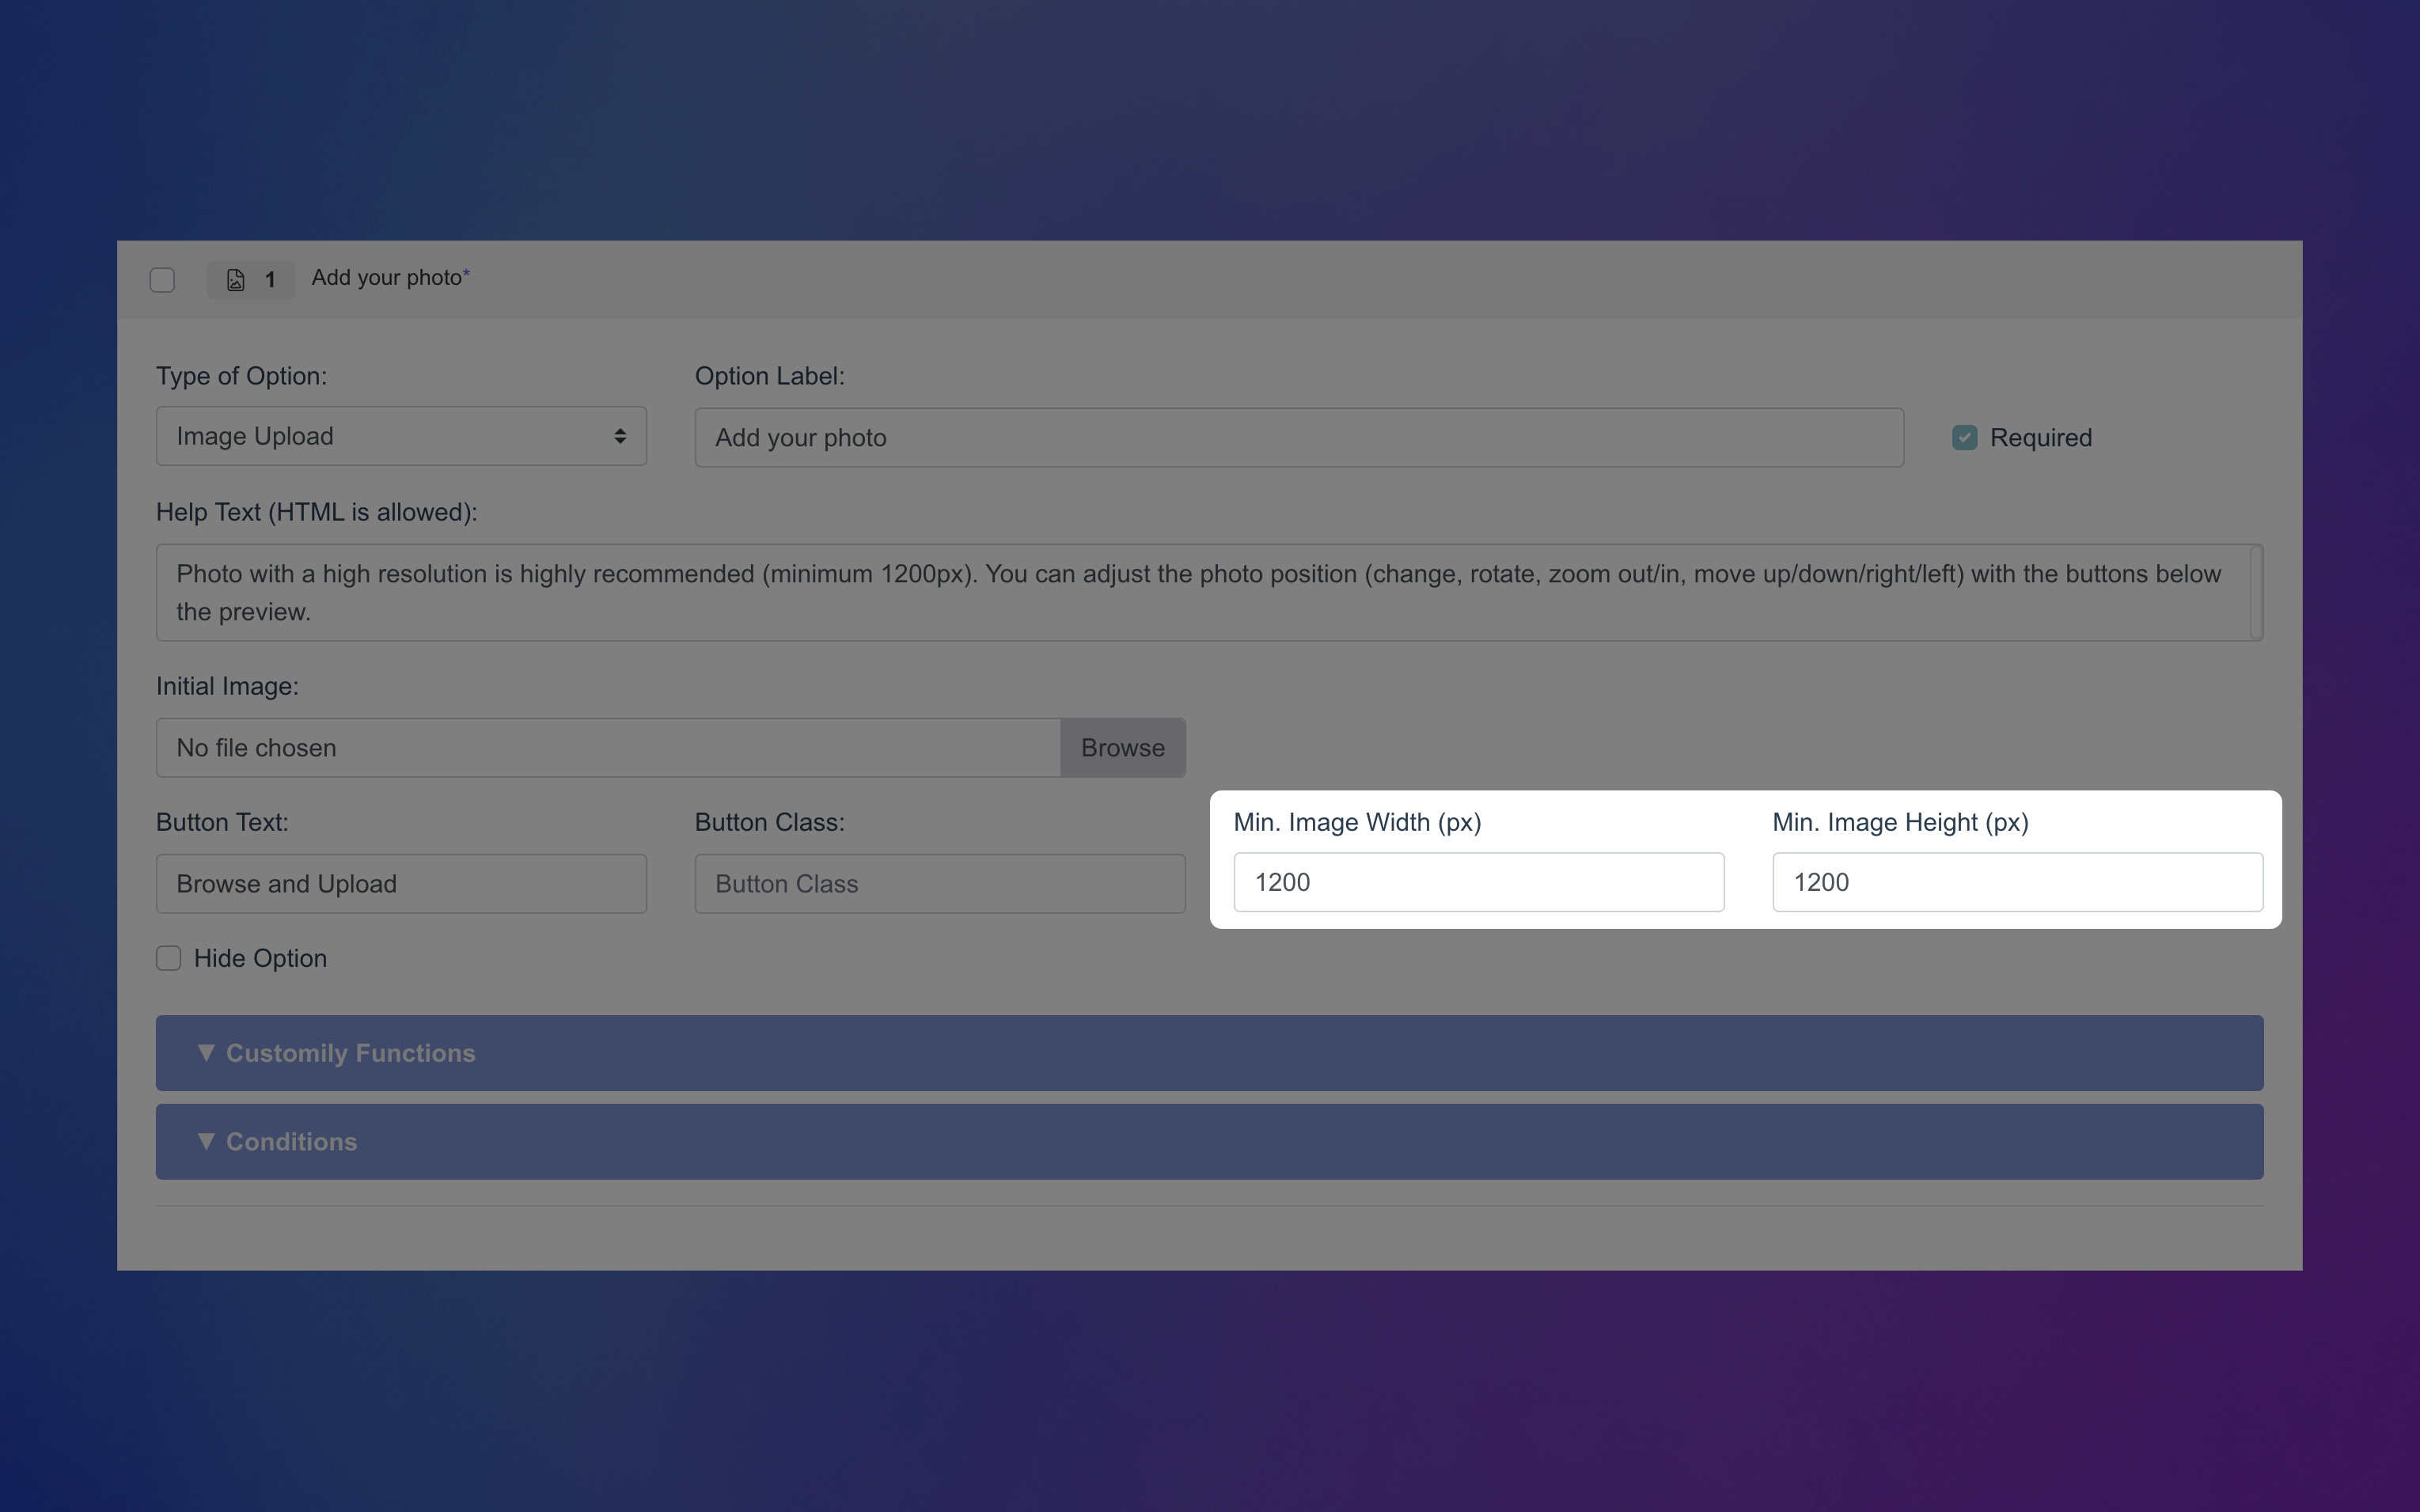
Minimum image size
Set a minimum required width and height (in pixels) for uploaded images. This ensures shoppers only upload high-enough resolution images for your design. If the uploaded image is too small, they’ll see an error and won’t be able to proceed until they upload a larger one.
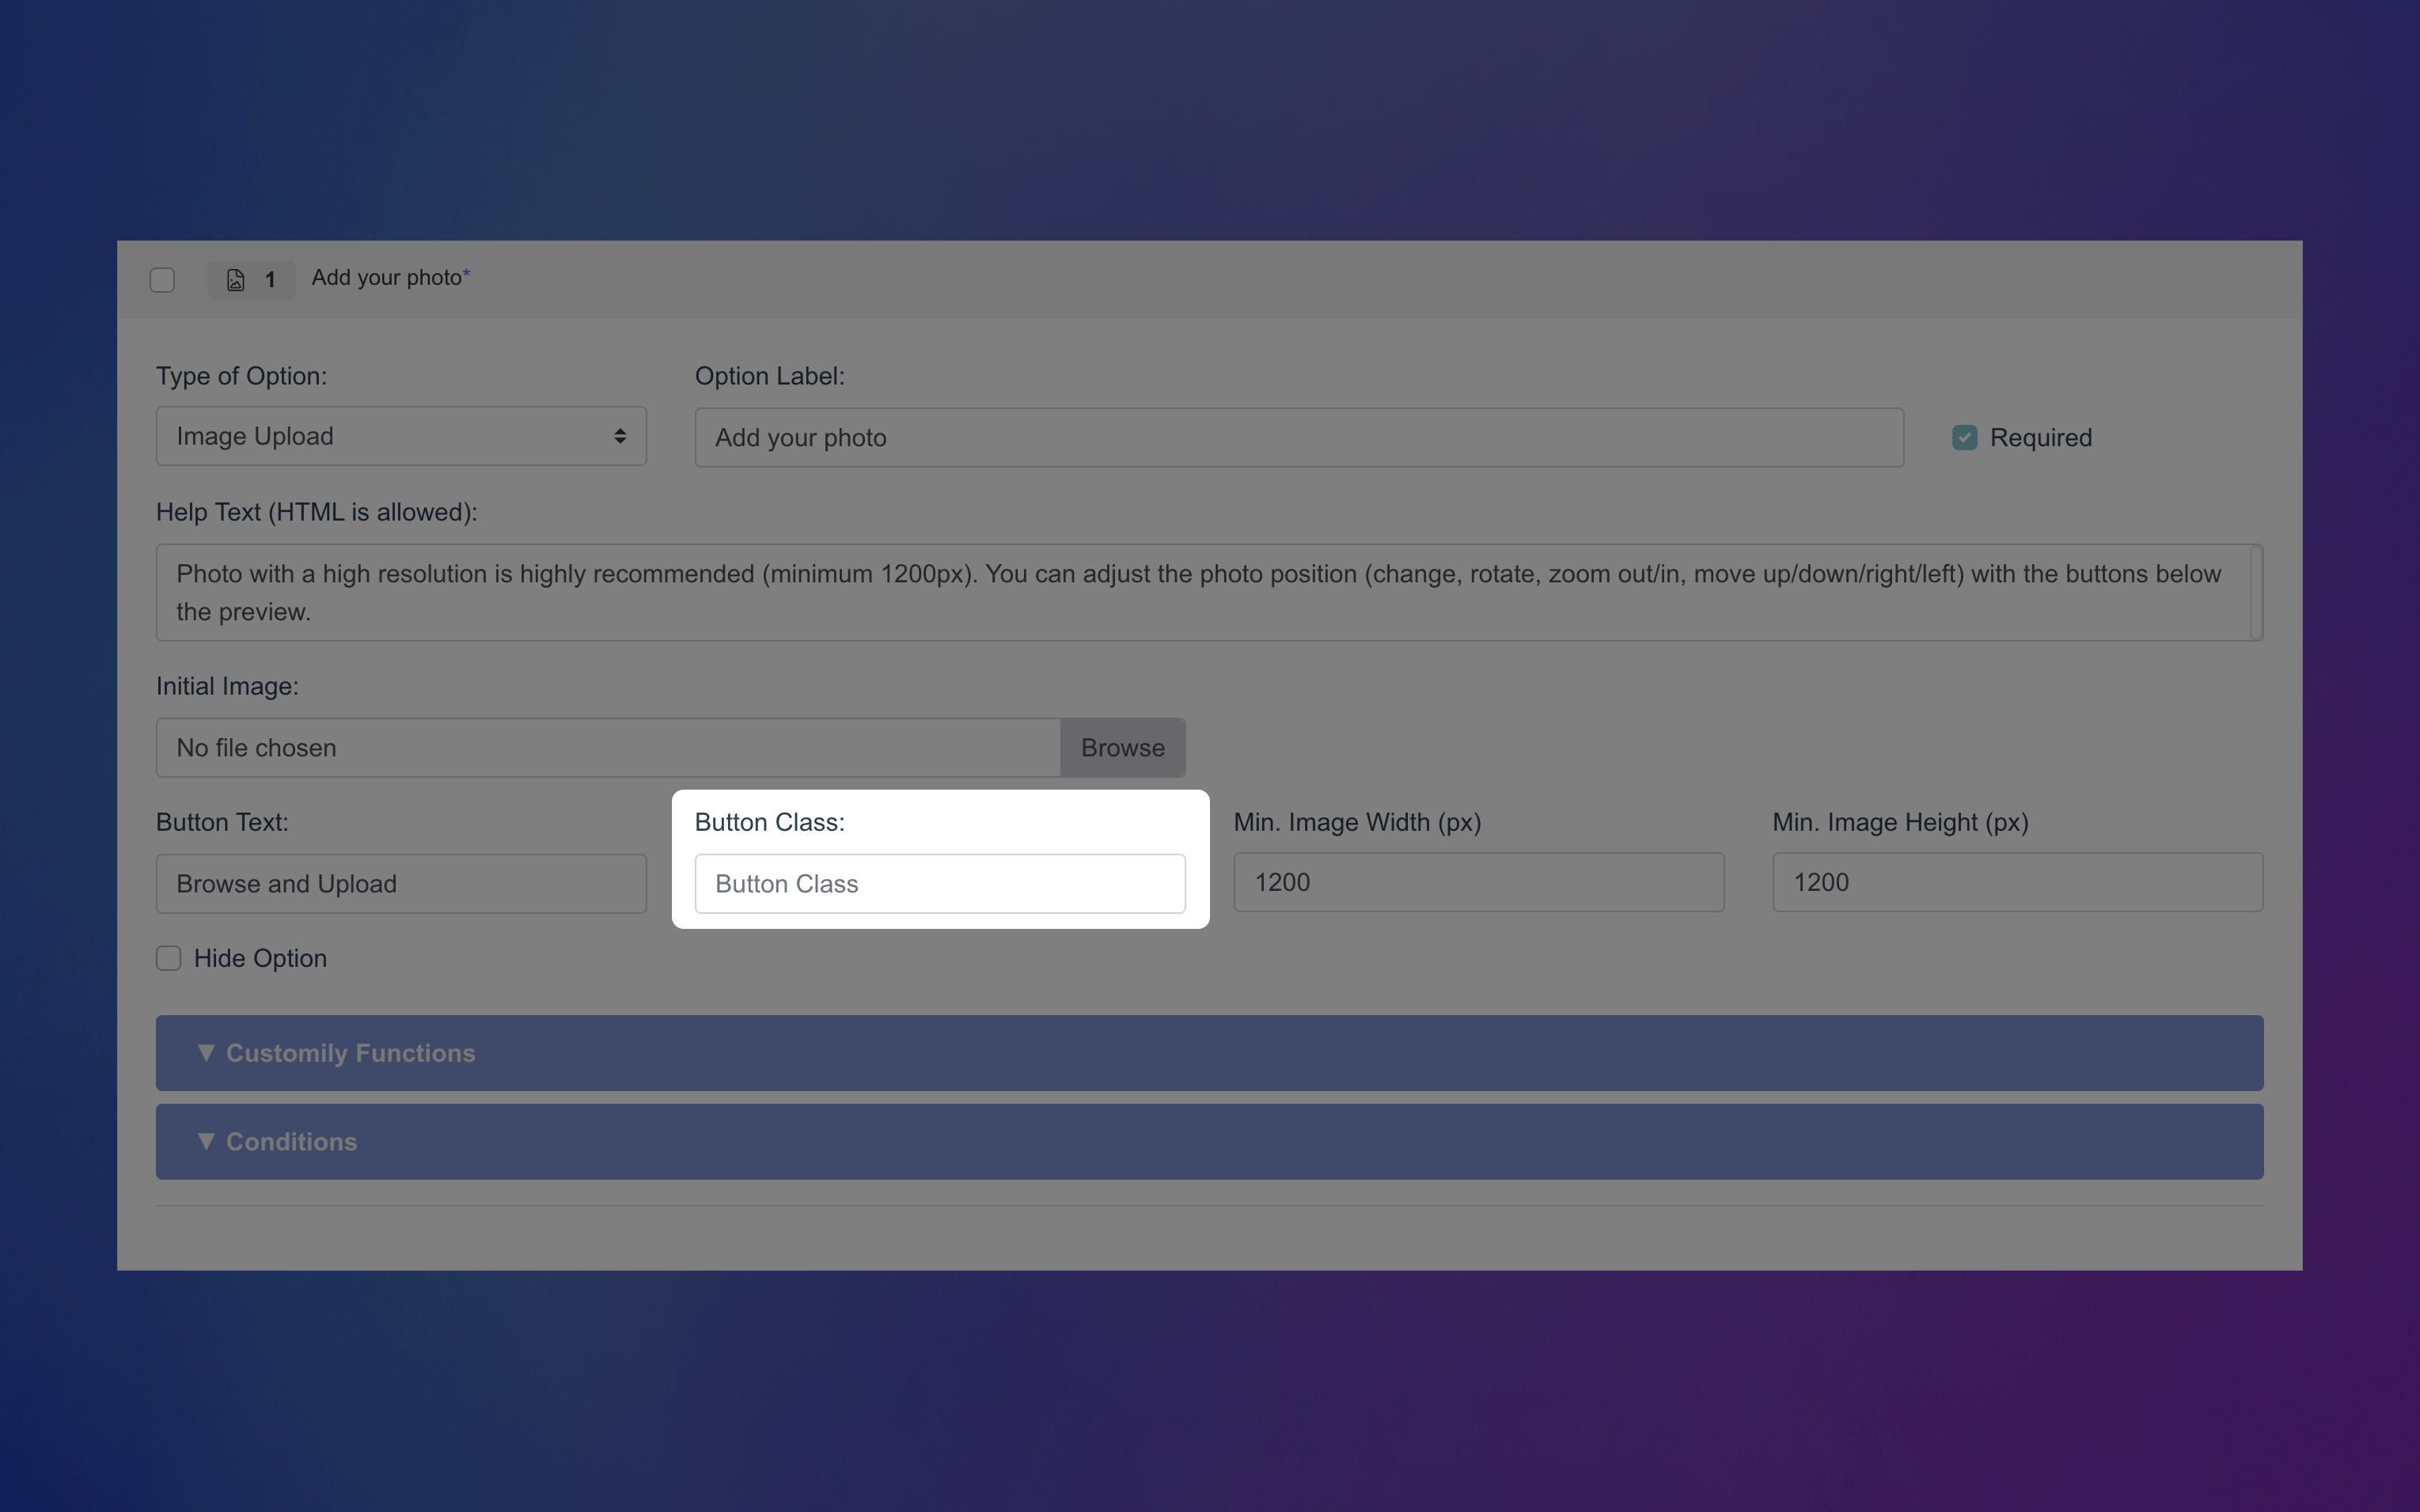
Custom CSS Class (Advanced)
Add a custom class name to target and style this option through CSS in your store’s developer settings.
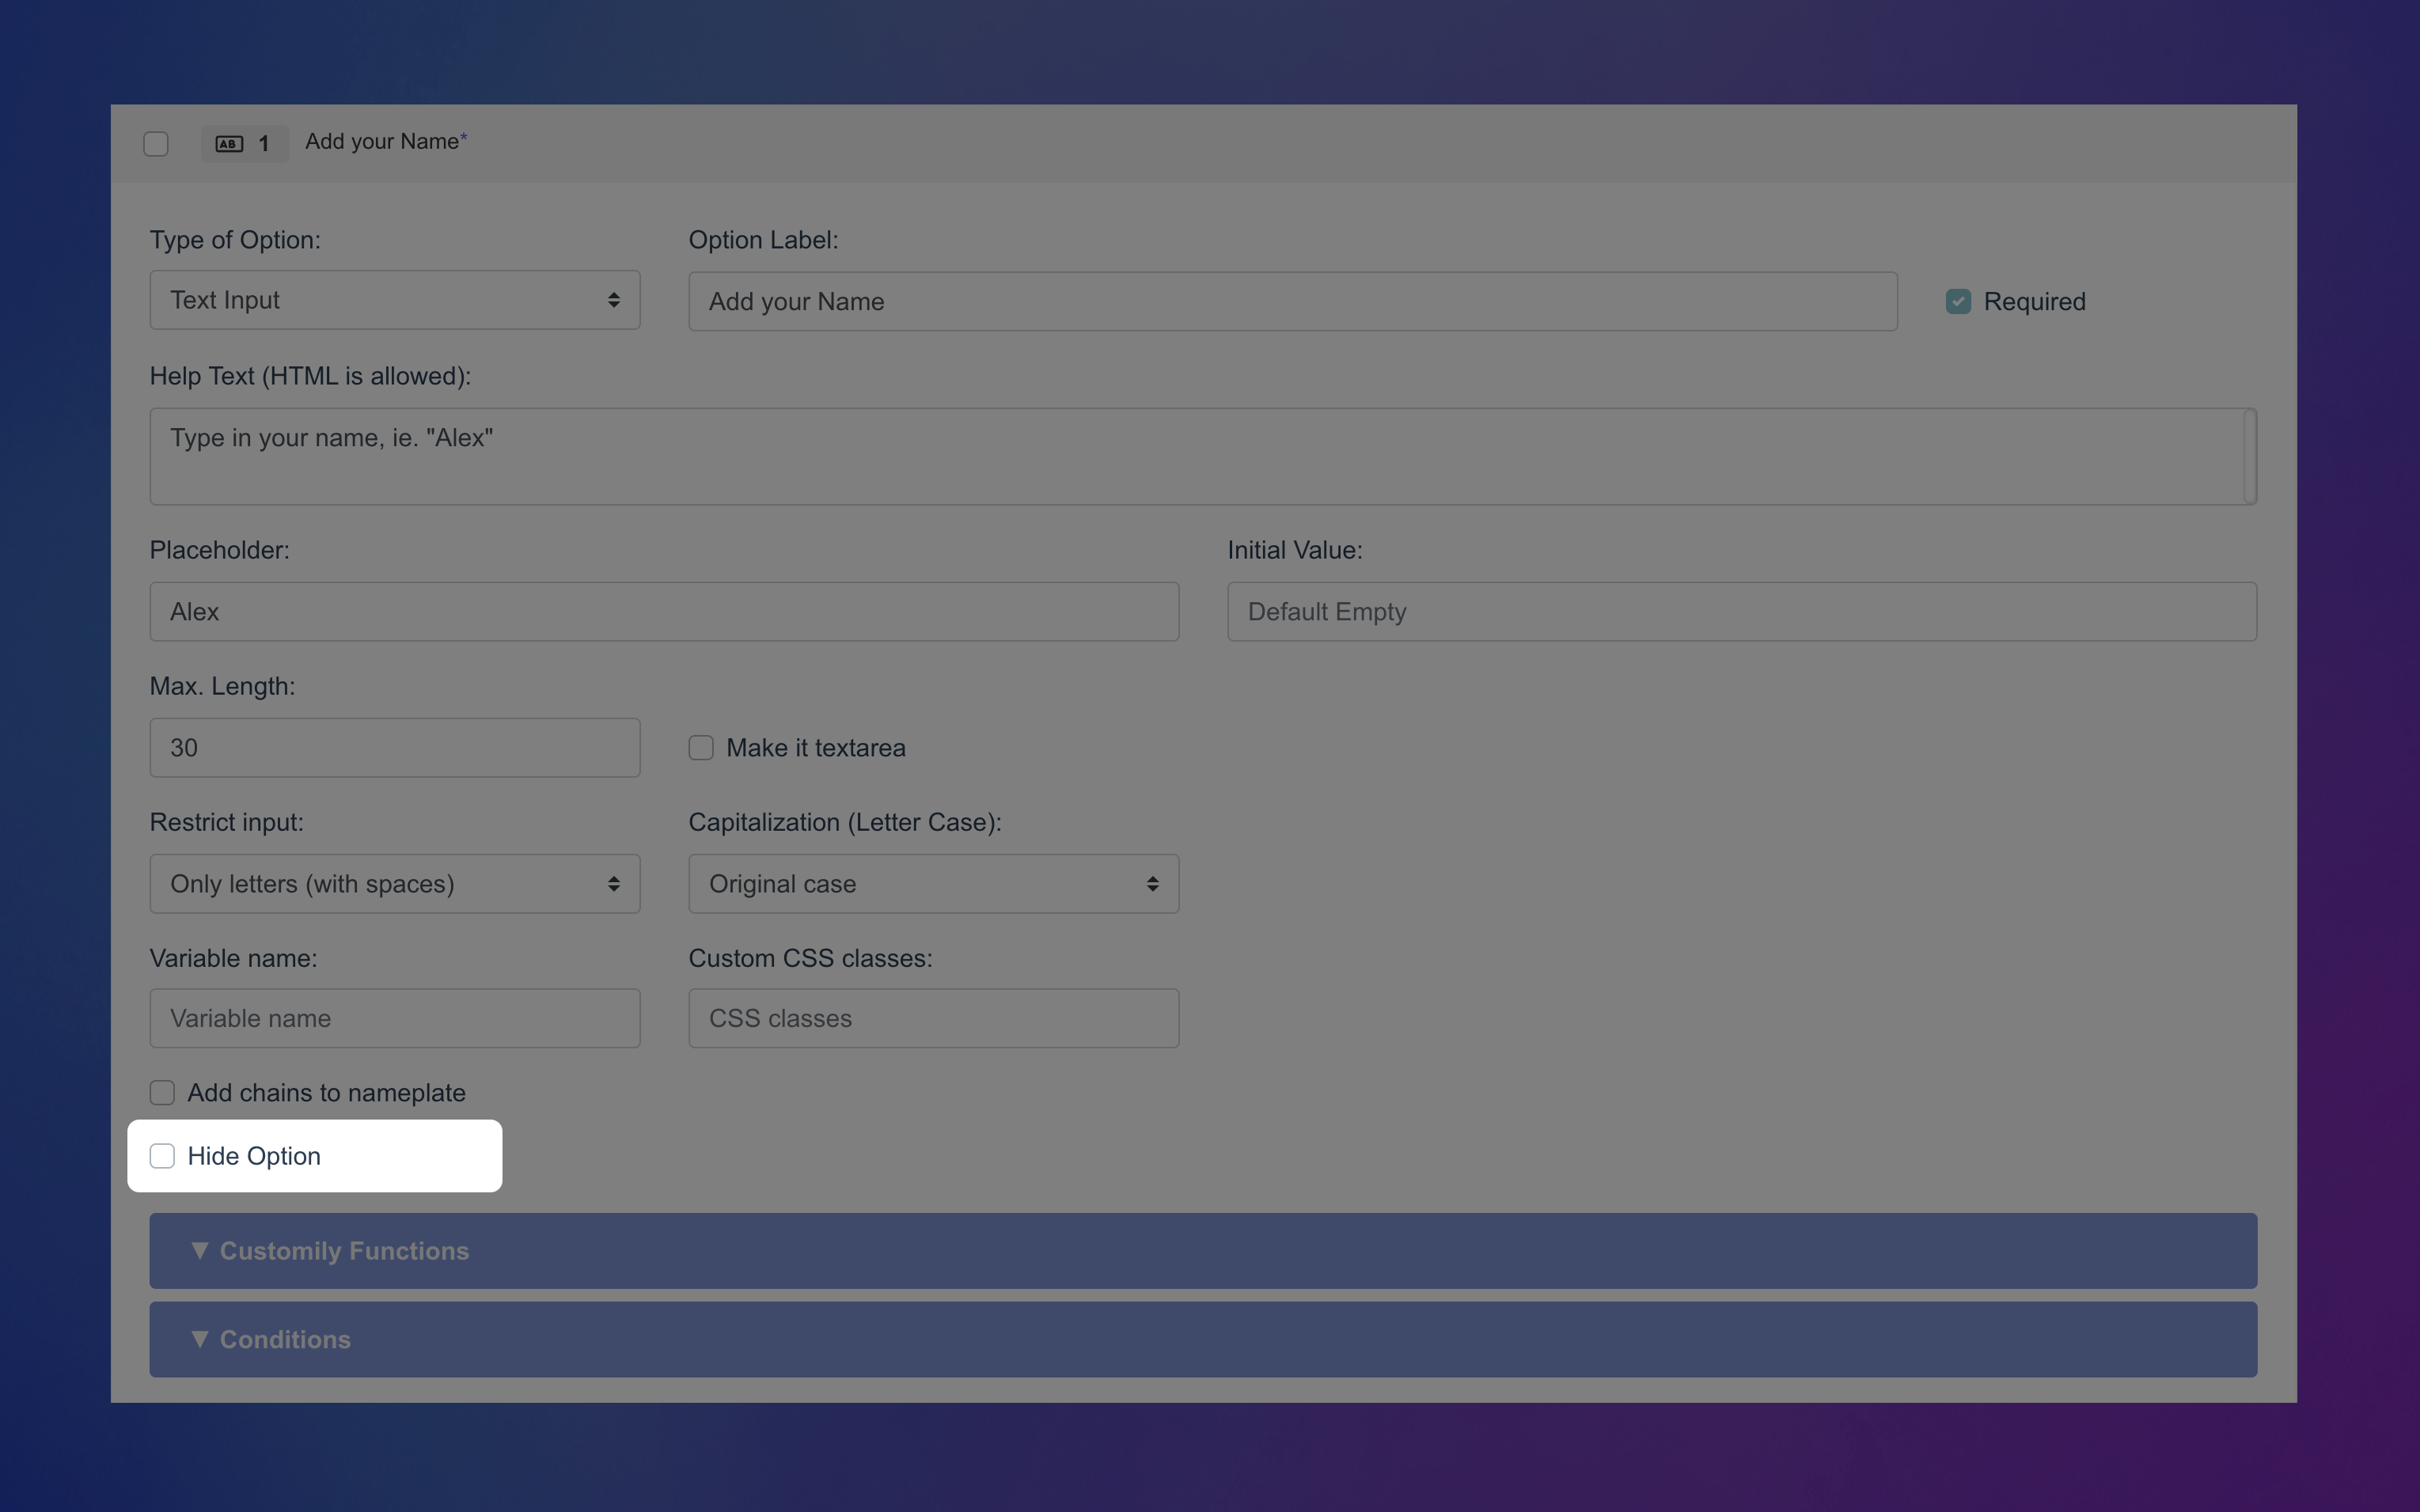
Hide Option (Advanced)
Hide this option completely from shoppers — helpful when you want to include fixed image in the preview without letting customers change it.
How Image Uploads are used to Personalize
Image Uploads let shoppers upload their own images — that image is placed into the design thanks to the function assigned to the image upload option.
You can learn more about functions and how they work here.
Unlike other option types, you don’t need to assign a function manually. The Image Upload option comes with the Image Upload function already defined — it just needs to be linked to a compatible element in your design.
Image Uploads work with the following elements:
Image Placeholder – Displays the uploaded image directly in your design.
Meta Filtered Image – Applies an AI-generated filter to the shopper’s image before displaying it.
Just connect the upload option to the right element in your template, and Customily takes care of the rest!