Creating templates automatically
Last updated: May 4, 2026
This is the fastest and most common way to create templates.
You simply select a product base and apply a design to it, and Customily generates the template for you.
How to create a template automatically
Go to the Start section

Click Create new product
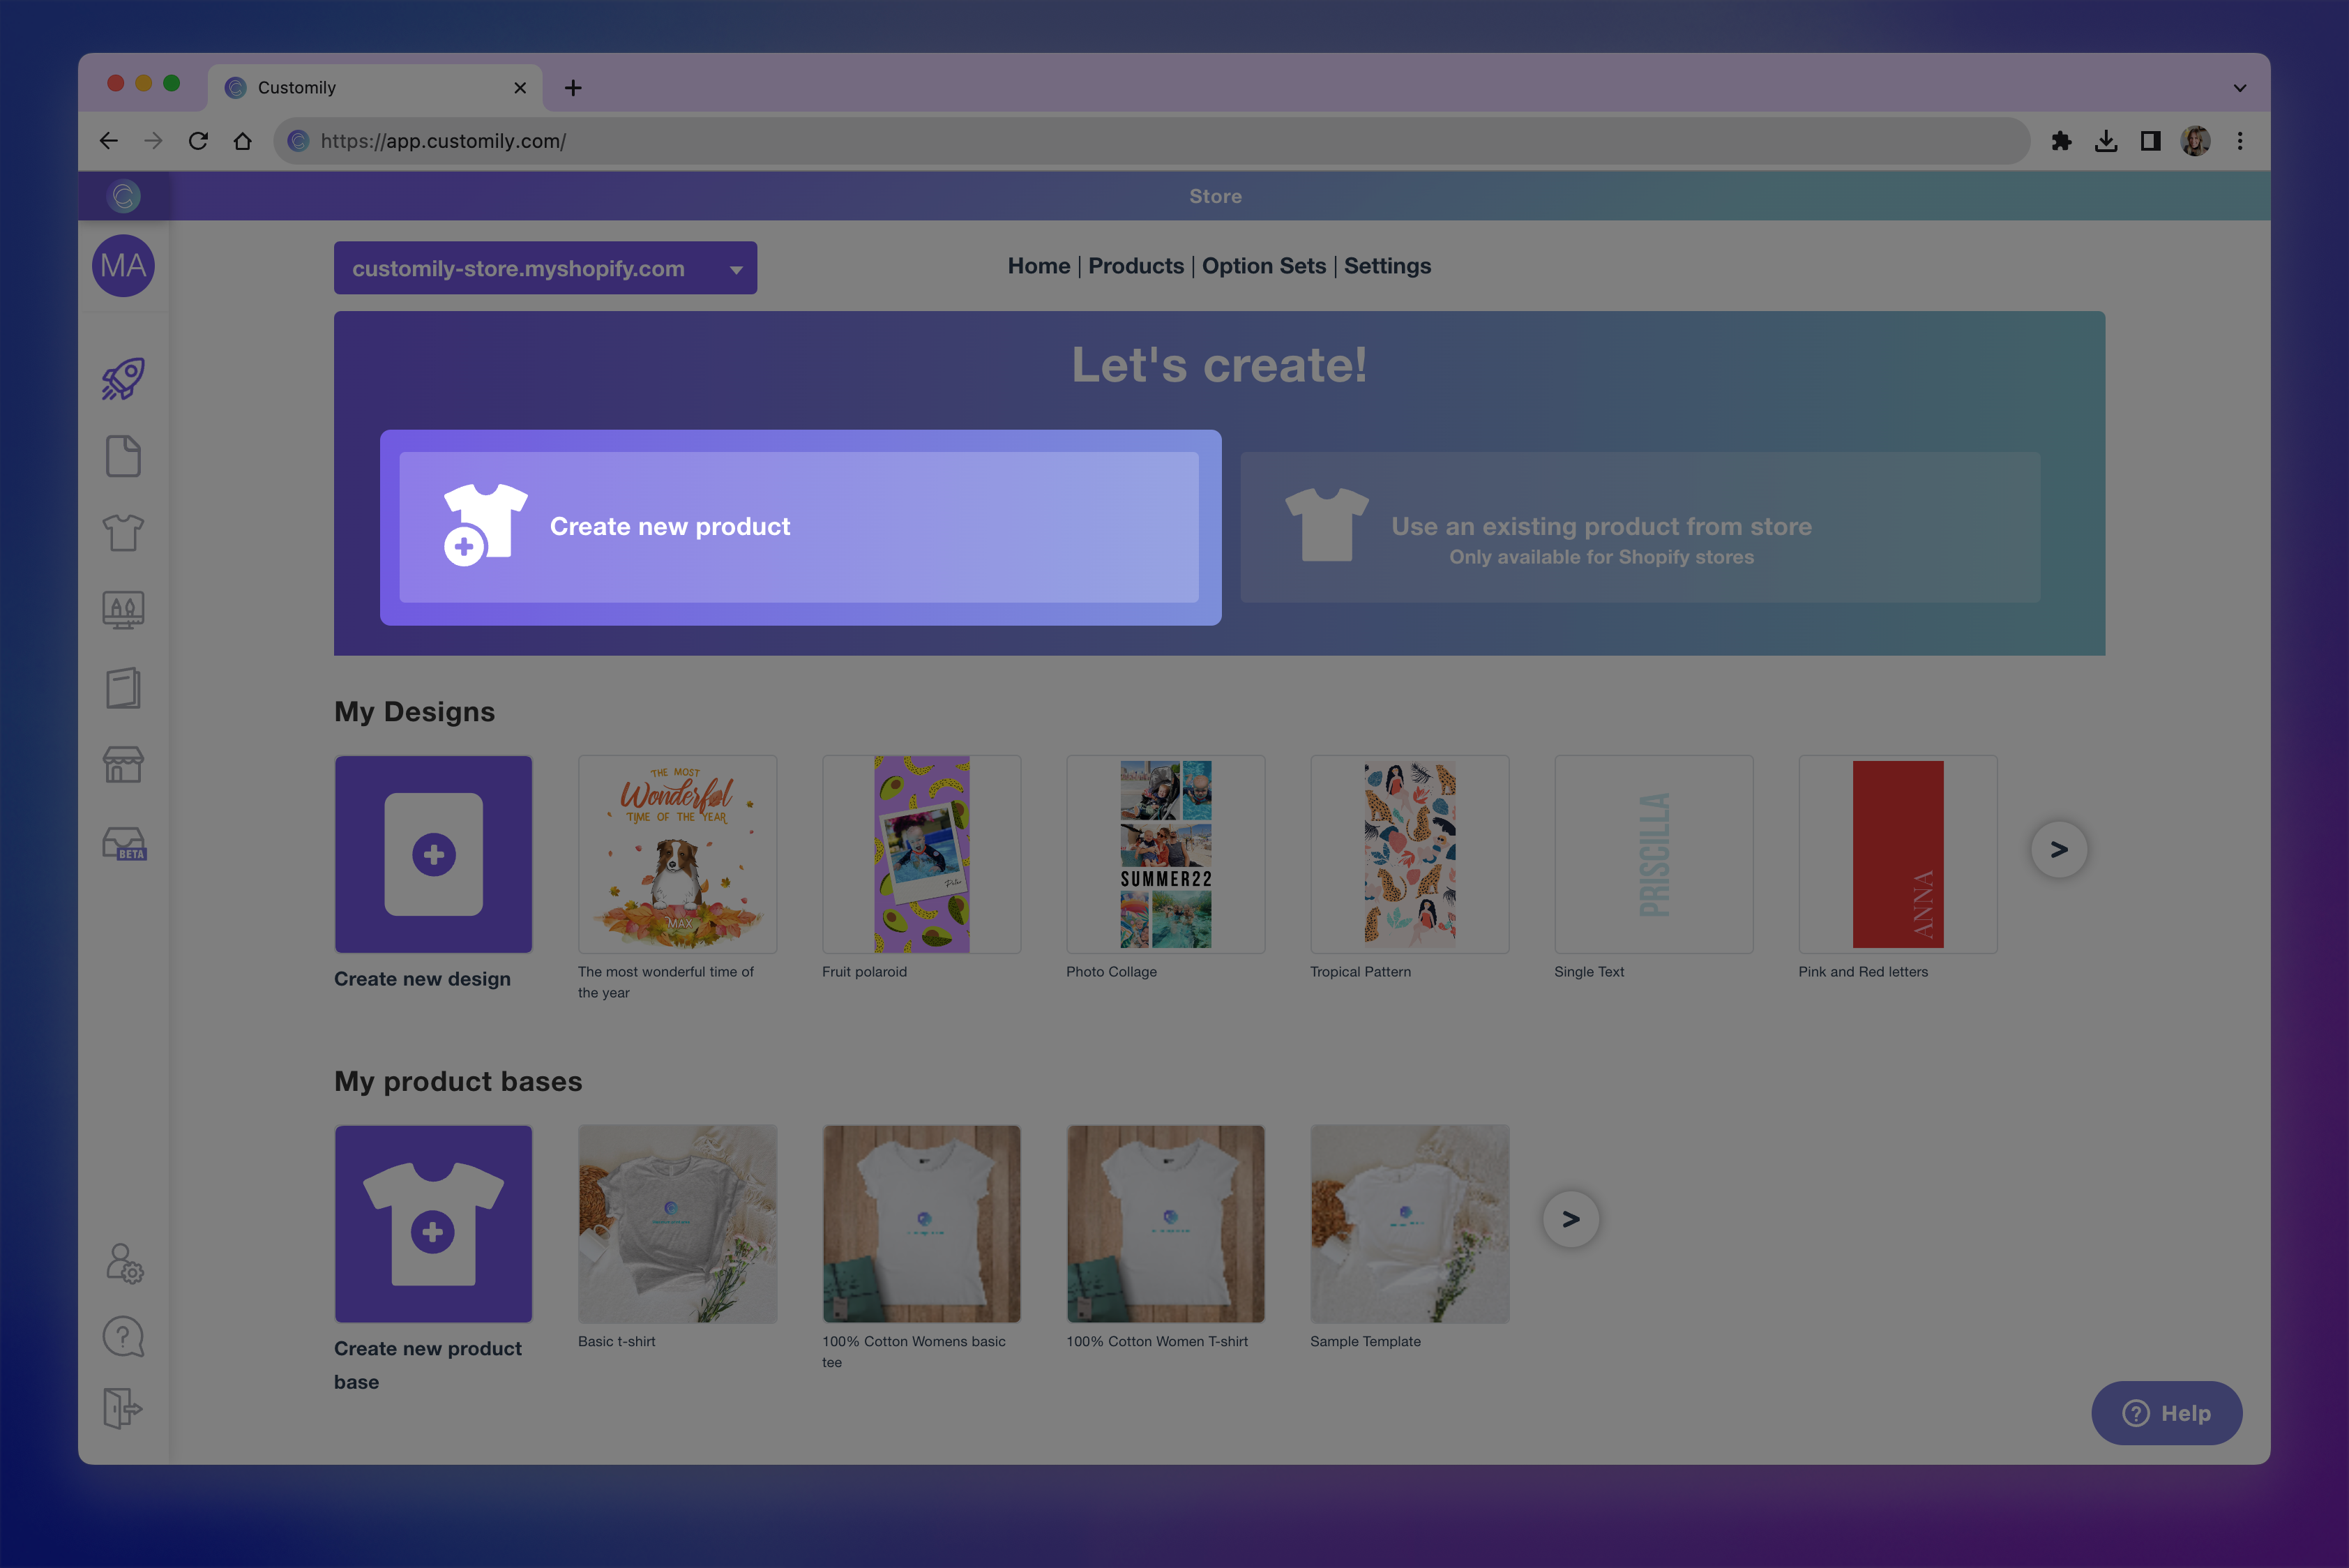
Tip
If you prefer to use an existing product instead of creating a new one, select “Use an existing product from store”.
The process is the same — the template will be created and connected to the product you selected.
Choose a Product Base (either from a POD or your won product bases)

Select the products Variants you want to offer

Choose the print areas where you want to apply a design (for example, front, back, or both)
Click to add a design to each selected print area

Browse form your Designs or Customily designs and select one, and click Apply Design

Place the design within the print area:
Resize it
Reposition it within the boundaries
Confirm placement
Click Next, this is the moment when your template is created.
At this point, Customily will:
Create the template
Create the product
Automatically connect them
Then, you’ll be taken to a screen to Preview Your Product Before Publishing.

In this screen, you can:
Test the personalization experience
See how the product will look for shoppers
Edit product details, such as title, price, image gallery, etc.
From here, you can:
Save the product as a draft, or
Publish it to your store
Your product is now ready with personalization enabled, and the template will be available in your Templates section if you need to edit it later.