Creating templates manually
Last updated: May 5, 2026
Manual templates give you full control over how your product is set up. This approach is more advanced, but allows for much more flexibility.
Creating a template manually involves two key parts:
The print file — the file that will be produced for each order
The preview — the mockup shown in your store
You’ll configure both step by step to define how your product is produced and how it is presented.
How to create a template manually
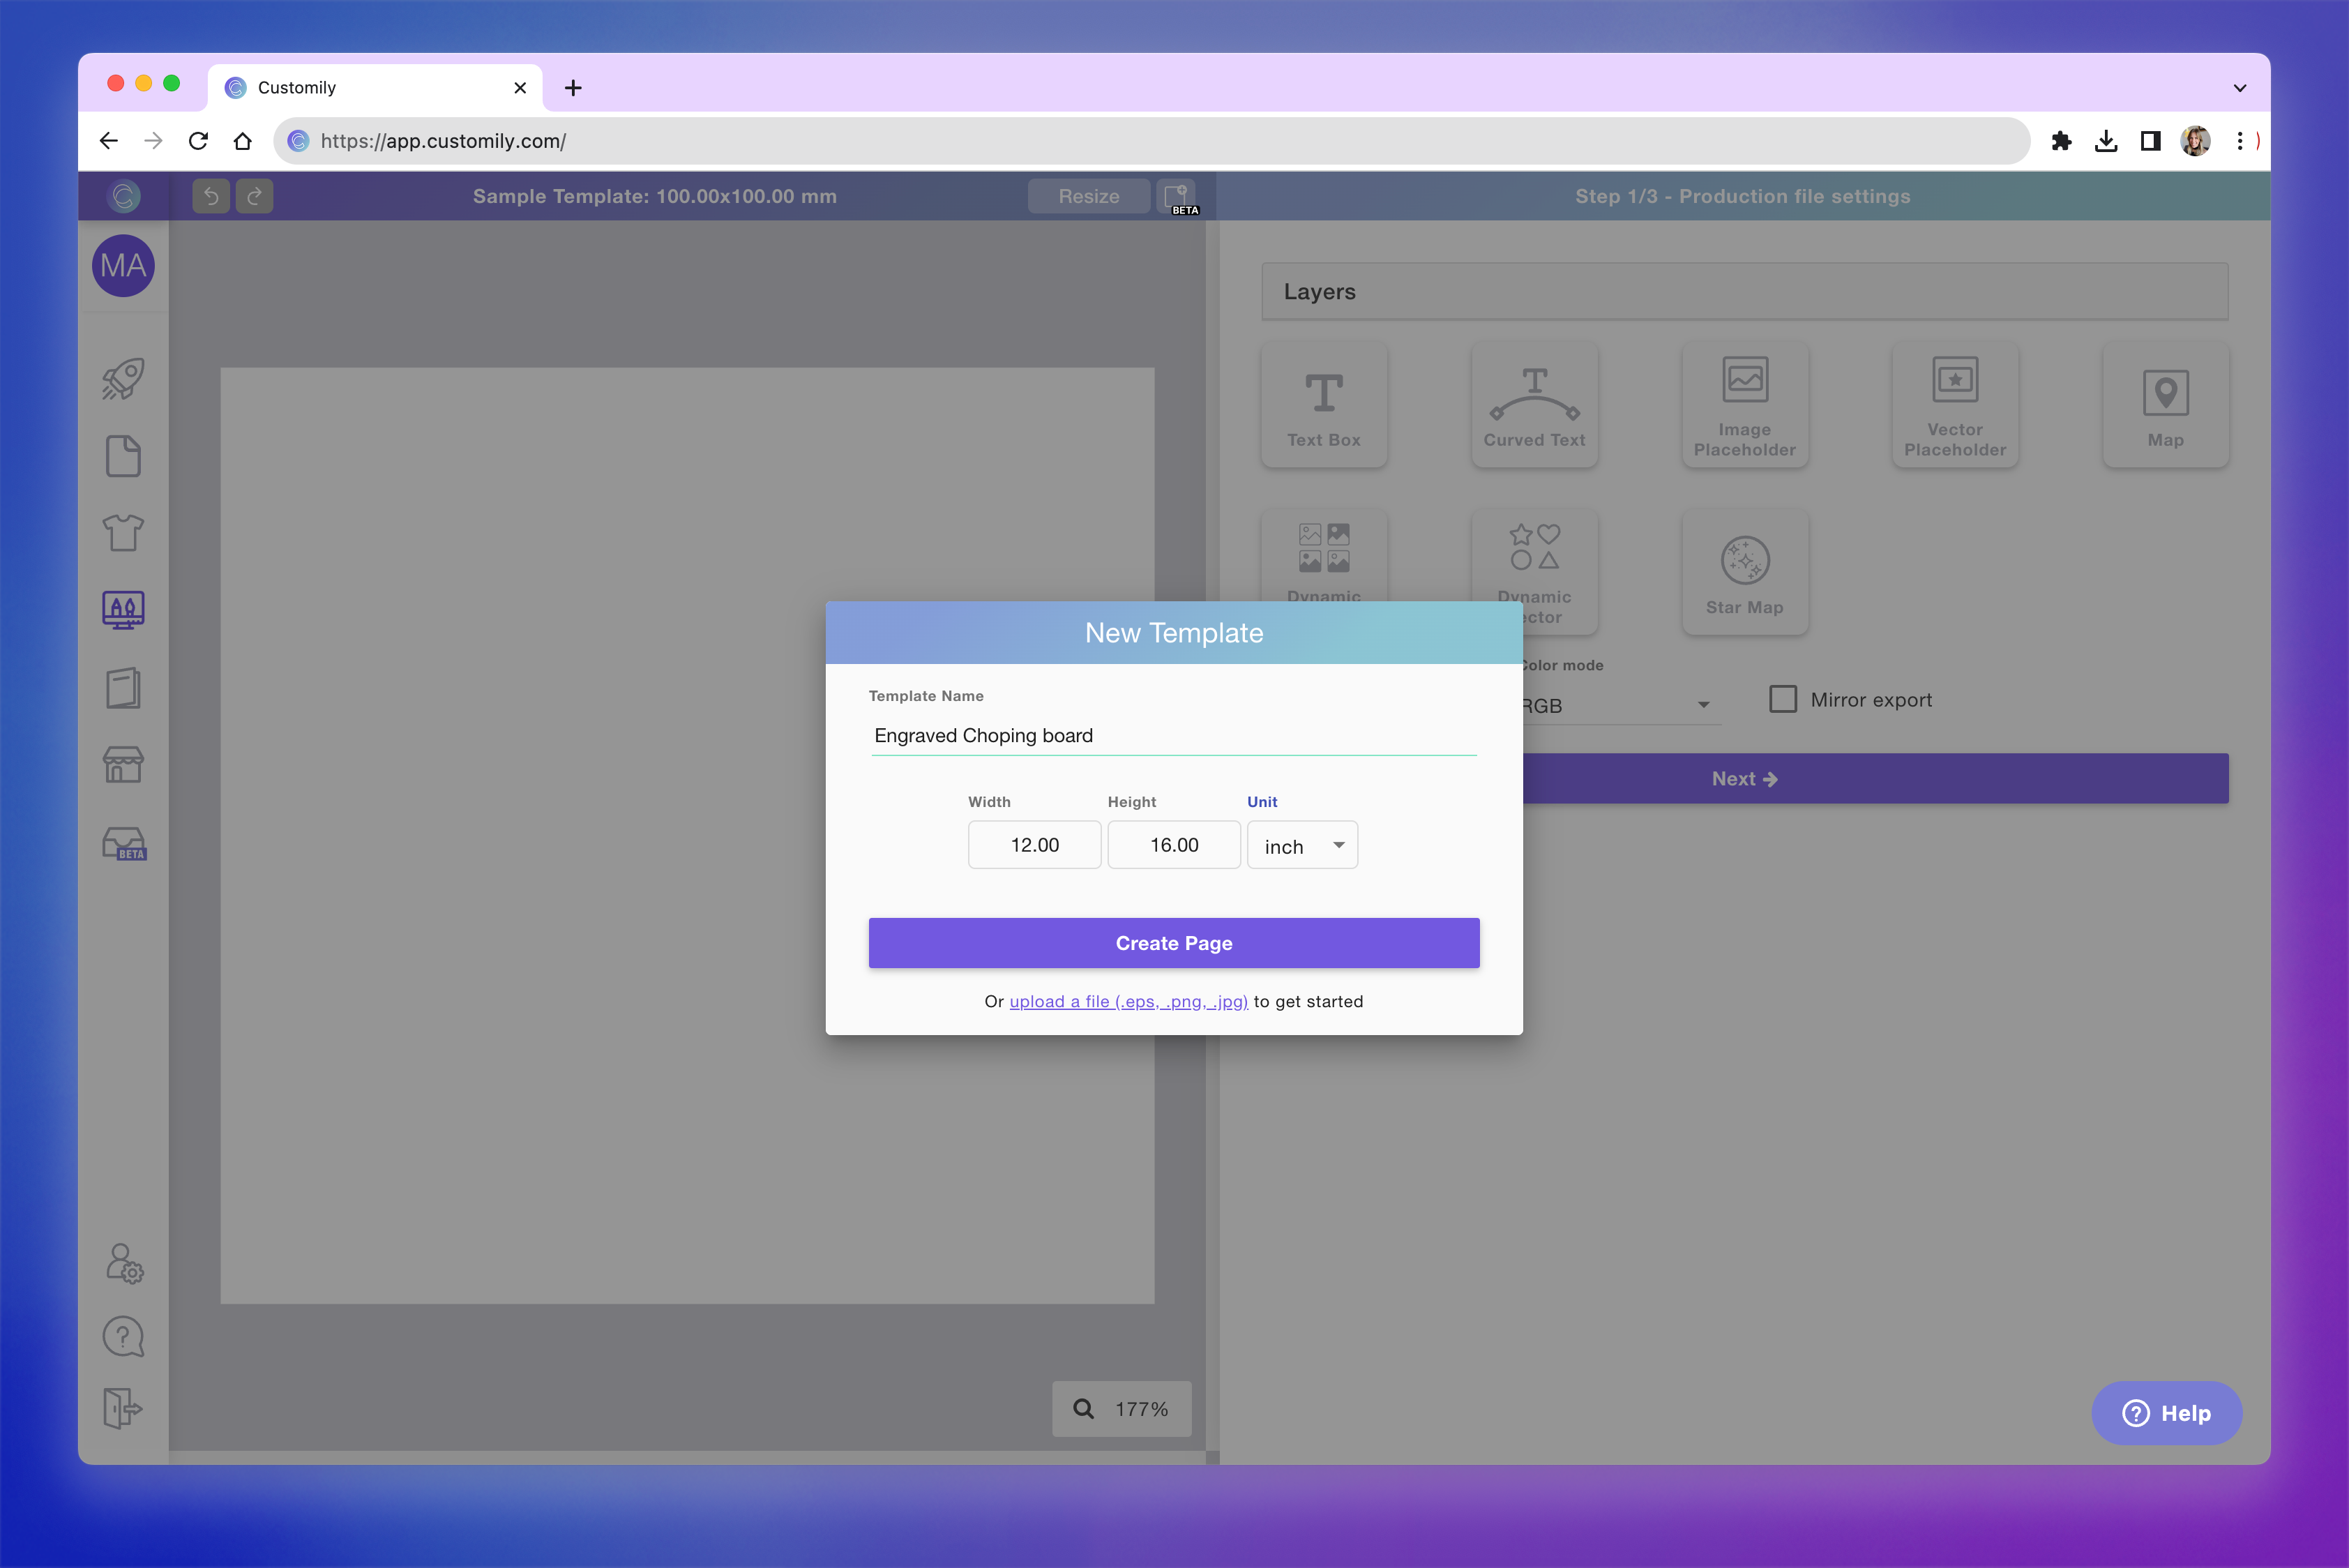
Go to the Templates section

Click Create template

Set:
Template name
Canvas size. This will be your print file size, set in mm, inches or pixels.
Tip
You can start from an existing file by clicking Upload a file — Customily will use it as your canvas.
The file should not include any personalization elements, since those will be added in Customily.
Supported formats: EPS, PNG, JPG
Create your print file
Add and configure your design elements
Arrange them to build your design
Define how the final file will be generated (format, quality, etc.)

Keep in mind
Only include elements that should be printed on the product
Do not upload product images in this step
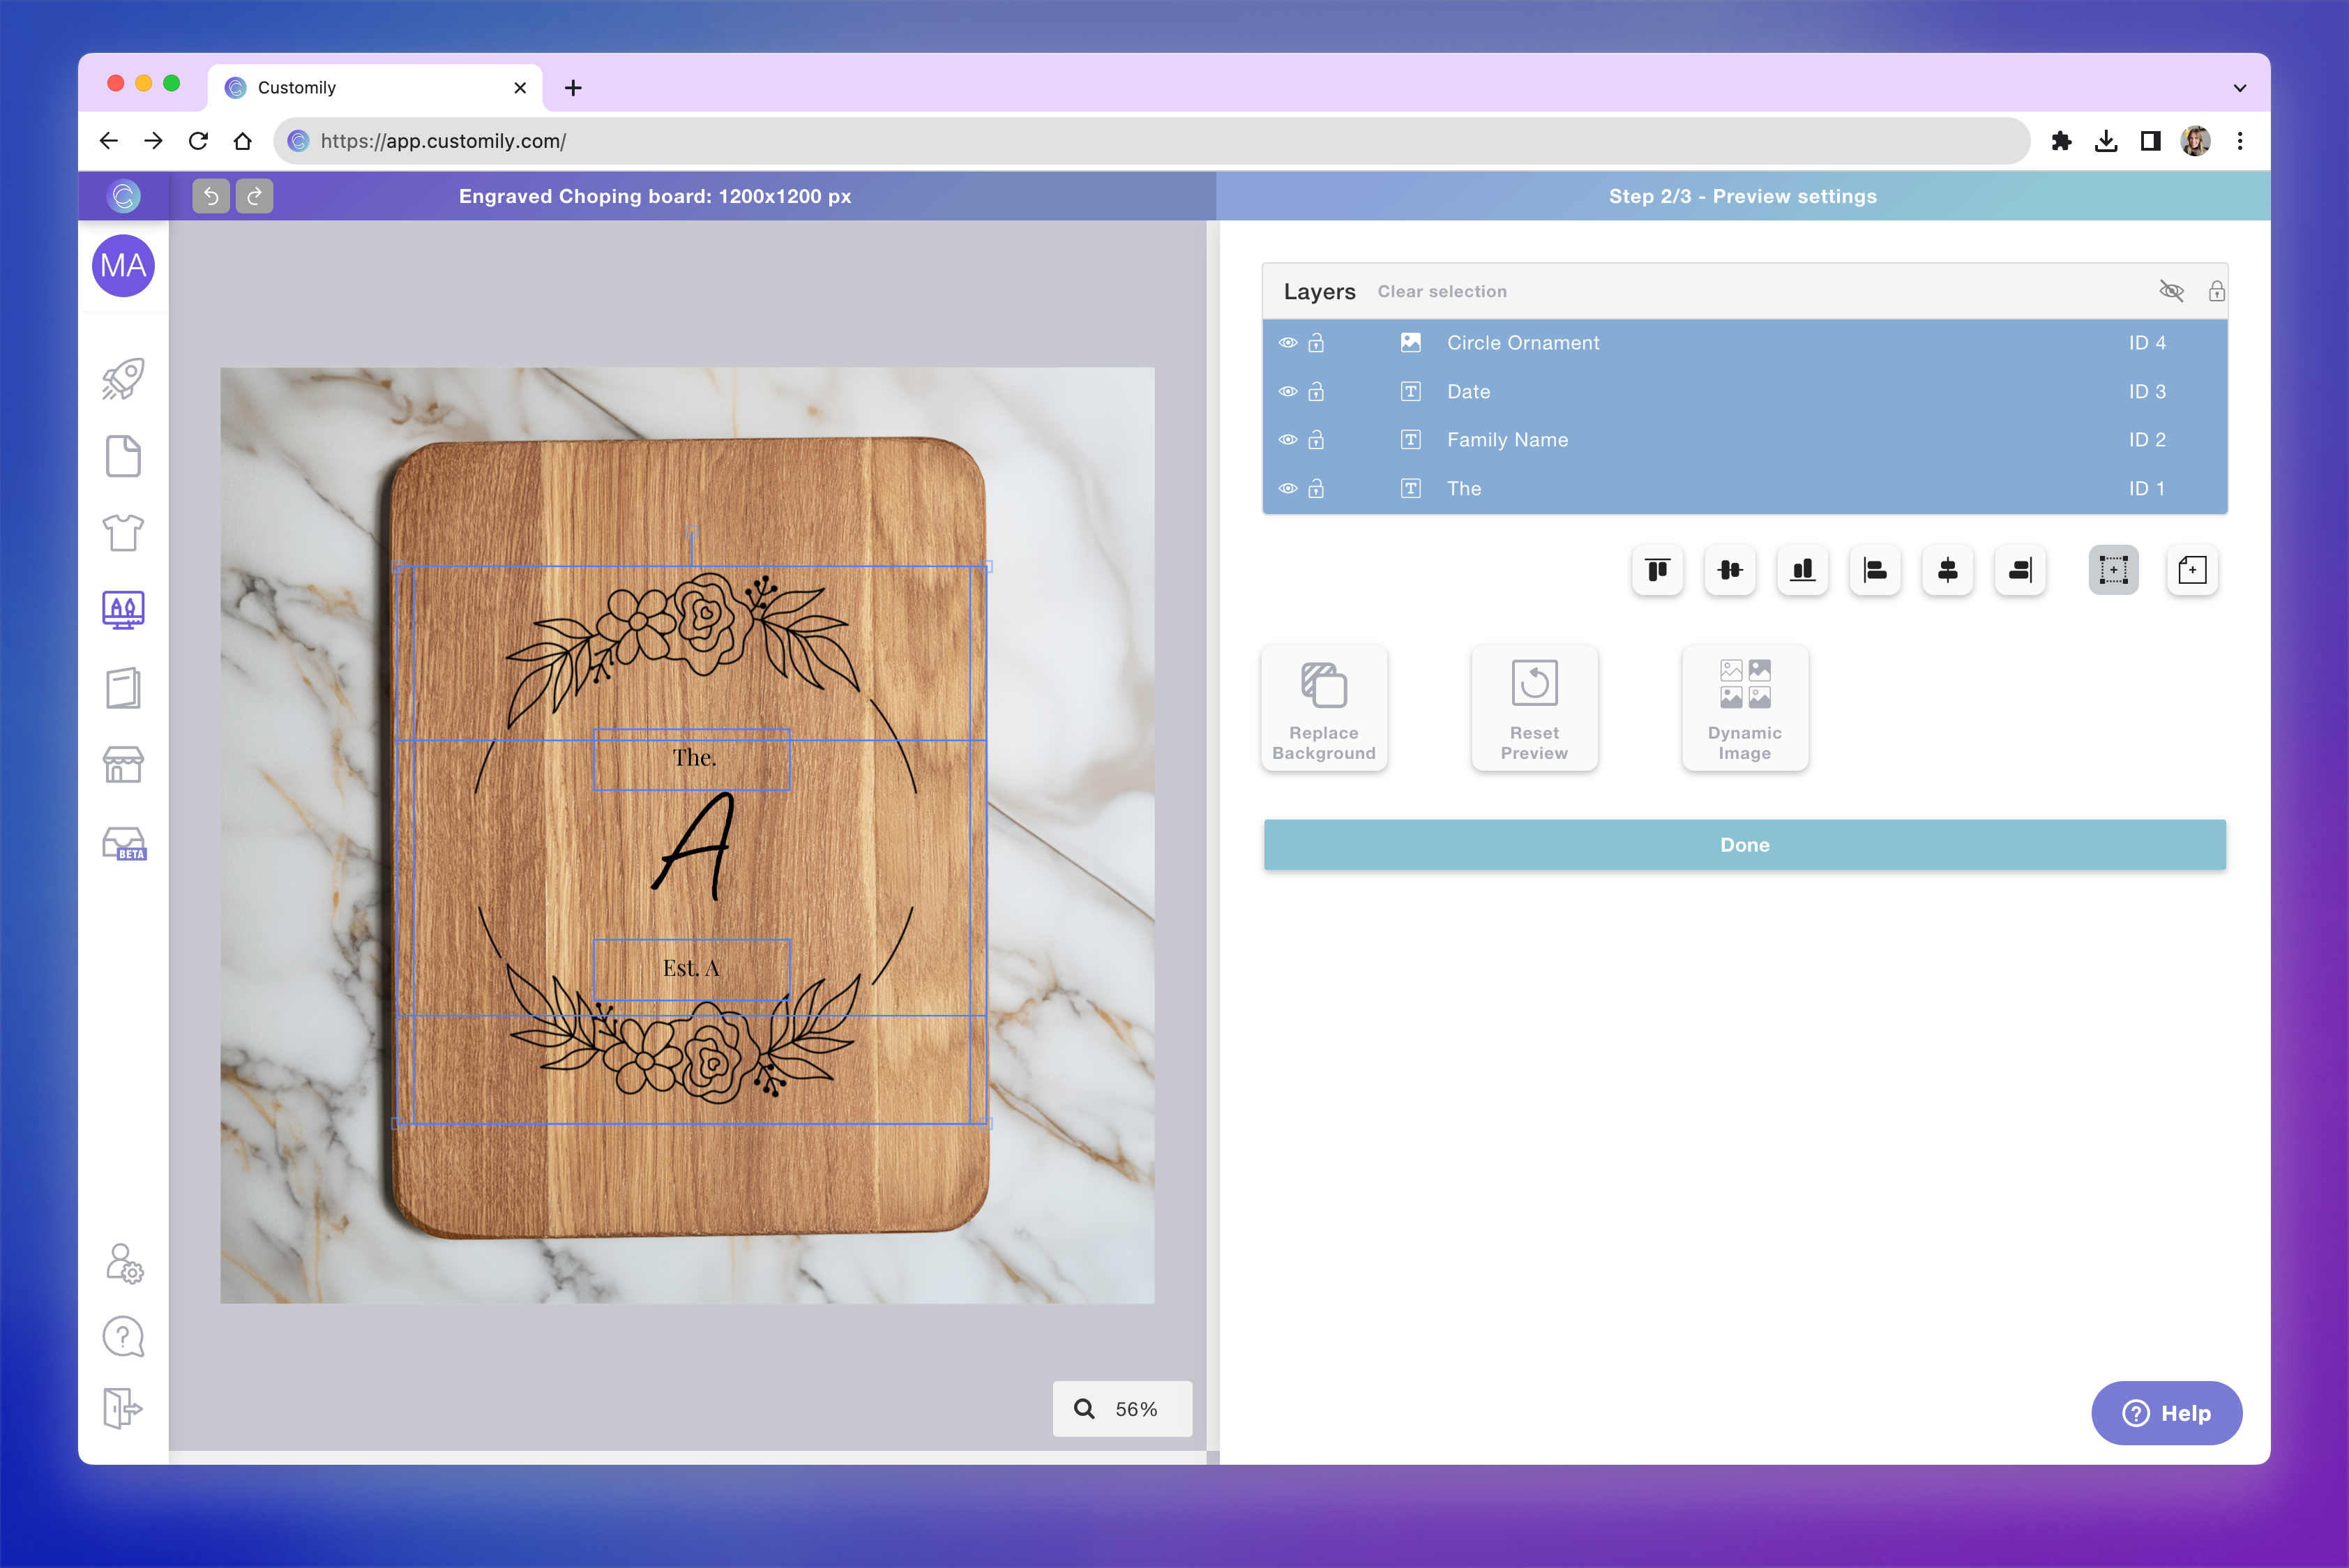
Create your preview
When you're done setting up your print file, click Next to move on to the preview.
Upload a product image or choose a background
Position and scale your design elements
Adjust them to fit the product
Keep in mind
Everything you do in this step affects the preview only, not the print file.
This means you can add elements that are part of the product’s appearance but are not printed, such as:
Different materials (e.g., wood, metal, fabric)
Colors or finishes
Visual effects to make the mockup more realistic
For example, you might show a wooden texture in the preview, while the print file remains the same regardless of the wood color.
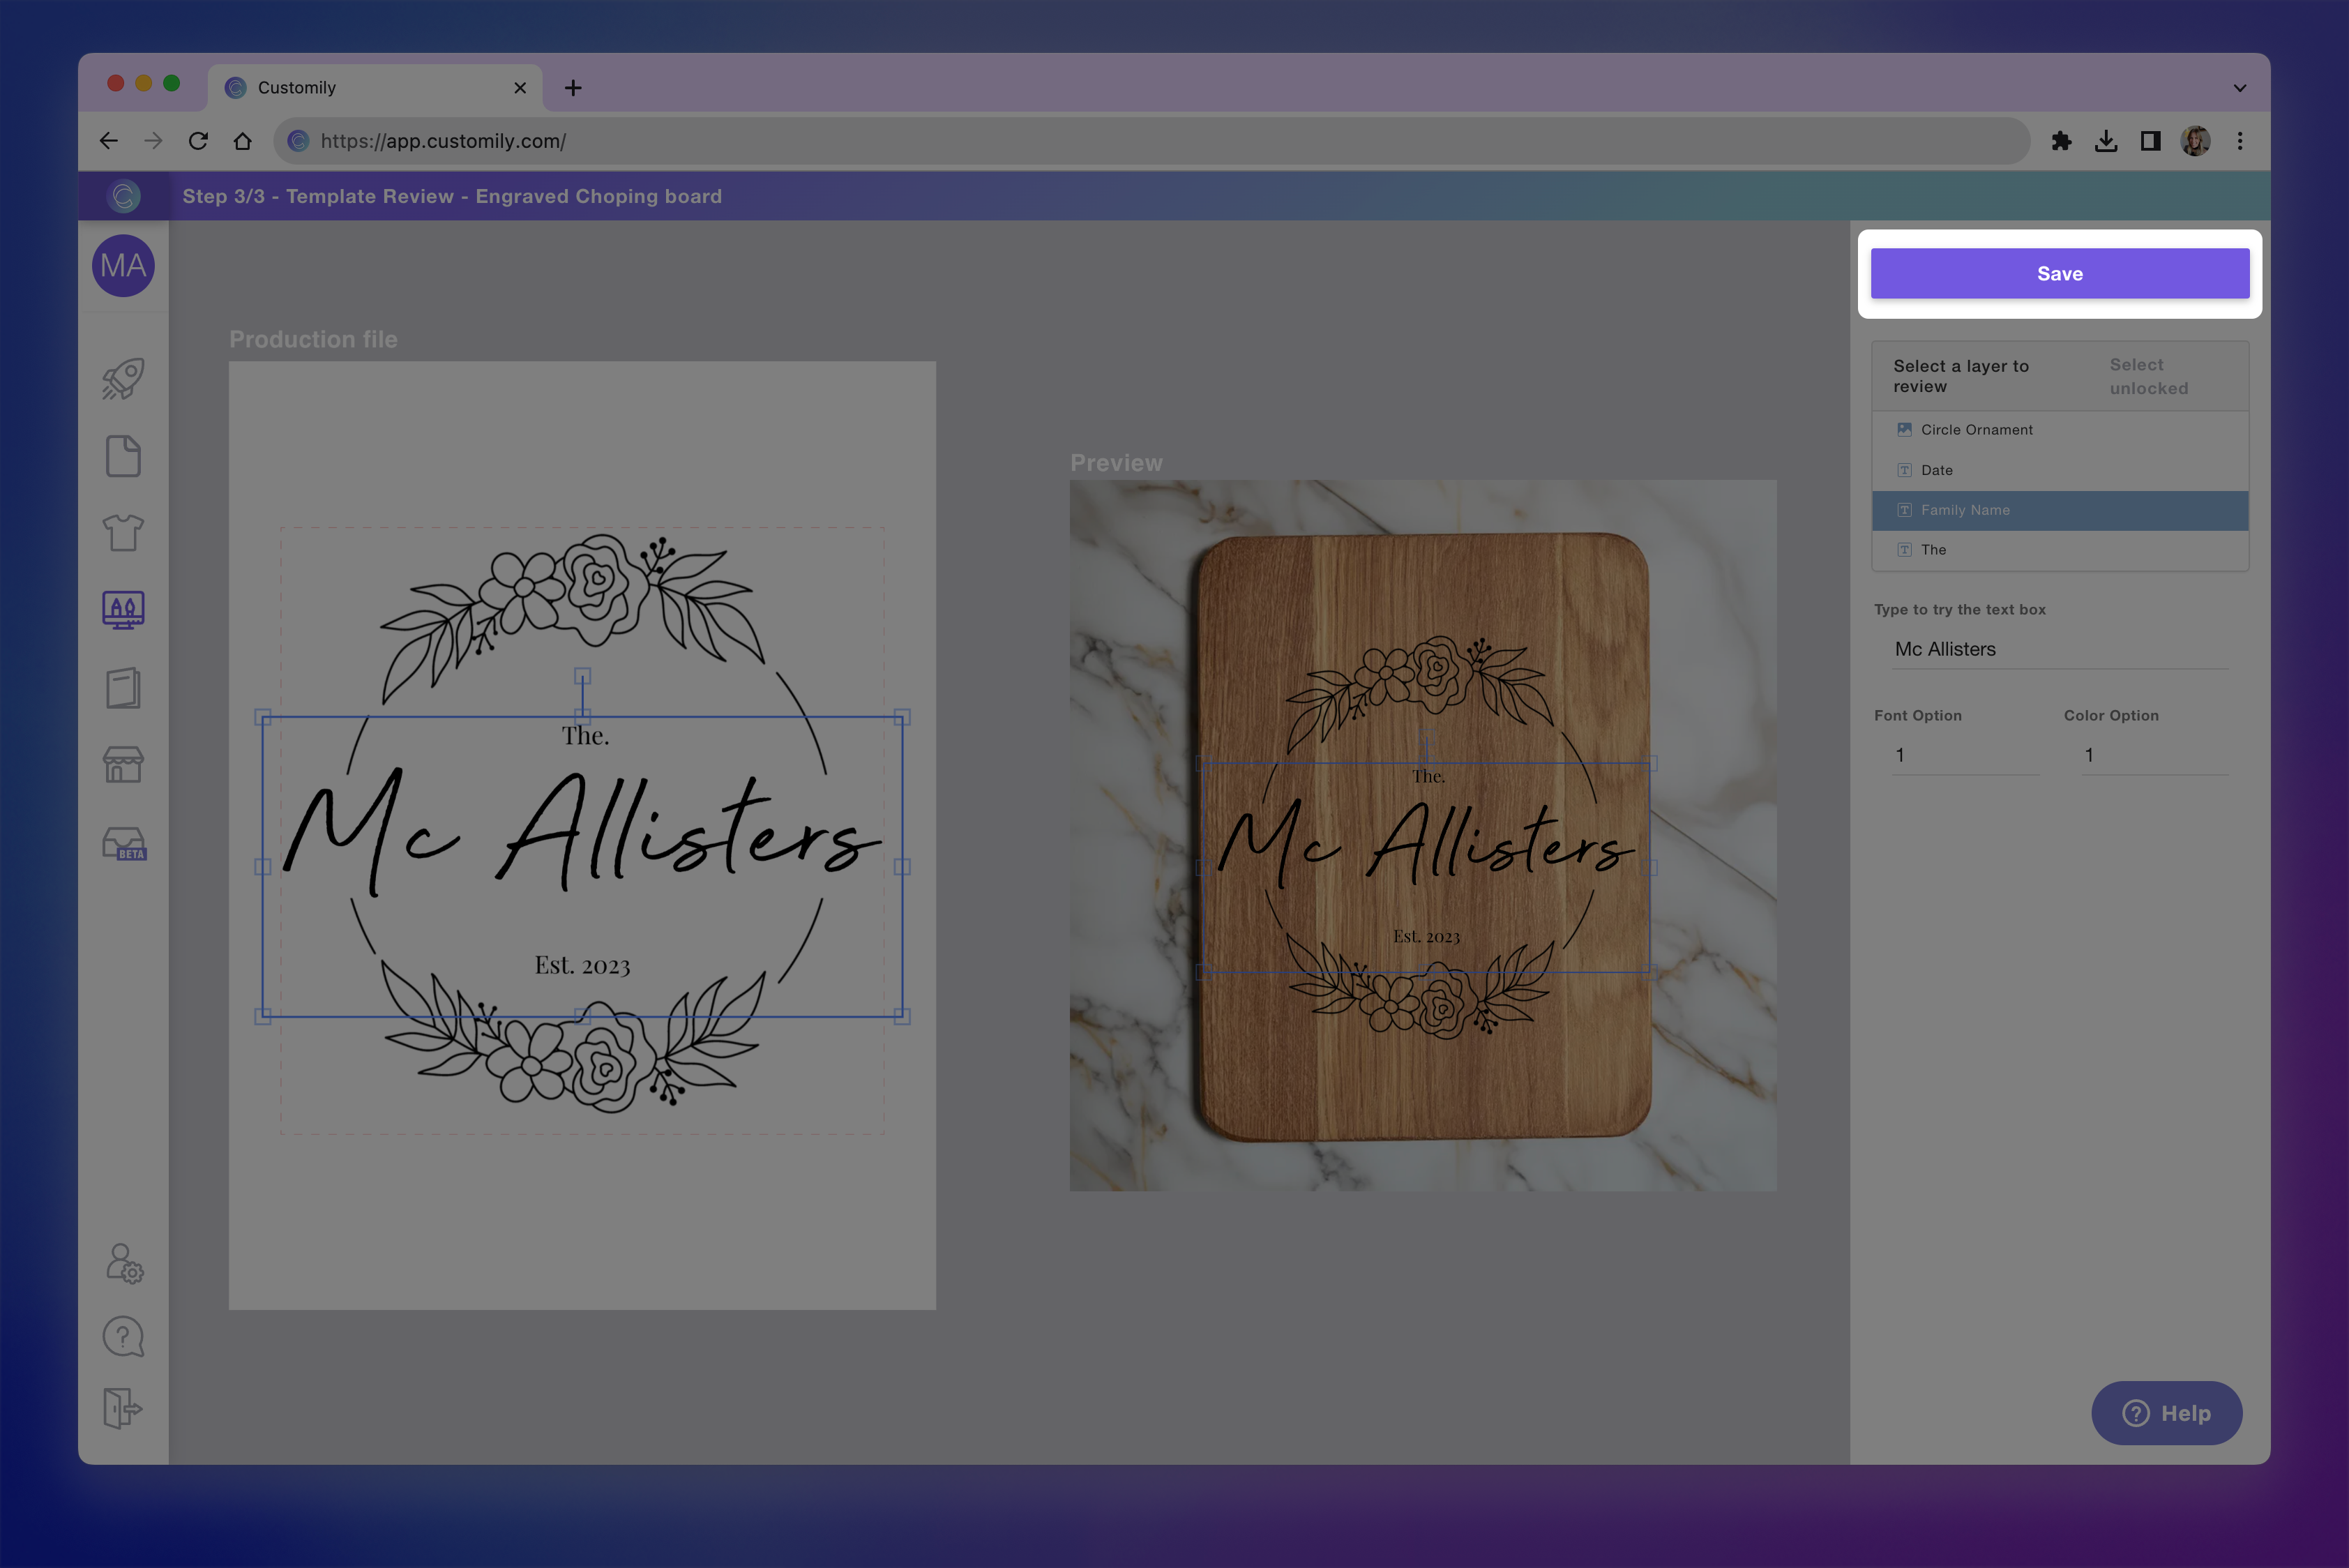
Review and save your template
Check the print file and preview side by side
Make sure your design looks correct in both:
The production file (what gets produced)
The preview (what shoppers will see)
Test your template by selecting different elements and interacting with them, such as:
Typing sample text
Uploading test images
Switching color or font options
Click Save
Once saved, your template will be available in the Templates section, where you can edit it or connect it to a product.