Vector Placeholder
Last updated: April 28, 2026
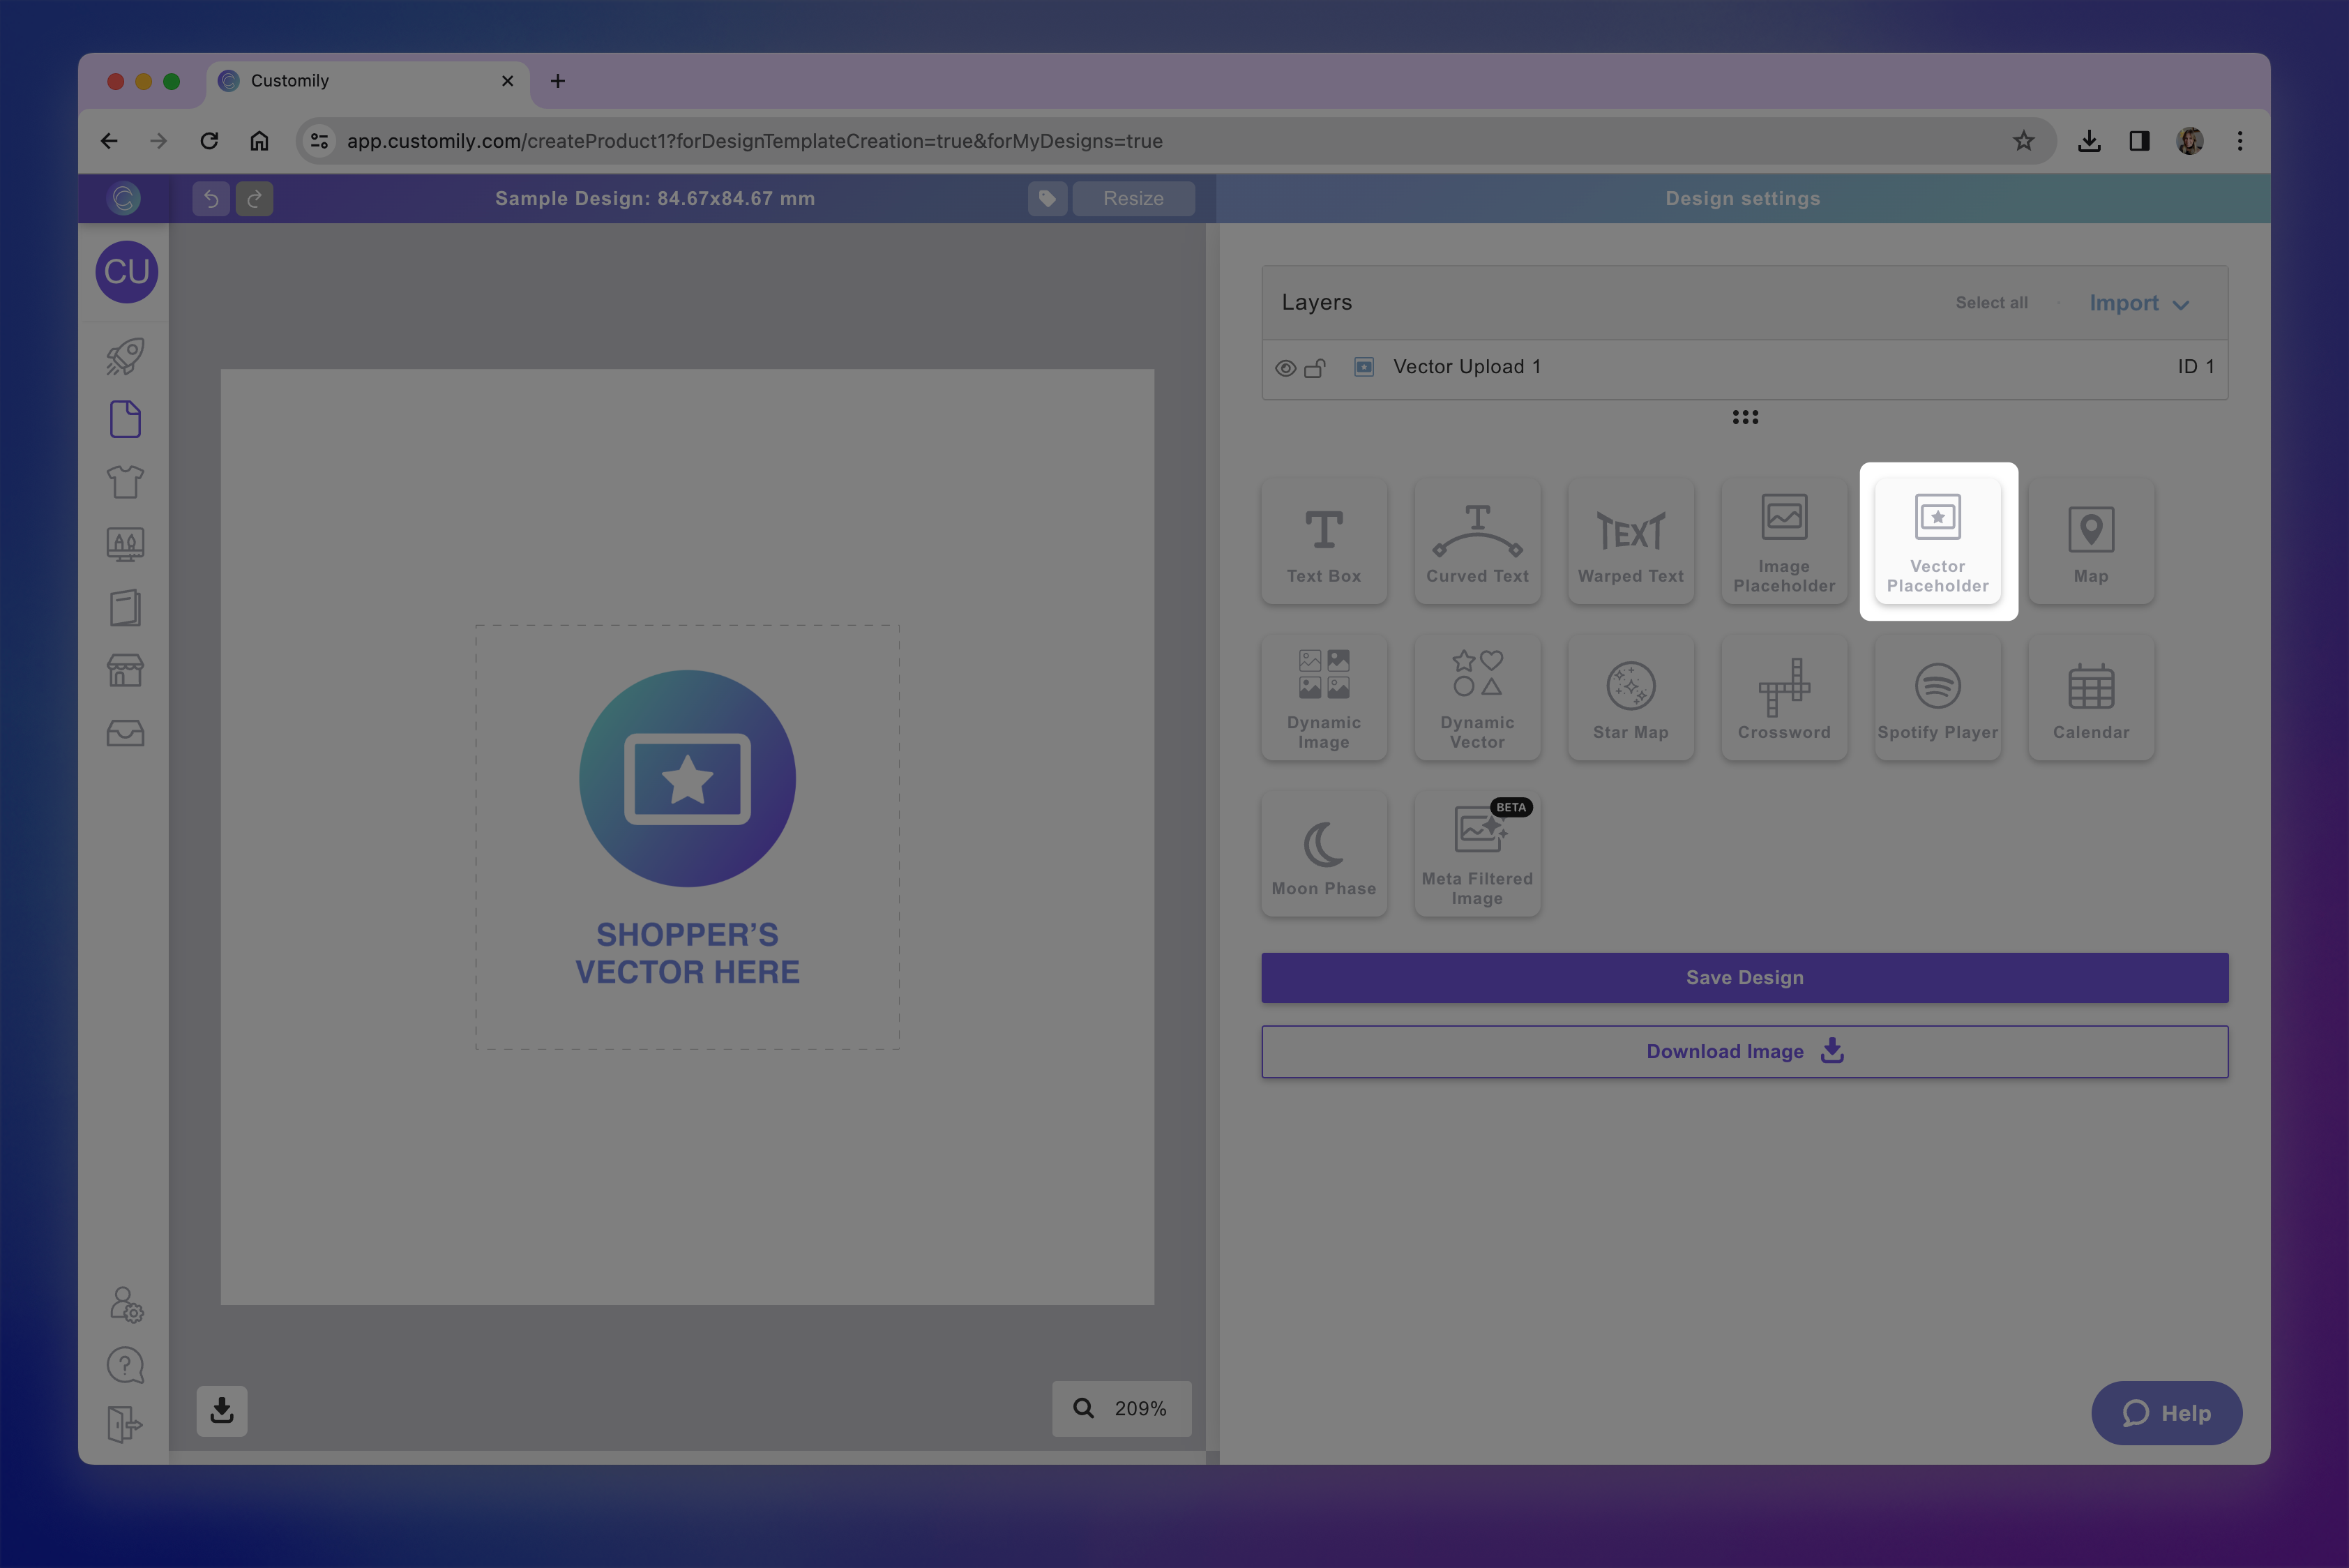
Vector placeholders are places where customers can upload their own vectors. A vector placeholder sets the boundaries where the vector will be uploaded, and is represented on the canvas by a dashed line. You can format vector placeholders in many ways to give customers further options.
How It Works
When you add a Vector placeholder to your design:
Shoppers will be able to upload their own vectors (PDF, SVG, EPS).
The vector appears inside the placeholder you set on the design.
You control the shape, position, and size of the placeholder.
Shoppers are able to move the vector inside the placeholder.
If multiple color options are added, shoppers will see options to pick from them.
Shoppers can upload one vector per placeholder. The file types supported by vector placeholders are PDF, SVG, and EPS. If you want customers to upload other formats, such as PNG or other images, check image placeholders.
In this article:
To add a vector placeholder
You can add vector placeholders on Designs and on Templates, by clicking the Vector Placeholder button.
Each vector placeholder you add will have a Name that you can edit, and a Unique Id for you to easily identify it.
Transform the vector placeholder
Directly on the canvas or by expanding the Transform toolbox, you can transform the image placeholder:

Change the uploaded vector behavior
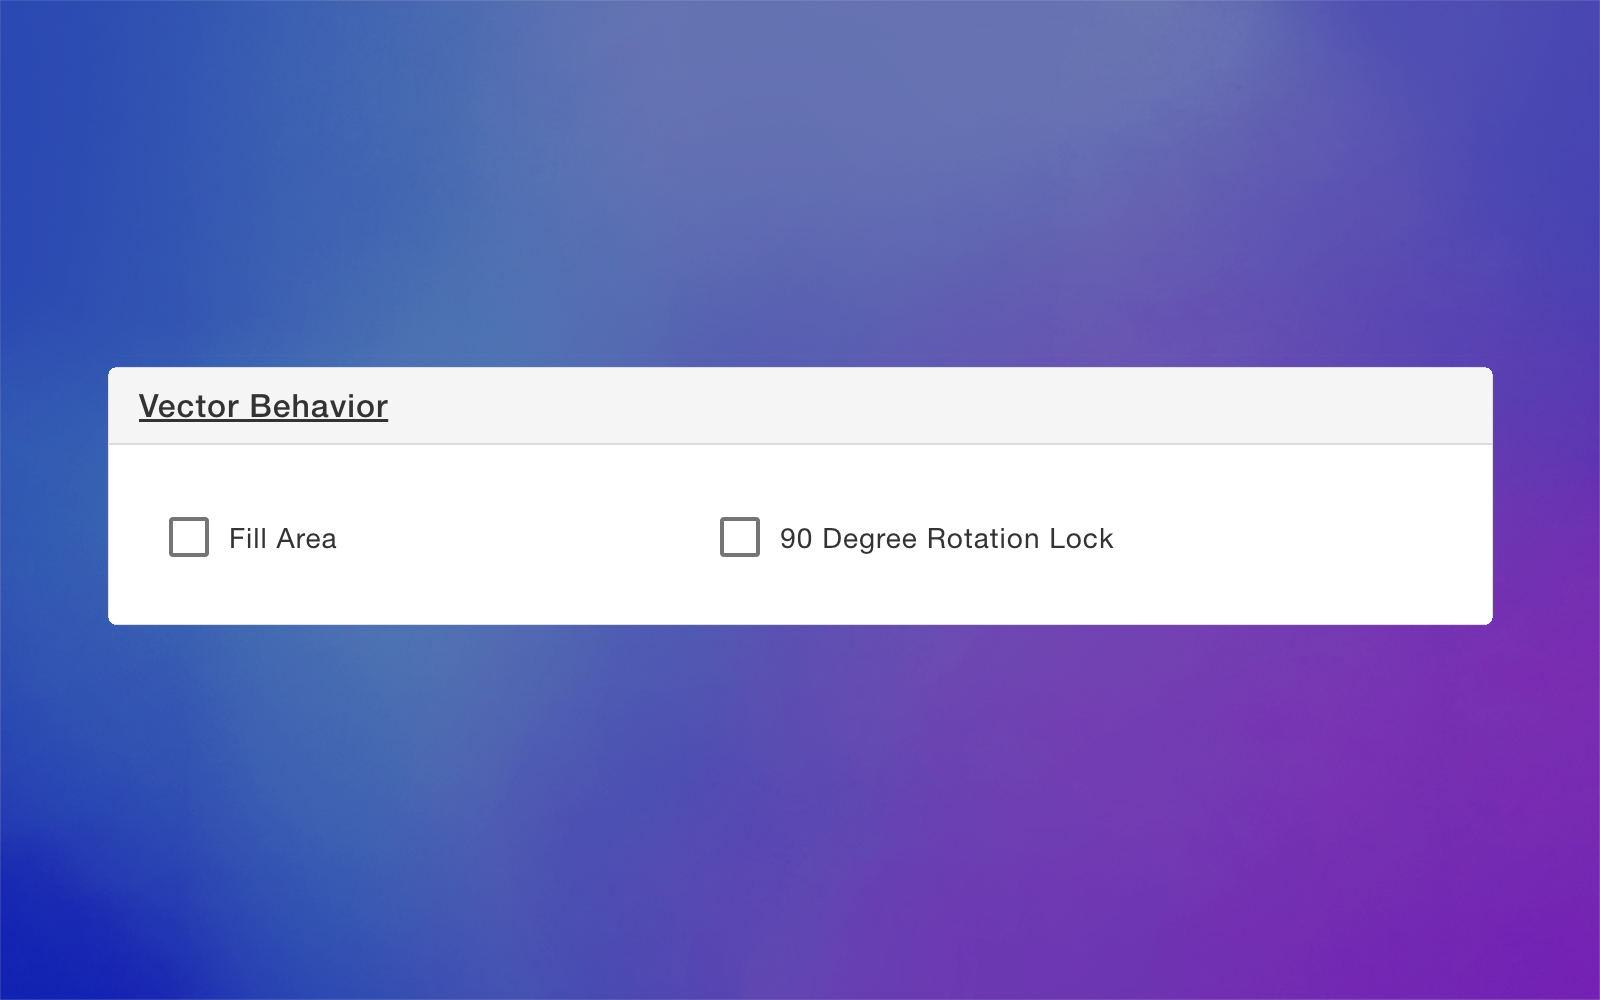
Changing the behavior of the placeholder will affect what happens when a customer uploads a vector. You can configure different behaviors to apply effects and filters to the vector:
Fit / Fill
By default, customer-uploaded vectors are set to fit the placeholder. If you'd like the vector to cover the entire placeholder, then you should enable the fill checkbox. When vectors fill the placeholder, they are resized (proportionally) to occupy the entire placeholder.
Select the vector placeholder
Expand the Vector Behavior toolbox
Check or uncheck Fill Area option
Rotation Lock
By default, customer-uploaded vectors can be rotated freely inside the placeholder. If you want customers only to be able to rotate it in 90° increments, then you should enable the 90 Degree Rotation Lock checkbox.
Select the vector placeholder
Expand the Vector Behavior toolbox
Check or uncheck 90 Degree Rotation Lock option
Change the vector mode
When shoppers upload a vector file, you can choose how it should appear using Vector Mode. This controls whether the vector keeps its original colors or is converted into a single color.
You can choose between 2 vector types to change the color mode of the user-uploaded image. Image types available are:
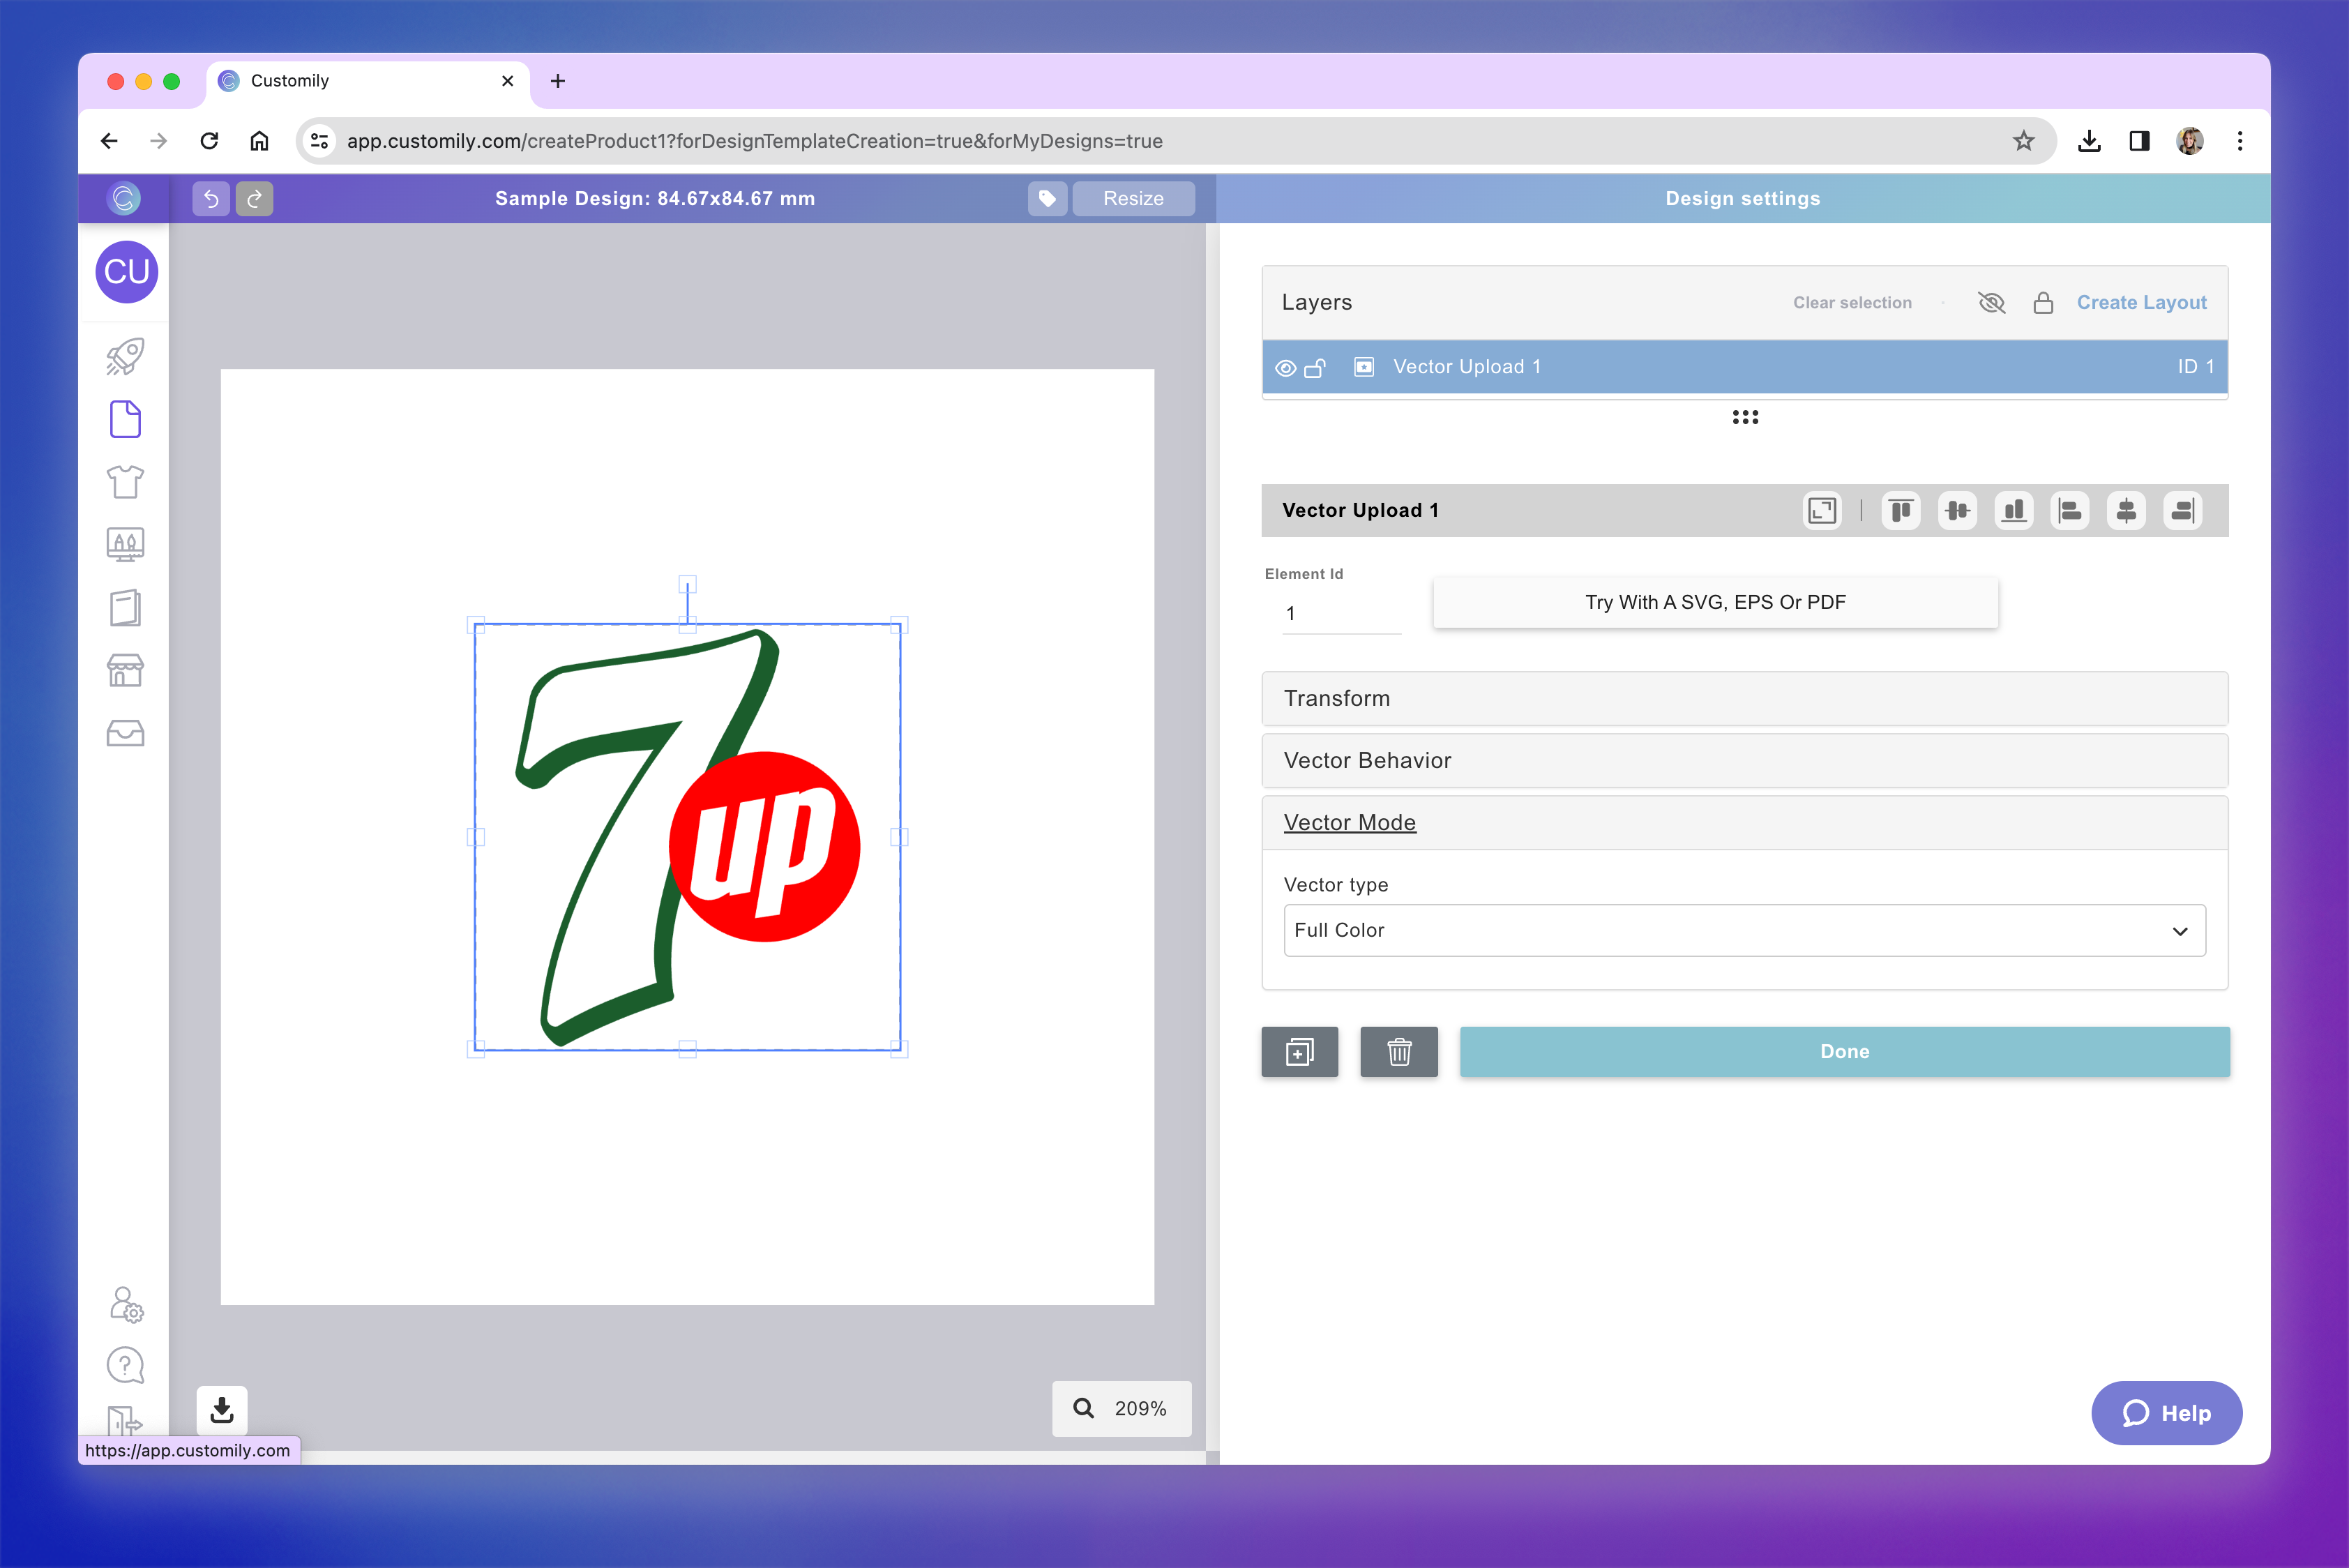
Full Color
This will display the uploaded vector exactly as it was designed, with all its original colors and details. Best for detailed logos, multicolor artwork, or designs that must preserve branding.
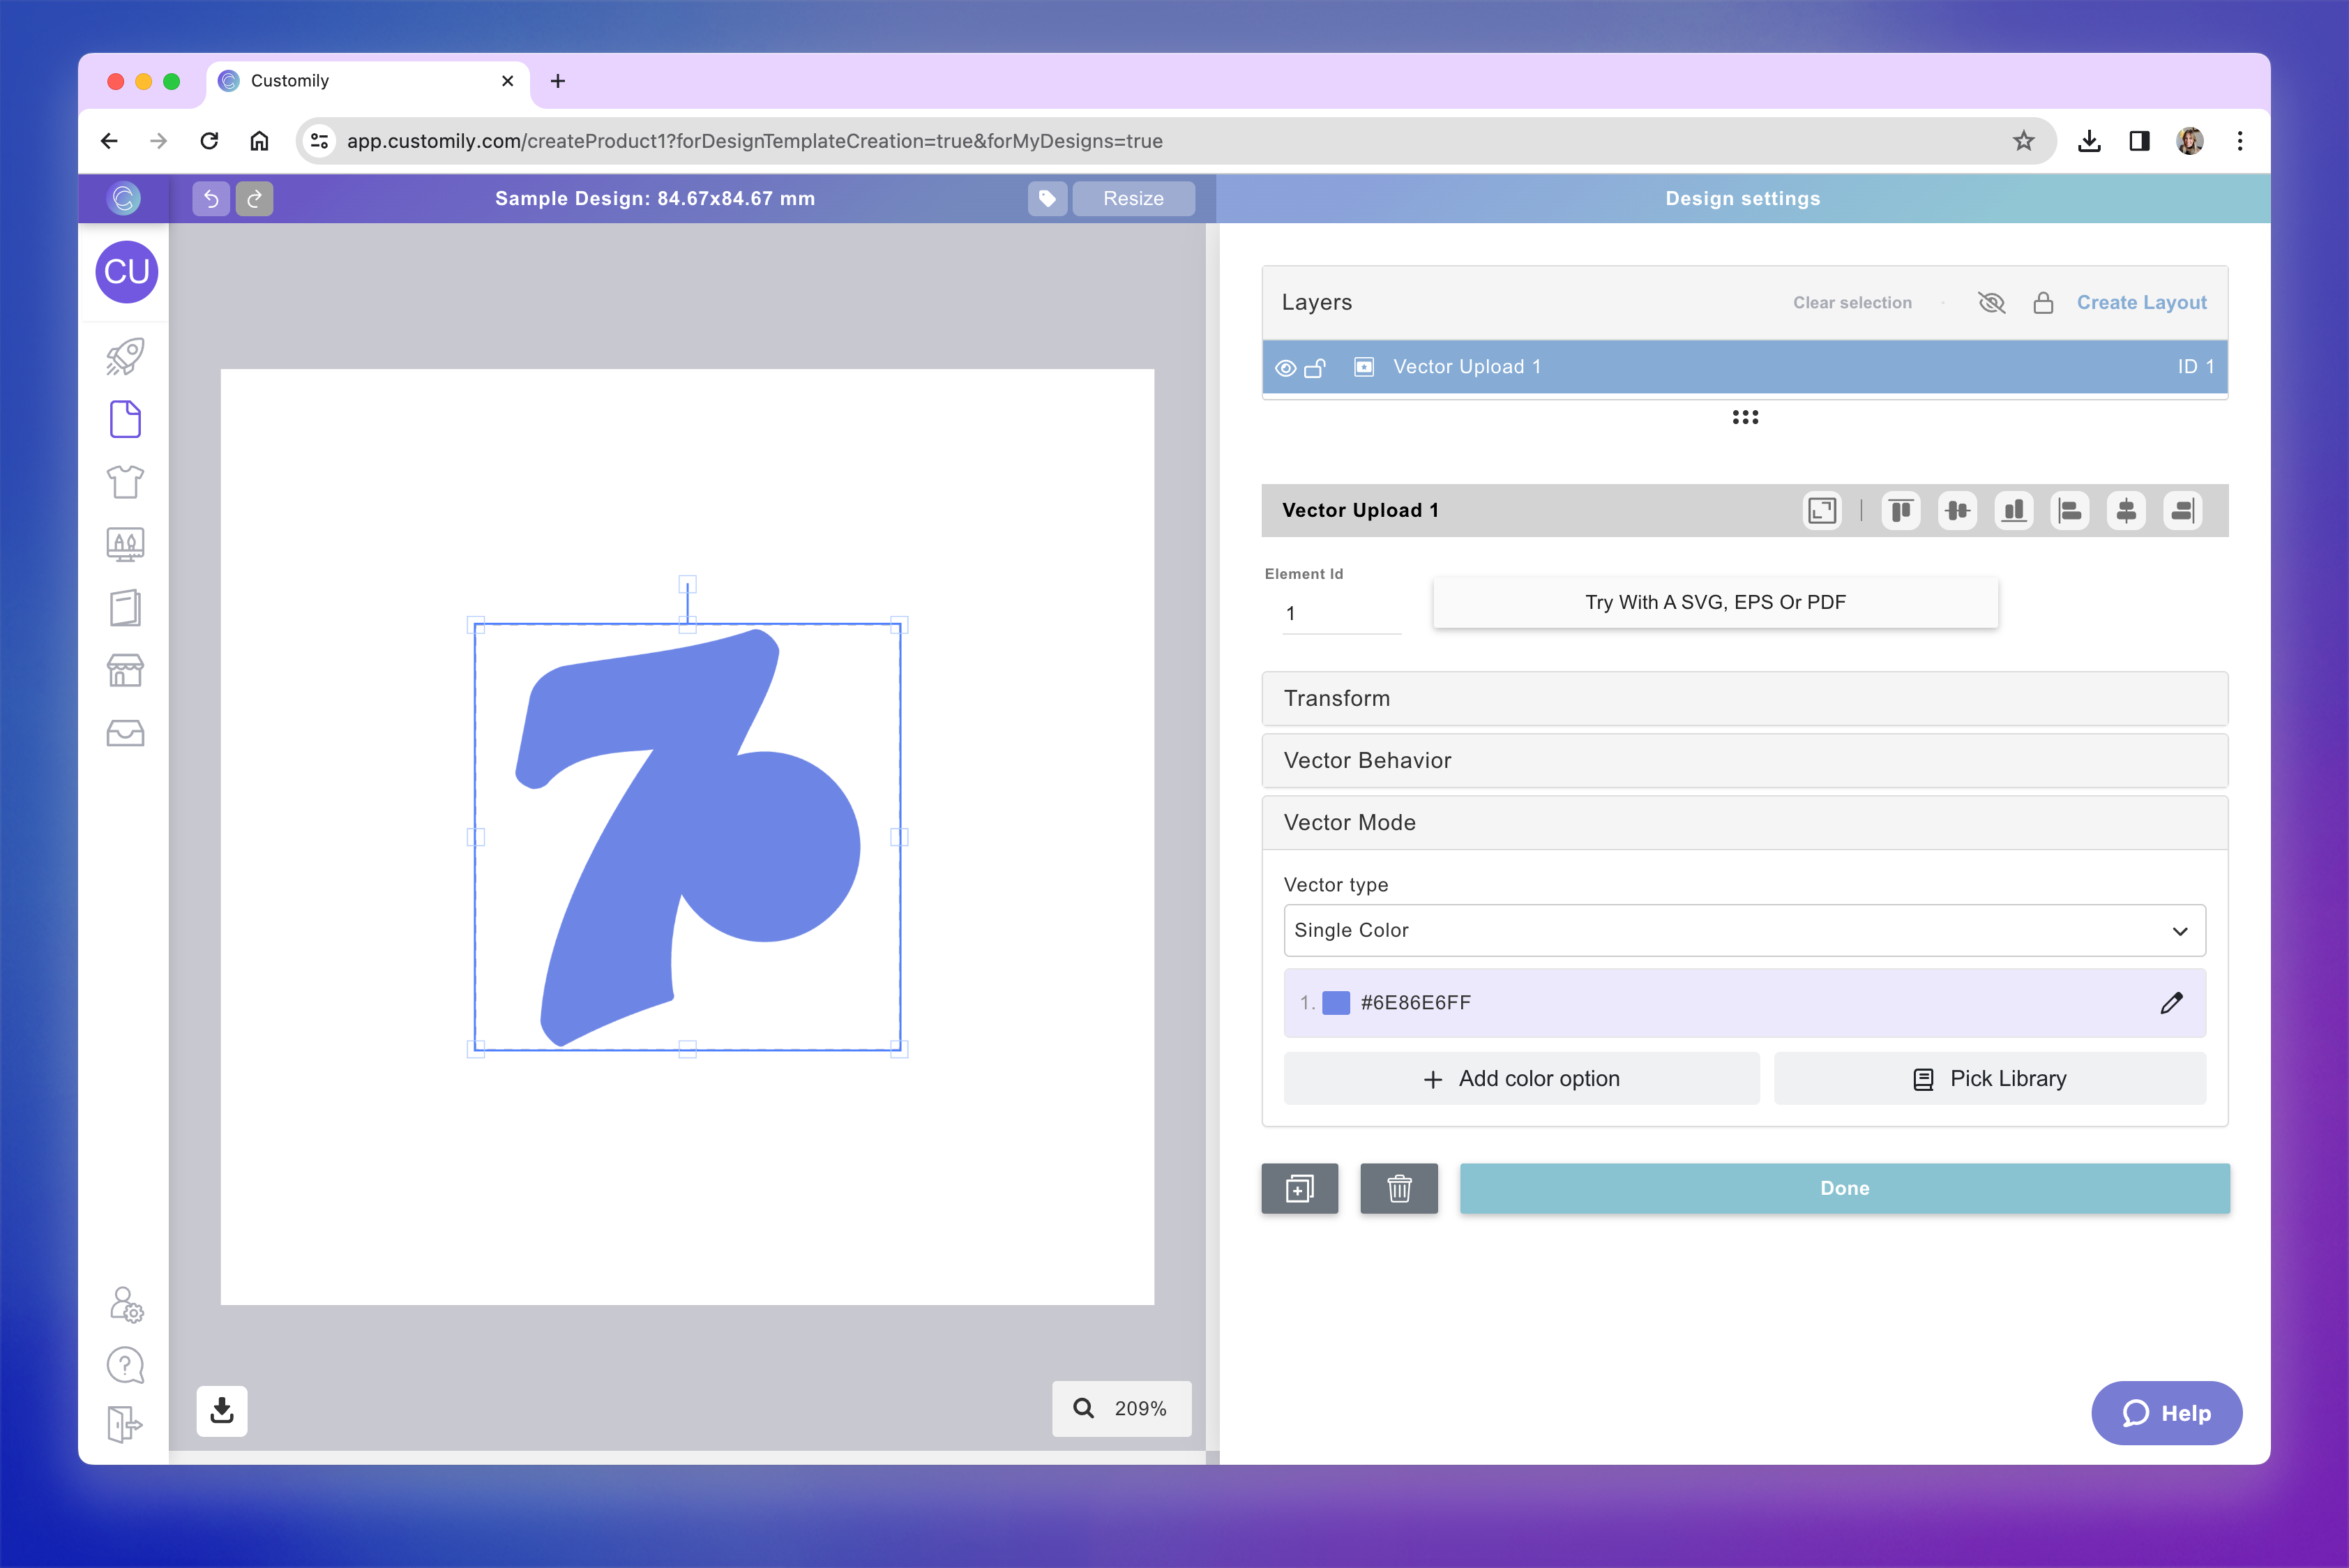
Single Color
This converts the vector into a solid color silhouette. It's ideal for laser cutting, engraving, or simple monogram-style designs. You can define which color is used, or allow the shopper to choose from a list of color options.
Select the image placeholder
Expand the Vector Mode toolbox
Select from the dropdown the Vector Type
If you selected Single Color, click the color swatch to select a color. Using the swatch you can add colors with Hex, RGB-A, or CMYK-A values (the last 2 depend on the color mode of your design). If you want to add transparency, just slide the Alpha control on the bottom of the chart.
Tip
You can add multiple color options to a single color vector. To add more than one color option you can either use a color library or assign multiple color options by clicking Add color option and choosing a new color.

Test how the user-uploaded vector will look
At any moment while configuring your vector placeholder, you can test how it will look on your design, by clicking Try with a SVG, EPS, or PDF button.
This is just for you to test, whatever vector you upload there won't be saved, and won't be visible to your customers ever.

Tip
Once you upload a vector, you can also move it around and resize it as your customers would. To do that, double-click the vector placeholder on the workspace until its boundaries turn red, and only the uploaded vector is highlighted in blue. Then, you will be "acting as your customer" who will be able to move the vector around inside the placeholder. To exit this mode, click anywhere outside the placeholder.
