Calendar
Last updated: April 28, 2026
With custom calendars, you can let customers immortalize a special moment in time. By choosing a date, the calendar will show the month and year, and highlight that date. You can format calendars in different ways to offer customers further personalization options.
How It Works
When you add a Text element to your design:
Shoppers will see a date picker to choose a date, and a visual calendar is generated highlighting that date.
You control the calendar’s layout, appearance, and style.
In this article:
To add a calendar
You can add calendars on Designs and on Templates, by clicking the Calendar button.
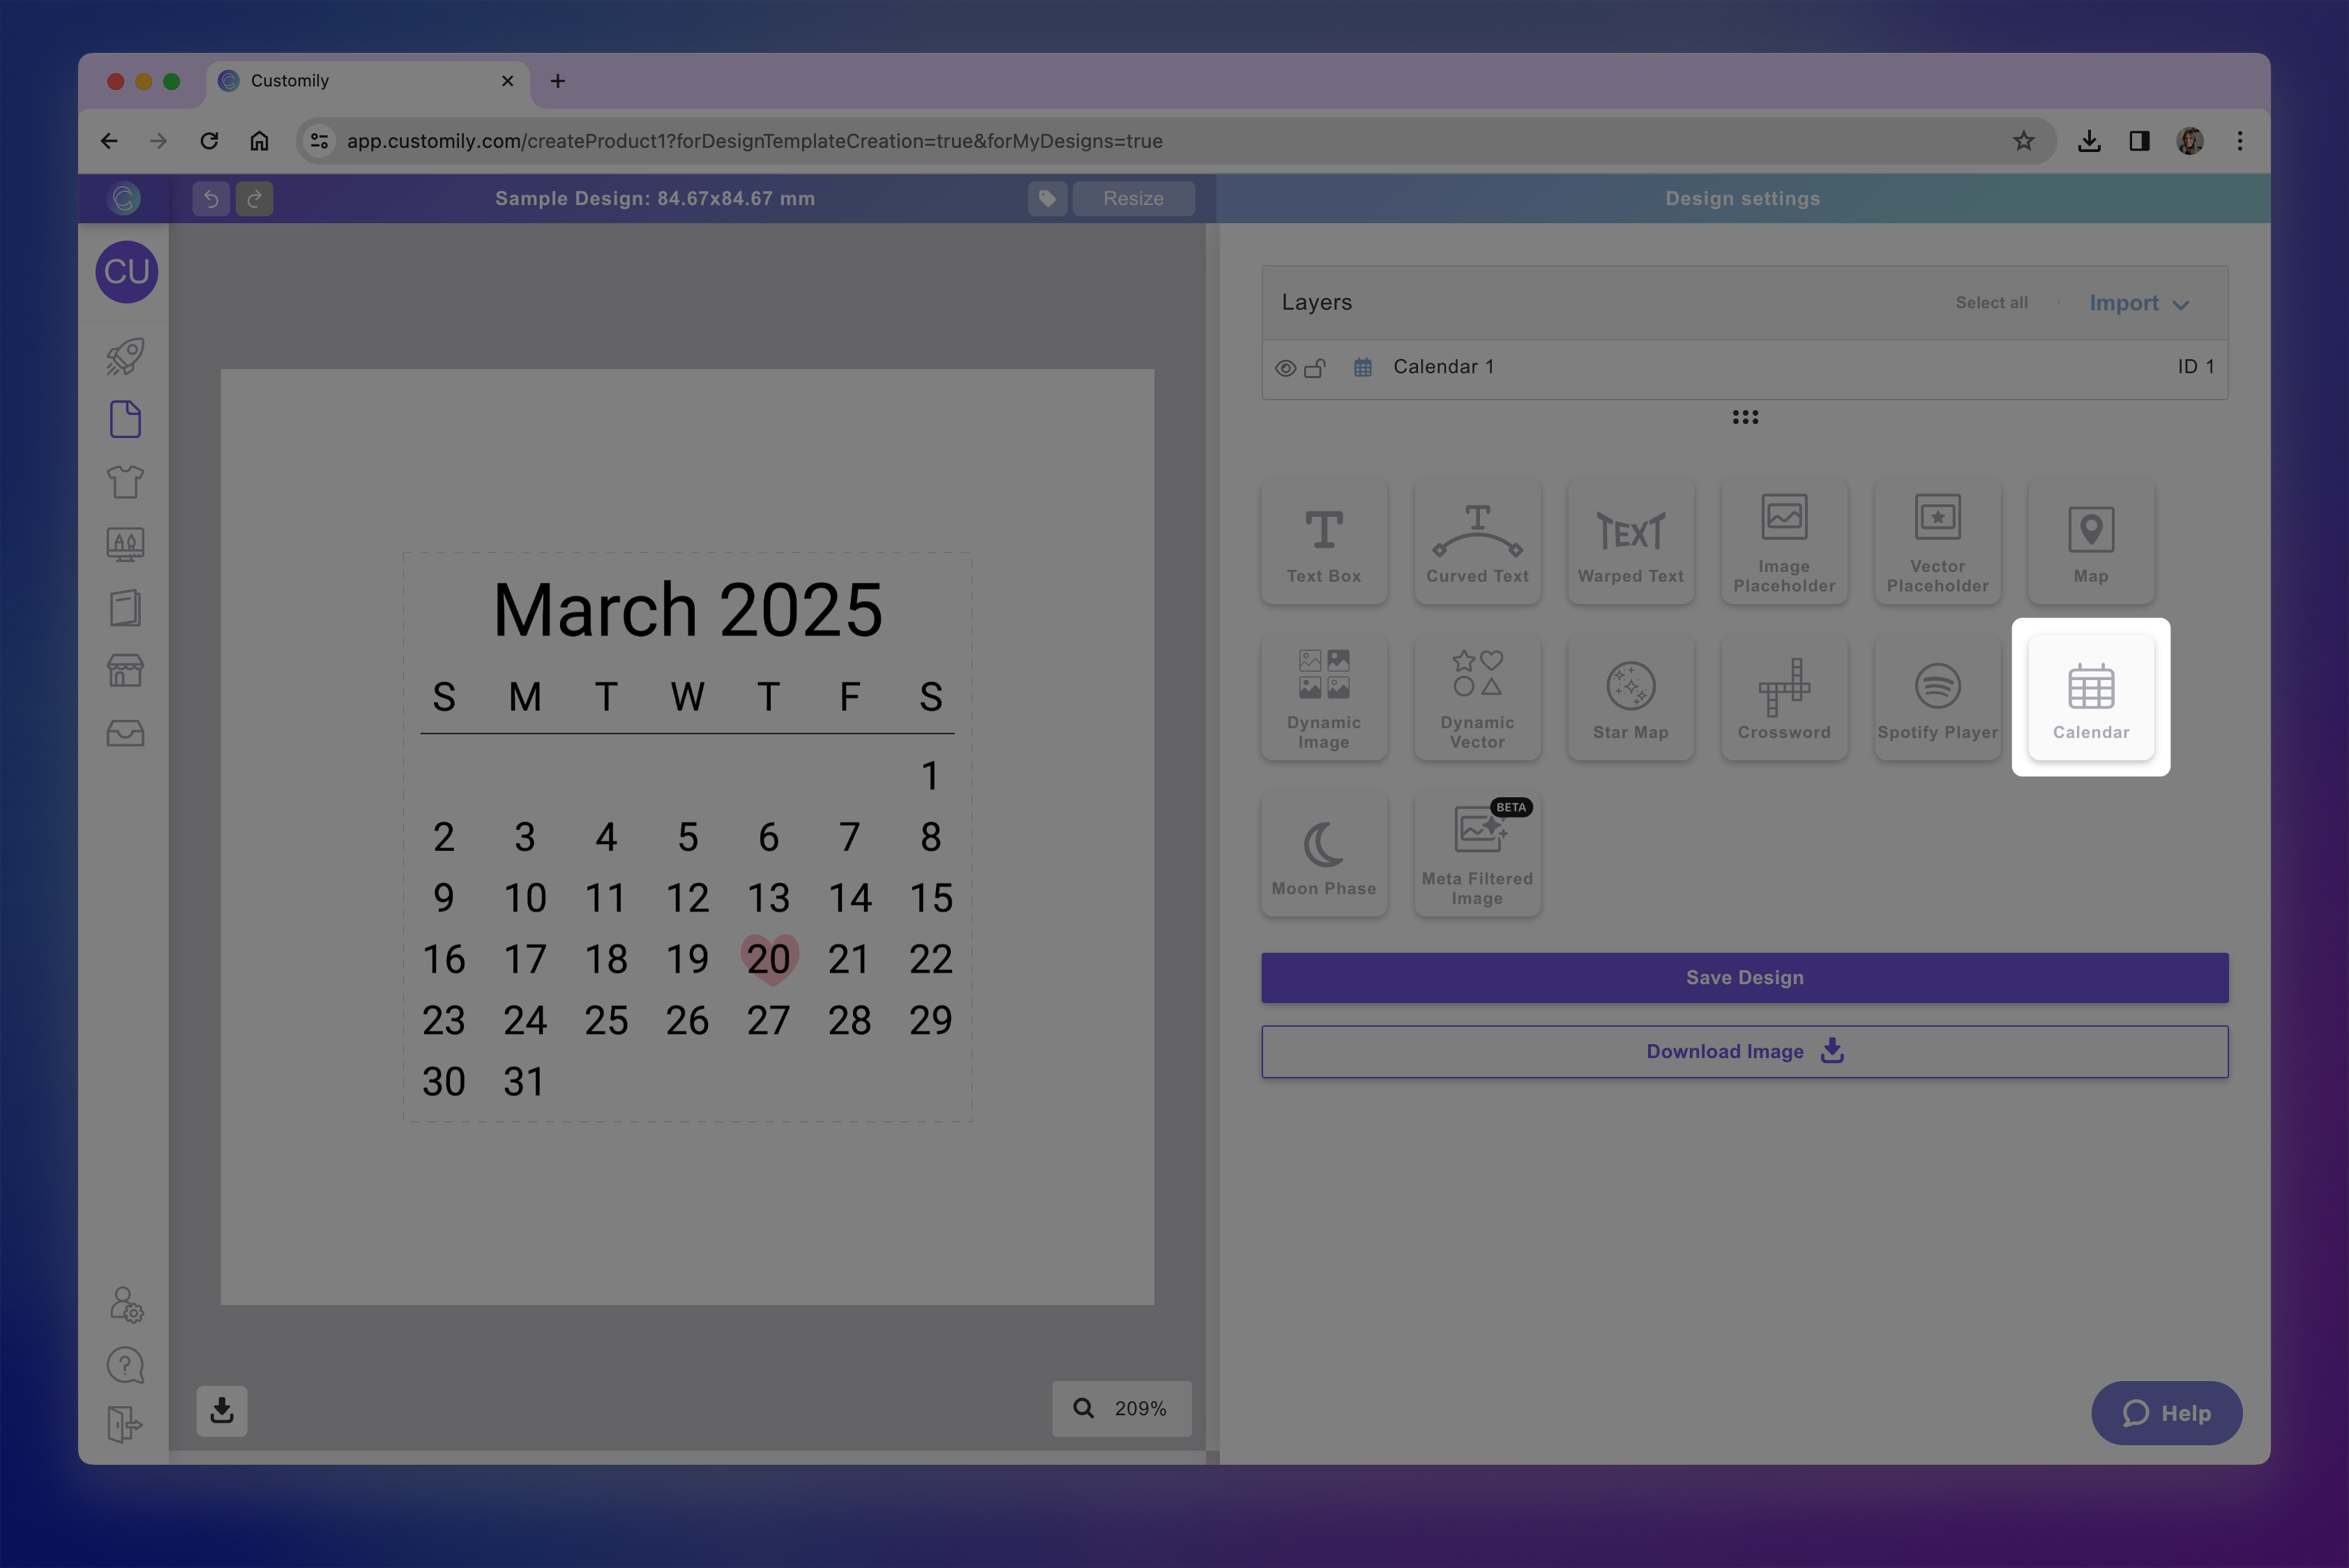
Each calendar you add will have a Name that you can edit, and a Unique Id for you to easily identify it.
Transform the calendar
Directly on the canvas or by expanding the Transform toolbox, you can transform the calendar's:

Change the calendar's design
Changing the calendar's design will affect how the calendar looks. You can configure different behaviors:

Change calendar's font and color
Changing the font and color will affect all the text in the calendar. The font and color chosen will be used on the month names, days of the week initials and numbers. You can choose any hex color you like, and any font from your library. To learn how to add new fonts, check our adding fonts guide.
Select the calendar.
Expand the General toolbox.
Choose a color, you can use #hex values or RGB.
Choose a font from your font list.
Configure the months and days layout
You can change what to display for each month and day of the week. This way you can adapt the calendar for any language you want to use. You can also change the calendar layout, by starting the week on Monday (default) or checking to start the week on Sunday.
Select the star map.
Expand the General toolbox.
Type the month names separated with a comma.
Type the day initials separated with a comma.
Check start on sunday to change when the week starts.
Check horizontal line to add a line between days of the week and day numbers.

Change the calendar's selected day marker
You can change how the selected date gets marked on the calendar by changing it's marker. You can change the marker's shape and color, and if it's filled or just an outline.
Select the calendar.
Expand the Marker toolbox.
Choose a color, you can use #hex values or RGB.
Choose a shape. Shapes available are predefined by Customily.
Change if it's a filled marker or just an outline by checking the box.

You can also change the color of the date selected. This helps highlight the selected date even further.
Select the calendar.
Expand the Selected Day toolbox.
Choose a color, you can use #hex values or RGB.
Tip
You can change the initial date of your calendar by choosing a date at the top of the toolboxes.
