Solid Background Color
Last updated: April 29, 2026
The Solid Background element lets you easily add background colors to your designs. You can keep the color fixed or allow customers to choose from multiple preset options — including color libraries you’ve created. This is a great tool for:
Creating bold, clean backdrops behind your artwork or text
Offering background color options to your customers
Designing all-over print products like journals or apparel, where the entire product's color changes based on the shopper’s choice
How It Works
When you add a Dynamic Image to your design:
The background automatically fills the entire design area and sits behind all other elements by default.
You can set a fixed color or add multiple color options for shoppers to choose from. Only one background color will be visible at a time—shoppers will see the one that matches their selection.
You cannot reposition, resize, or change the order of the background; it will always remain in place behind the design and filling the entire area.
If Movable Image is enabled, shoppers can also reposition or resize the image within the area you define.
In this article:
Adjusting the solid background on the preview
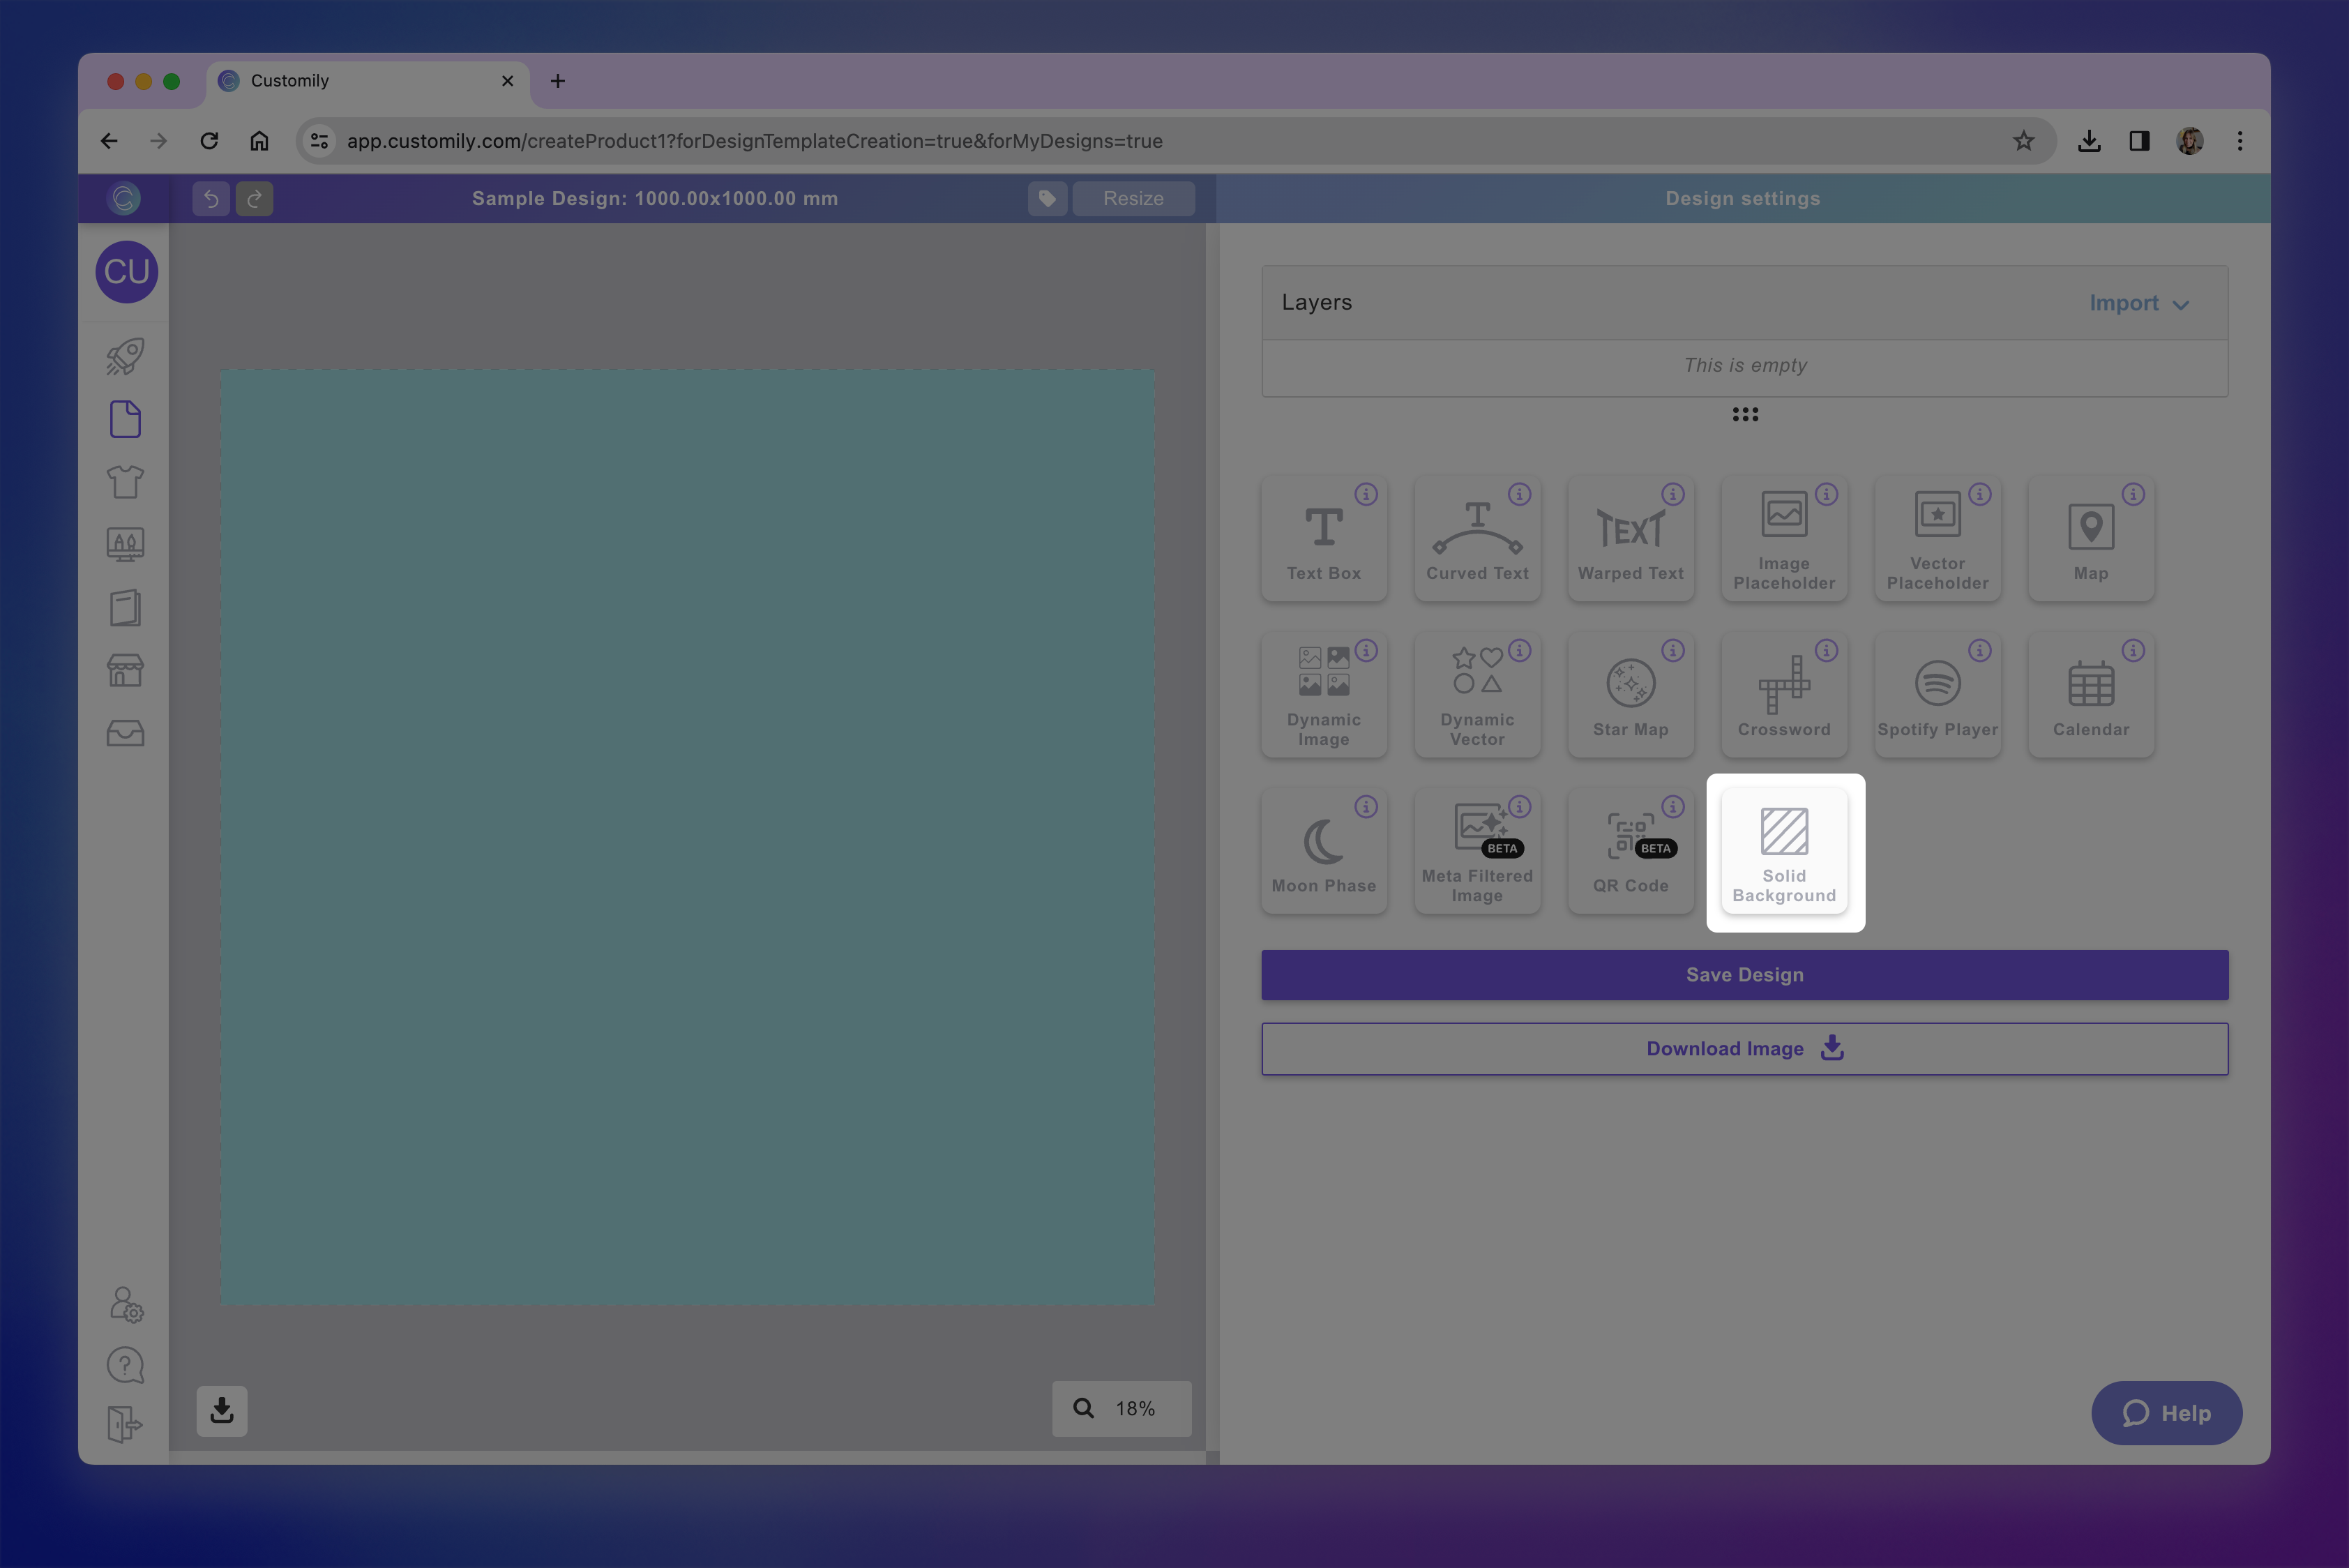
To add a solid background
You can add a solid backgrounds on Designs and Templates, by clicking the Solid Background button. Once you add it, the button will be disabled, as you can only add one solid background per design or template.
To set the color of the background
Select the Solid Background element to open its settings.
Under Fill Color, click the color swatch and choose the color you want and click apply.
To set multiple color options for the background
You can add color option in two ways:
To add colors manually
Select the Solid Background element.
Under Fill Color, click +Add color.
Choose the color you want and click apply.
Repeat with as many colors as you want.
To add colors using libraries
Select the Solid Background element.
Under Fill Color, click Pick Library.
Choose the color you want to use and click select.
Tip
To see all the image color options the background has, just browse through the list. You click any of the options at any time to see how they look.
Adjusting the solid background on the preview
In some cases, your preview may differ from your print file — for example, it might be shown closer or cropped differently than your print file. To ensure the solid background displays correctly on the preview you can edit it on your template, for that:
Go to the template menu on the left
Locate and open your template.
Go to the Preview step (step 2).
Click the Solid Background layer in the preview canvas.
Use the resize handles to make the background larger if needed, so it covers the full visible area of the product preview.
You can also adjust the layer order if needed by using the layer panel. You can move the background above or below other elements to get the look you want.
These changes won’t affect your print file — they only apply to how the product looks in the shopper’s live preview.