Using dynamic images in your template preview
Last updated: May 5, 2026
Dynamic images can be added to the preview of your templates to enhance how your product is displayed, without affecting the print file.
They are used to create visual variations that help shoppers better understand what they’re buying.
When should you use dynamic images in the preview?
Use them when you want to:
Show different product colors or materials
Add props or decorative elements that don’t need to be printed
Create mix-and-match setups (e.g., fabrics, accessories)
When to Use a Dynamic Image on your Preview
Use this feature when you want to:
Show multiple product colors in one design
Add props or decorative elements that don’t need to be printed
Create mix-and-match setups (like bundles, or products with different fabrics or decorations)
Adding a mask to:
Add shadows or folds to simulate how a design would look on real fabric
Adding texture or gloss to give the impression of specific materials (e.g. wood grain, metallic shine)
Hiding parts of the print area to match your product’s shape (like rounded edges)
How dynamic images work in the preview
They are only visible in the preview
They do not affect the print file
They can have multiple options that shoppers can choose from
If you need an element to appear in the print file, it must be added in the print file setup, not the preview.
To add a Dynamic image to the Preview
Open your template in the Design Studio
Go to Preview Setup
Click Dynamic Image
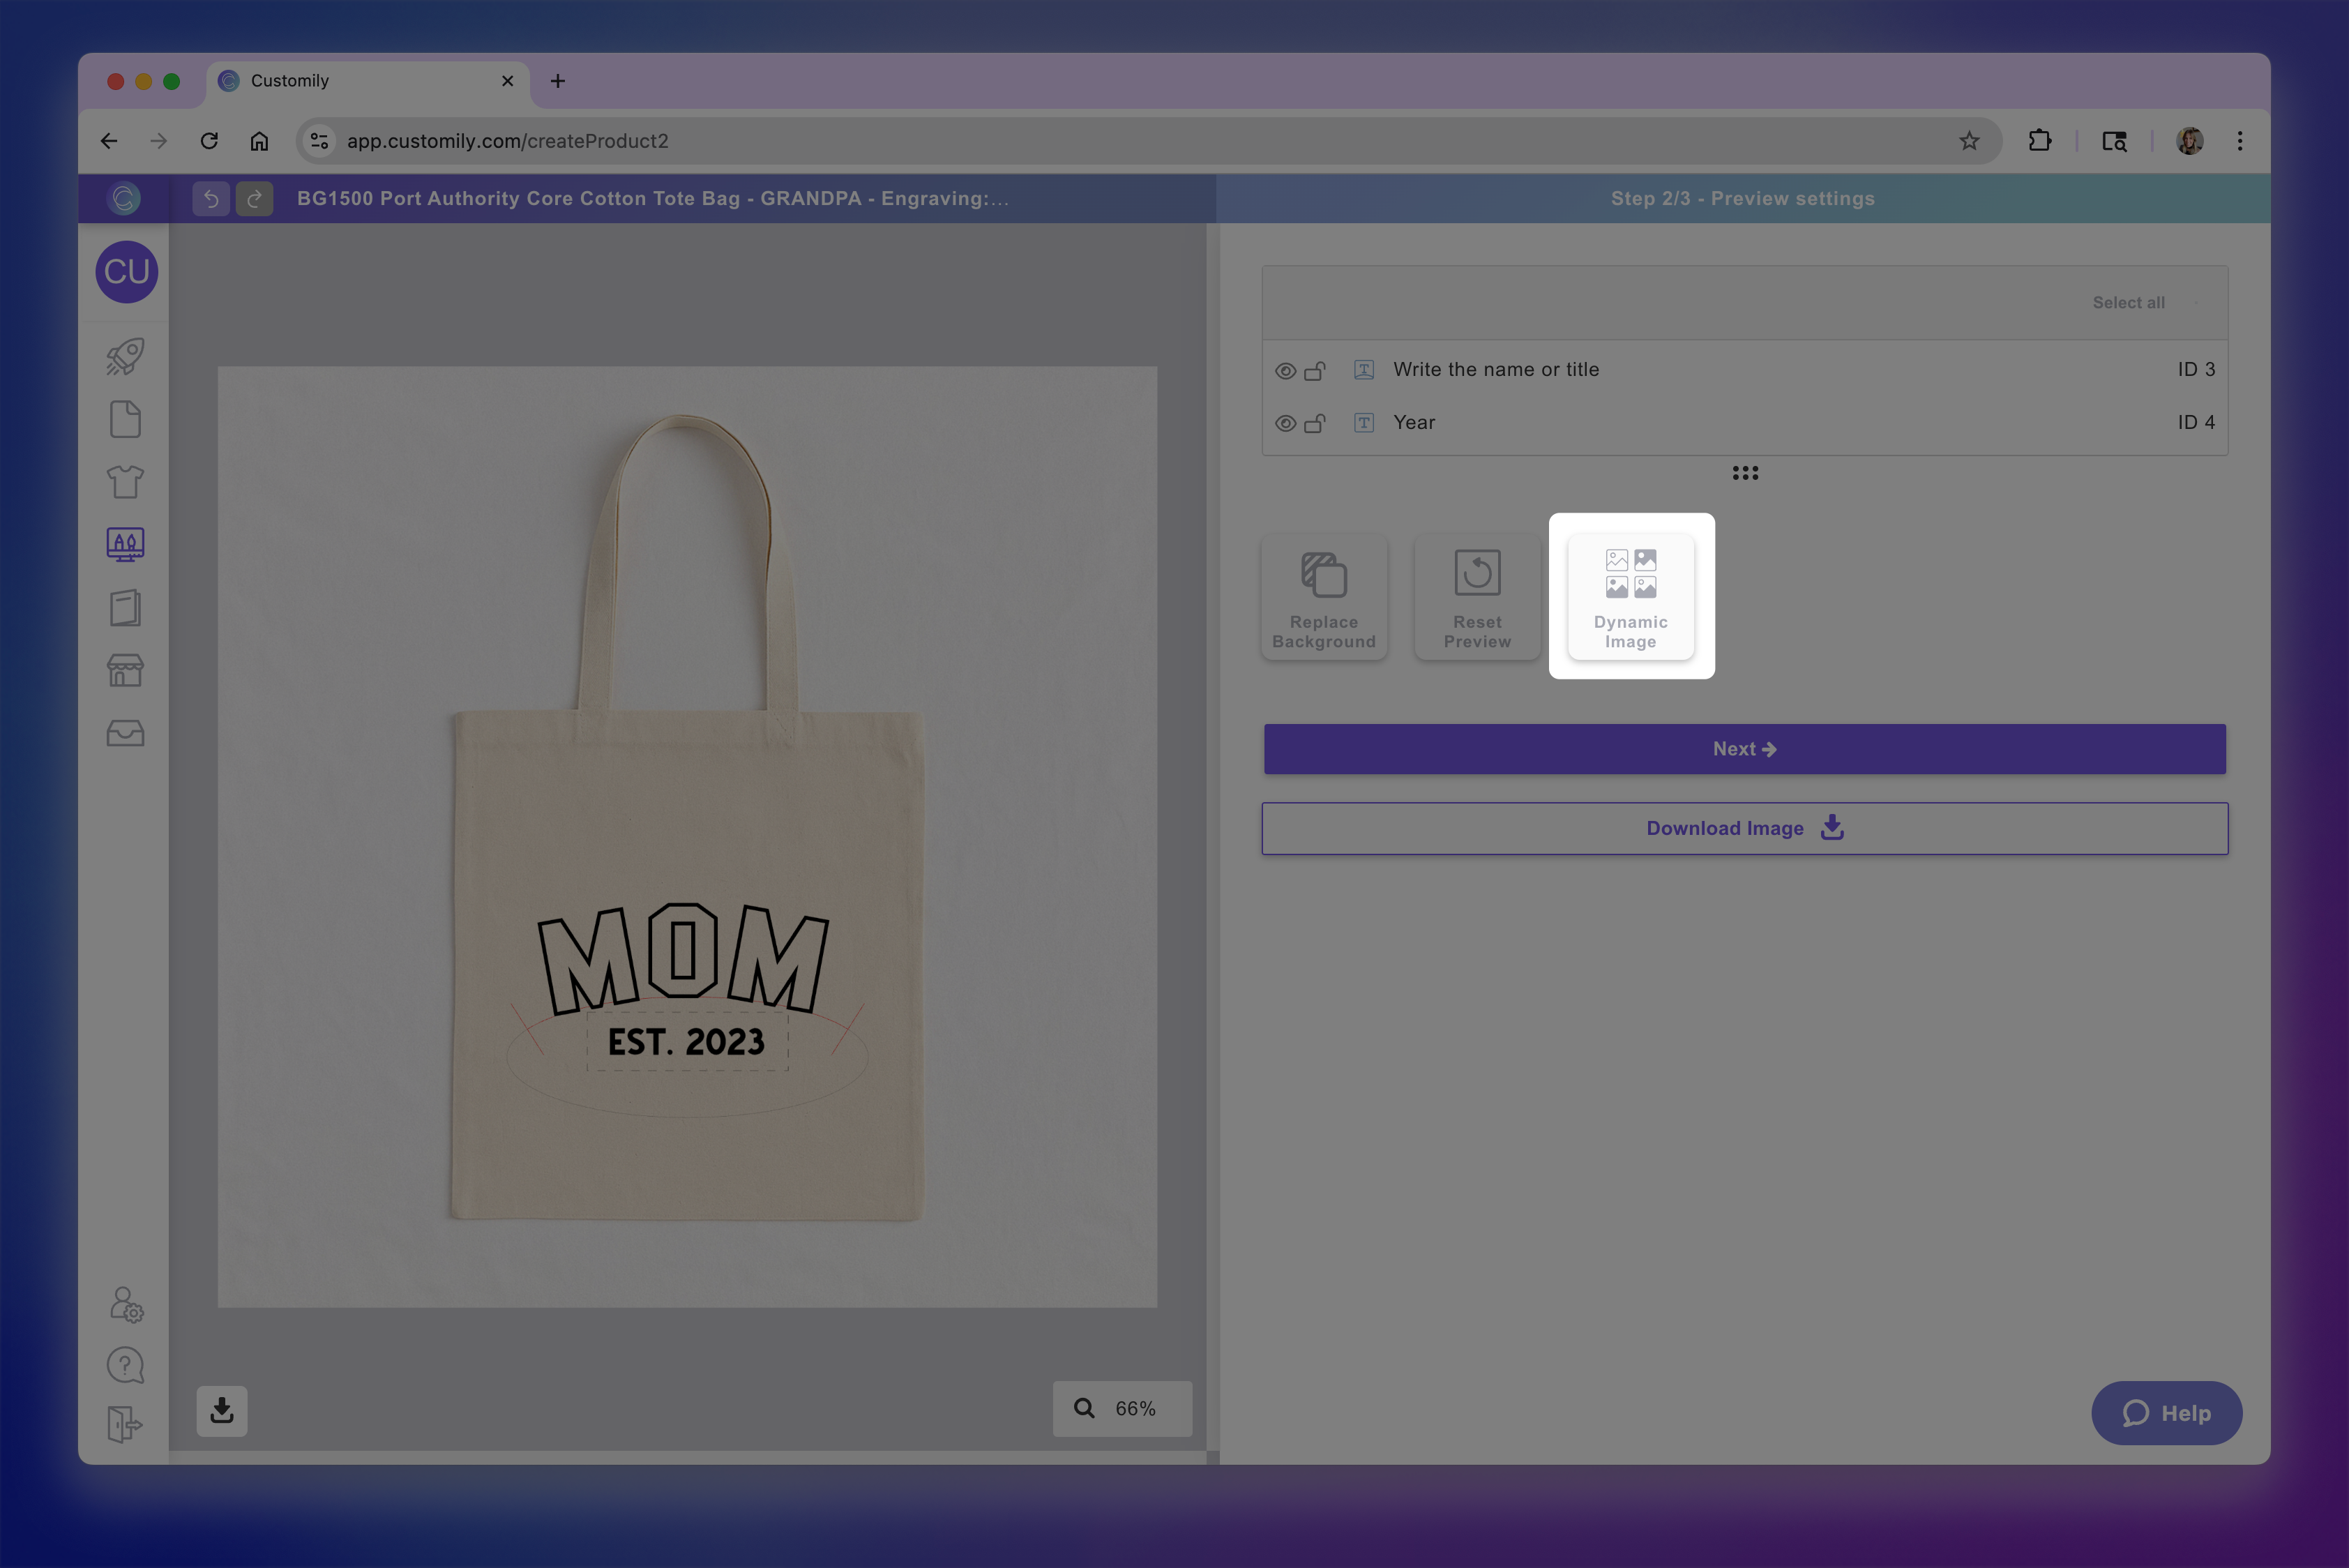
A dynamic image element will be added to your preview. + Add Image Option to start uploading your images or Pick Library to use an image library if you already have one created.
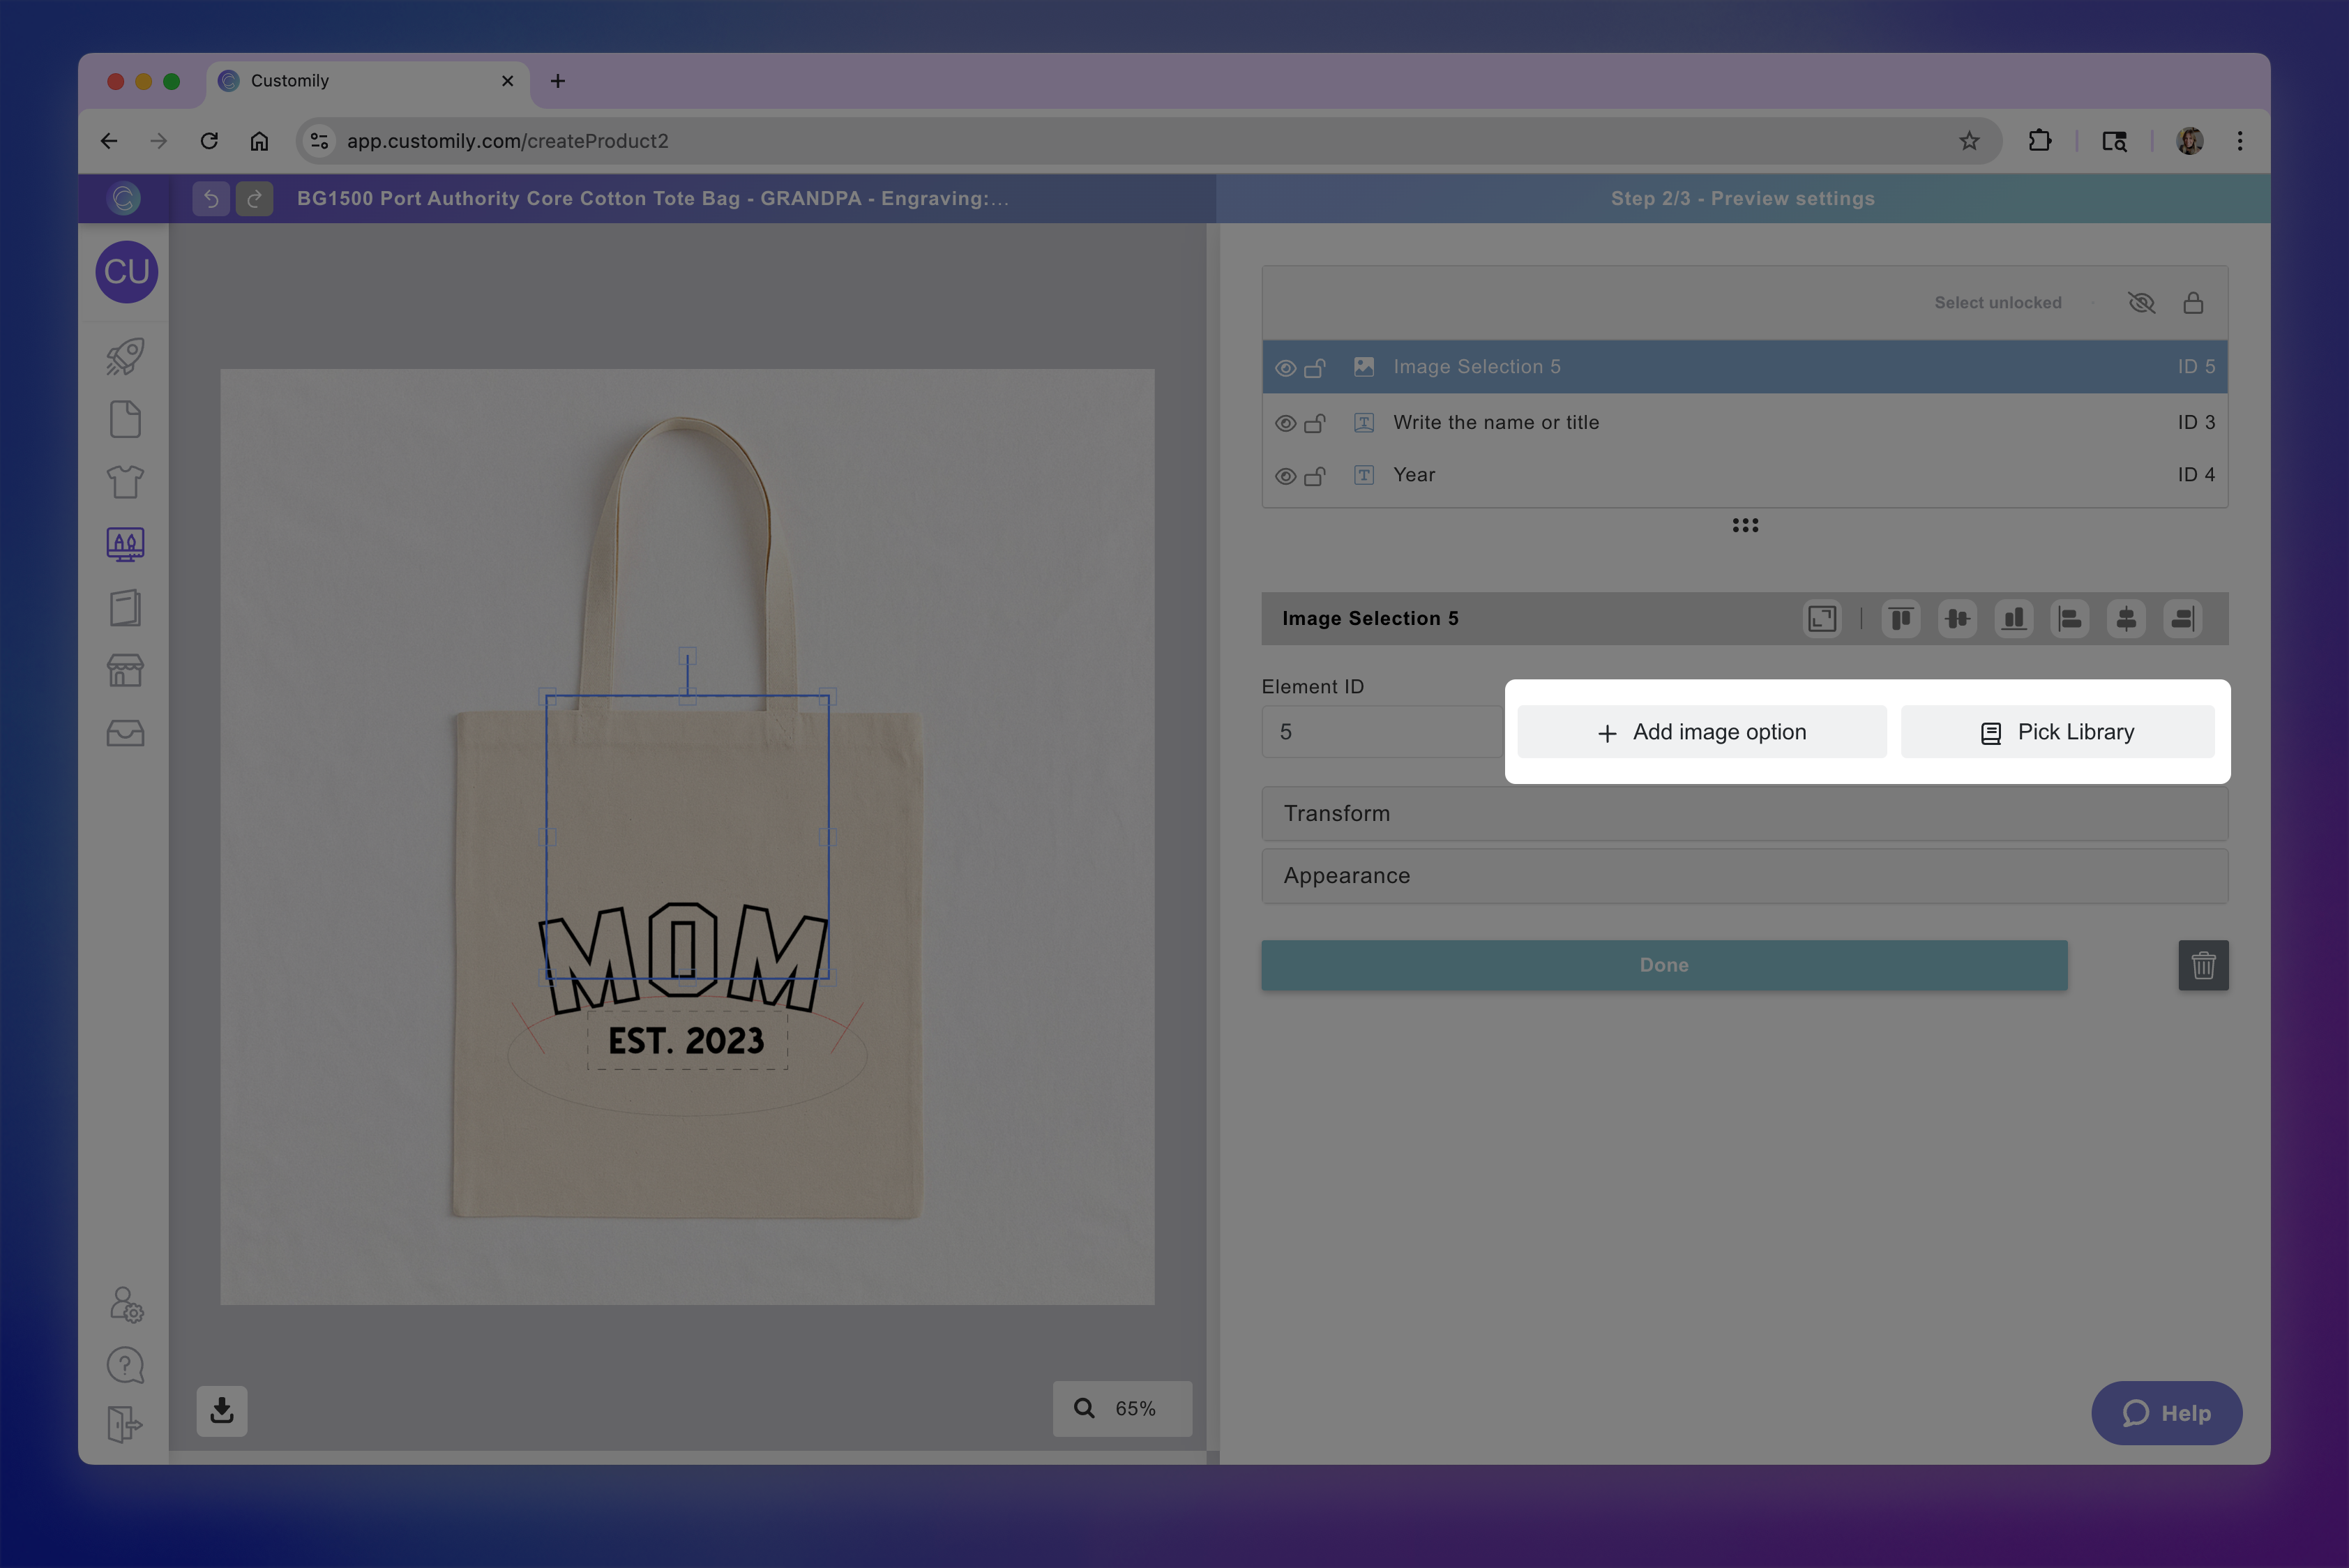
Position and resize it on your mockup

Tip
You can add multiple dynamic images to create more complex previews for mix-and-match products.
For example, a tote bag where shoppers can choose the fabric of the body, the handle style, stitching, and other details independently.