Add and manage team members
Last updated: October 14, 2026
You can invite other people to work with you in Customily, control what they can access, and keep track of their changes.
Each team member has their own account, so everyone can collaborate without sharing login credentials.
Add a team member
In the left sidebar, expand Account and select Team.
Click Add member.
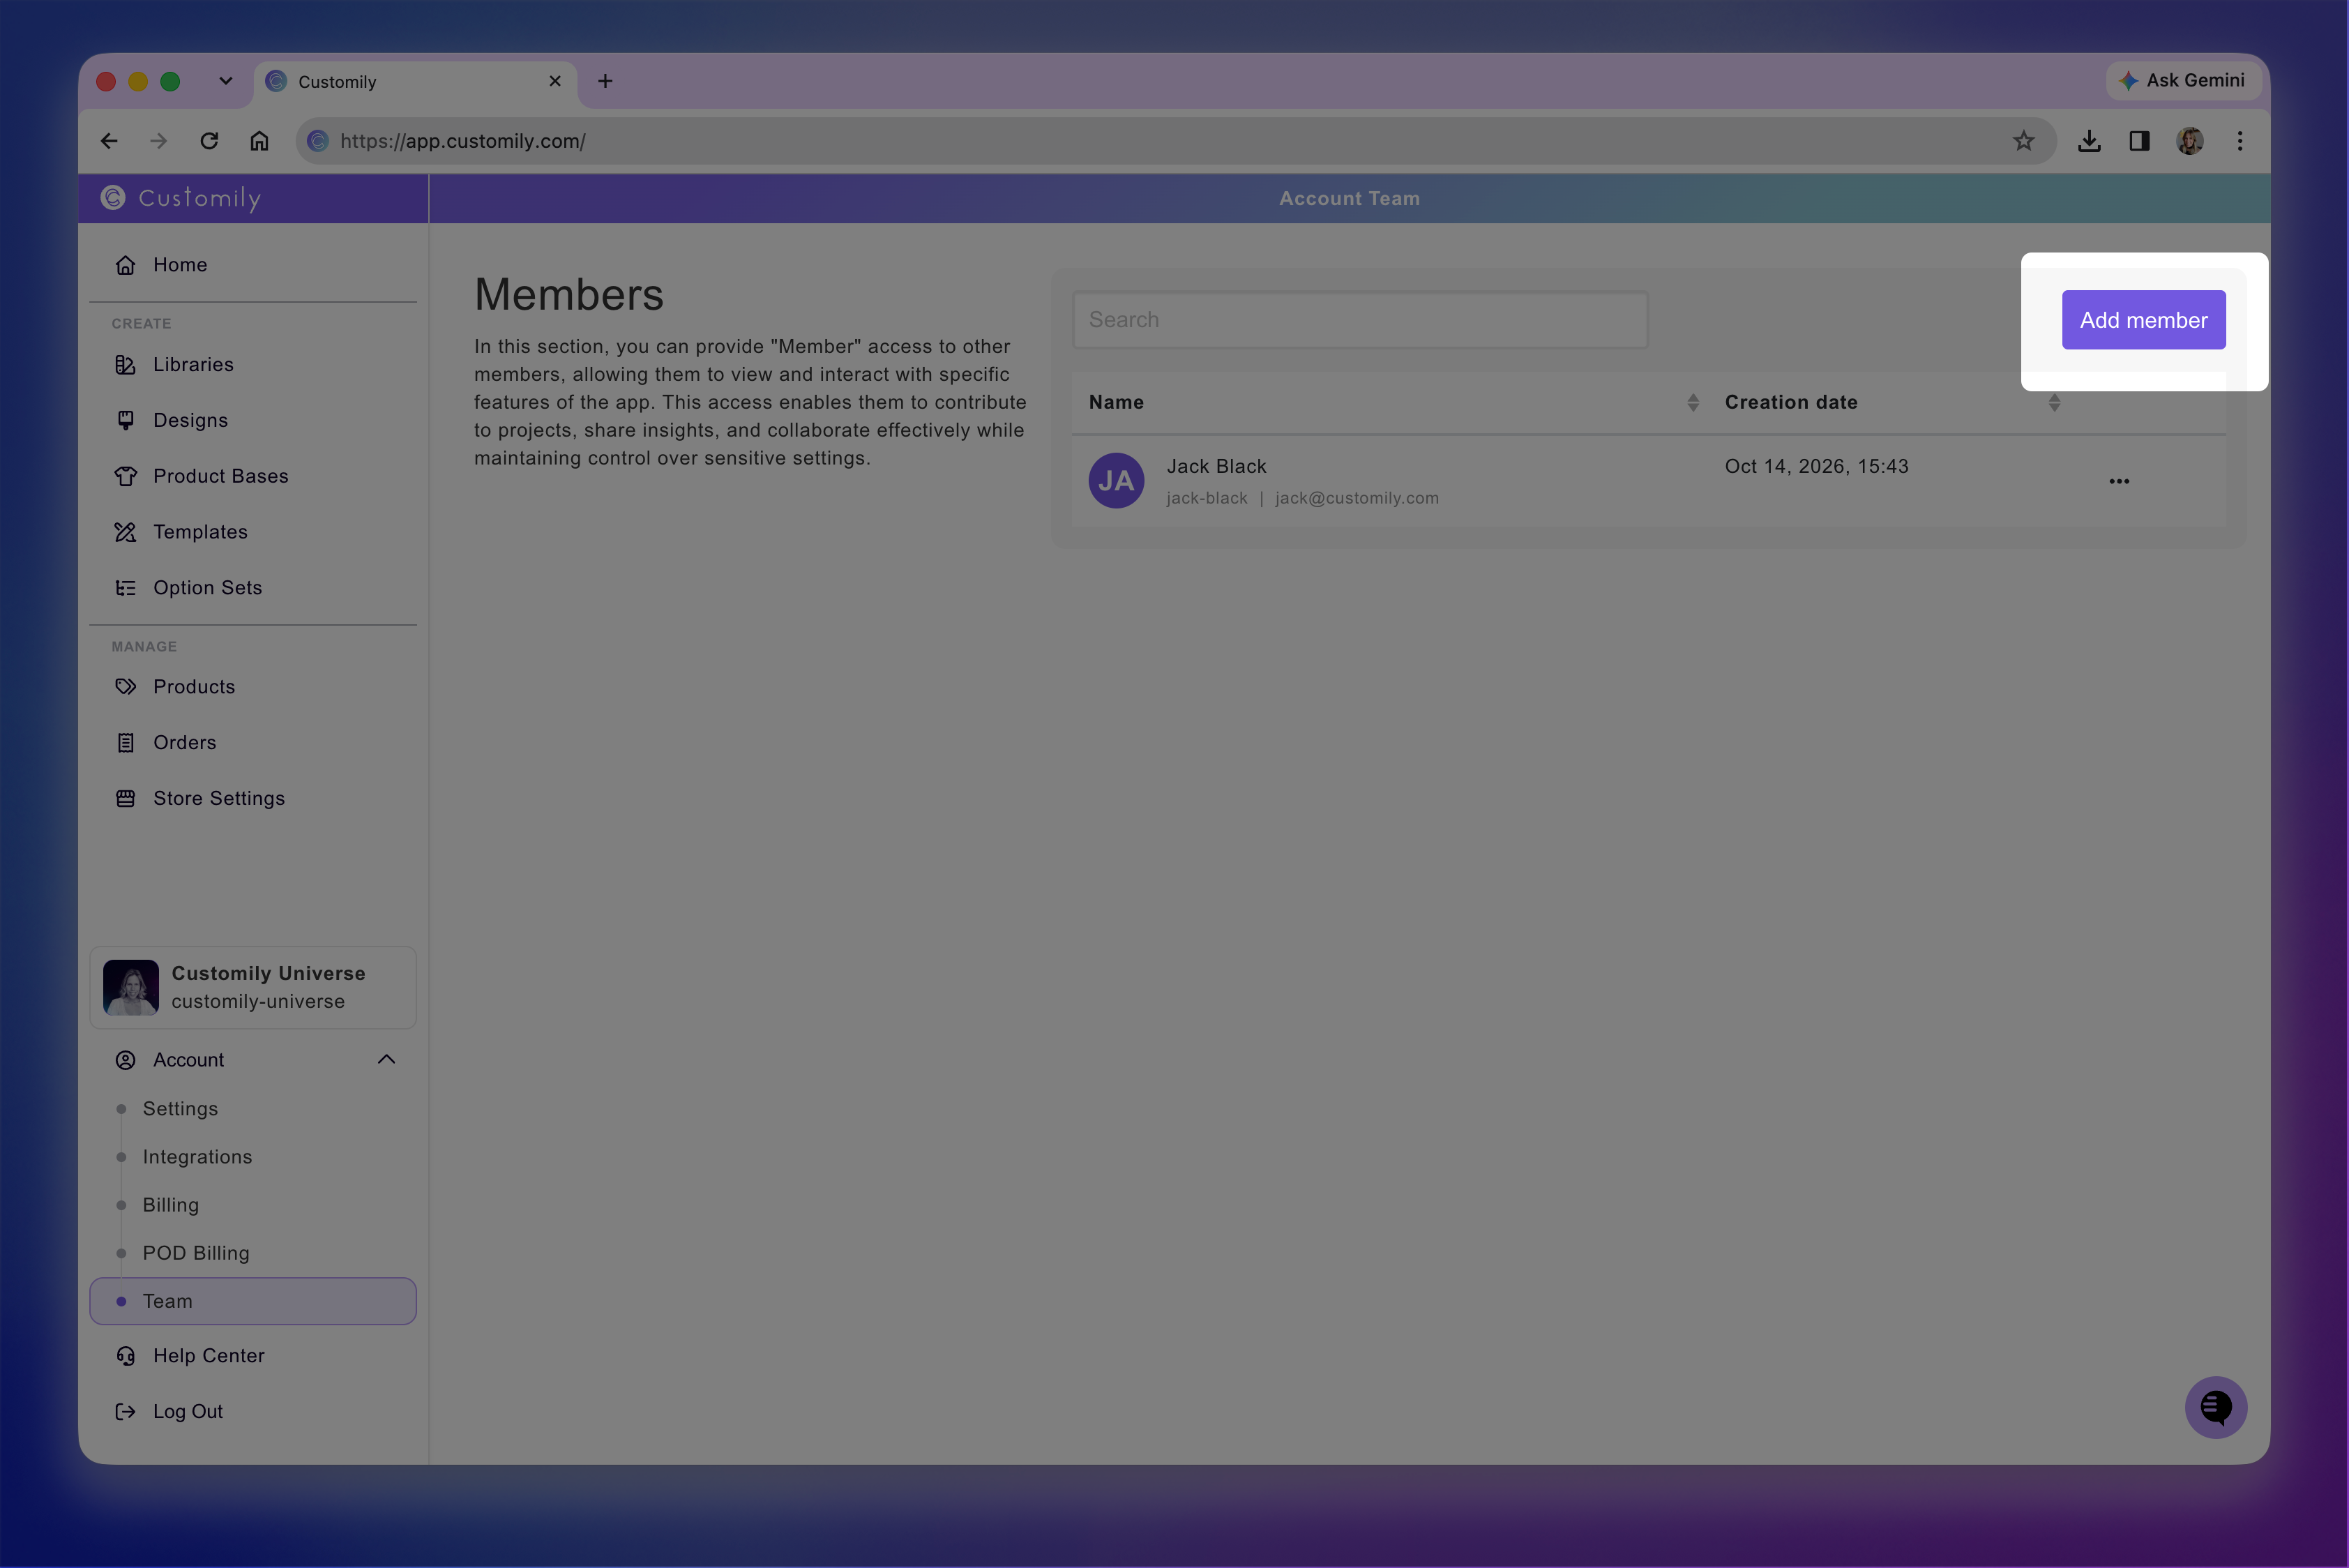
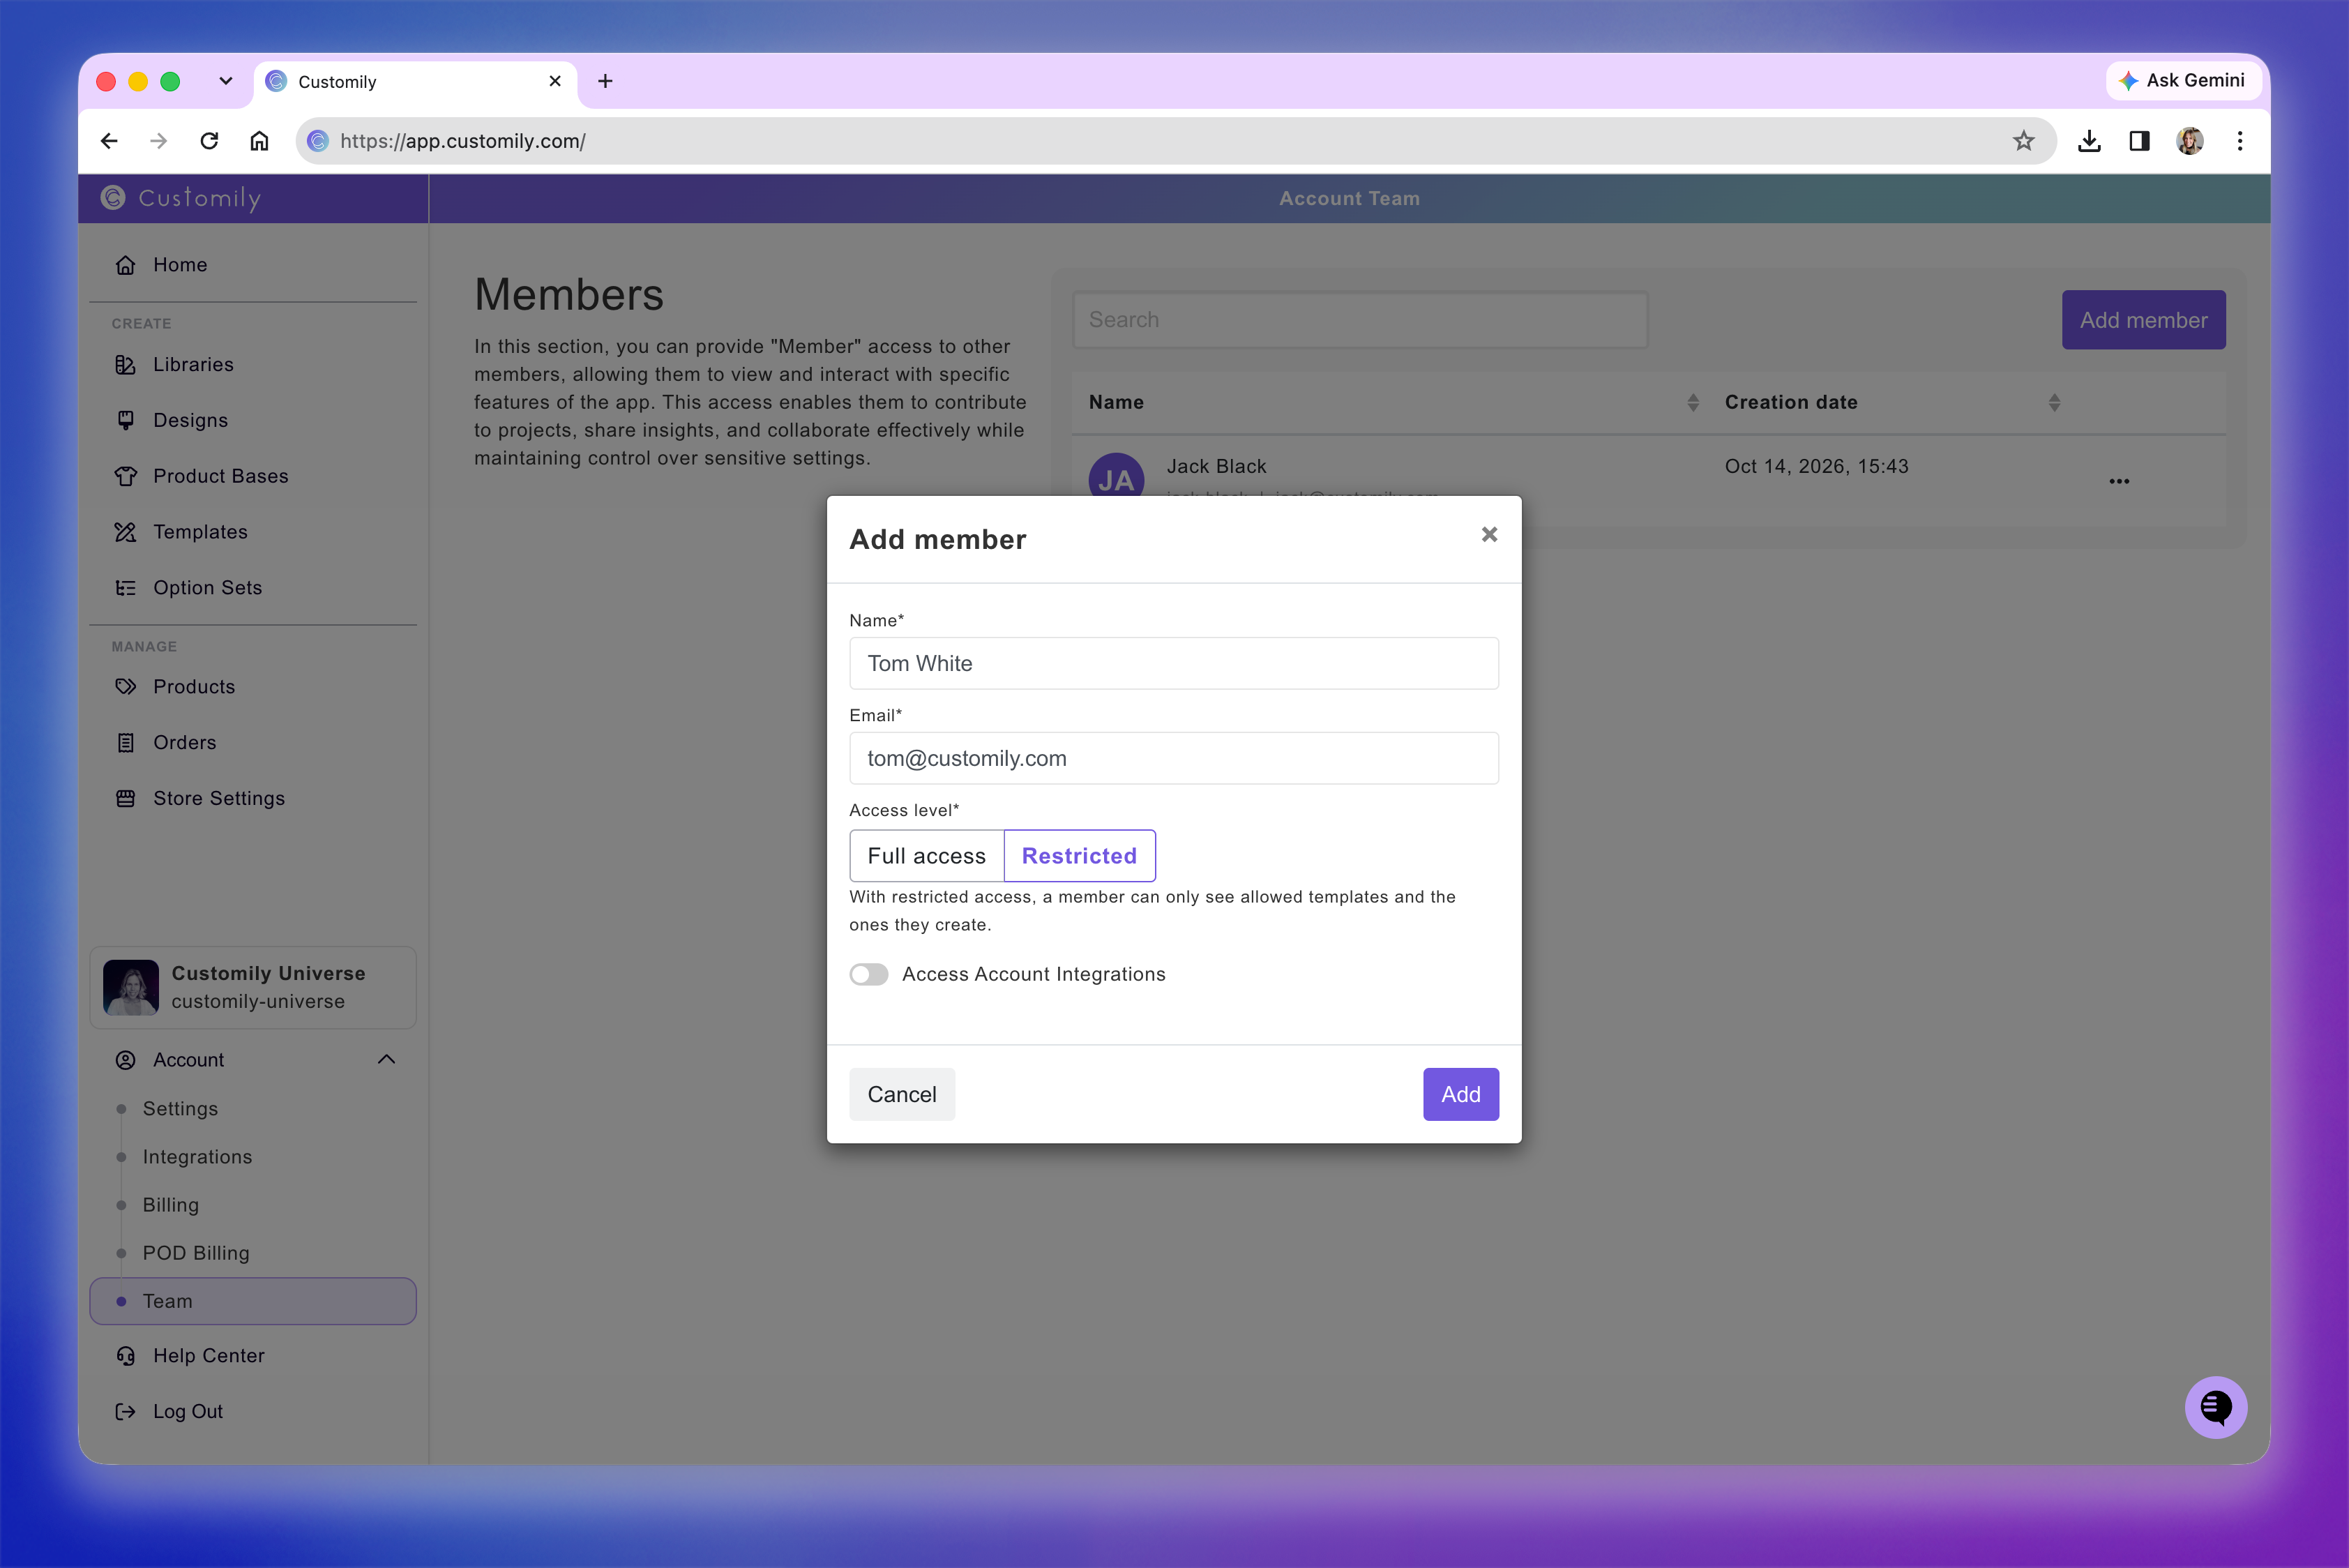
Enter the person's Name and Email.
Choose their access level: Full access or Restricted.
If you select Restricted, you can also enable Access Account Integrations to give the member access to your account integrations.
Click Add.
If you selected Restricted, an additional window will open where you can configure the member's Template access.
Choose one of the following options under Templates Restriction Access:
Listed: The member can access only the Templates you add to their allowed list.
Full Access: The member can access all Templates, but other account restrictions still apply.
All Read-Only + Full Access to Listed: The member can view all Templates but can only edit those you add to their allowed list.
For options that use an allowed list, click Add template to select the Templates the member can work with.
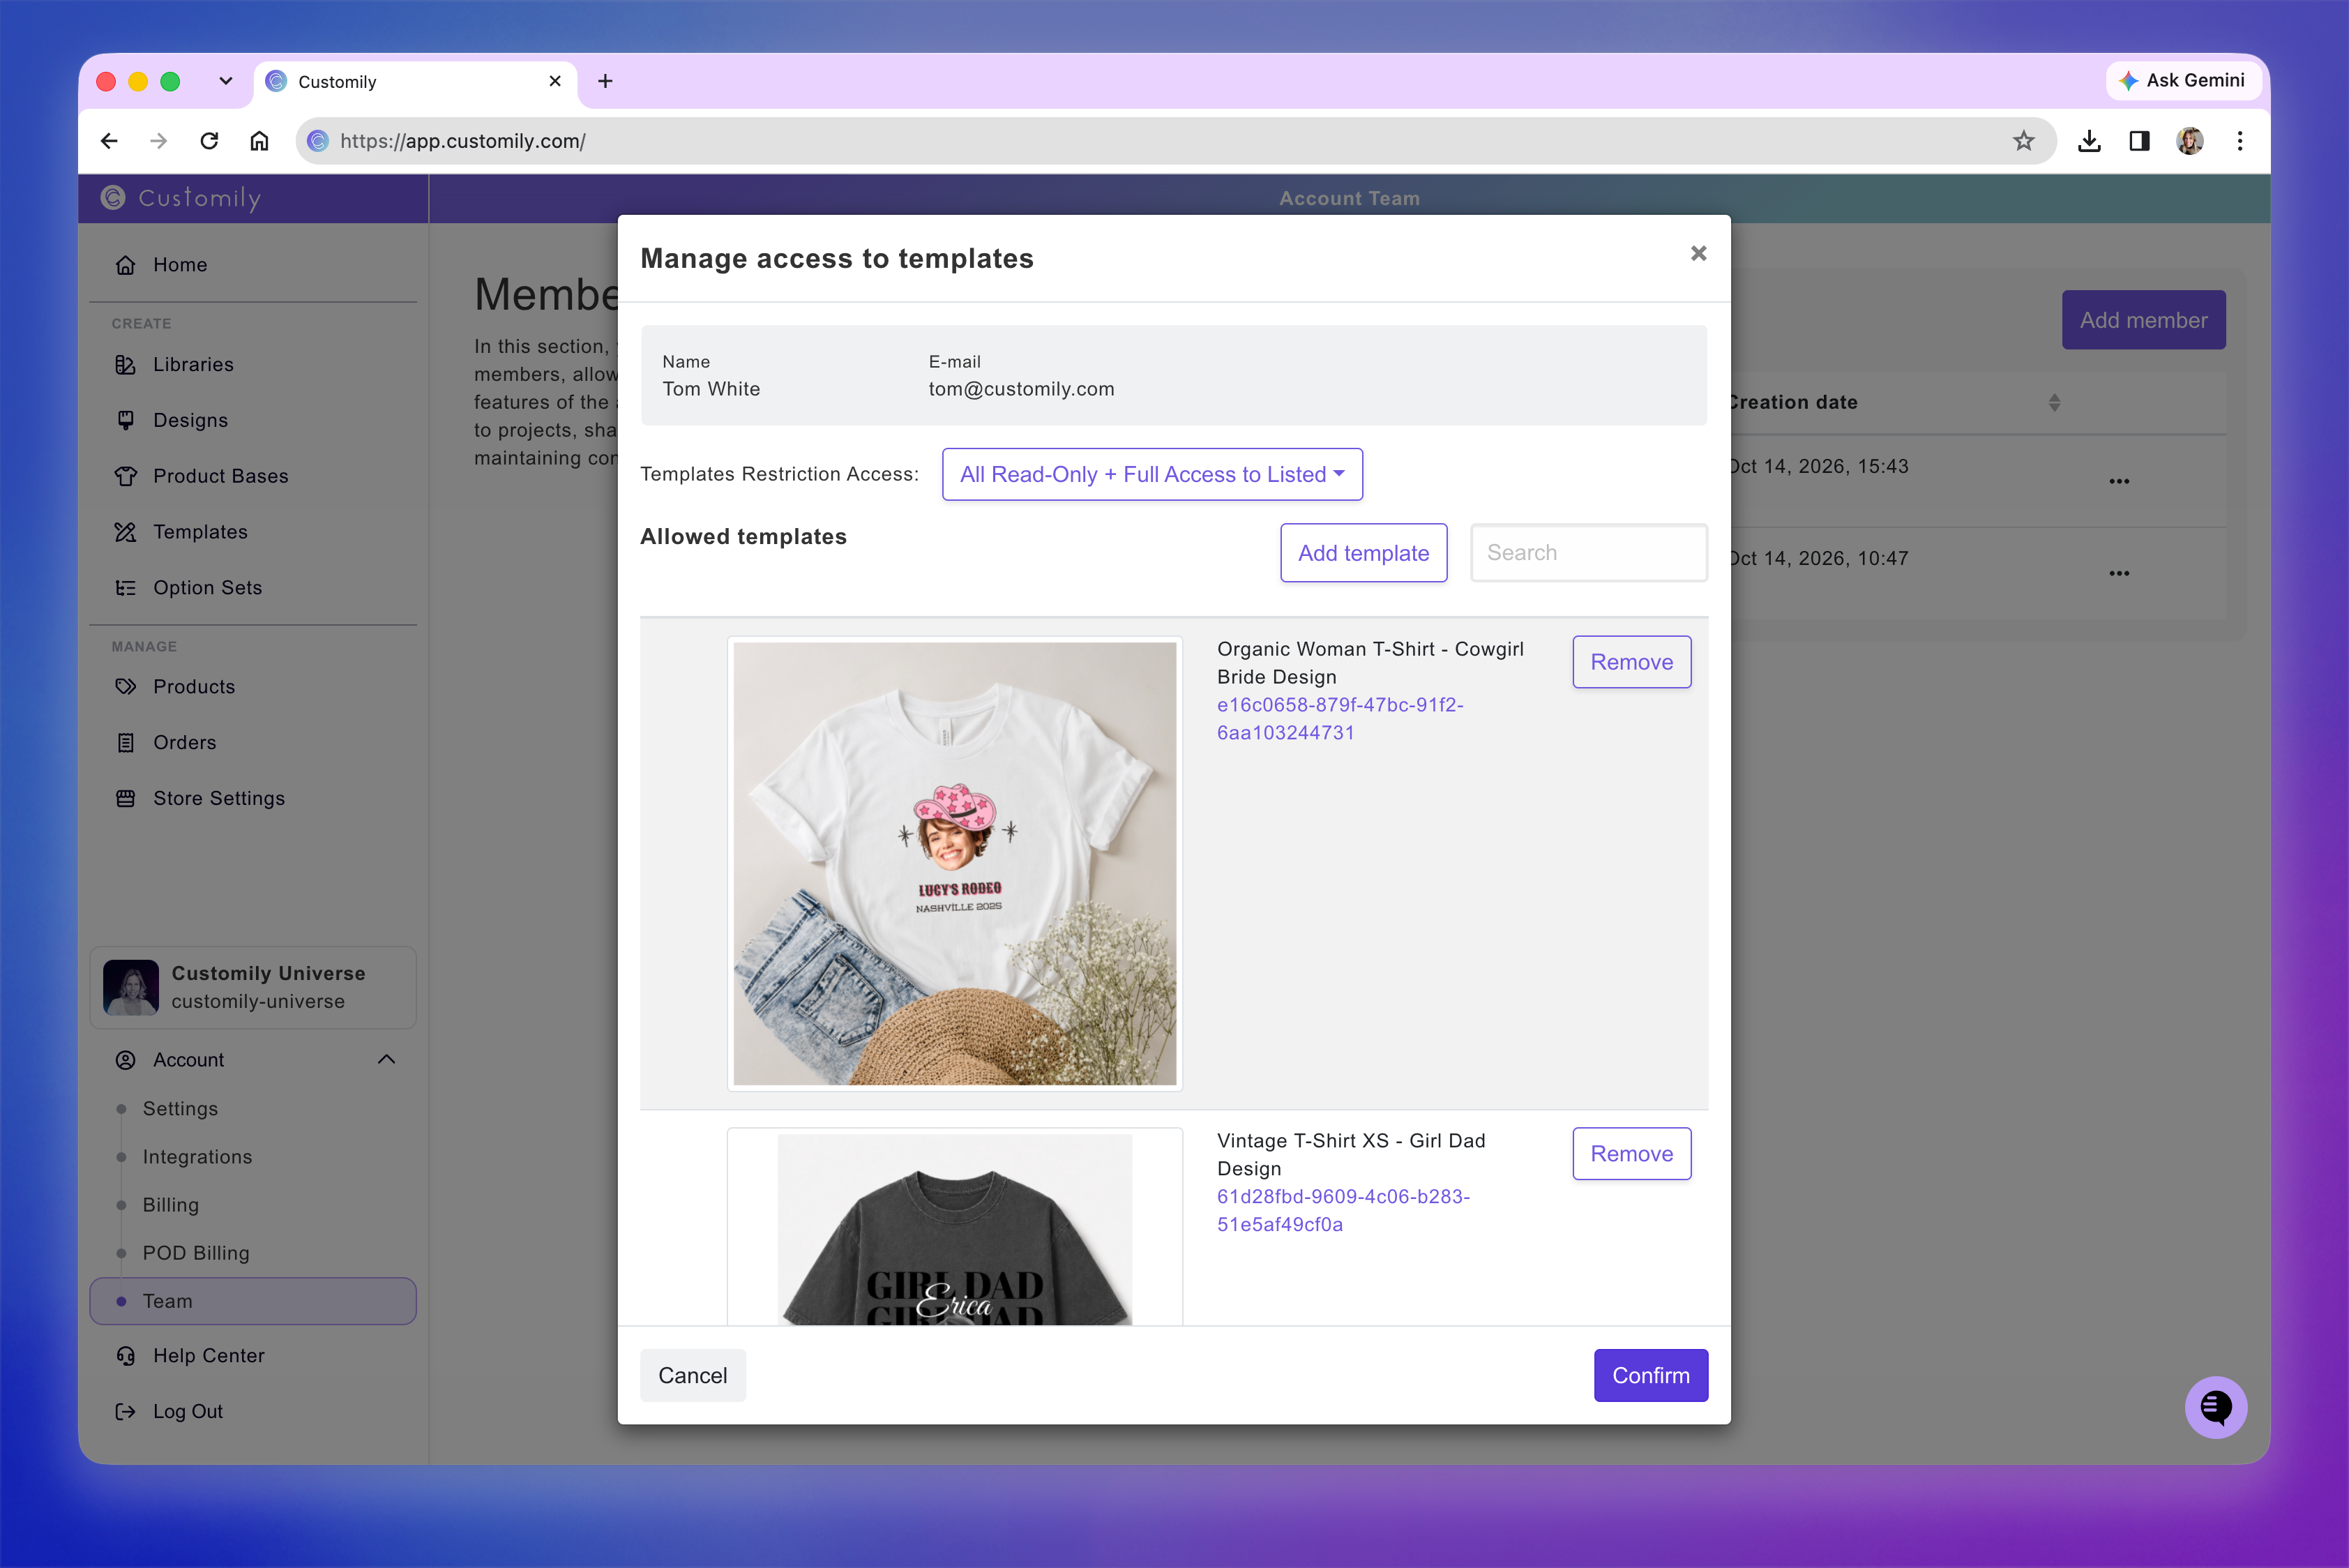
Click Confirm to finish.
The new member will appear in your team list and receive an email invitation to create their account and access Customily.
Understanding team member access levels
Customily offers two access levels for team members:
Full access: Gives members access to Customily's complete suite of tools, including Designs, Templates, Libraries, Product Bases, and third-party integrations.
Restricted: Allows members to work with the resources they create themselves, while limiting access to resources created by others. You can grant additional permissions to specific Templates, Libraries, stores, Products, and Option Sets. You can also optionally enable Access Account Integrations.
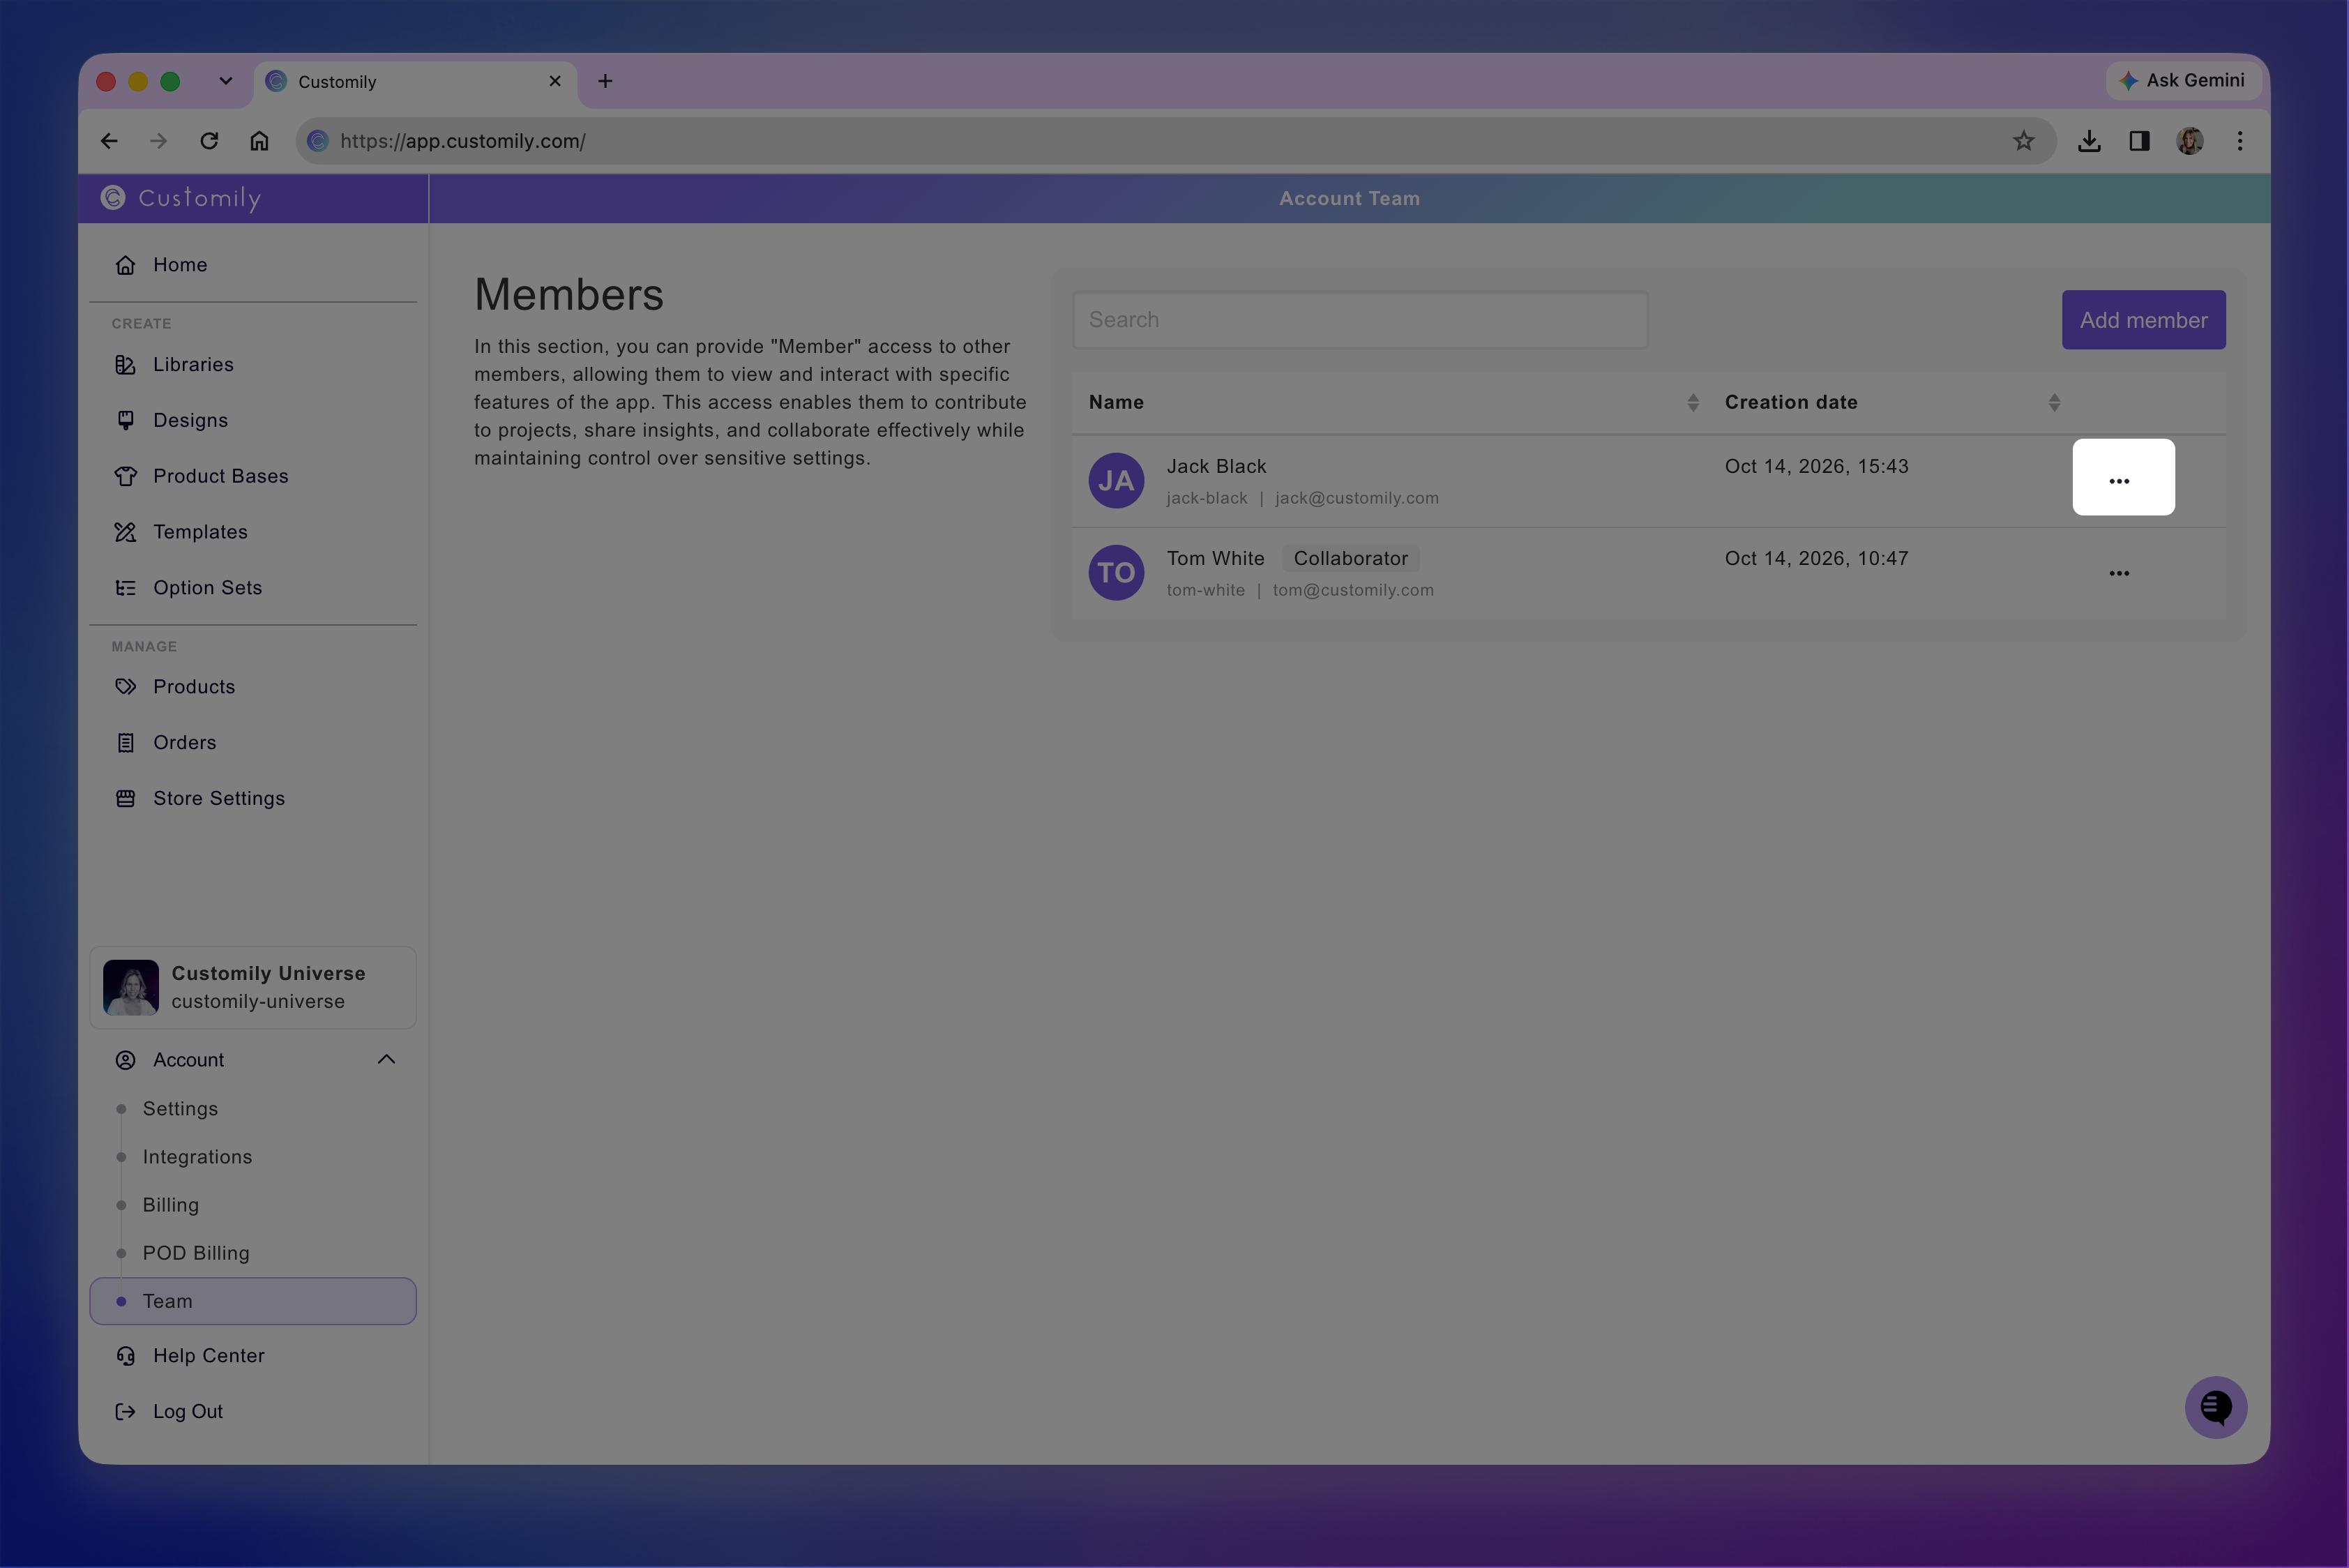
Members with Restricted access are identified by a Collaborator tag next to their name in the team list.
Grant additional permissions to restricted members
Once you've added a Restricted member, you can give them access to additional resources:
Go to Account → Team.
Click the three-dot menu (⋯) next to the member's name.
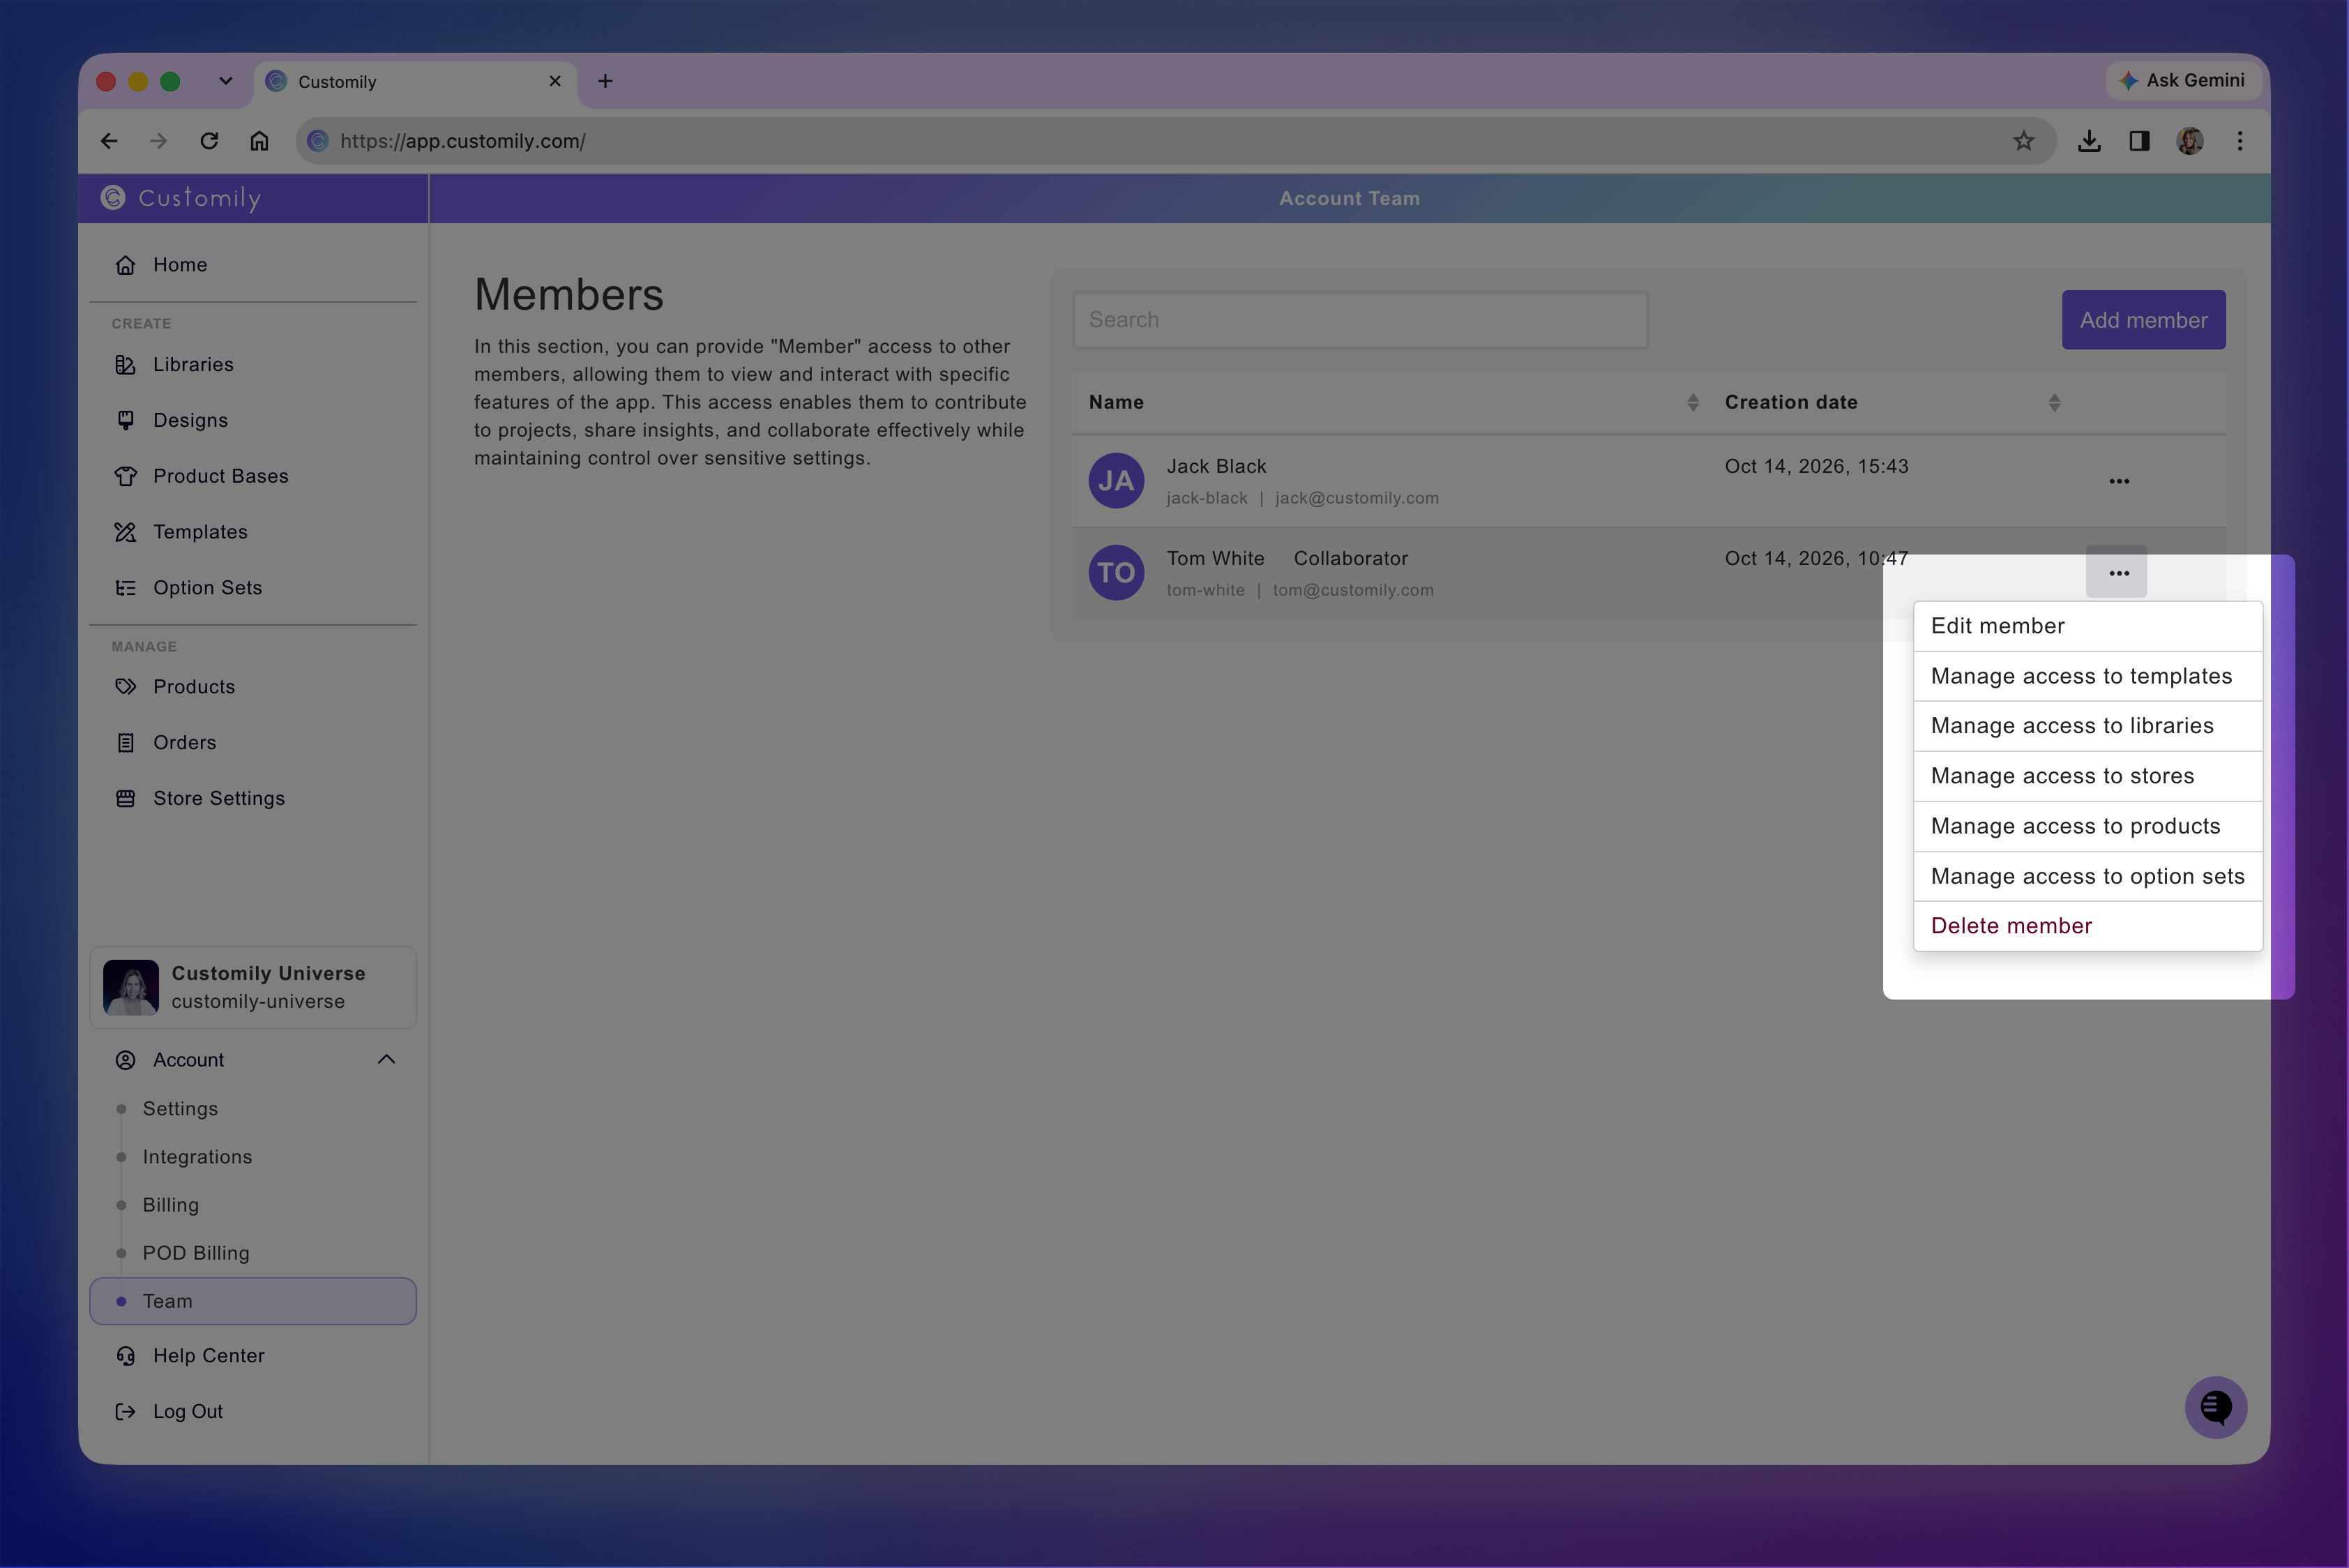
Select Manage access to templates, libraries, stores, products, or option sets.
Add the resources you want to allow and click Confirm.
For Libraries, stores, Products, and Option Sets, you can add individual resources to the member's allowed list.
Templates offer additional permission options: you can allow access to selected Templates, grant full access to all Templates, or provide read-only access to all Templates with editing permissions for selected ones.
Note
Selecting Full Access for Templates does not change the member's overall Restricted access level. Other restrictions still apply.
Edit or remove a team member
You can manage existing members at any time from Account → Team.
Find the member in the list. You can use the search bar if needed.
Click the three-dot menu (⋯) next to their name.
Choose one of the available actions:
Edit member to update their information or access level.
Manage access for restricted members to control which Templates, Libraries, stores, Products, and Option Sets they can access.
Delete member to remove them from your team.
Track changes made by team members
When multiple people work in your Customily account, you can use History to see who made changes to your resources.
For example, when viewing the history of a Template or Option Set, Customily identifies the team member responsible for creating or editing it.
This helps you track changes and understand who worked on different parts of your personalization setup.