Creating a Personalization URL
Last updated: August 27, 2026
A Personalization URL lets you display Customily's personalization experience on your website, including the personalization options and live preview.
You can create a Personalization URL directly from the Home page in Customily.
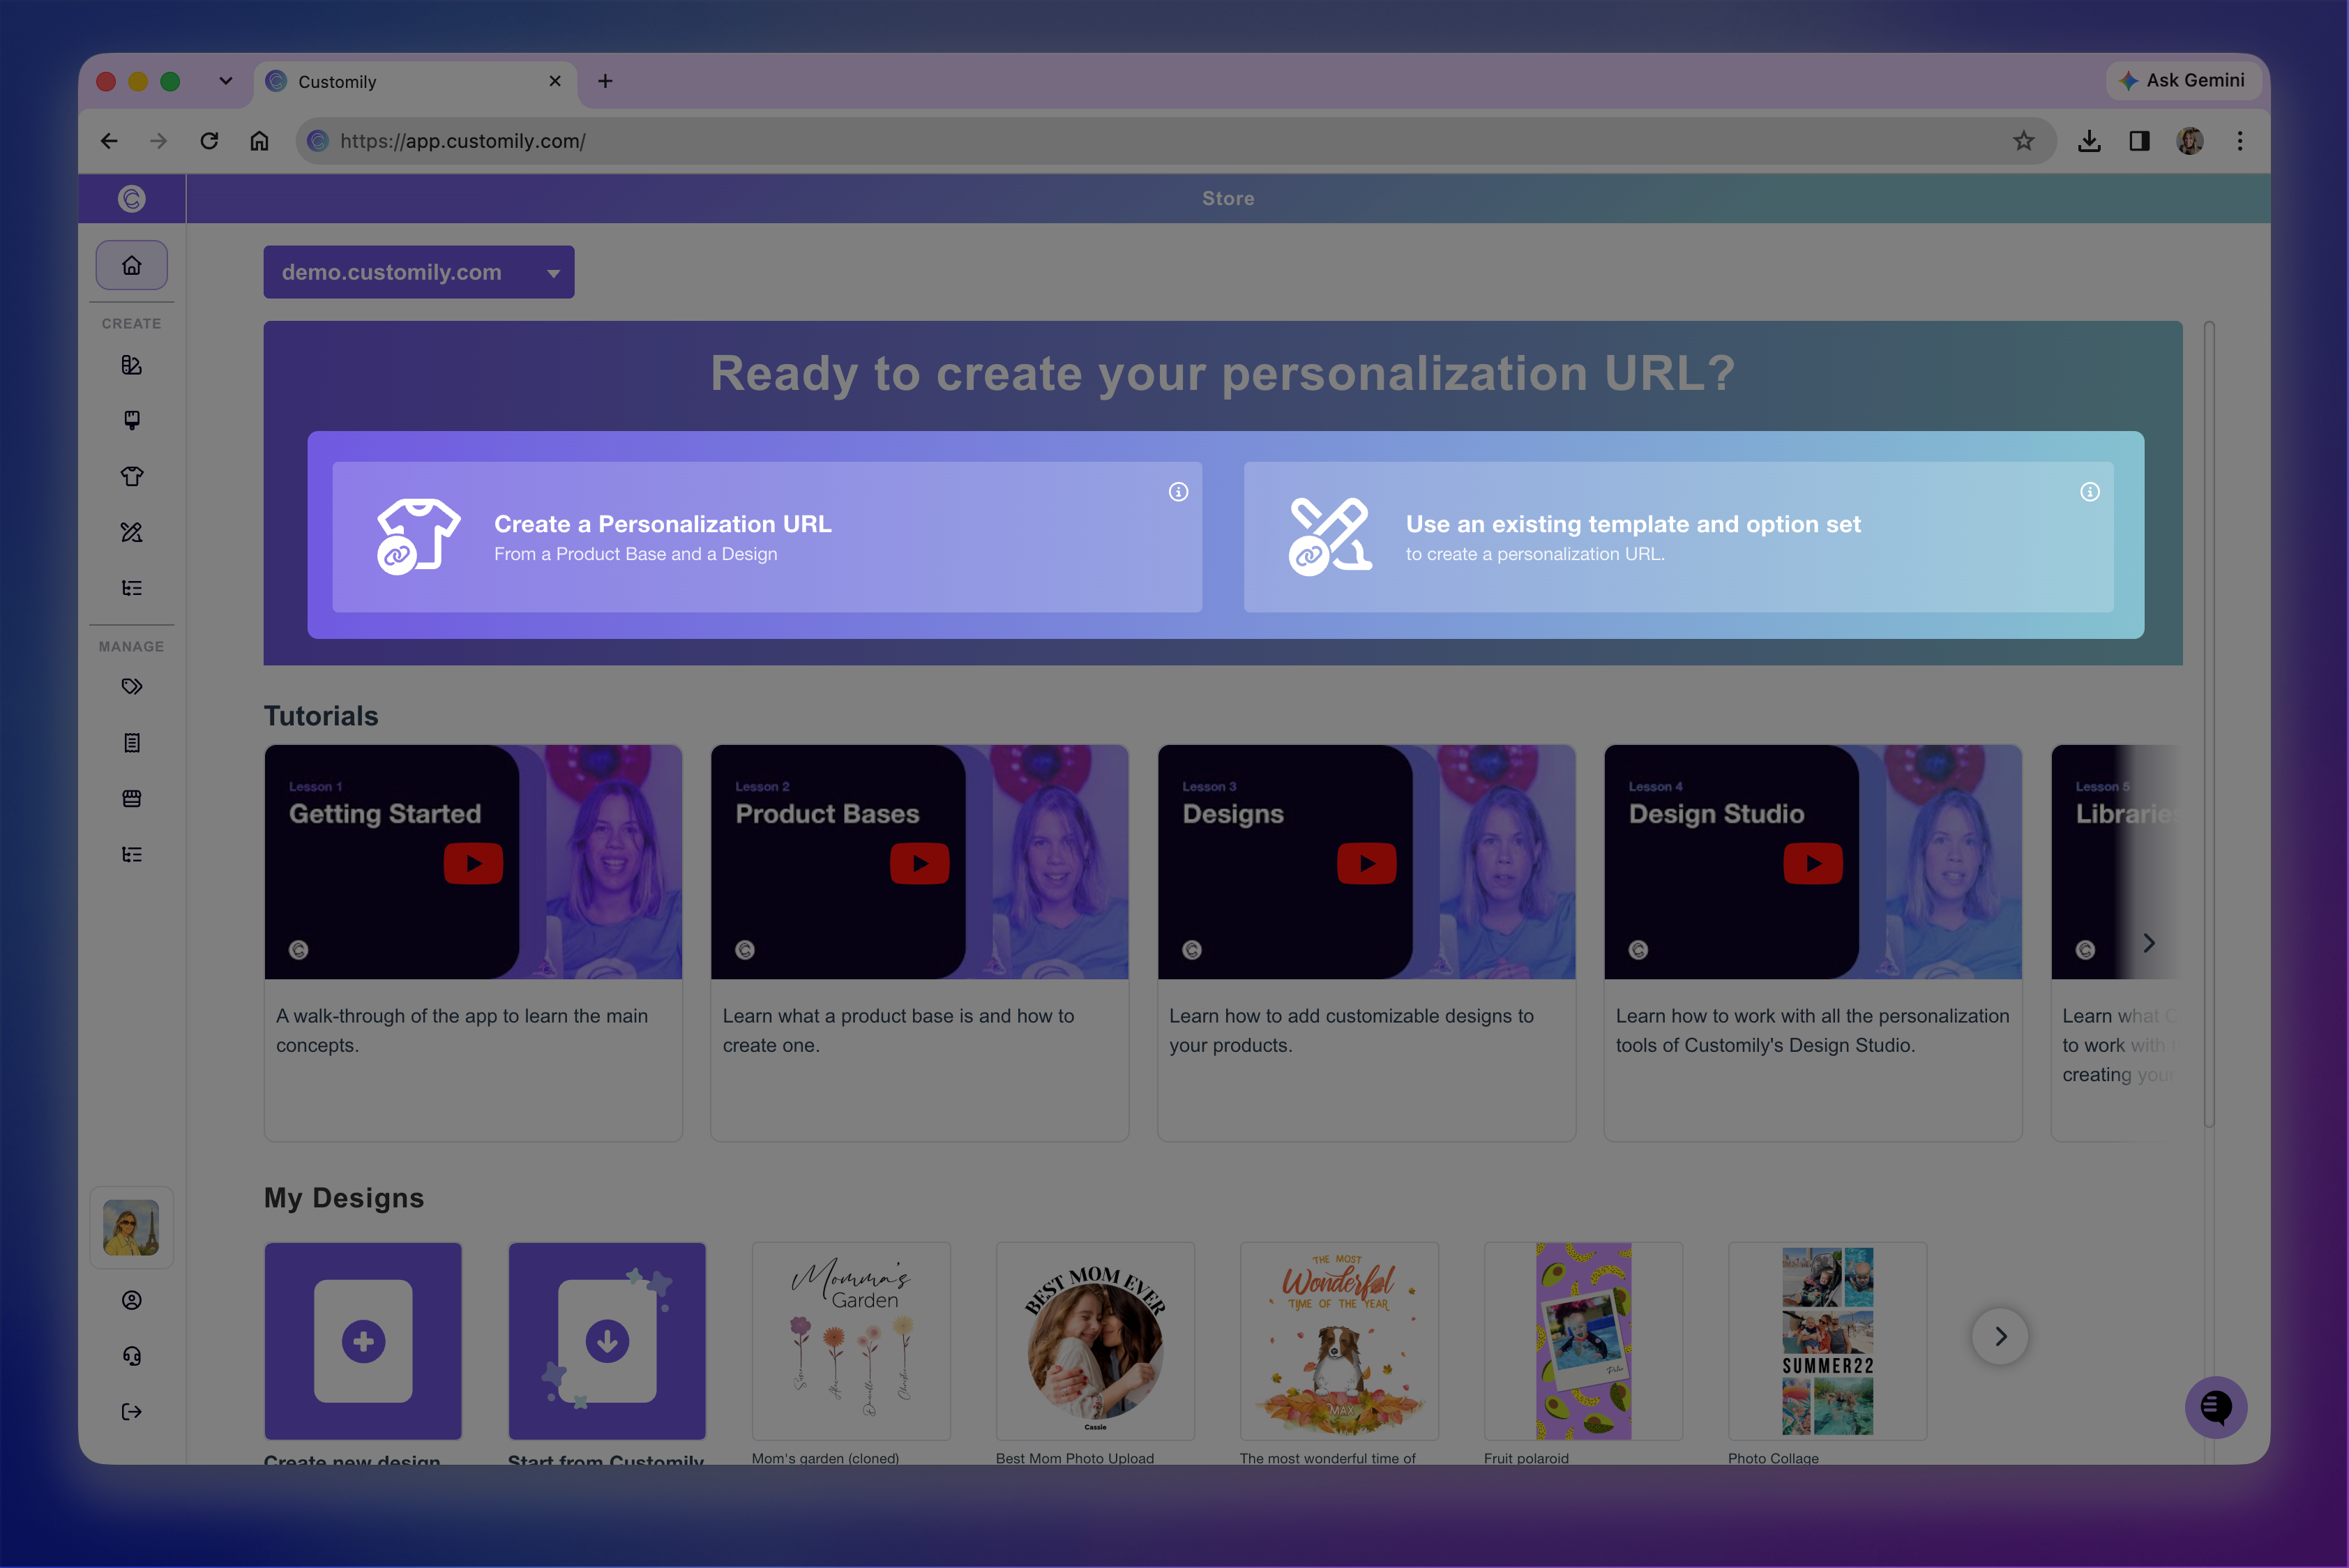
There are two ways to create one:
Start with a Product Base and Design — Choose your Product Base and Design, and Customily will automatically create the Template and Option Set for you.
Start with an existing Template and Option Set — Connect a Template and Option Set you've already created.
The first method is ideal if you're working with Print-on-Demand (POD) products, creating products at scale, or using the same product with multiple designs.
Starting with an existing Template and Option Set gives you more control over the preview and production file, making it a better fit for more complex products such as engravings, laser-cut products, embroidery, or products with multiple visual options.
If you're unsure which approach is right for your products, learn more about when to create Templates automatically or manually here: 📄 How to create templates
The best way to create your Personalization URL depends on how your products are set
If you're unsure which approach is right for your products, learn more about [when to create Templates automatically or manually].
Create a Personalization URL from a Product Base and Design
From the Home page, click Create a Personalization URL.
You'll be guided through the process of:
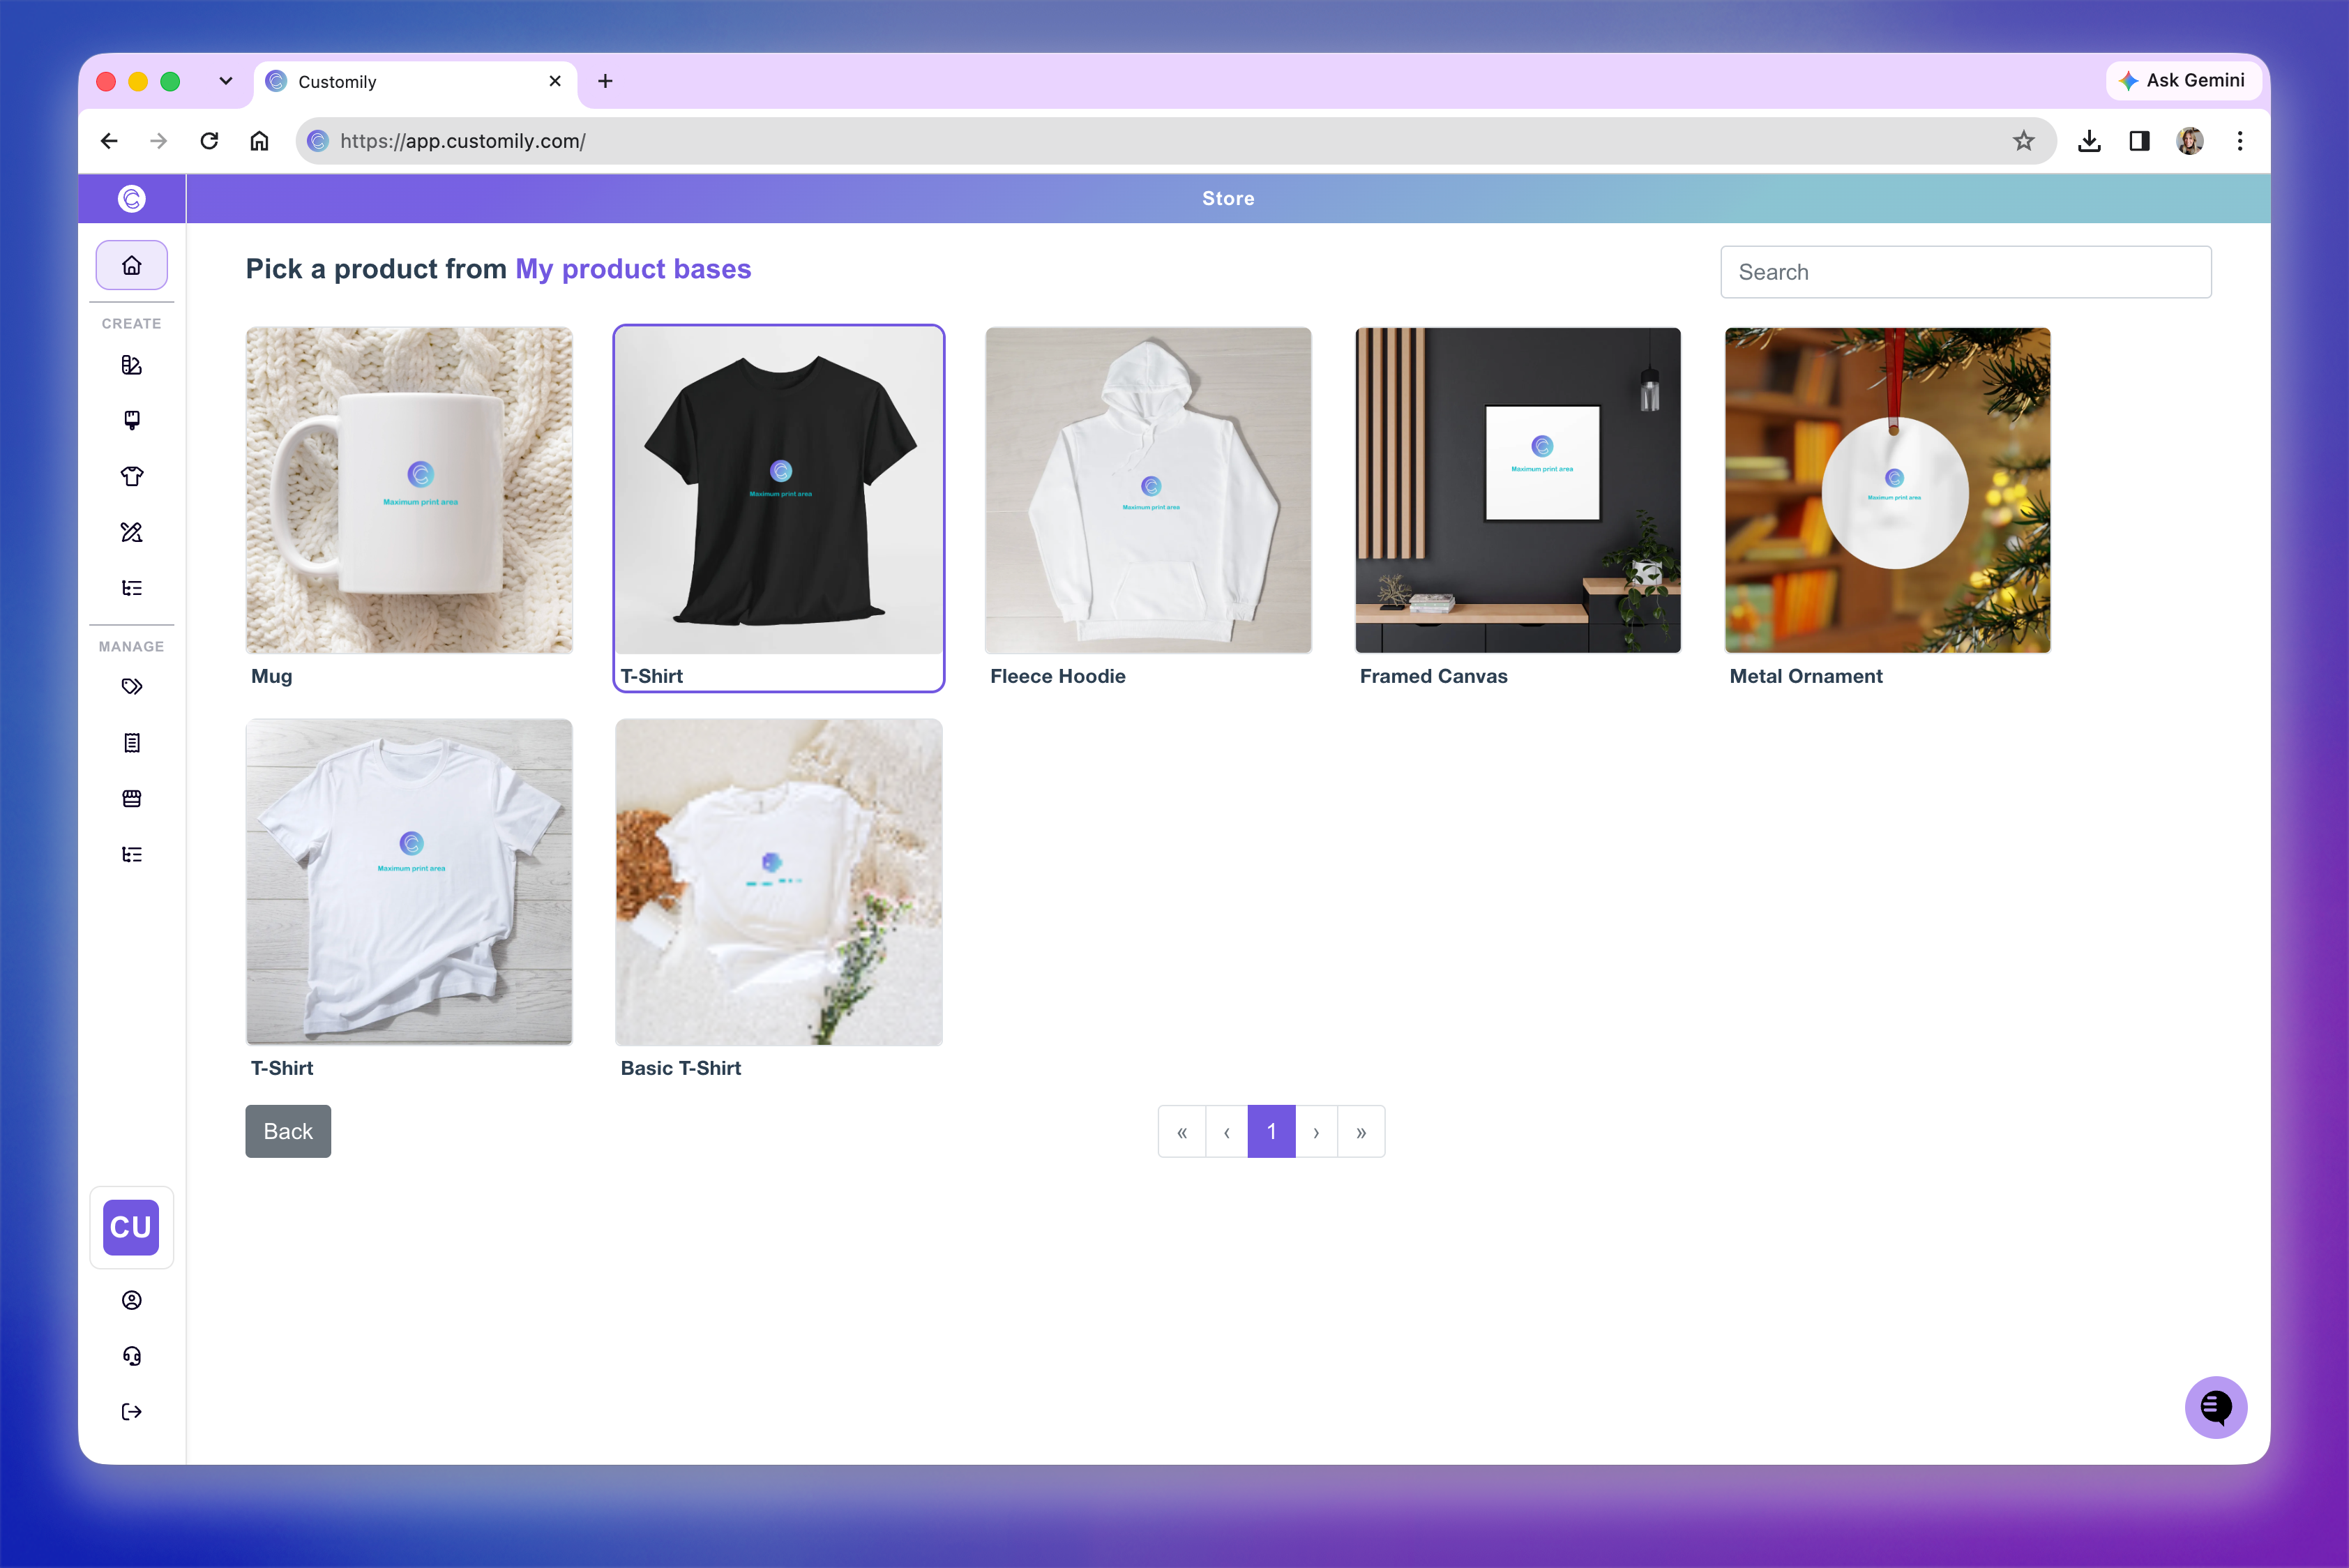
Choose a Product Base
Select a Product Base from one of the available POD providers, or choose My Product Bases to use one of your own products.If you choose My Product Bases, you'll be able to select from the Product Bases you've previously created in Customily. Learn more about 📄 How to create a "My product base"
Keep in mind
Standalone integrations don't connect to POD providers automatically. You can still use a POD Product Base to take advantage of its existing product information, such as variants, print areas, and mockups, but you'll need to send the orders to the POD provider separately.
Choose the variants and print areas
Select the product variants you want to make available, and choose the print area or areas you want to personalize.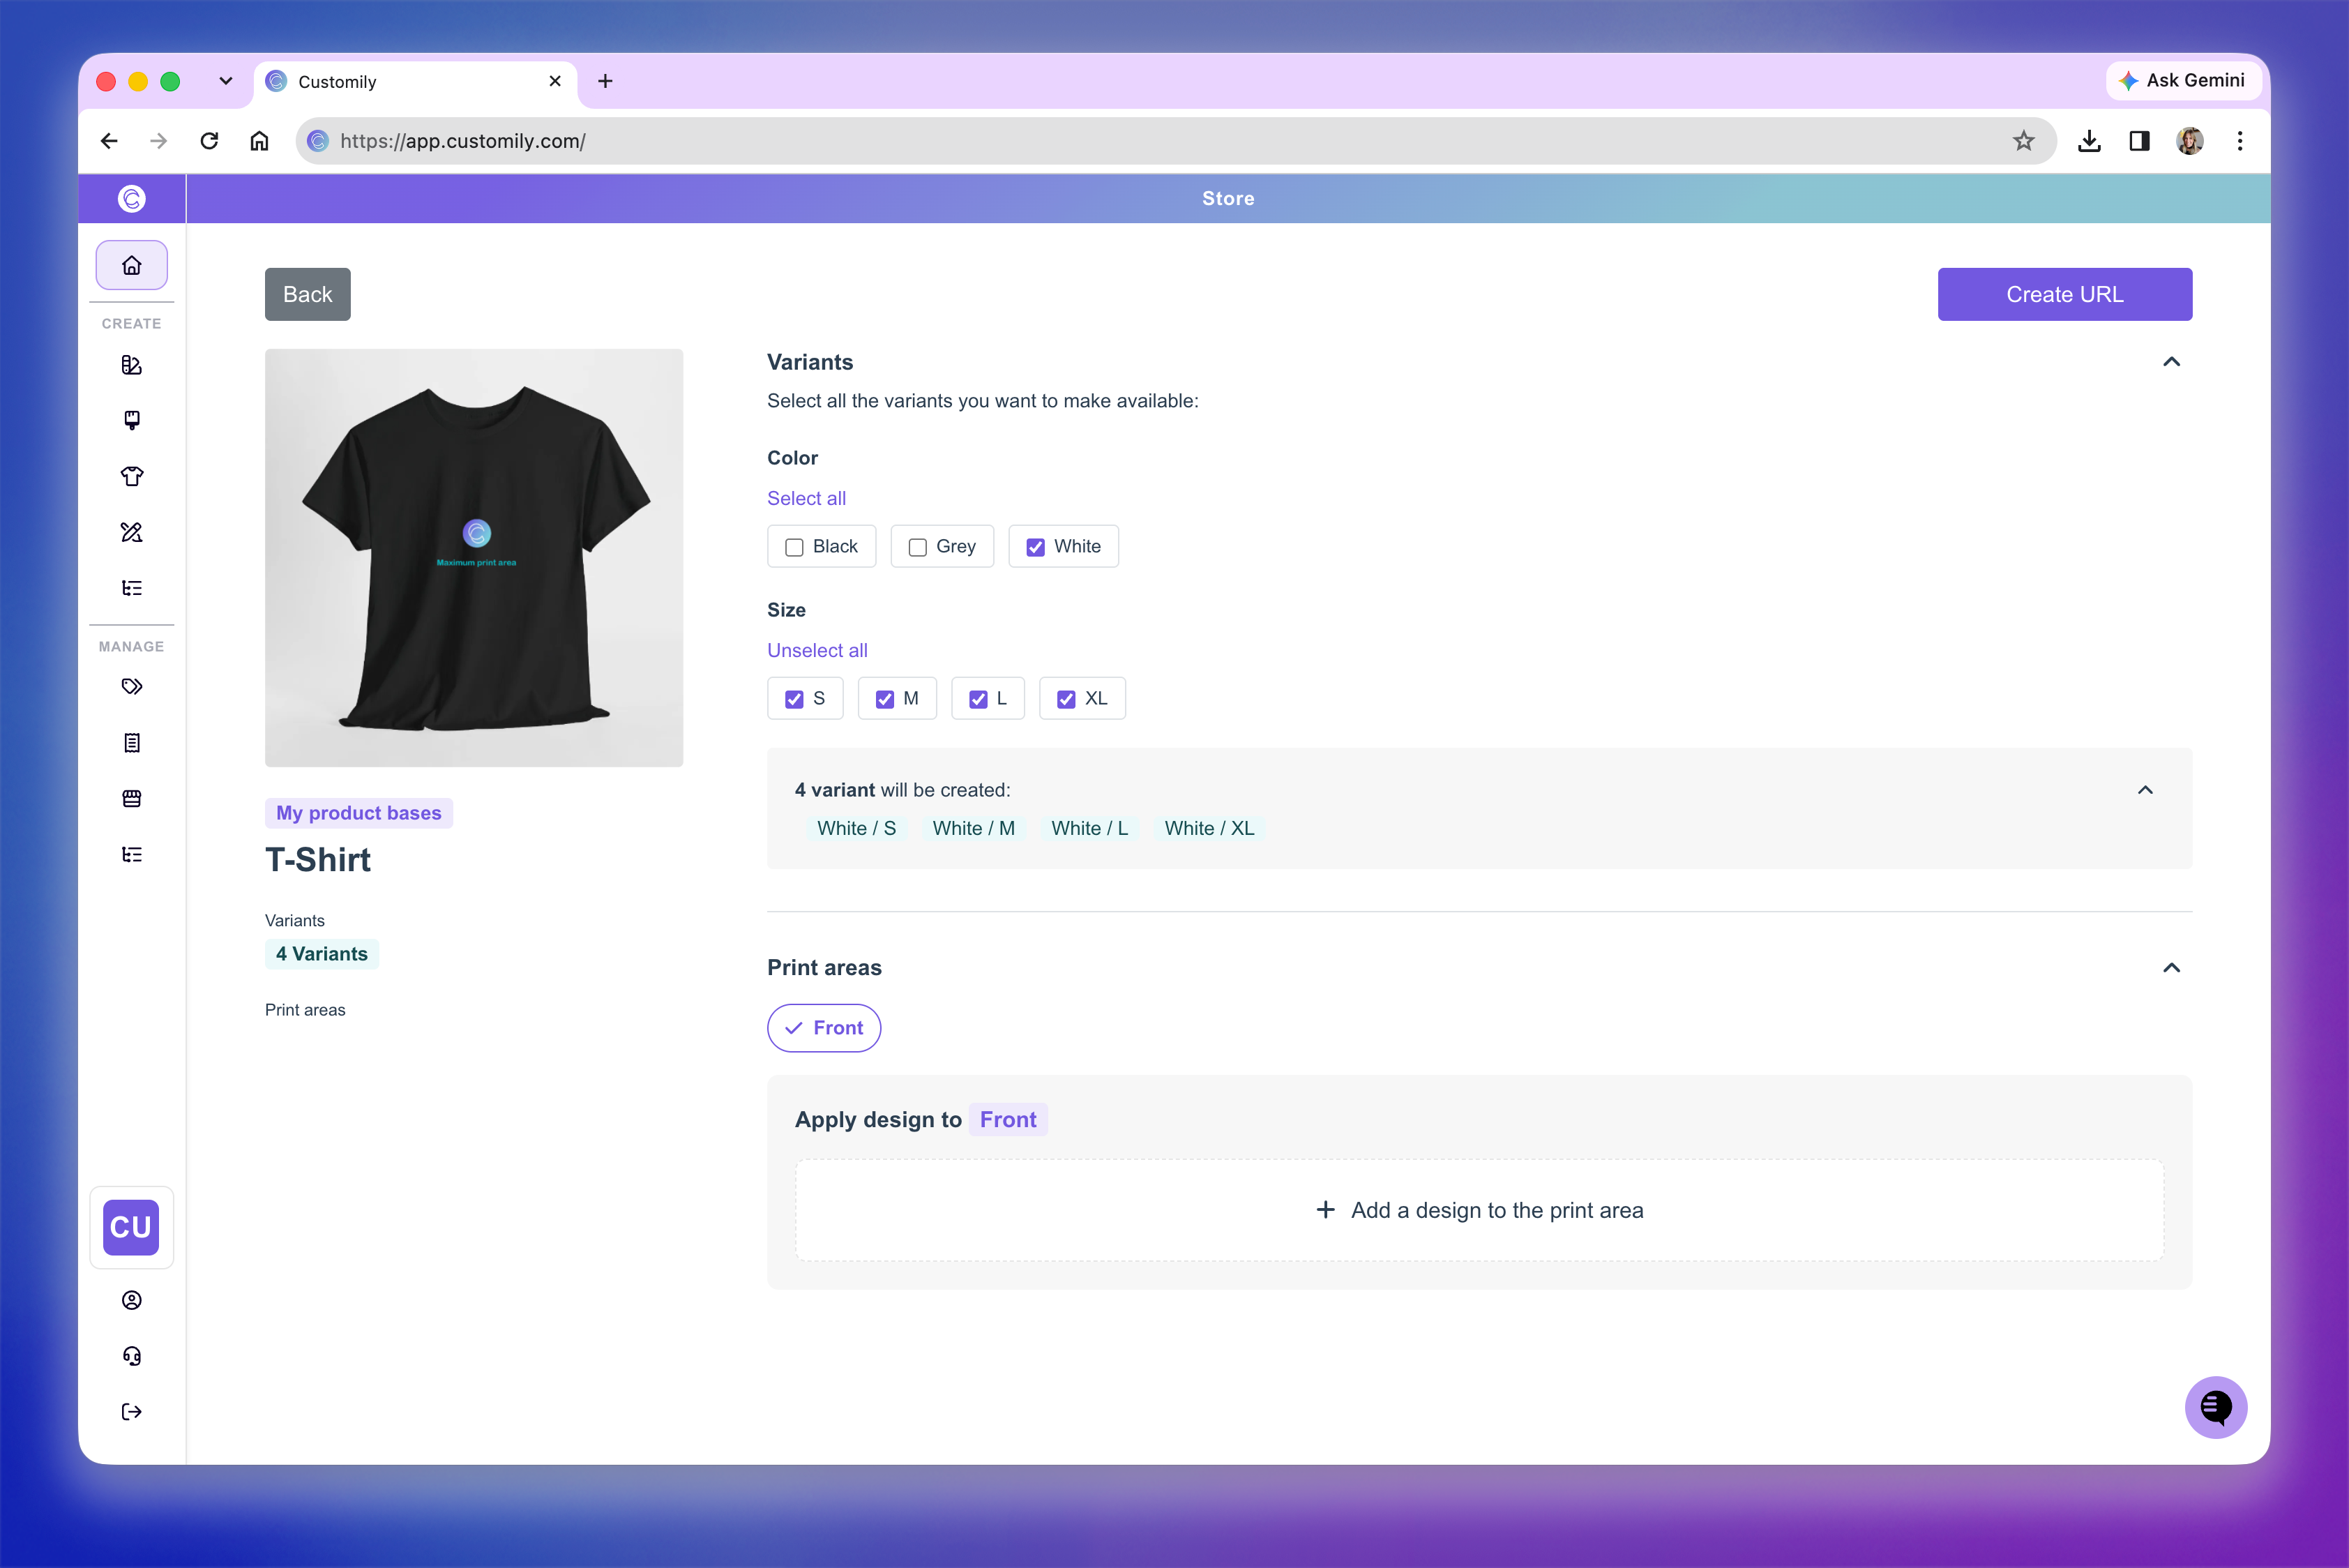
Choose a Design
Select one of your own Designs, choose one from Customily's Design Library, or create a new one. Learn more about 📄 How to create a My Design from scratch.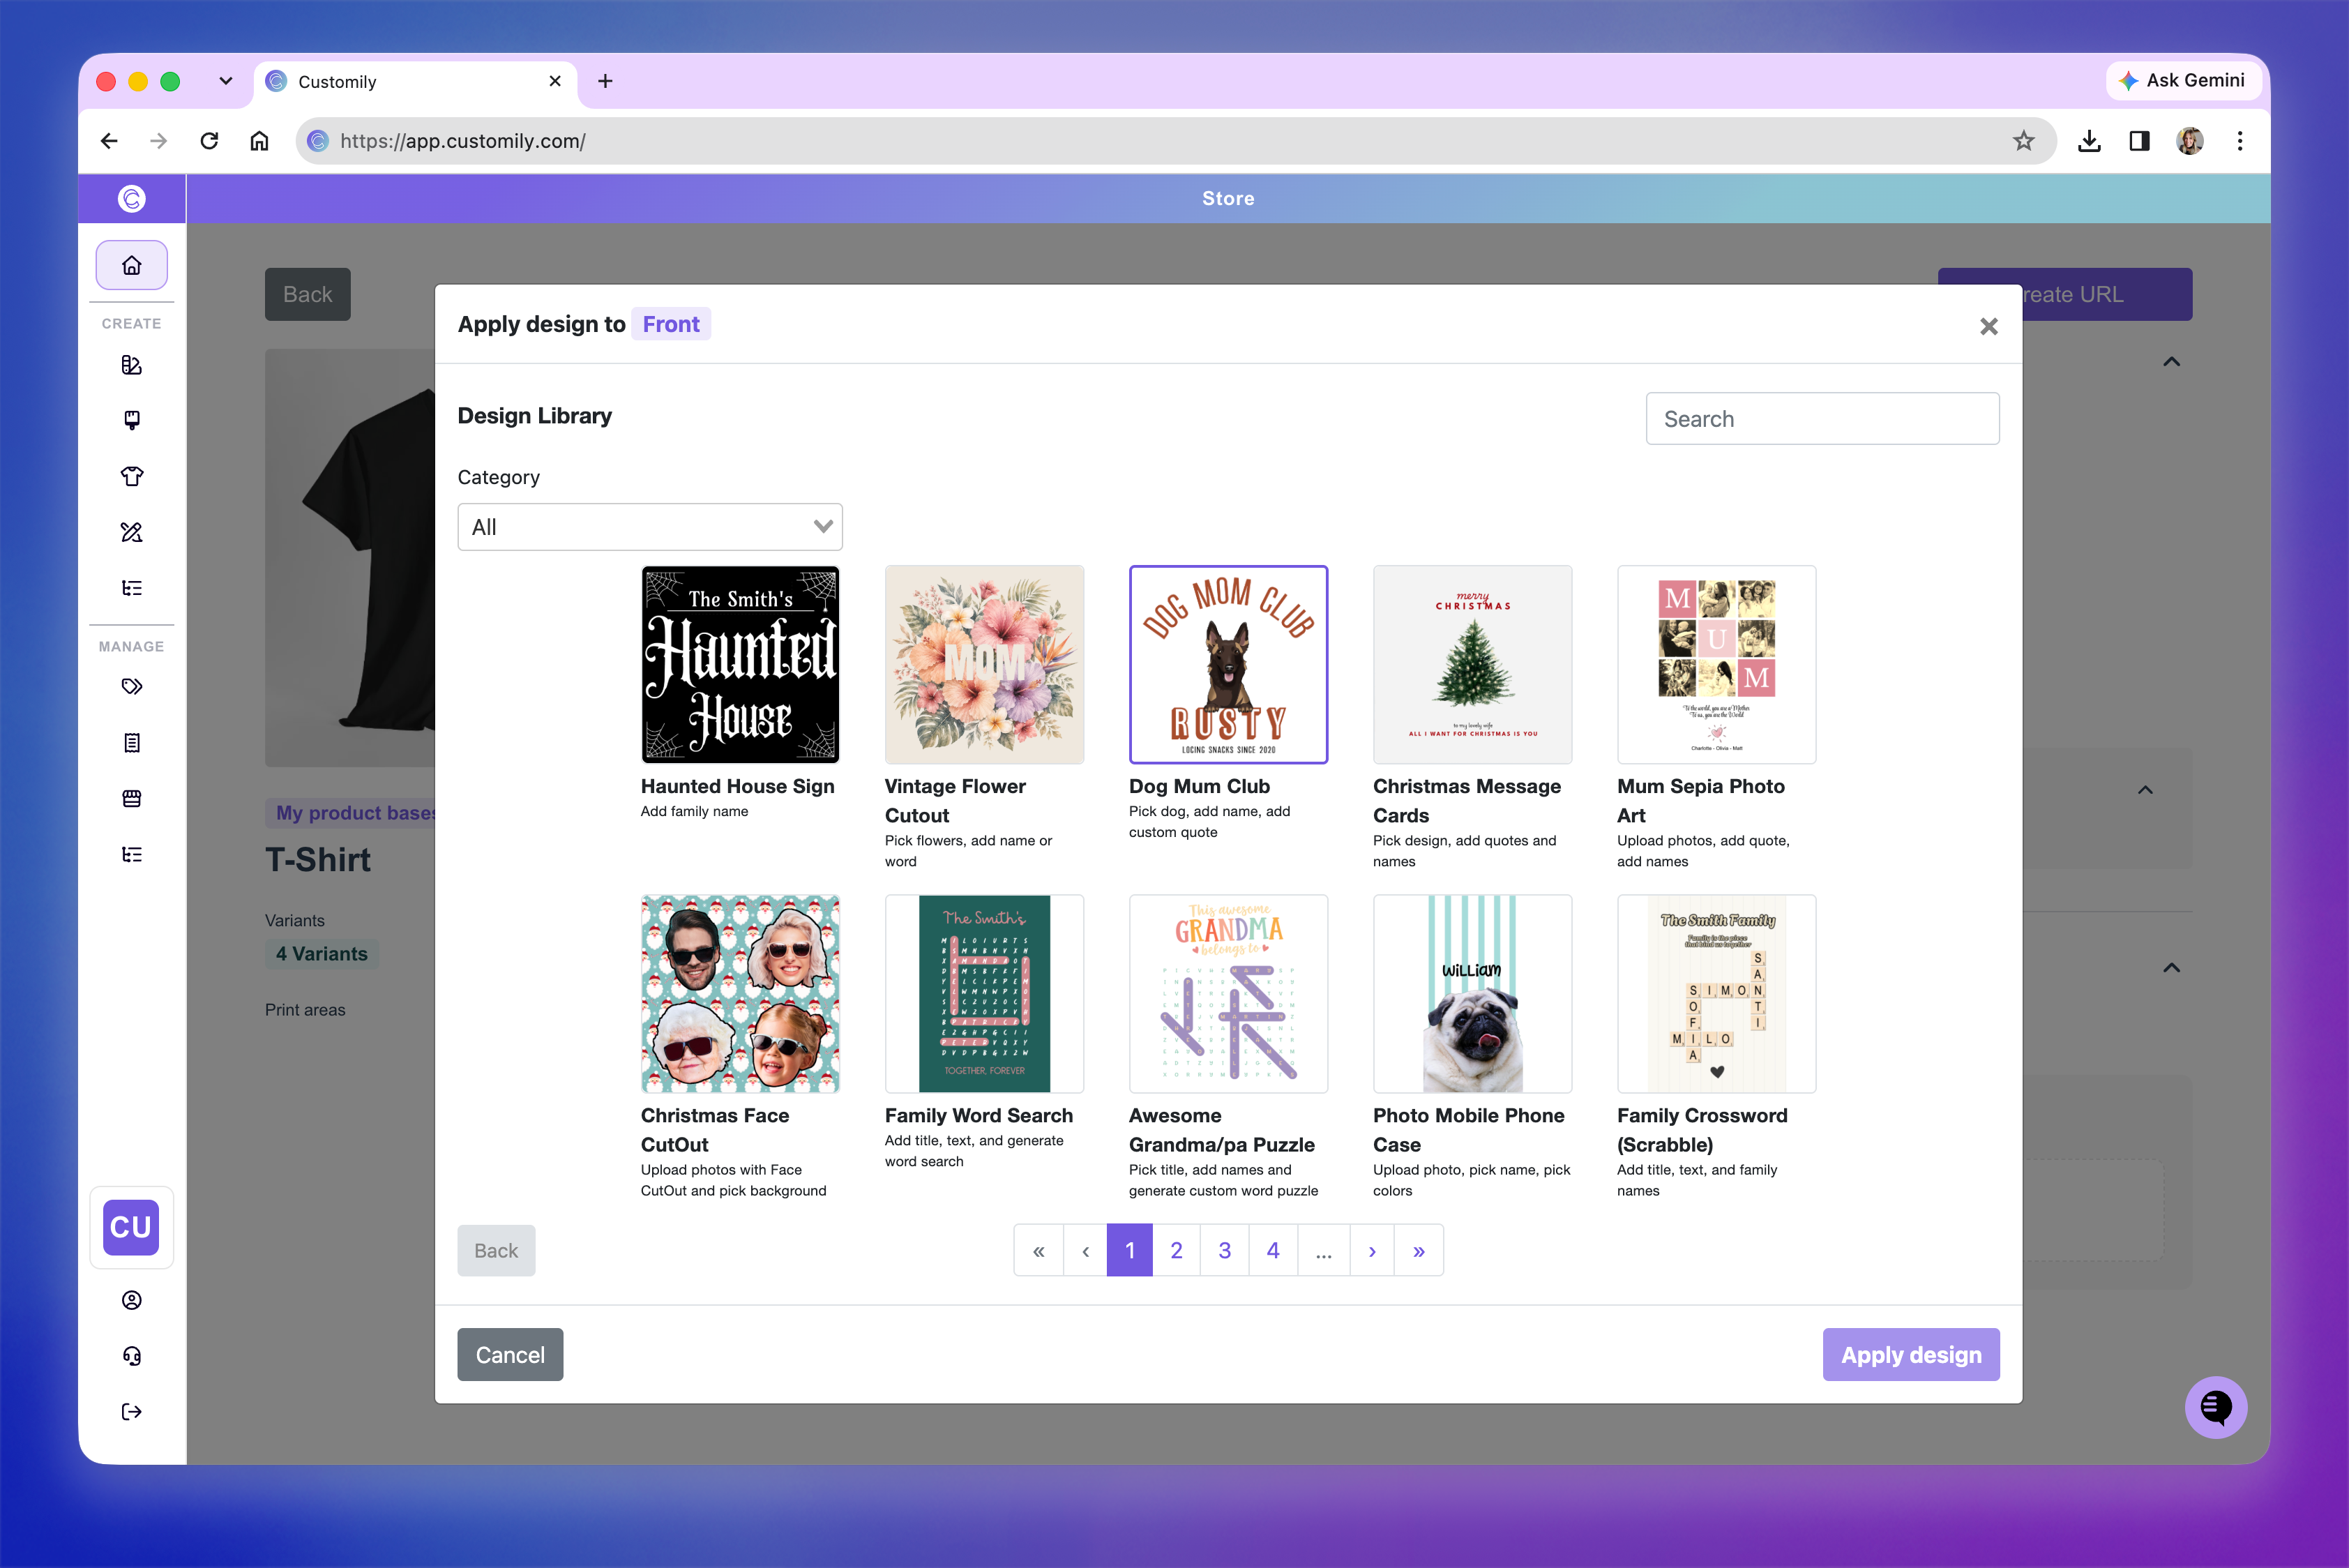
Place the Design on the print area
Add your Design to the corresponding print area and adjust its position and size as needed.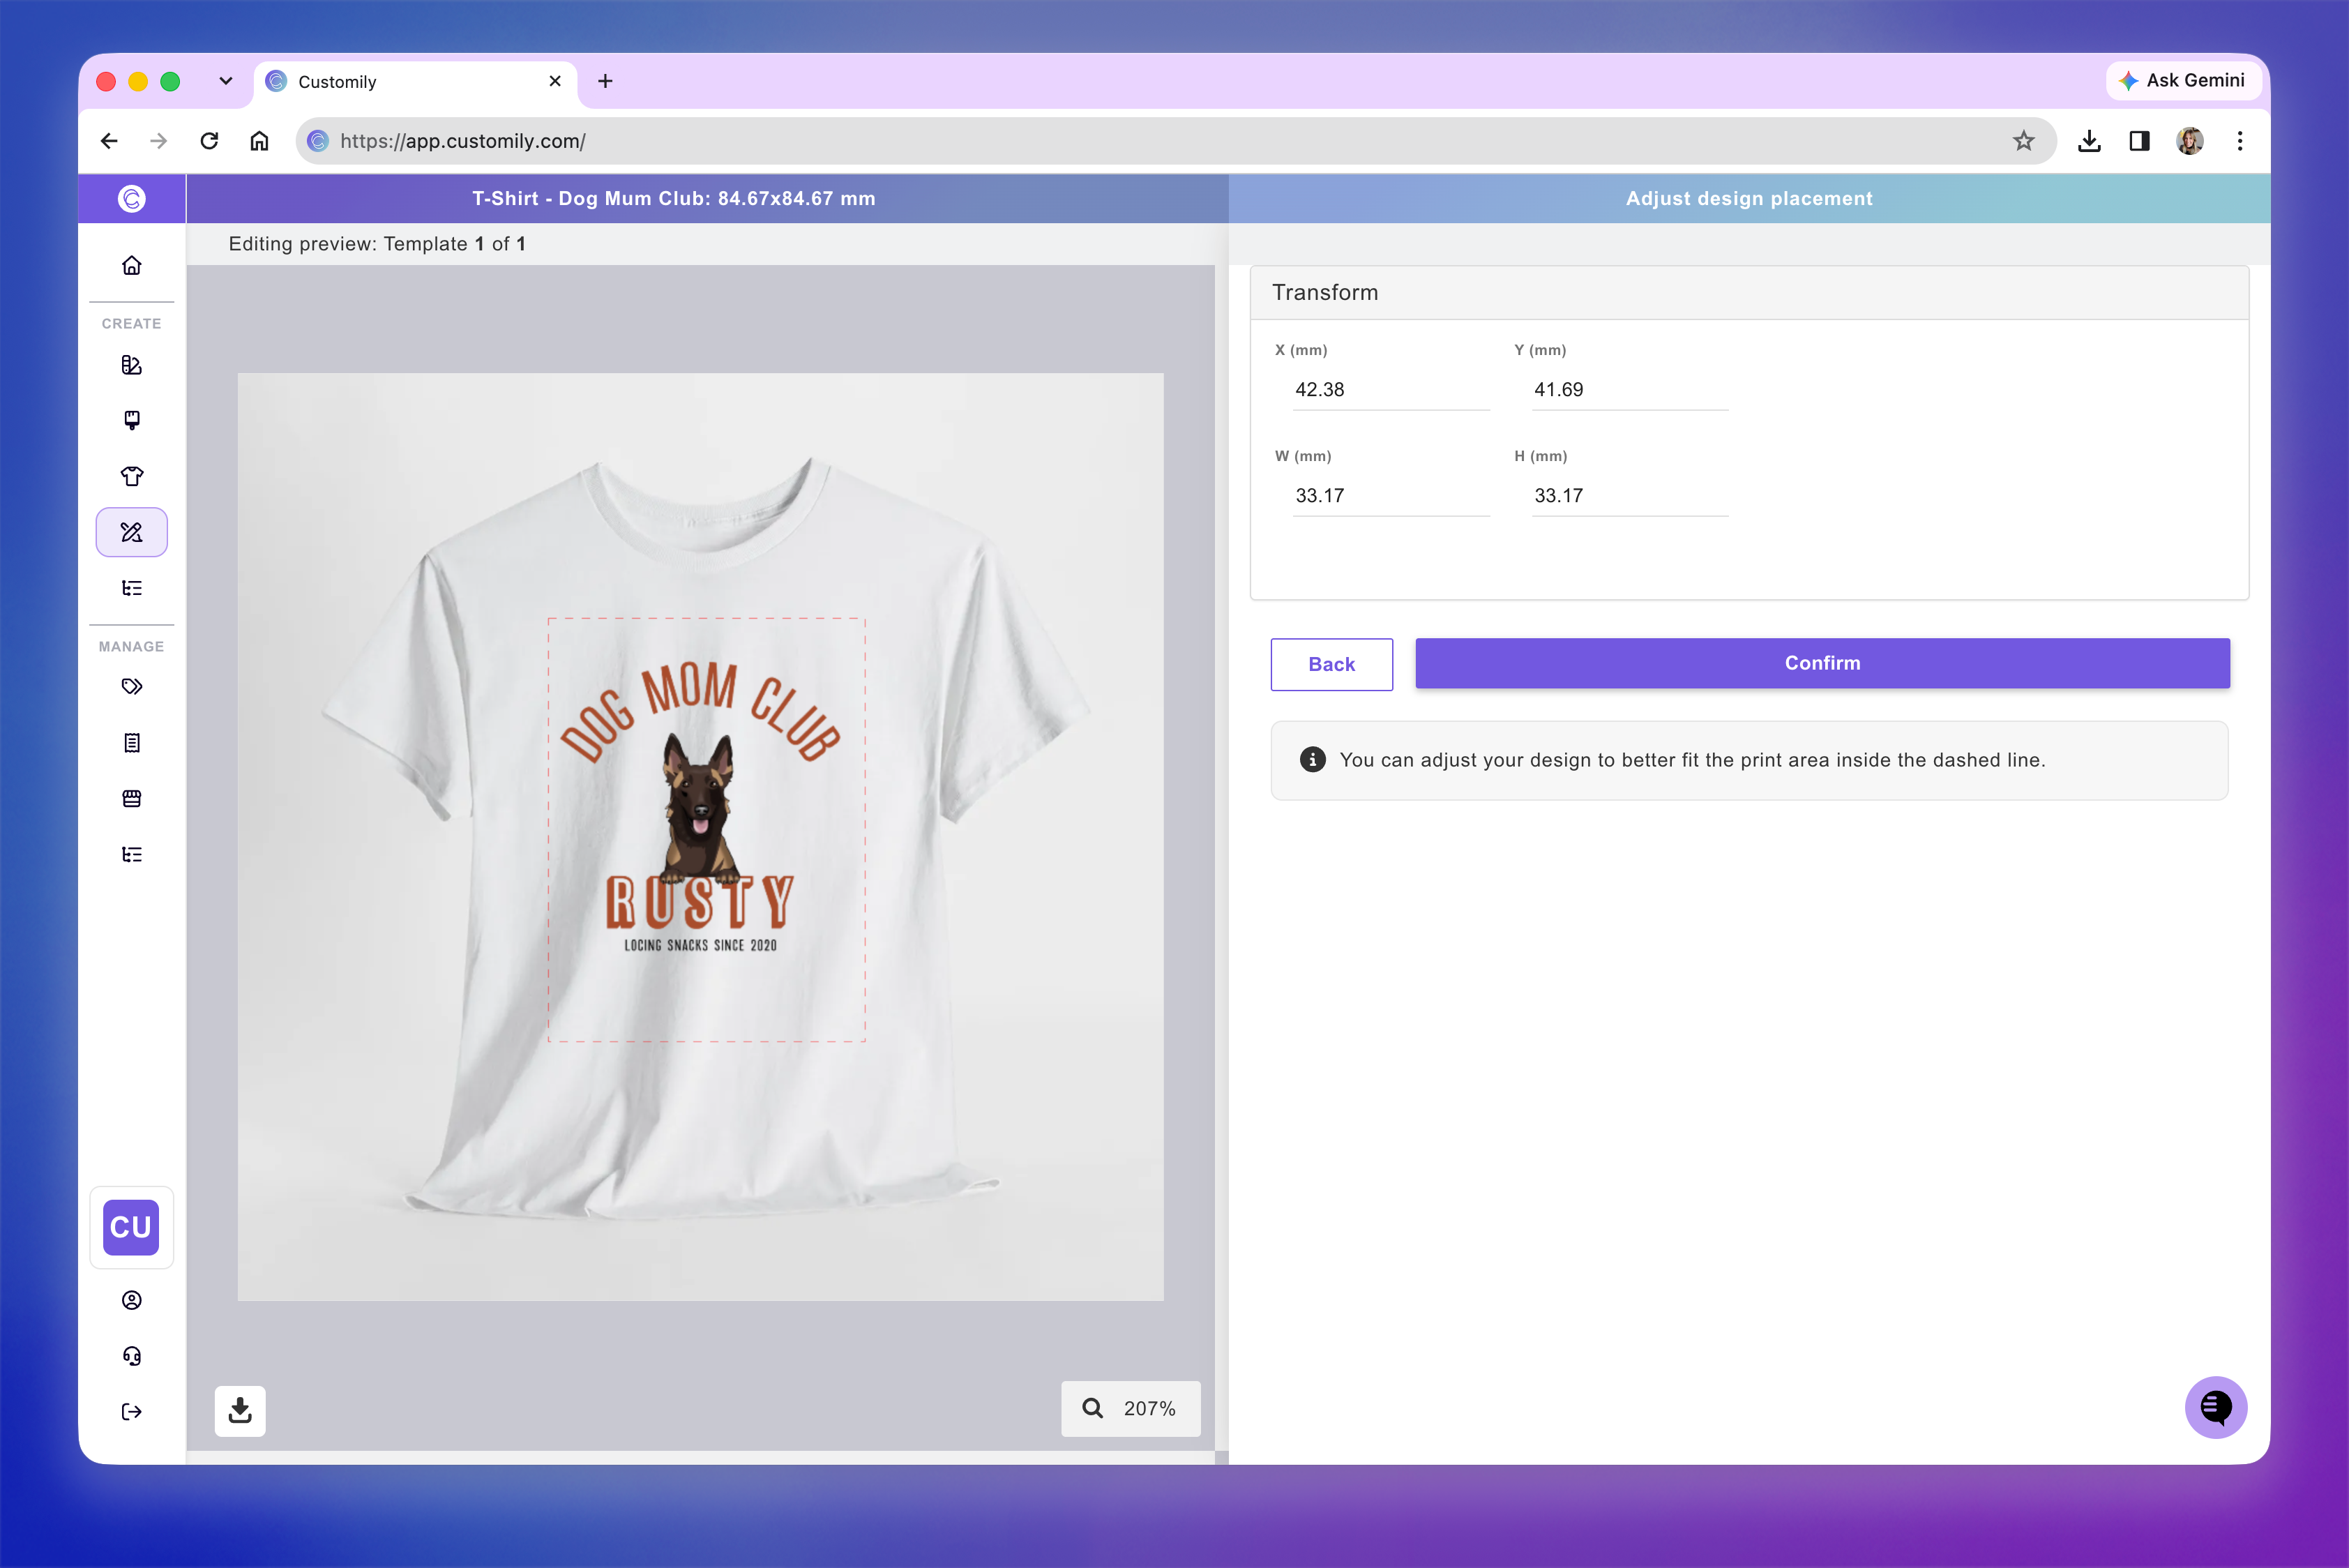
Create your Personalization URL
Click Create URL. Customily will automatically create the Template and Option Set, connect everything for you, and generate your Personalization URL.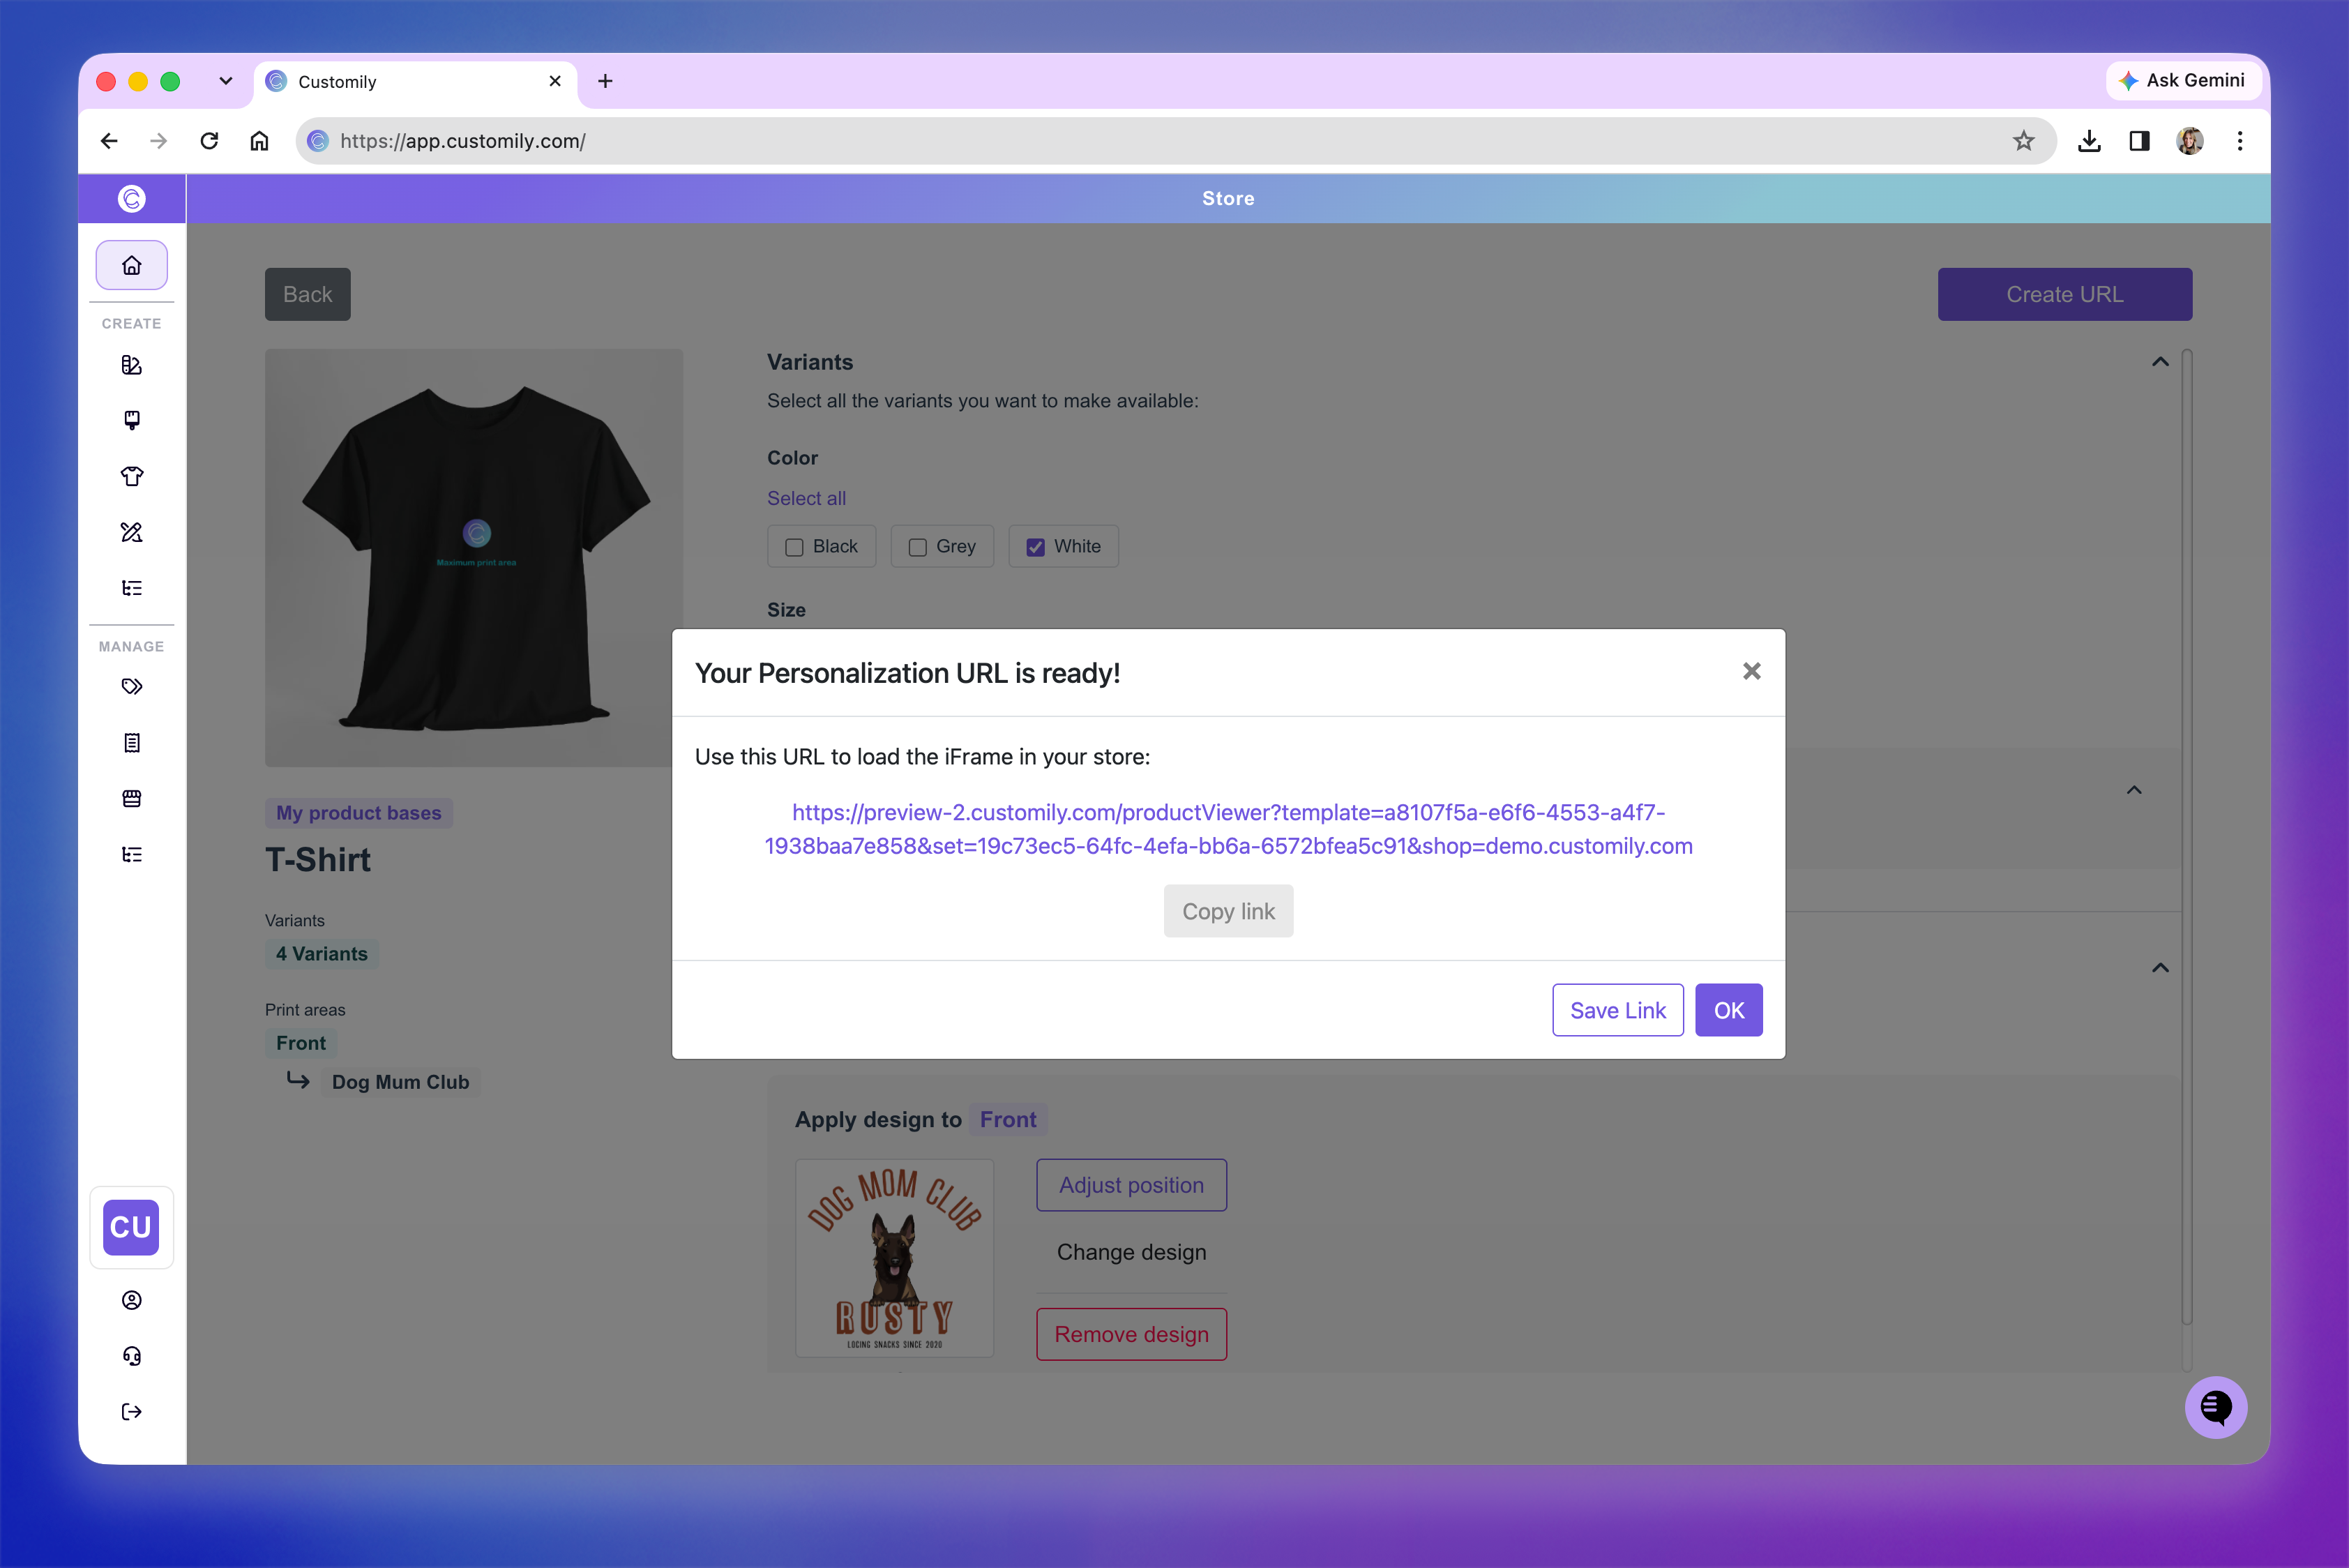
Once your Personalization URL is generated, you can copy it to use it right away or click Save Link to save it in Customily.
If you save your link, you can access and manage it later from Products. Learn more about saving and managing your Personalization URLs below.
Create a Personalization URL from an existing Template and Option Set
Before creating the URL this way, you'll need to have a Template and an Option Set ready. If you haven't already created them:
Create your template. The Template defines how your personalized product will look and how the production file will be generated. You can learn how to create a template here: 📄 Creating templates manually
Once your Template is ready, create an Option Set for it. Go to Option Sets, and at the bottom click +New Option Set from Template. This will create an Option Set based on the personalization elements in your Template. Learn more about creating an Option Set from a Template here: 📄 How Option Sets Are Created
Once both are ready, you can create your Personalization URL:
Choose your Template
From the Home page, click Use an existing template and option set, then select the Template you want to use.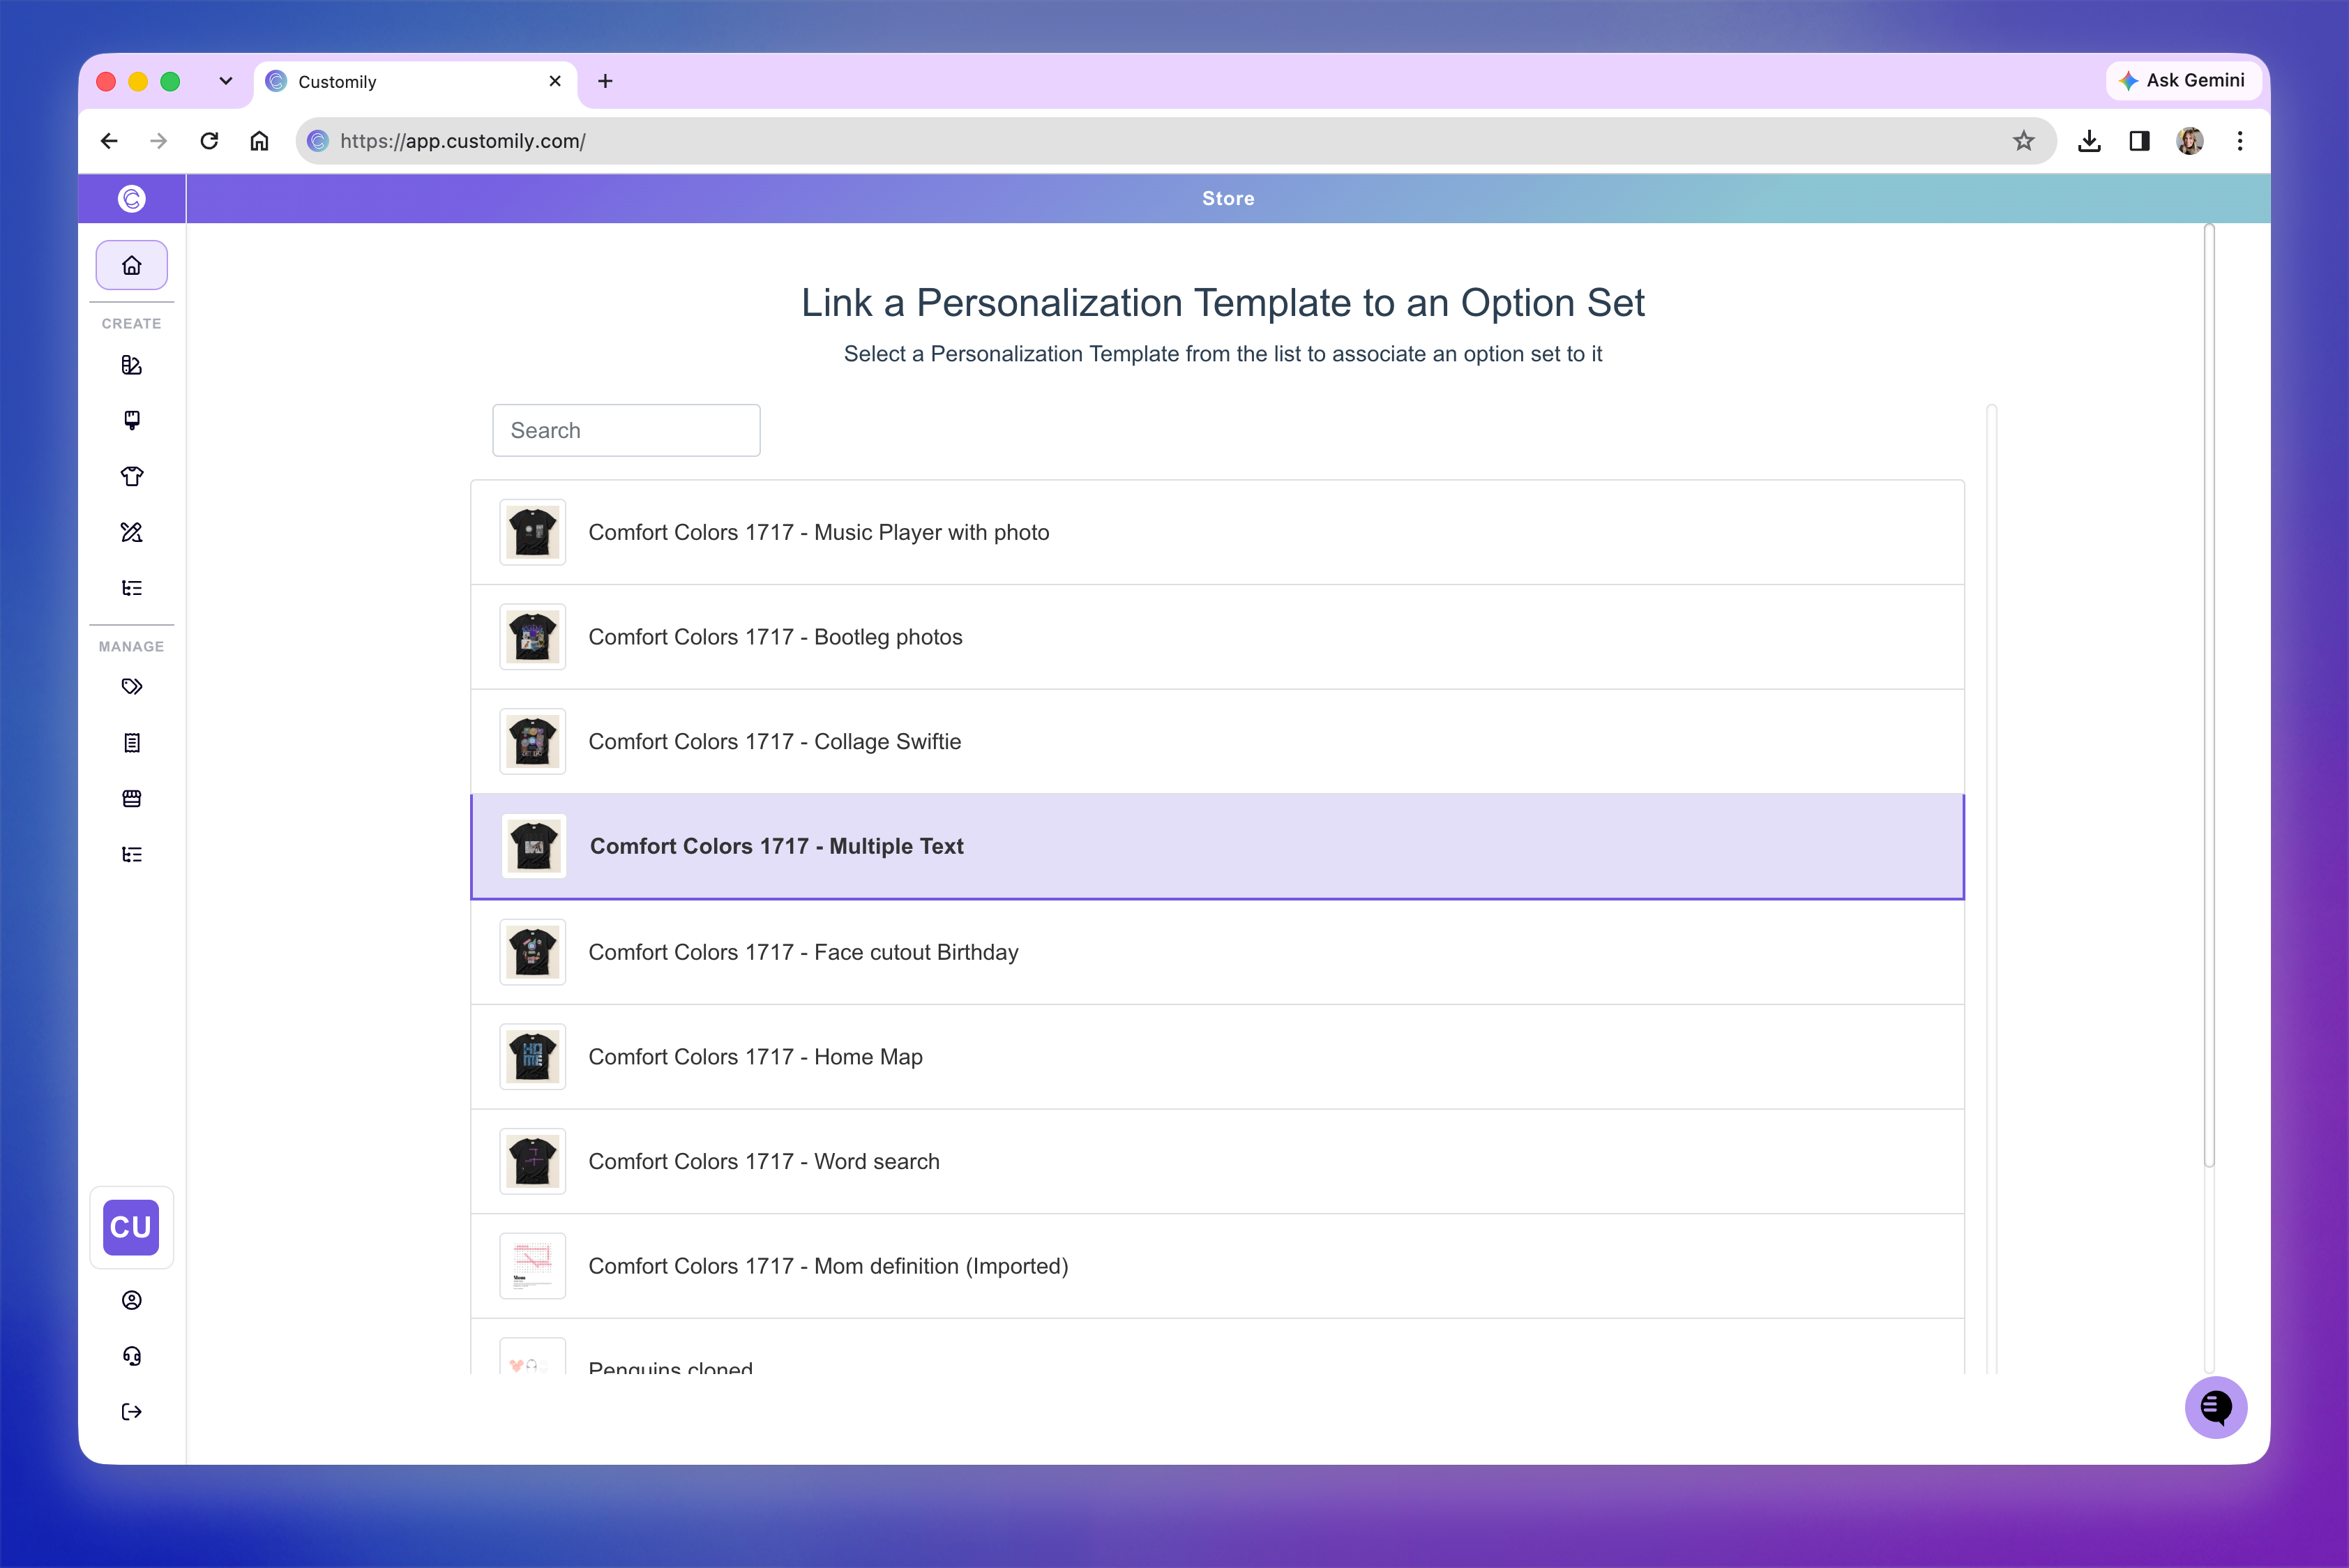
Choose your Option Set
Select the Option Set you want to connect to the Template.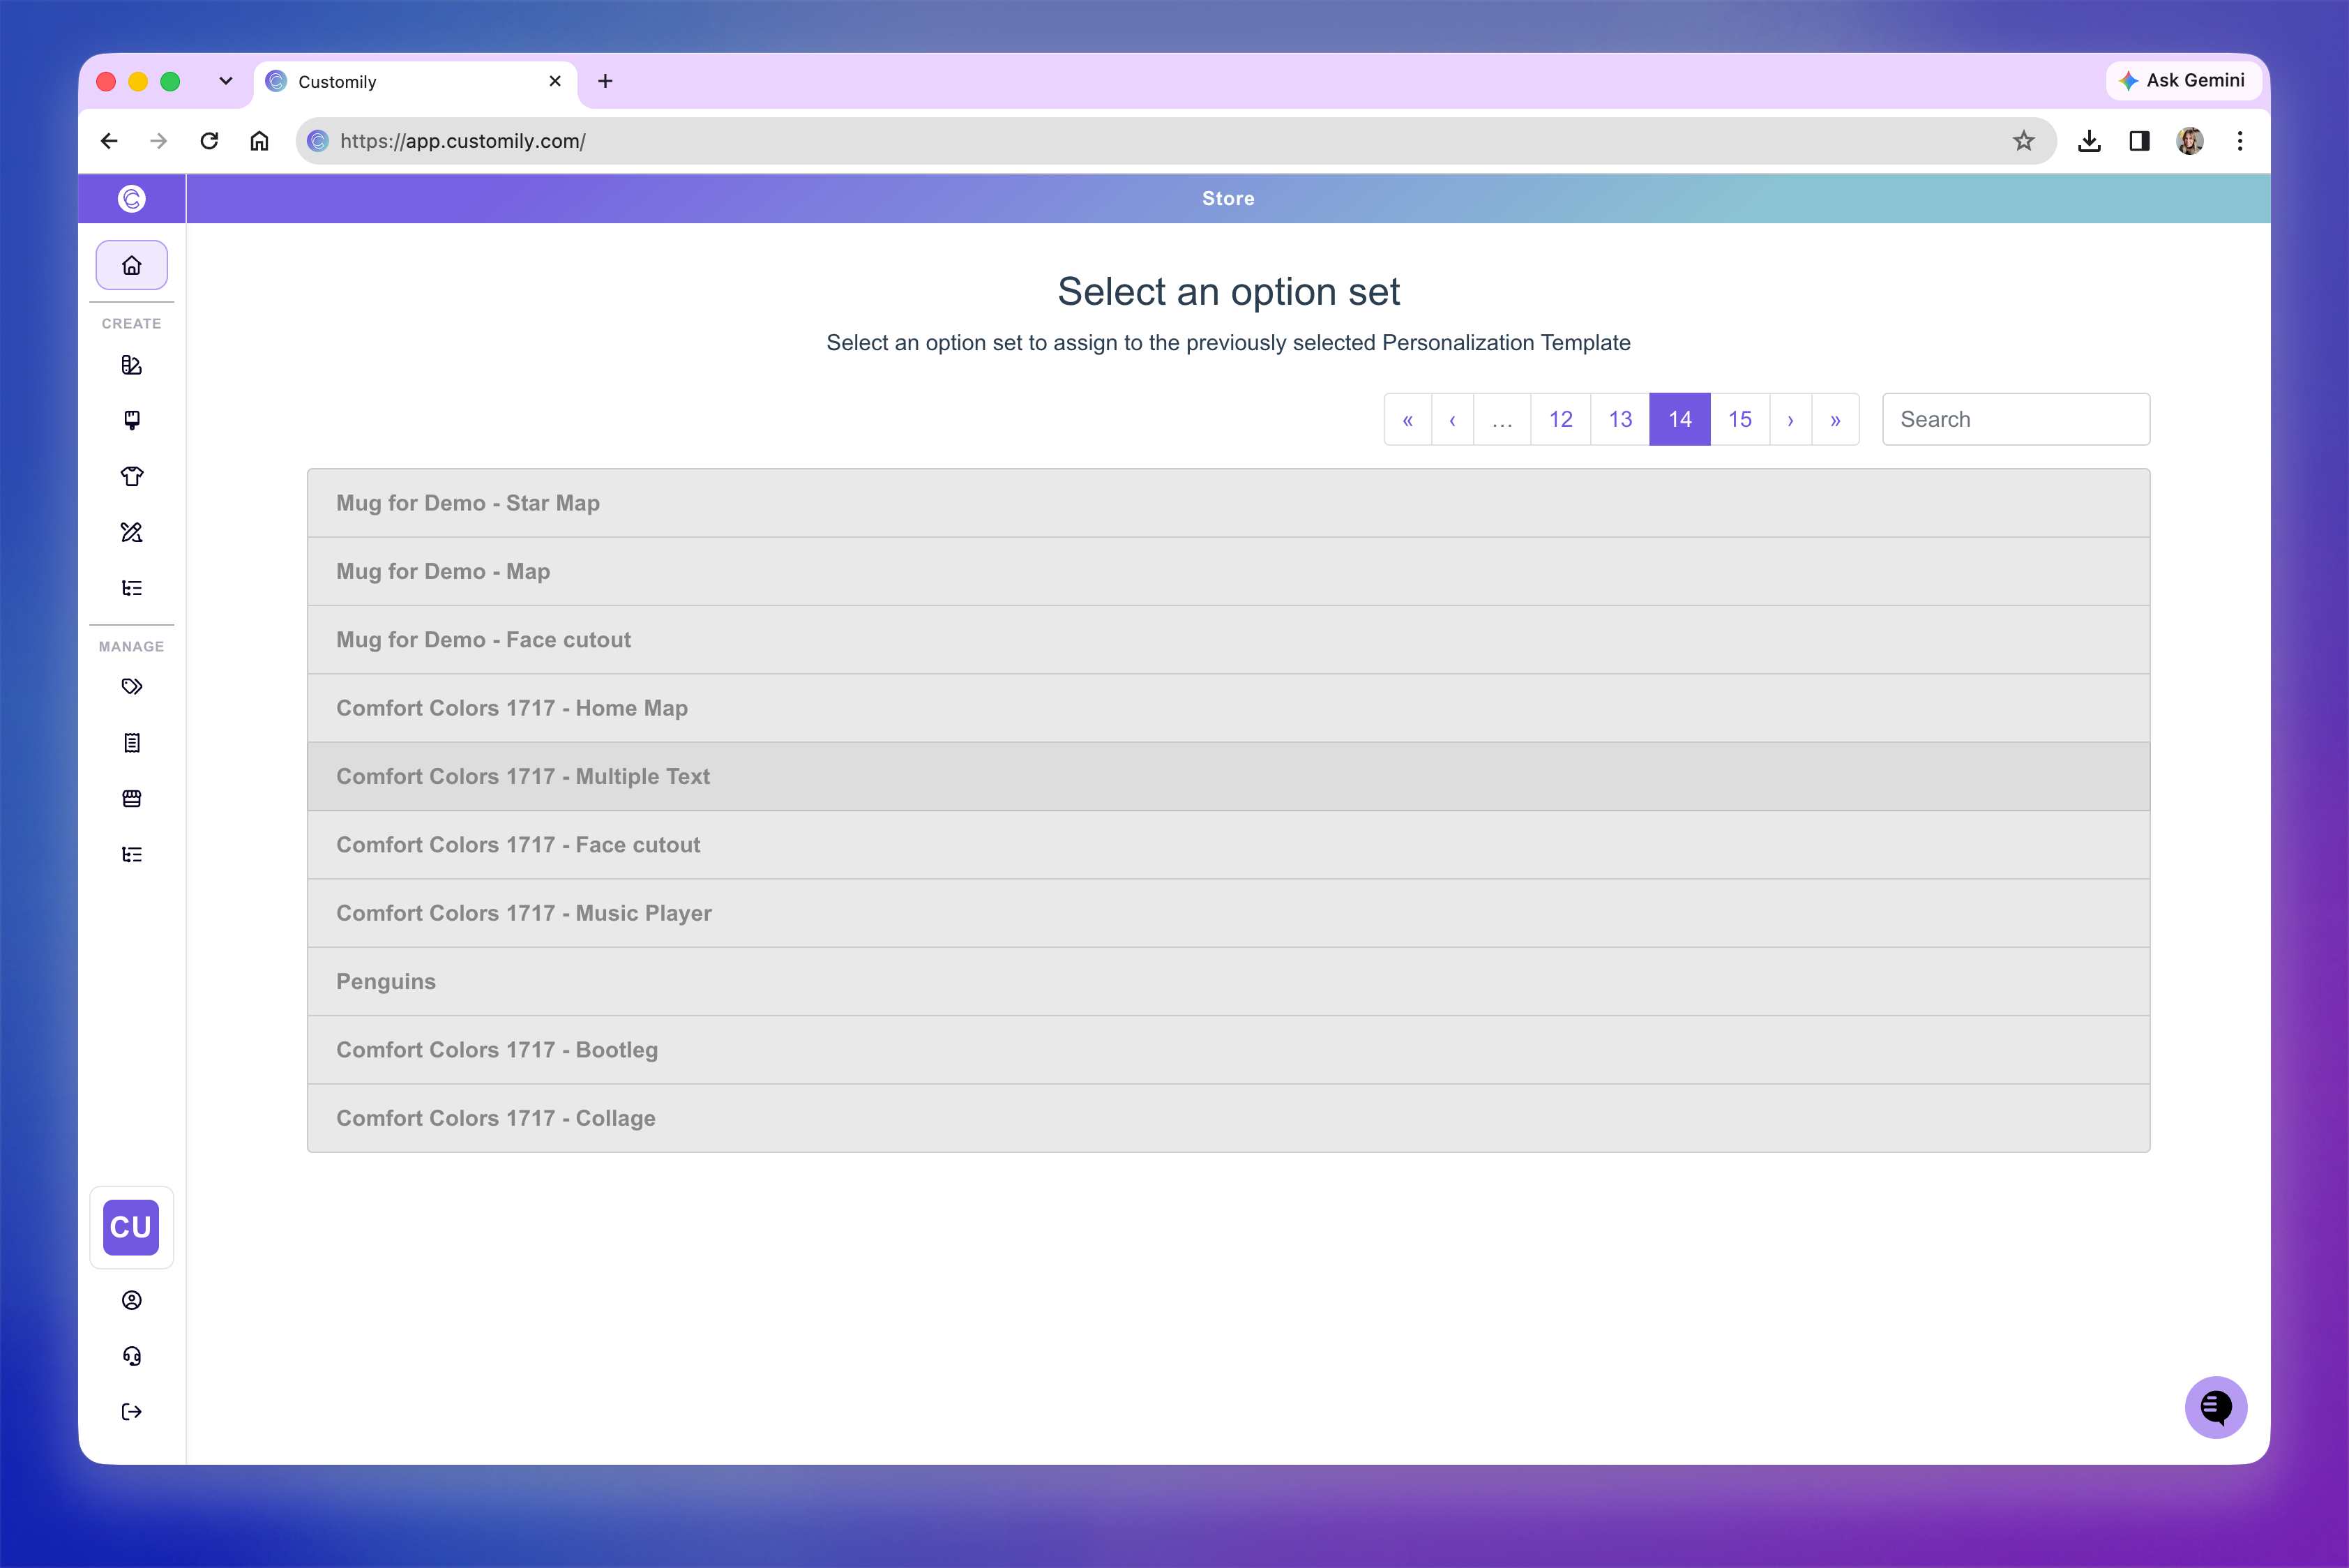
Get your Personalization URL
As soon as you select the Option Set, Customily will connect it to the Template and generate your Personalization URL.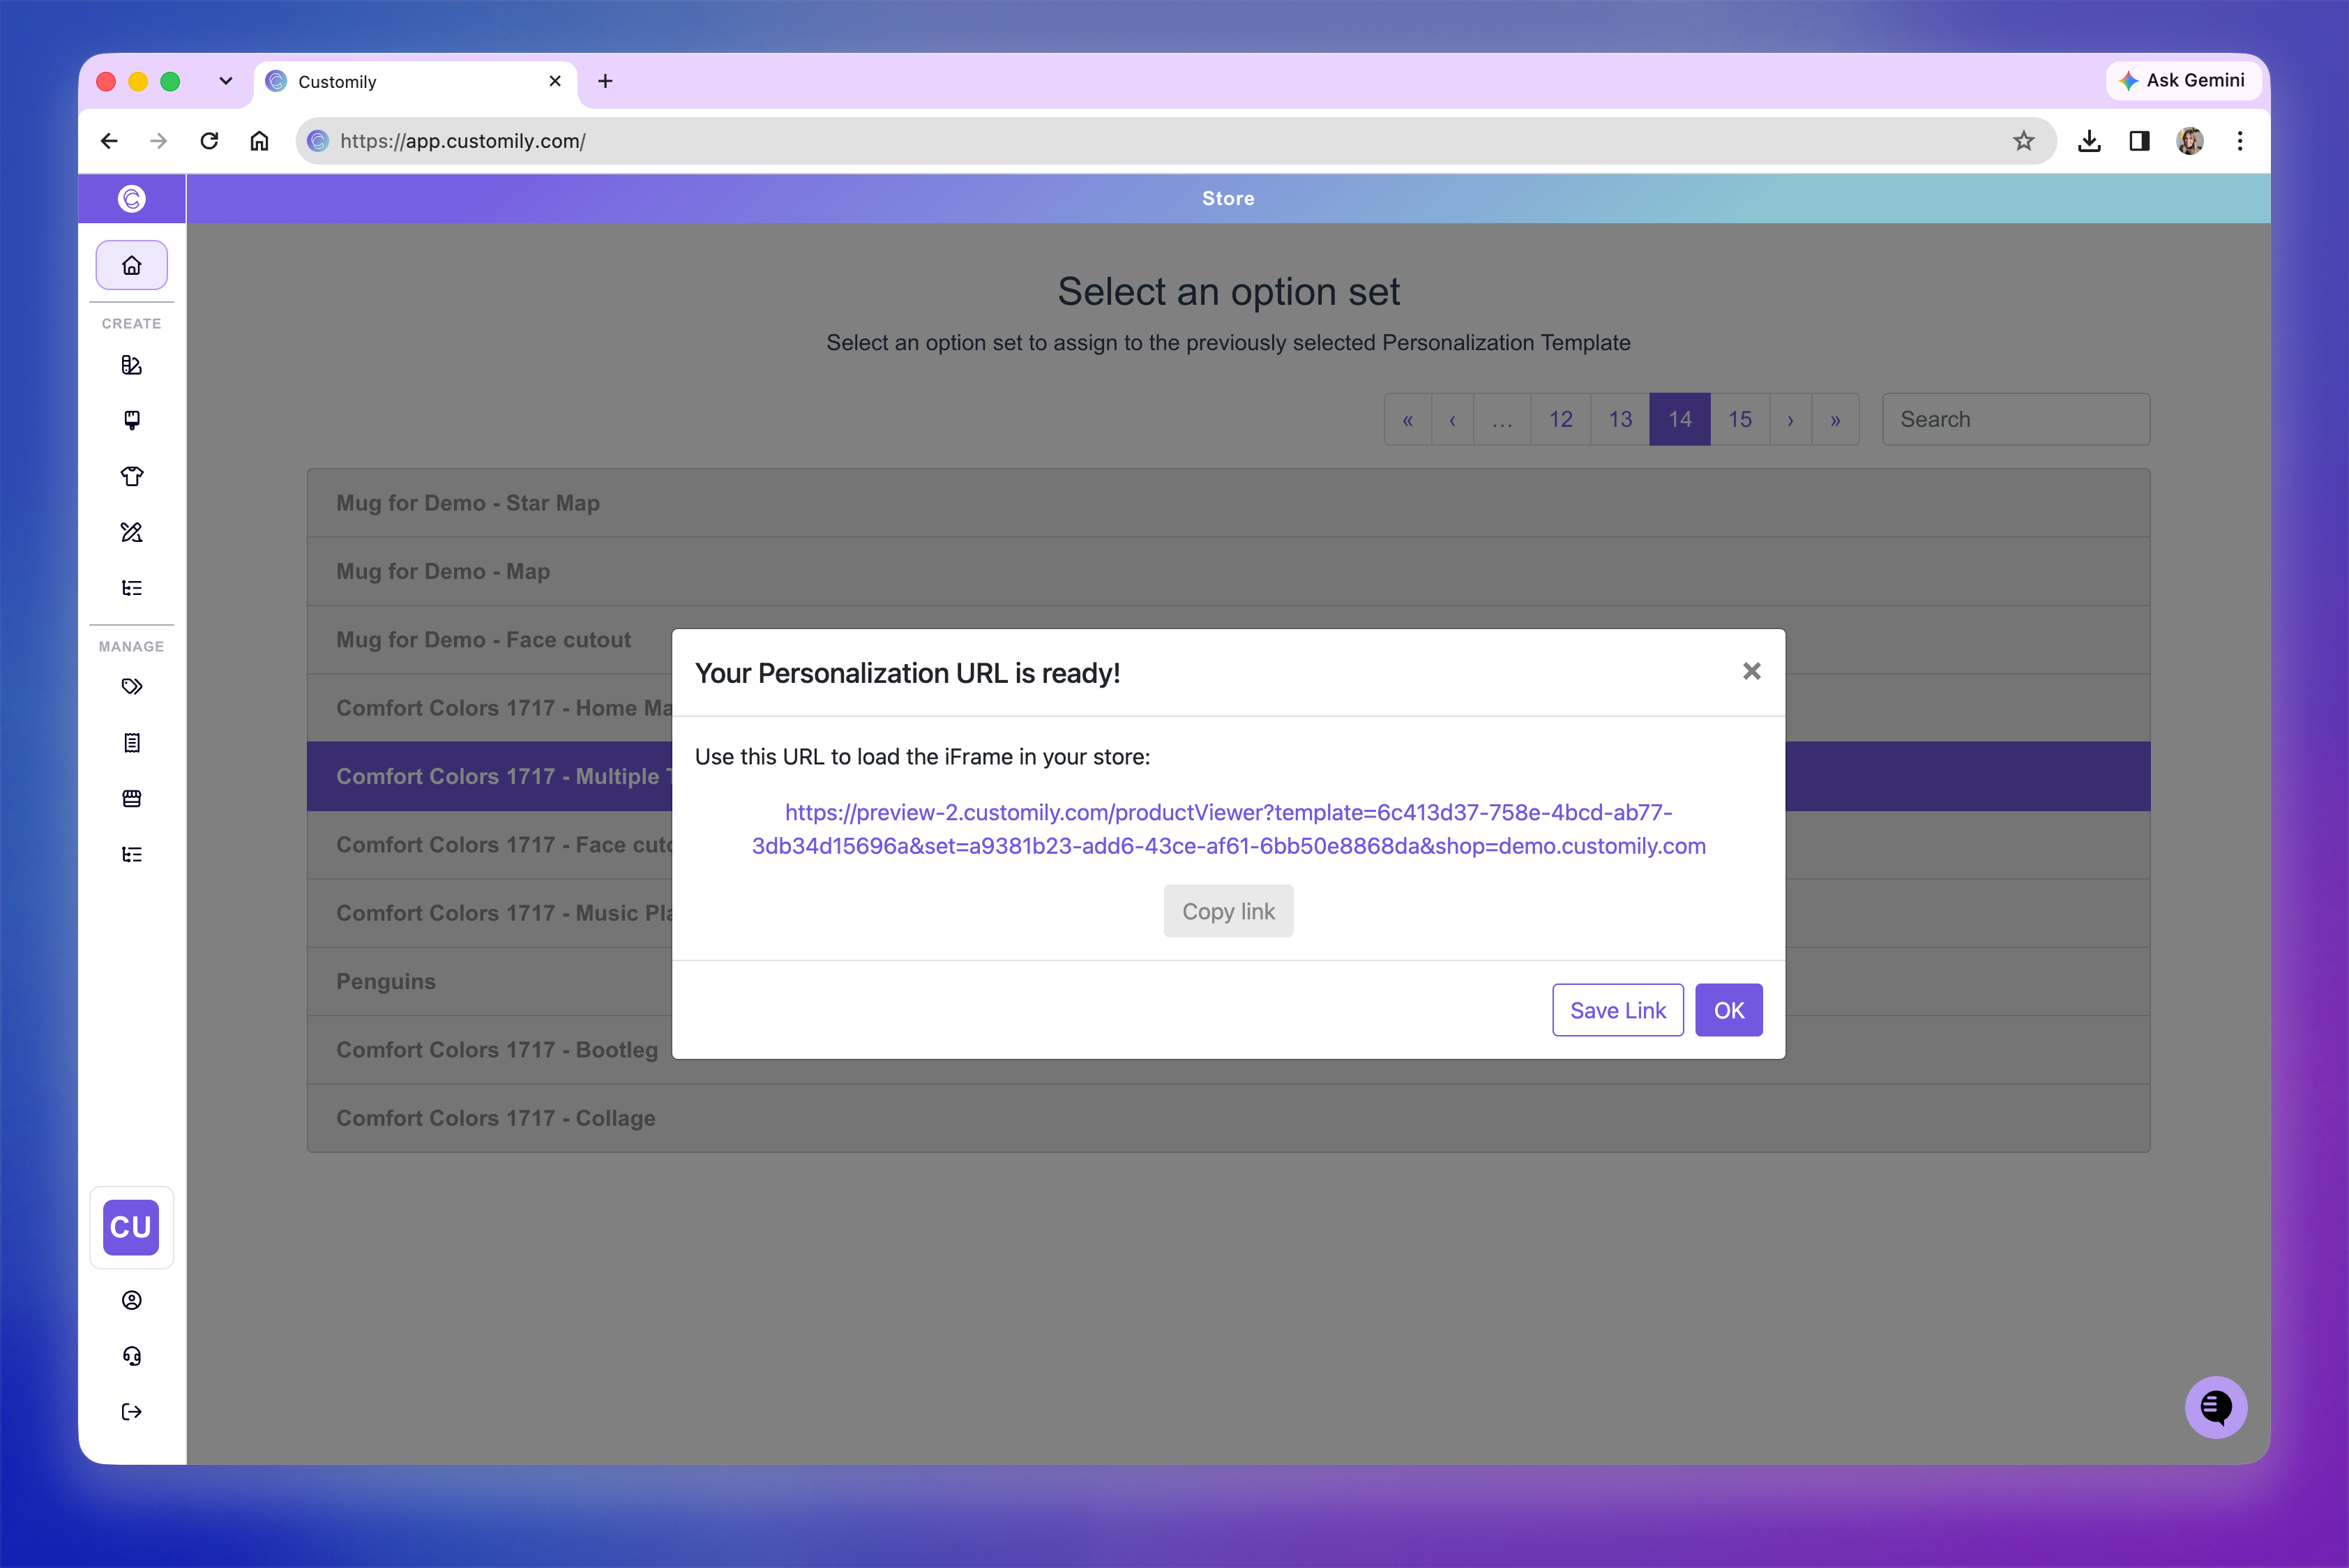
Just like with the previous method, you can copy the URL to use it right away or click Save Link to save it under Products.
Save and manage your Personalization URLs
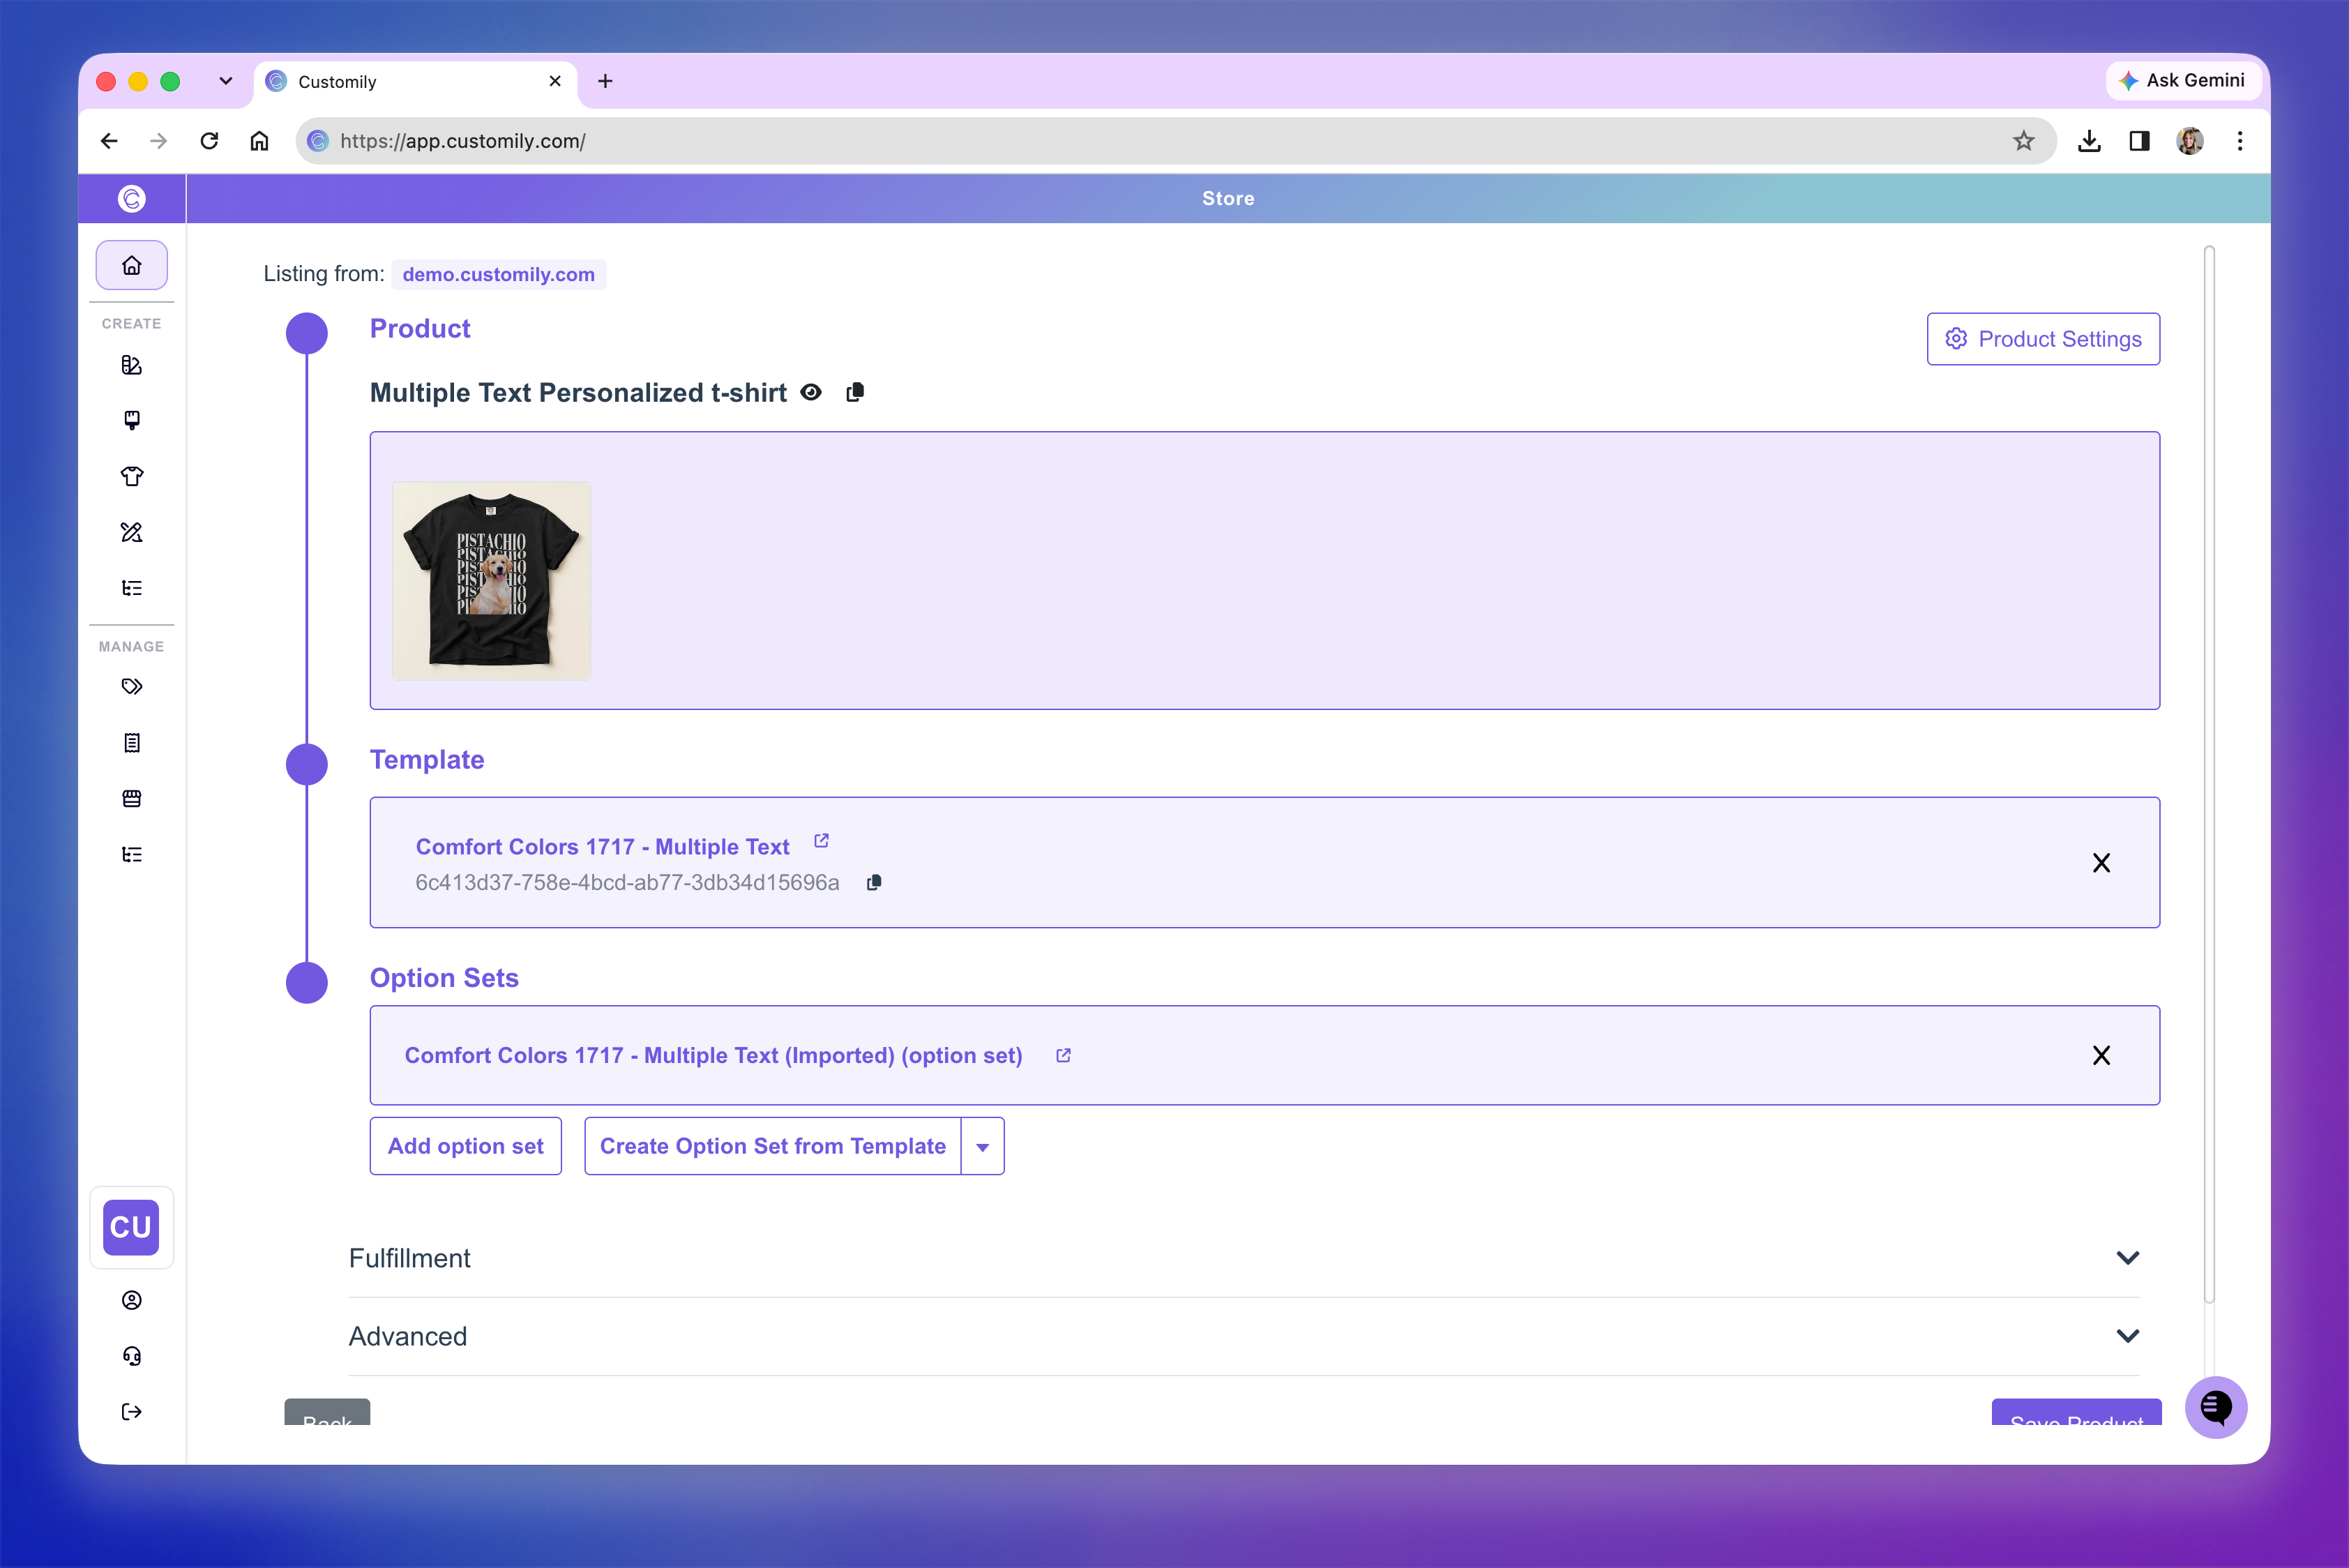
When you click Save Link, you'll be asked to enter a Product Name. You can also add the Product URL from your website and a Product Thumbnail. These are optional, but can make it easier to identify your products later.
Once saved, your Personalization URL will appear under Products, where you can access and copy the URL whenever you need it.
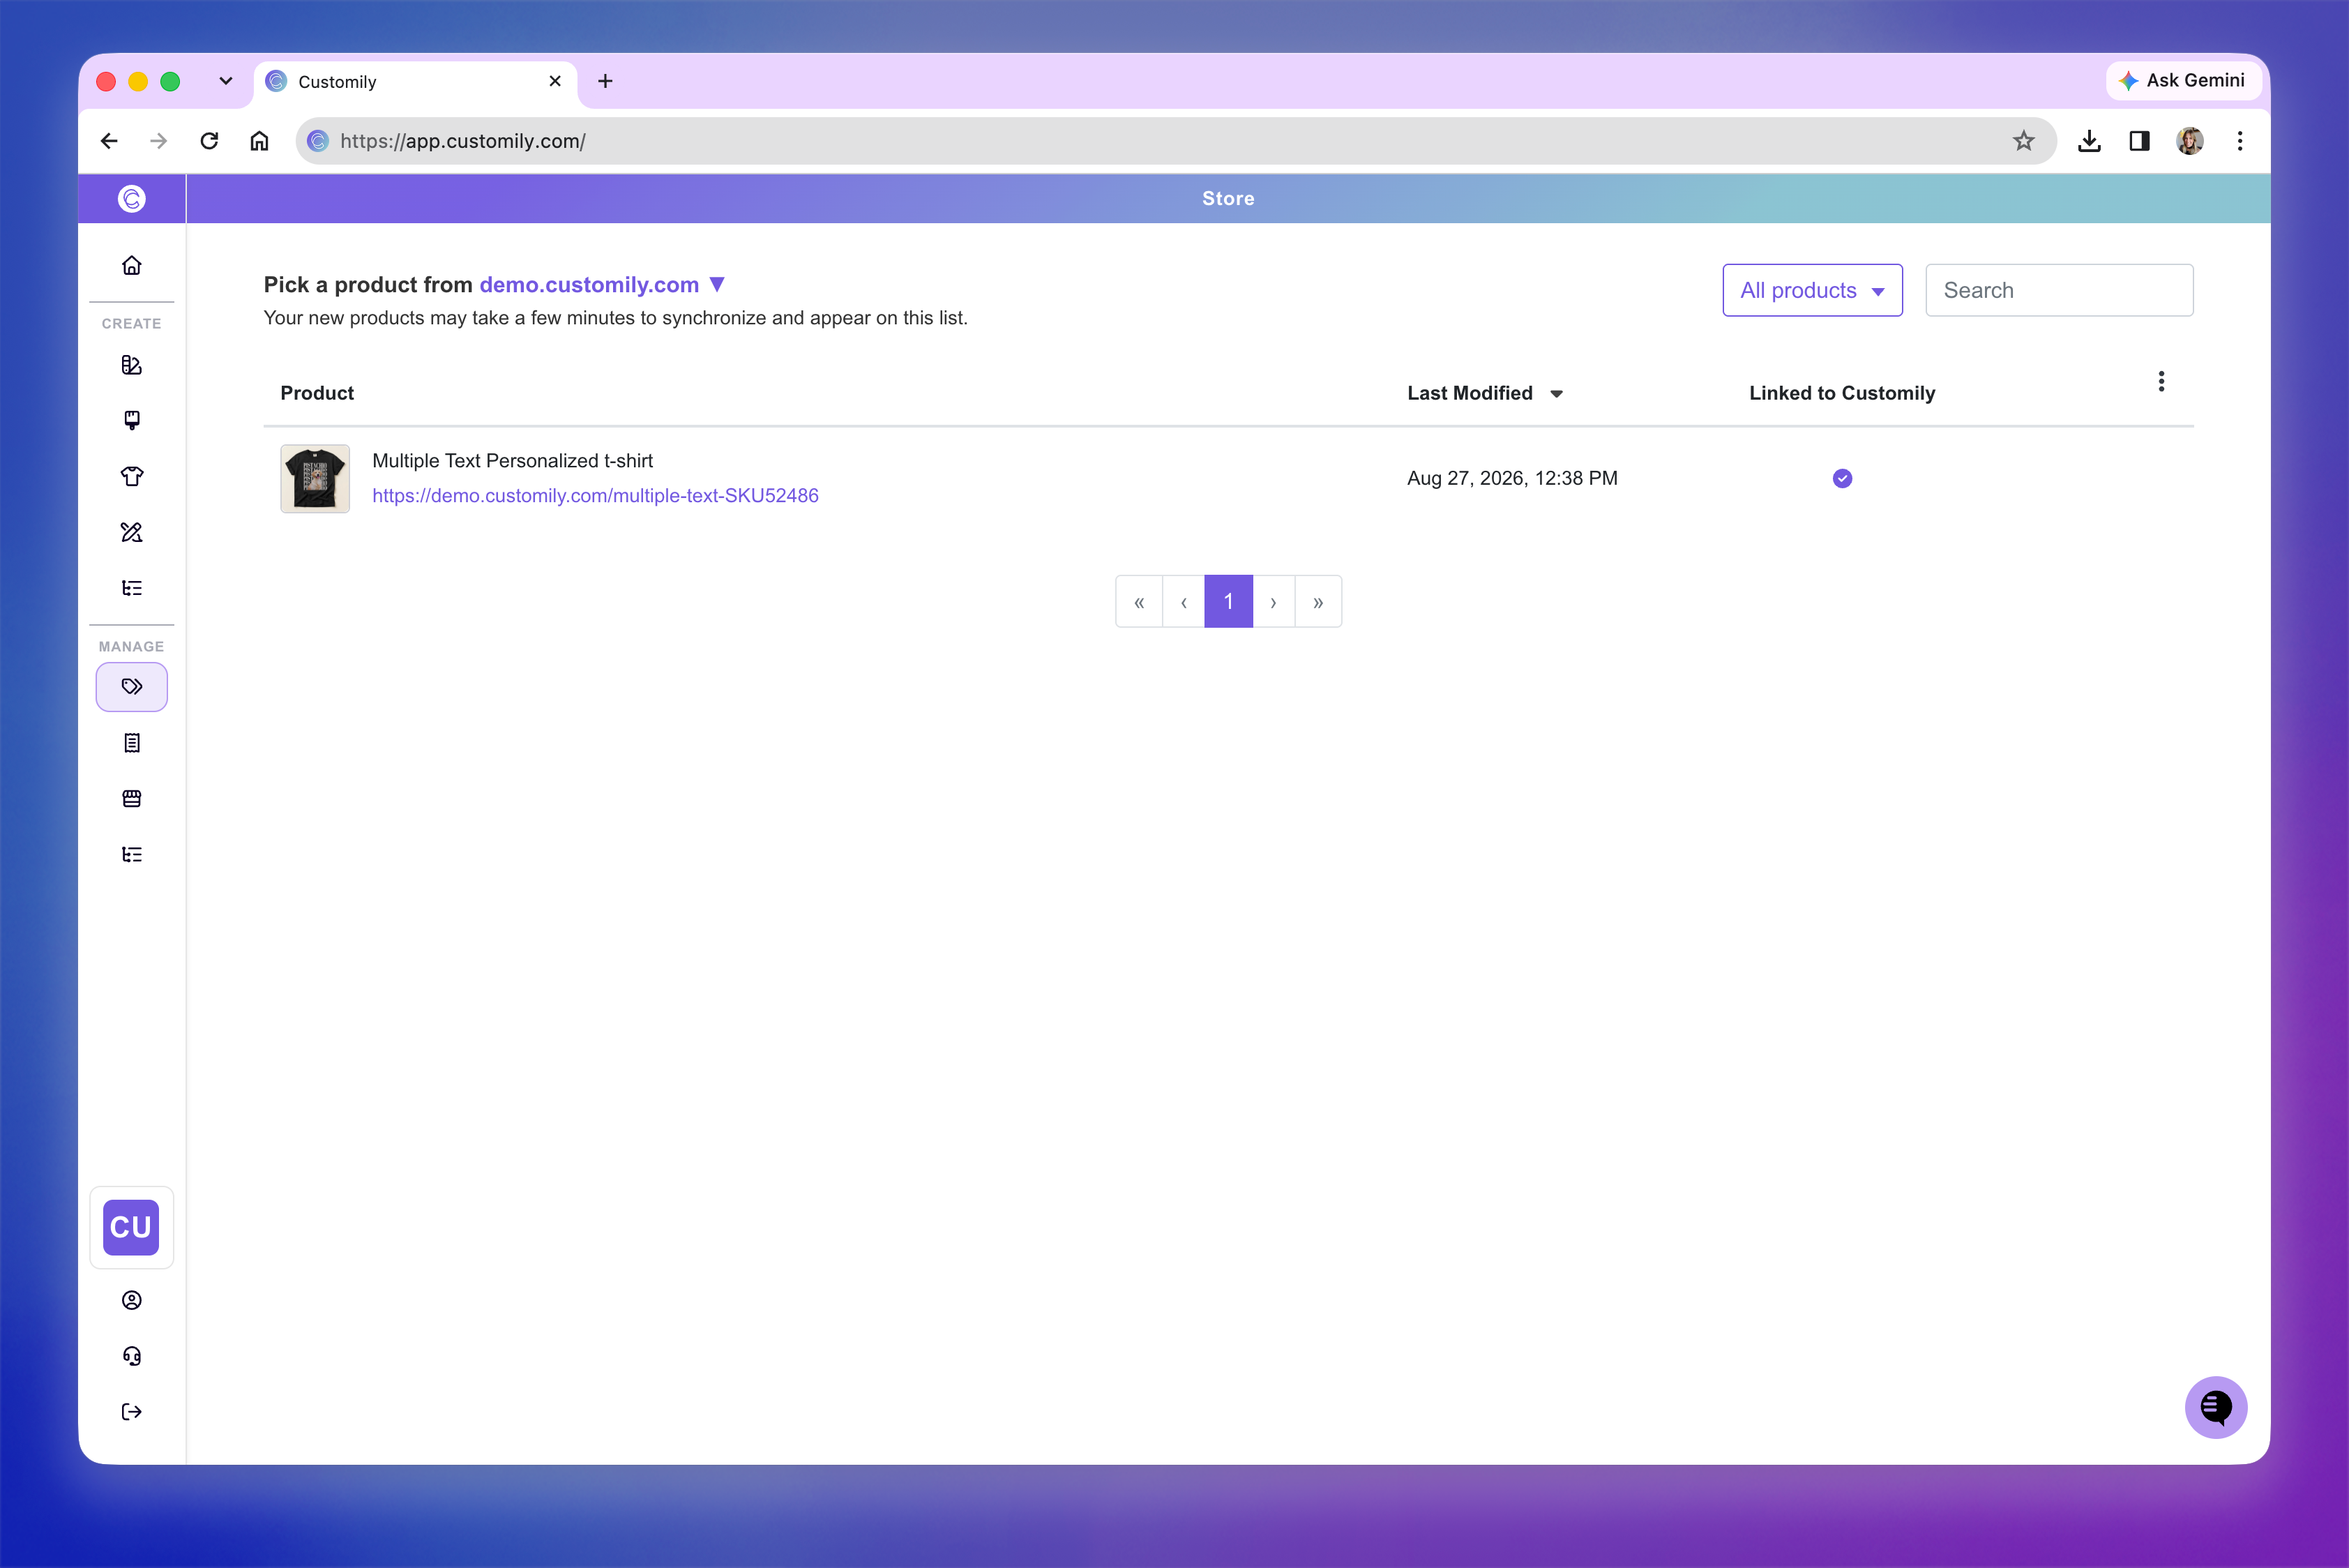
From Products, you can also open the product's settings to see which Template and Option Set are connected to it. From there, you can access and edit either one if you need to make changes to the personalization experience.