My Designs panel overview
Last updated: April 30, 2026
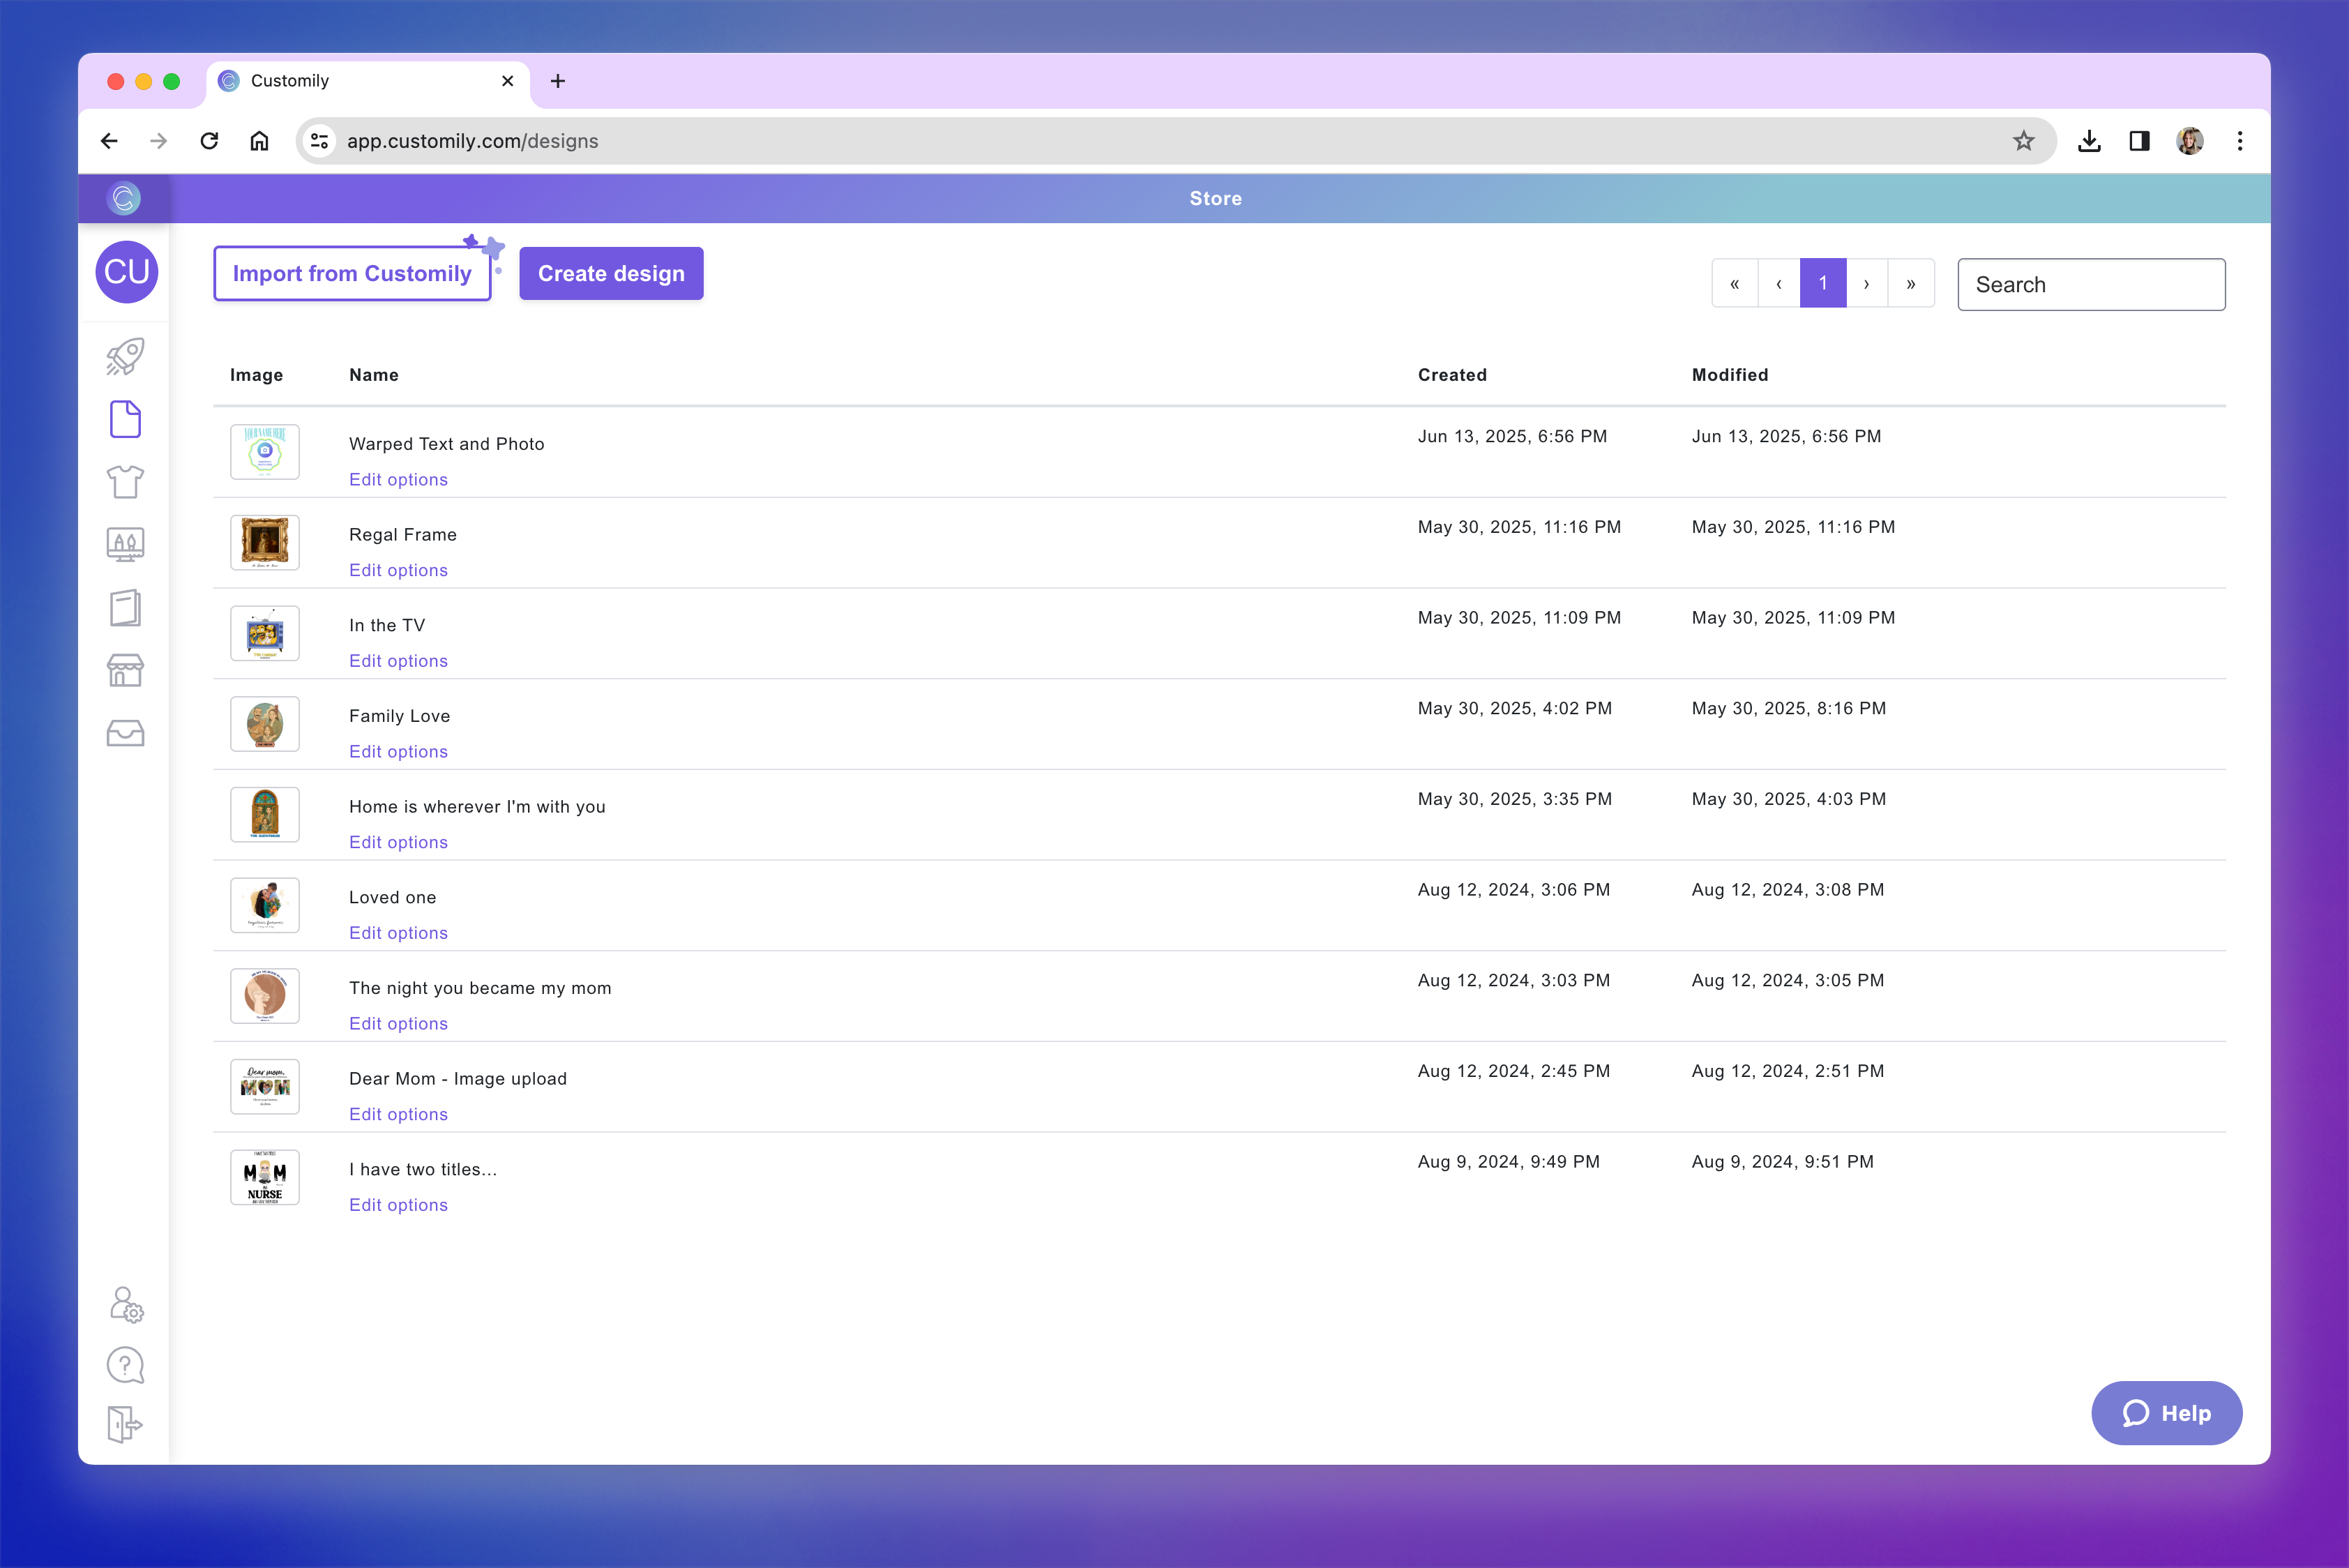
The My Designs panel is where you can view, organize, and manage all the designs you’ve created in Customily.
You can access it from the left-hand menu of your dashboard. From here, you can create new designs, edit existing ones, and manage your growing collection of personalizable artwork.
What you can do in this panel
Designs are shown in order of creation or last edit — the newest or most recently edited items appear at the top of the list.
Search and Browse
Use the search bar at the top to quickly find any design by name.
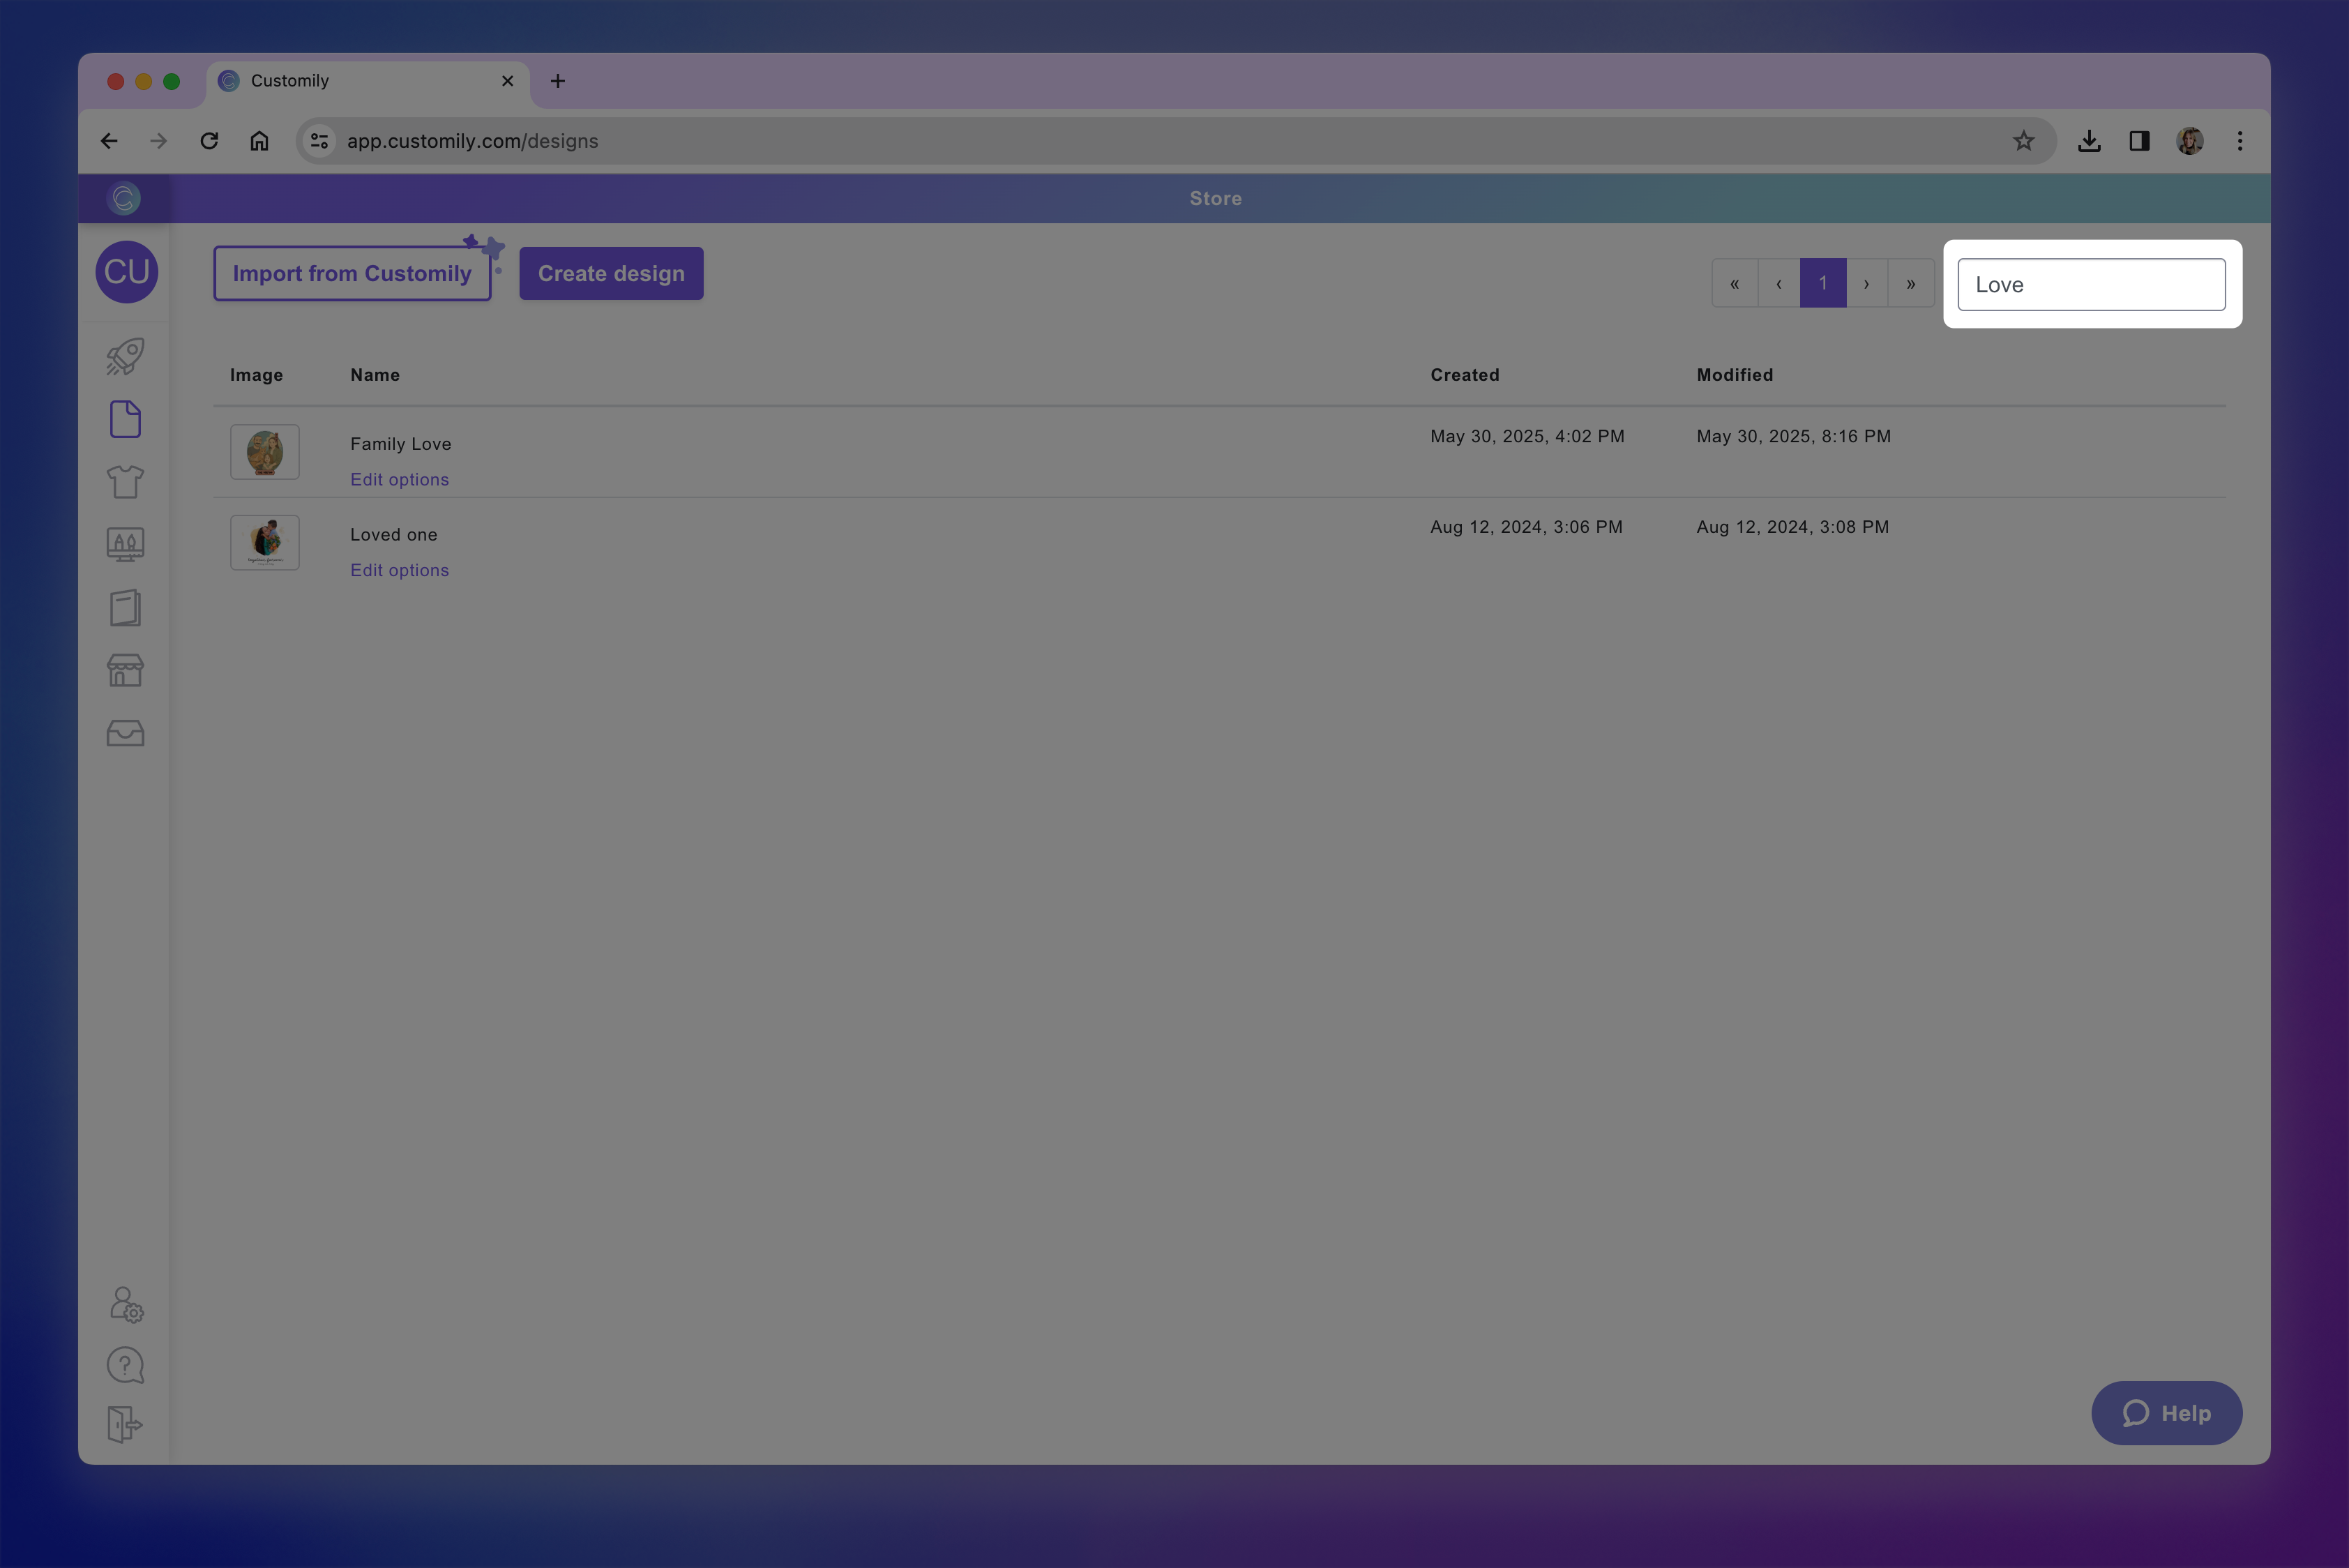
You can also scroll through the list to browse all the designs you’ve created — from newest to oldest.
Each design is displayed as a card with its thumbnail, name, created date, modified date, and a few quick actions to help you manage it.
Create new designs from scratch
Click Create Design to open a blank canvas in the Design Studio and start building your design from the ground up.
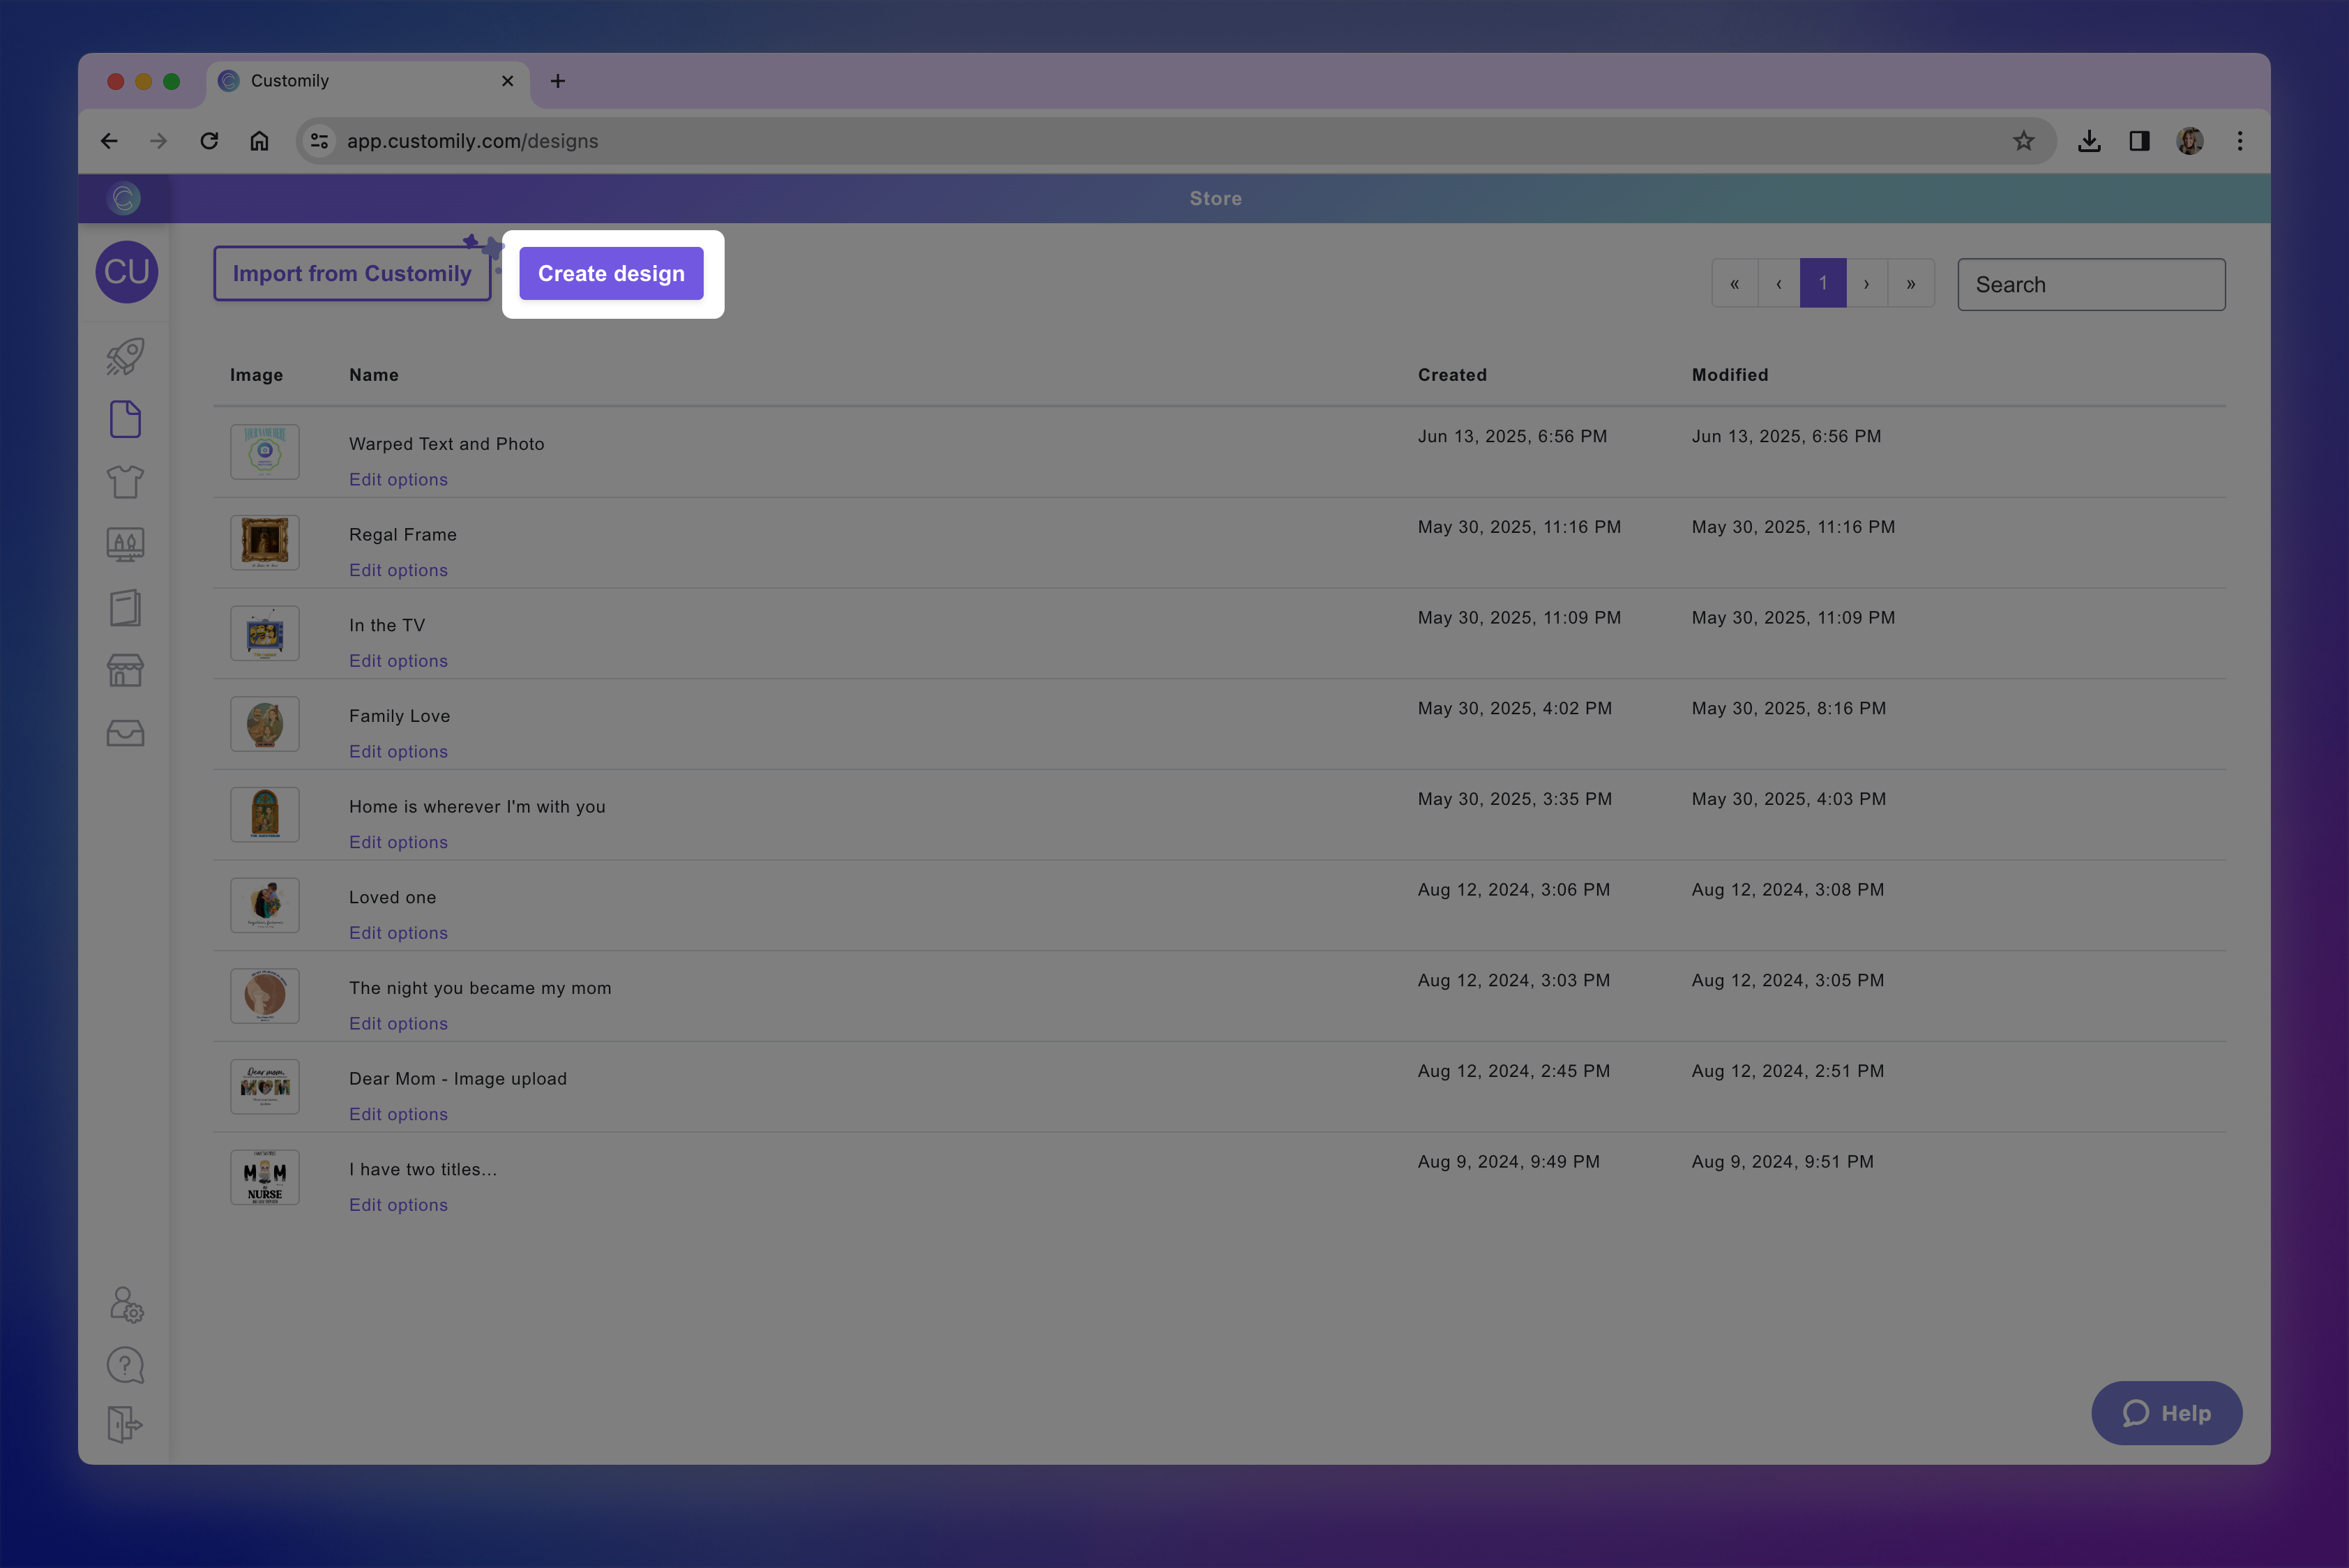
You’ll be able to add personalizable text, images, cliparts, maps, and more to create a fully custom experience for your shoppers. Learn how to create a new design from scratch here.
Once saved, your design will be added to this panel for easy access.
Pro Tip
If you're creating a design that's similar to an existing one, consider cloning an existing design instead and making edits — it can save a lot of time.
Create a design starting with one from Customily’s gallery
Click Import from Customily to import one of our ready-made designs into the Design Studio.
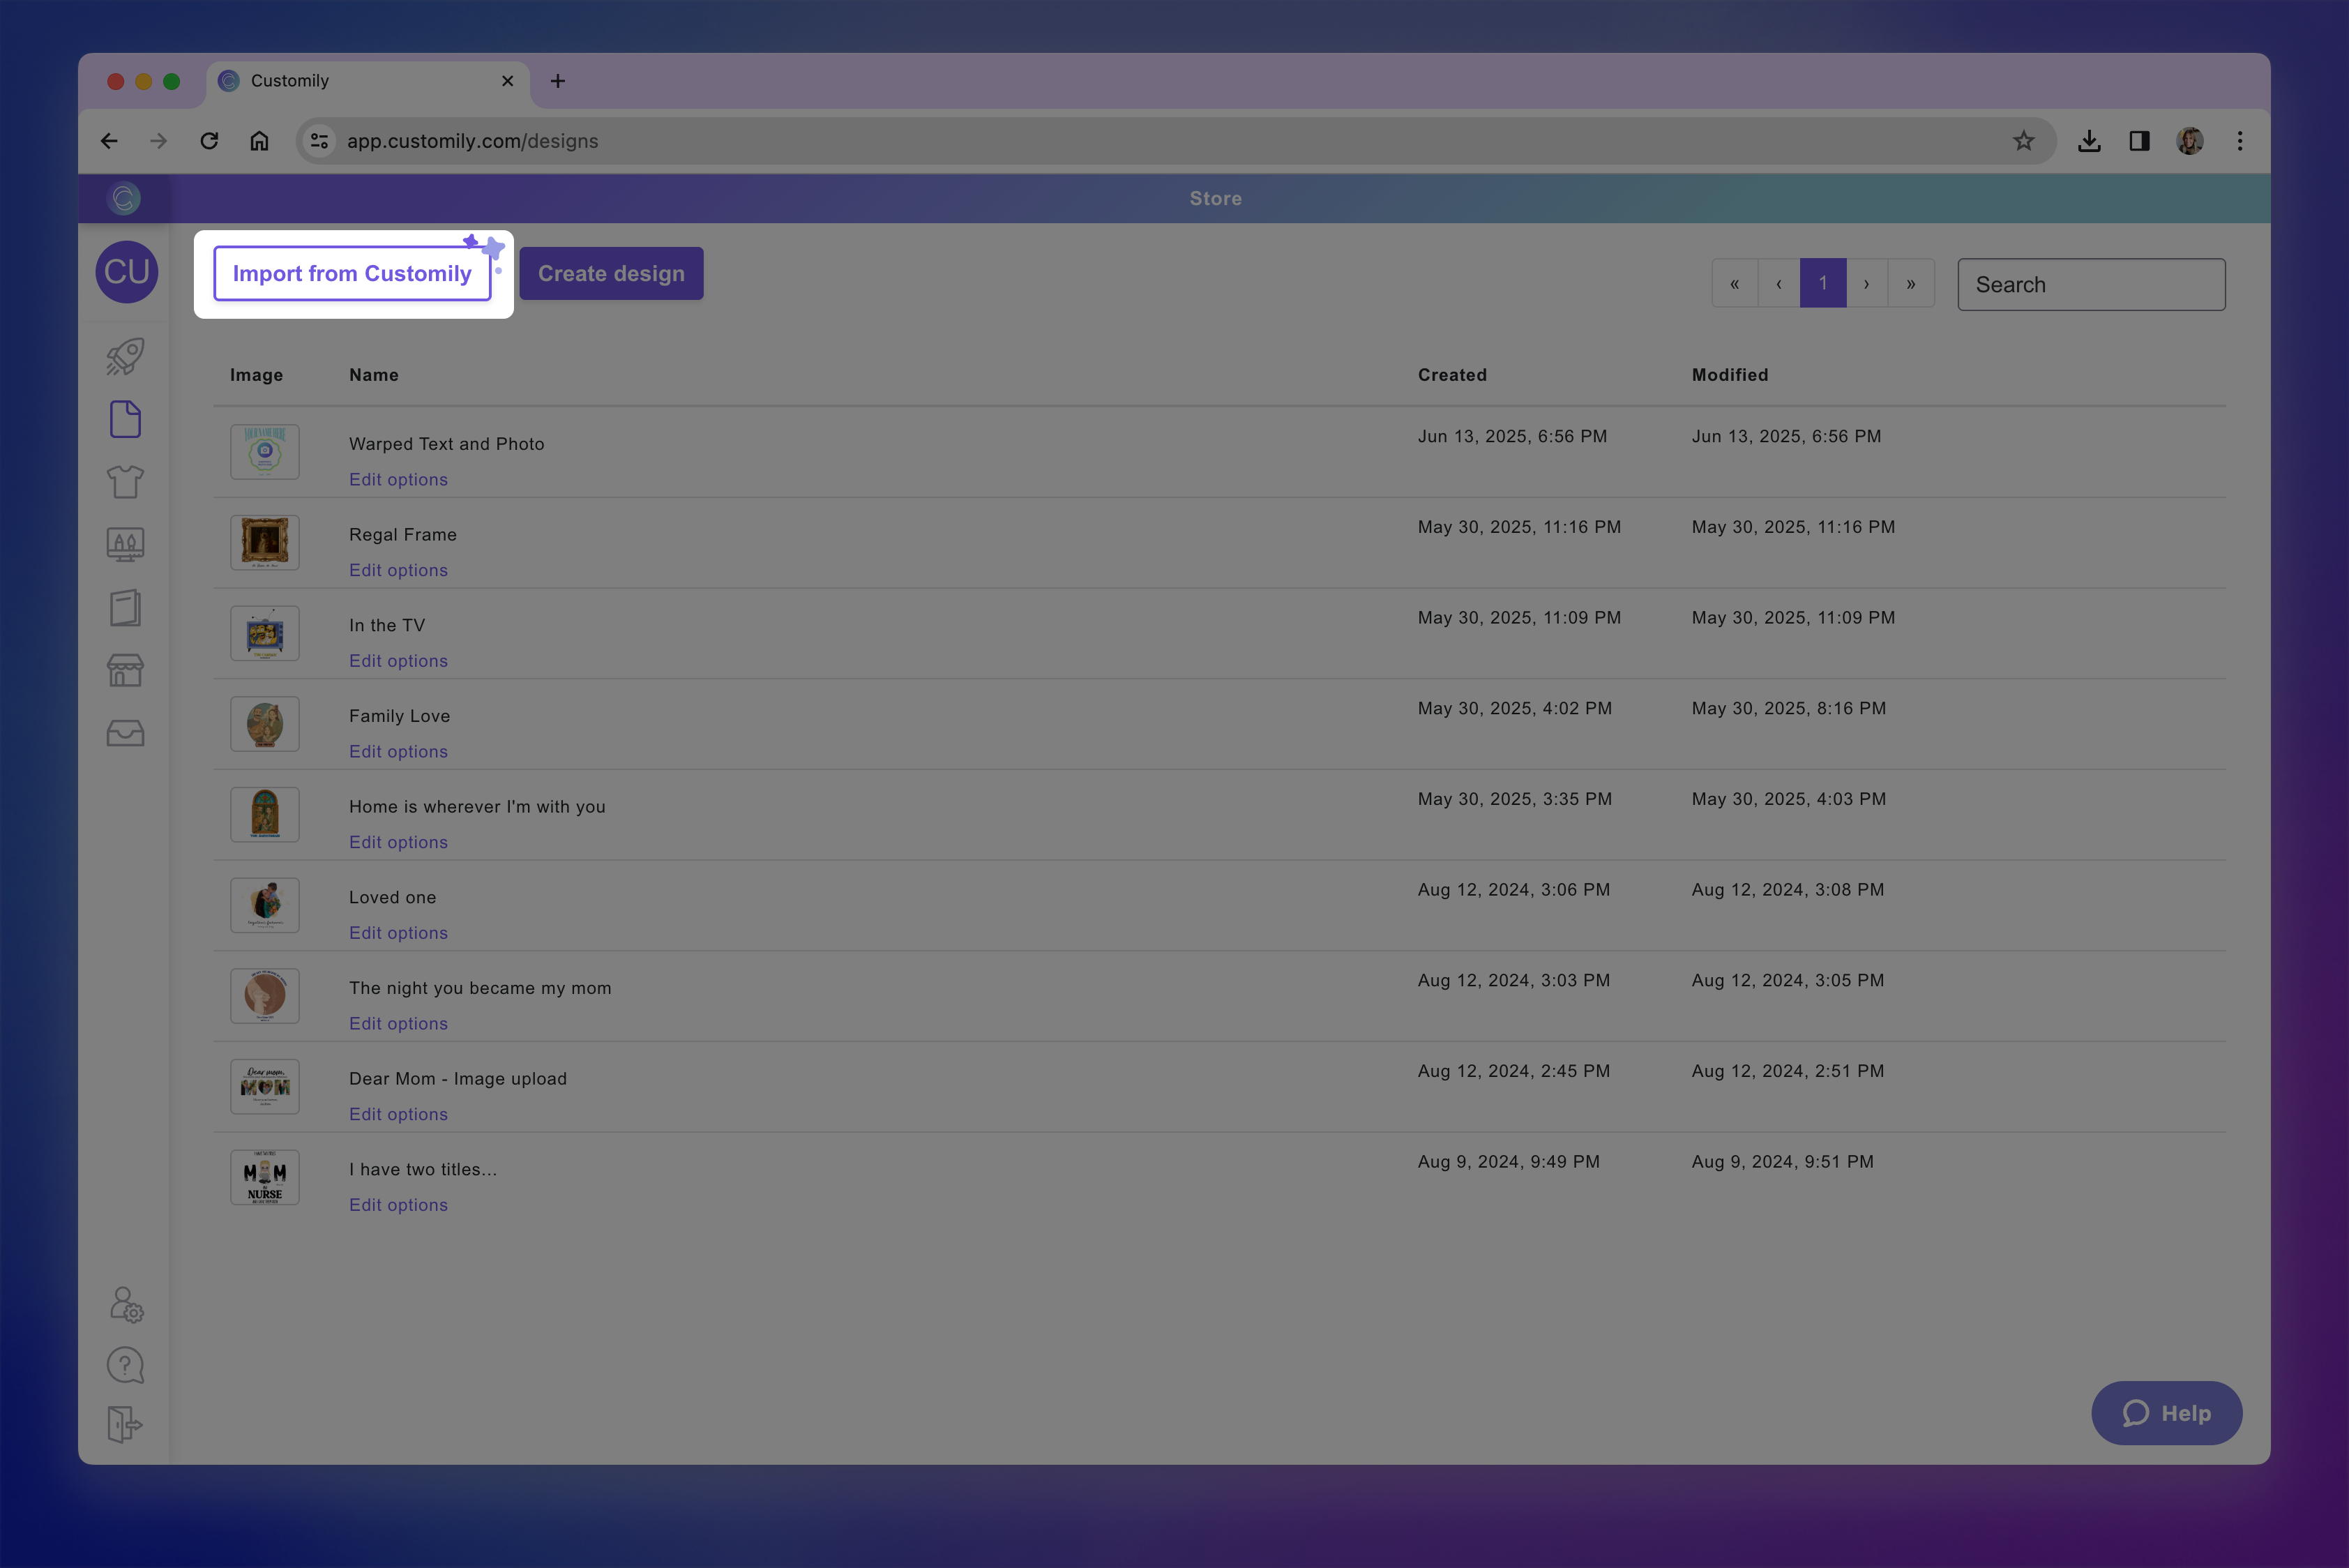
The imported design will open in the Design Studio, allowing you to edit it however you like — adding or removing elements, adjusting the layout, or changing text styles. Learn how to create a new design starting with a Customily design here.
When saved, it becomes your own version and appears in your design list.
Edit a Design
To edit a design, hover over it and click the pencil icon that appears.
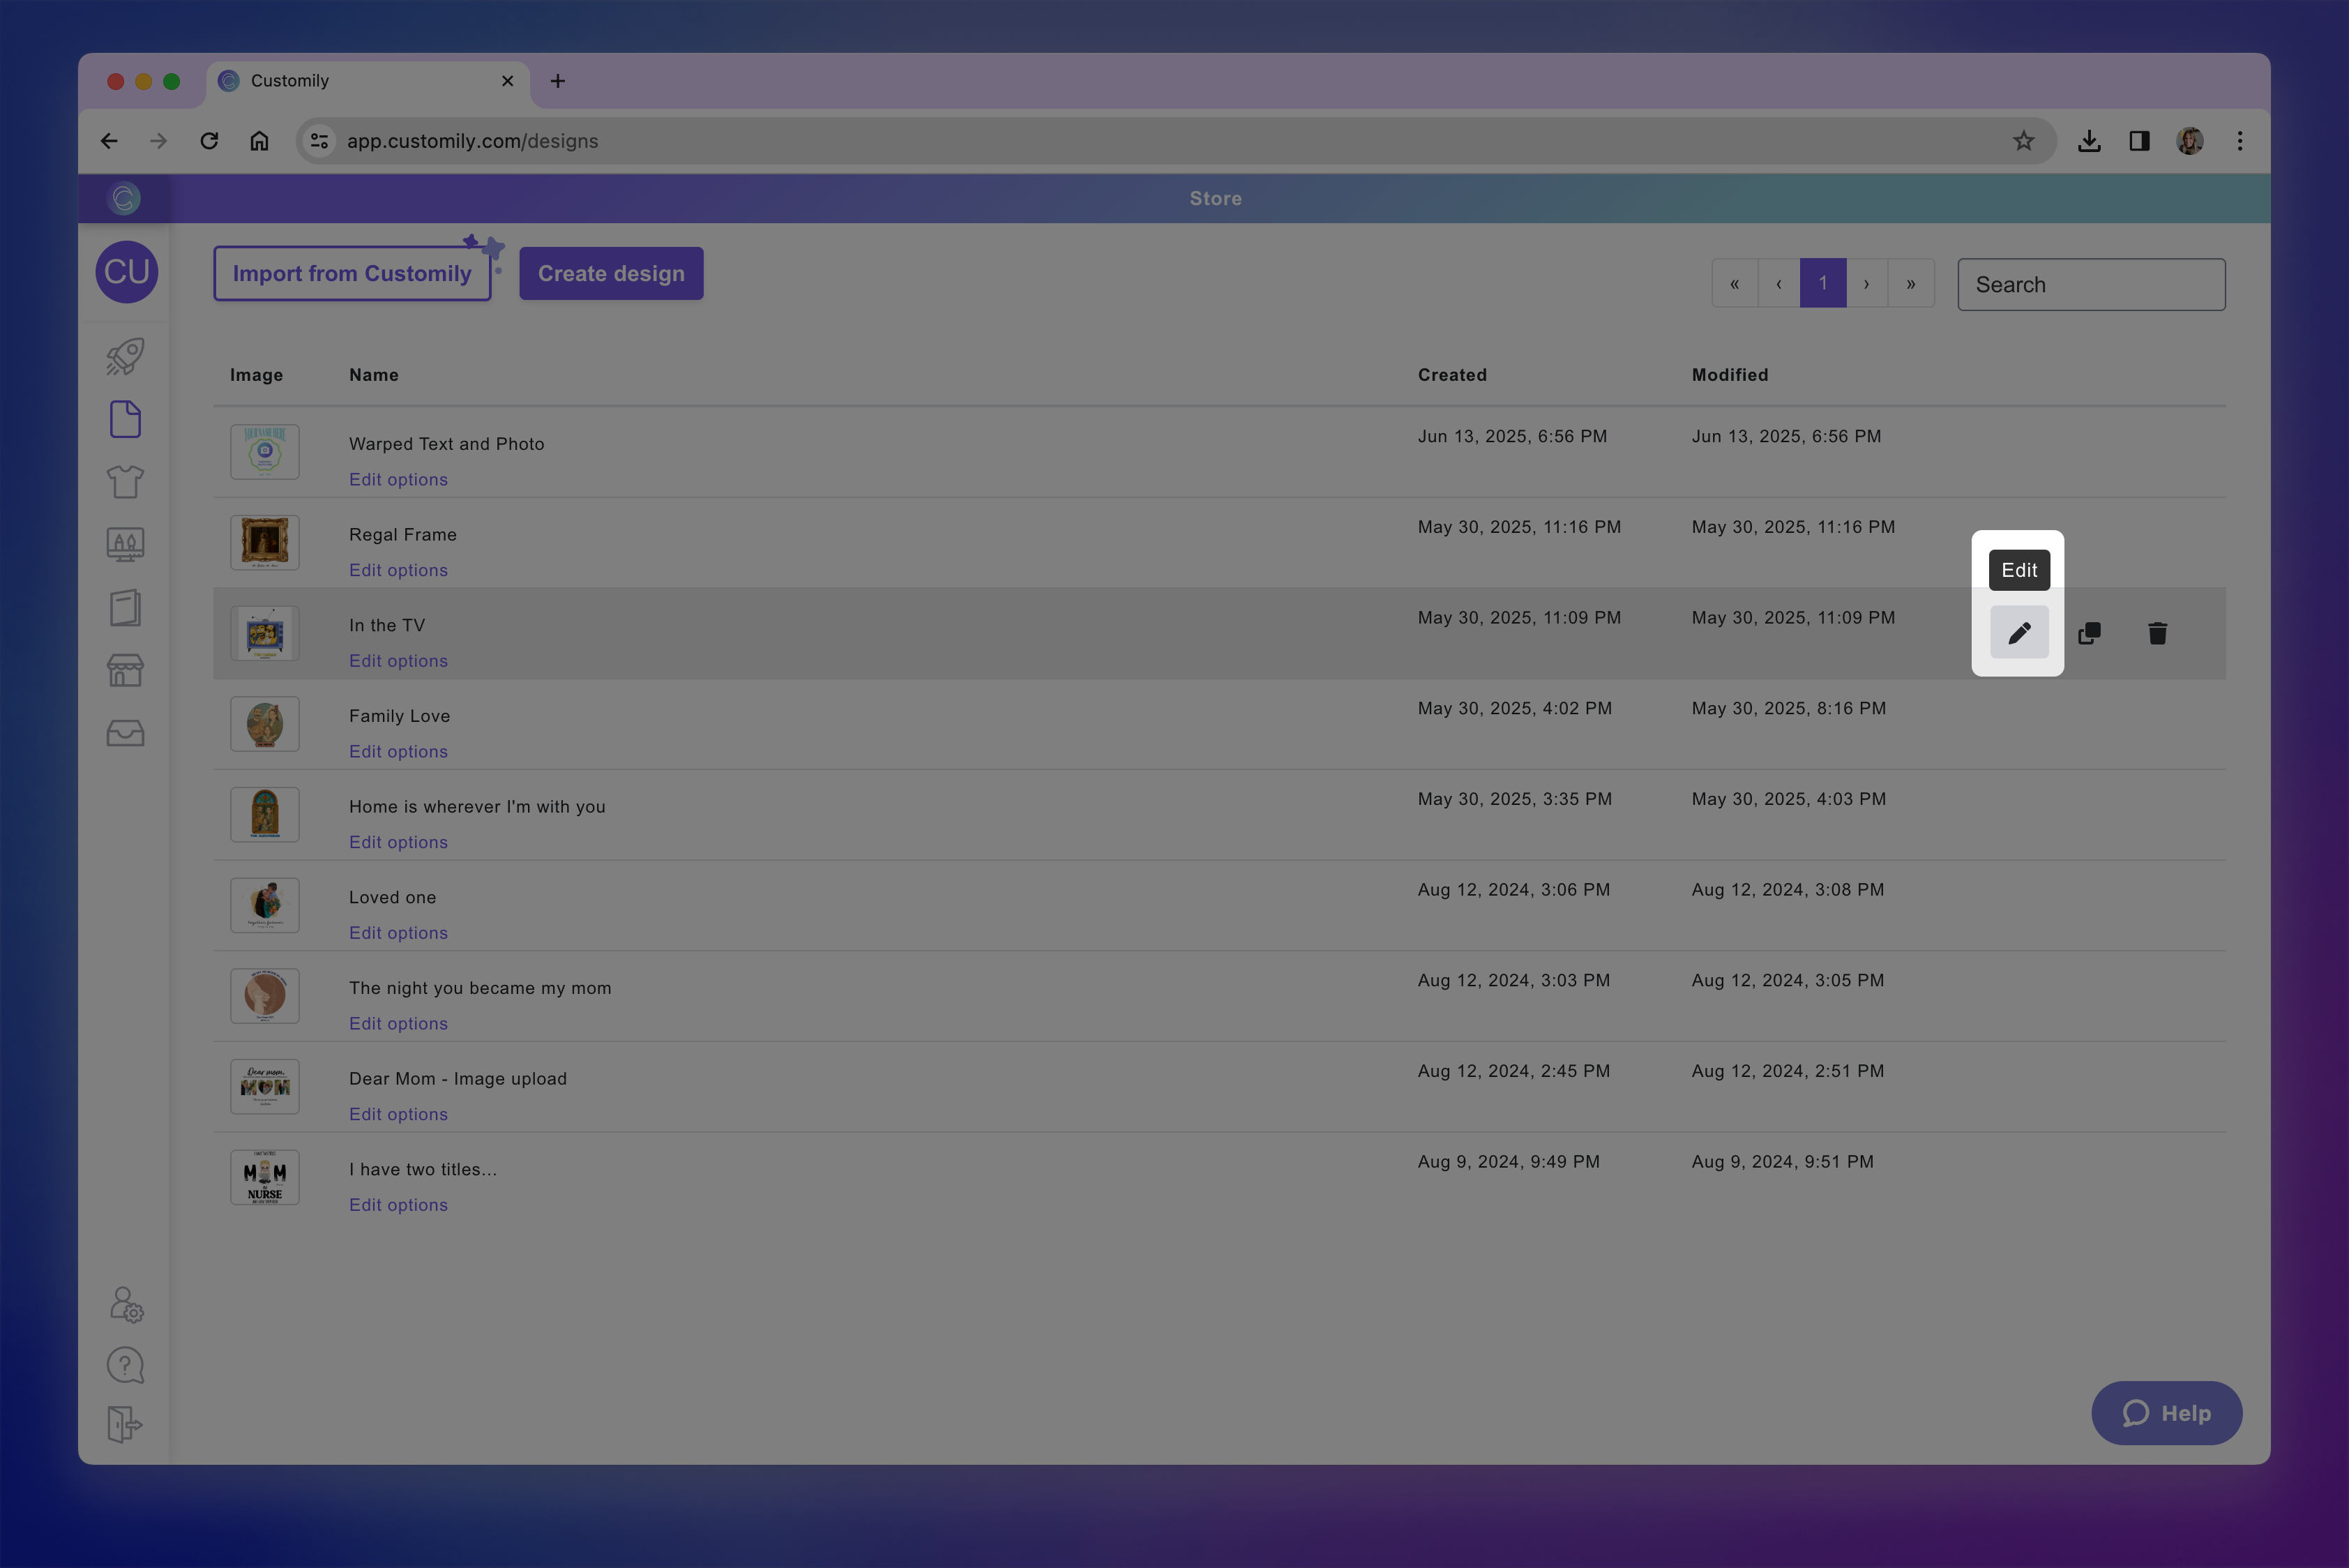
From there, you can change anything in the design — move elements around, add new ones, or remove what you don’t need.
You’ll be asked whether to update the linked option set after saving. If you've changed any of the personalization elements you'll likely need to update the option set.
Edit the option set of a design
Click the Edit Options icon to open the option set connected to your design.
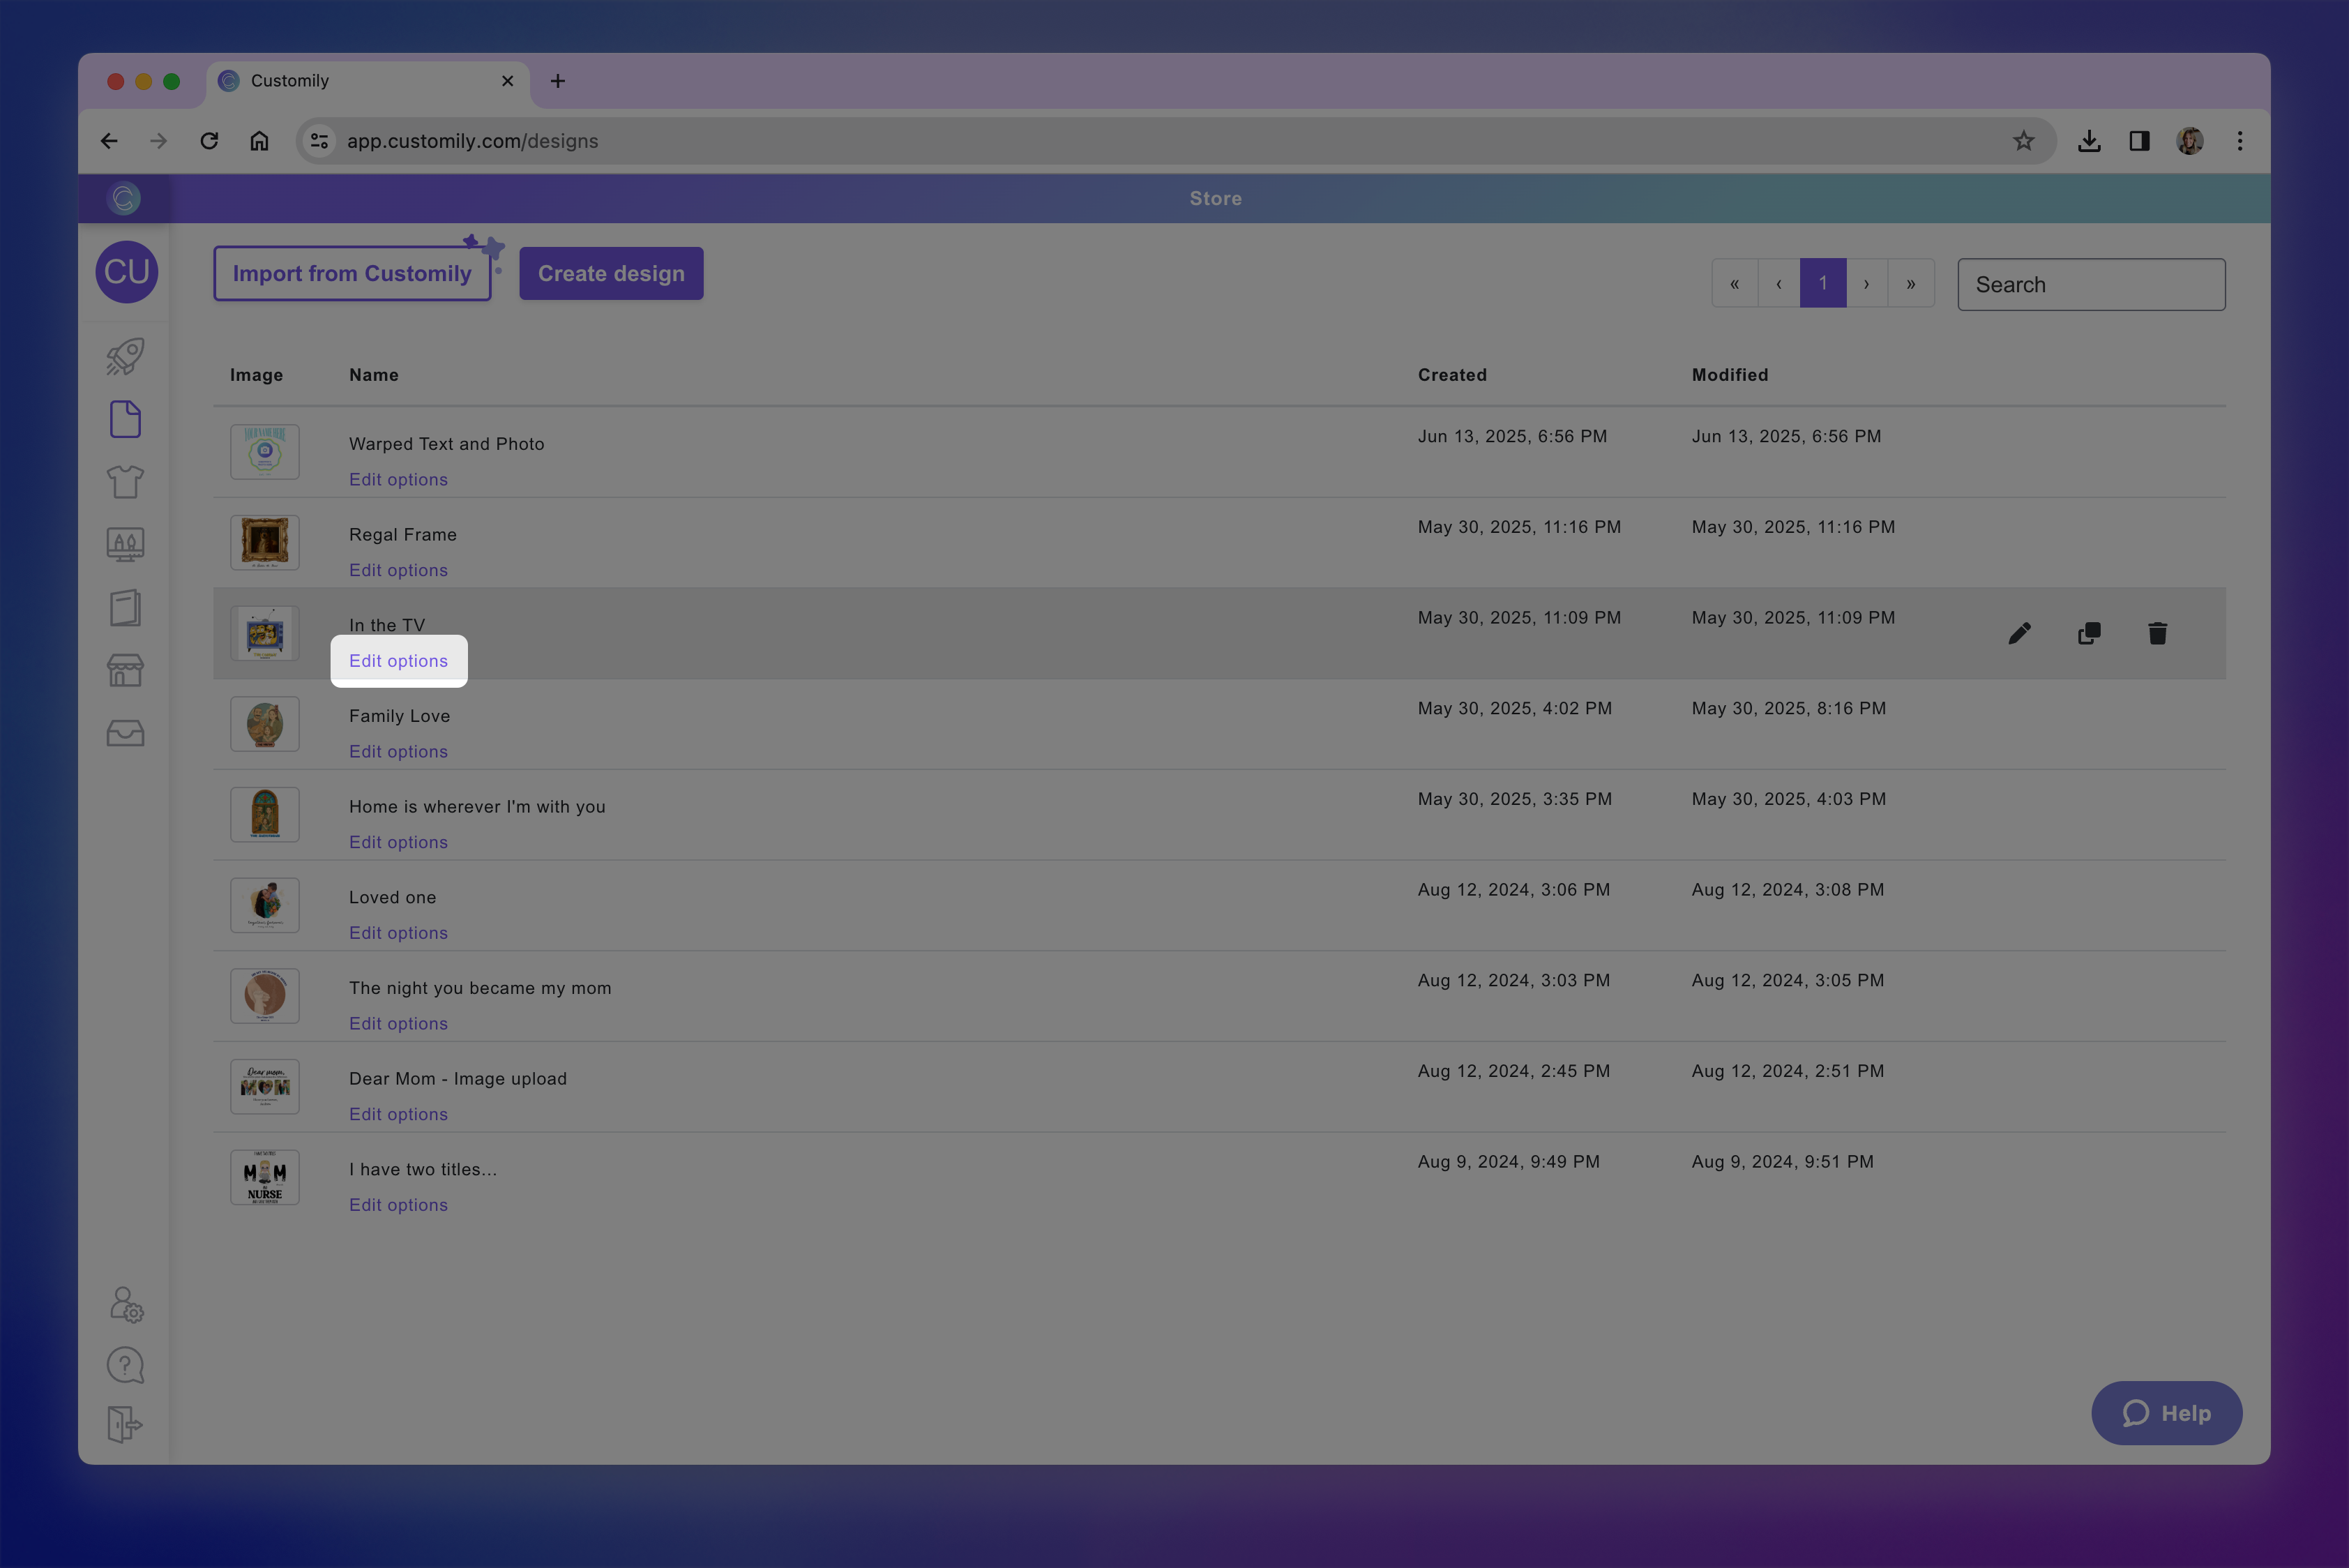
The option set controls the personalization form that shoppers will interact with in your store. You can rename options, add help text, reorder them, add conditional logic or even delete options that are no longer needed.
Rename or change the design's thumbnail
To rename a design:
Hover over the name and click the pencil icon, or
Double-click the name directly
Type the new name and press Enter to save it.
To change the design's thumbnail:
Hover over the design image and click on it to upload a new one.
Thumbnails are generated automatically from the design and are purely visual — they won’t affect the design itself. You can update them if you want to better recognize or organize your designs.
Clone or delete designs
To clone a design:
Hover over the base and click the clone icon.

This will create a new design with the word “cloned” added to its name.
Once cloned, the design will automatically open in the editor so you can start making changes right away.
To delete a design:
Hover over the design and click the trash icon
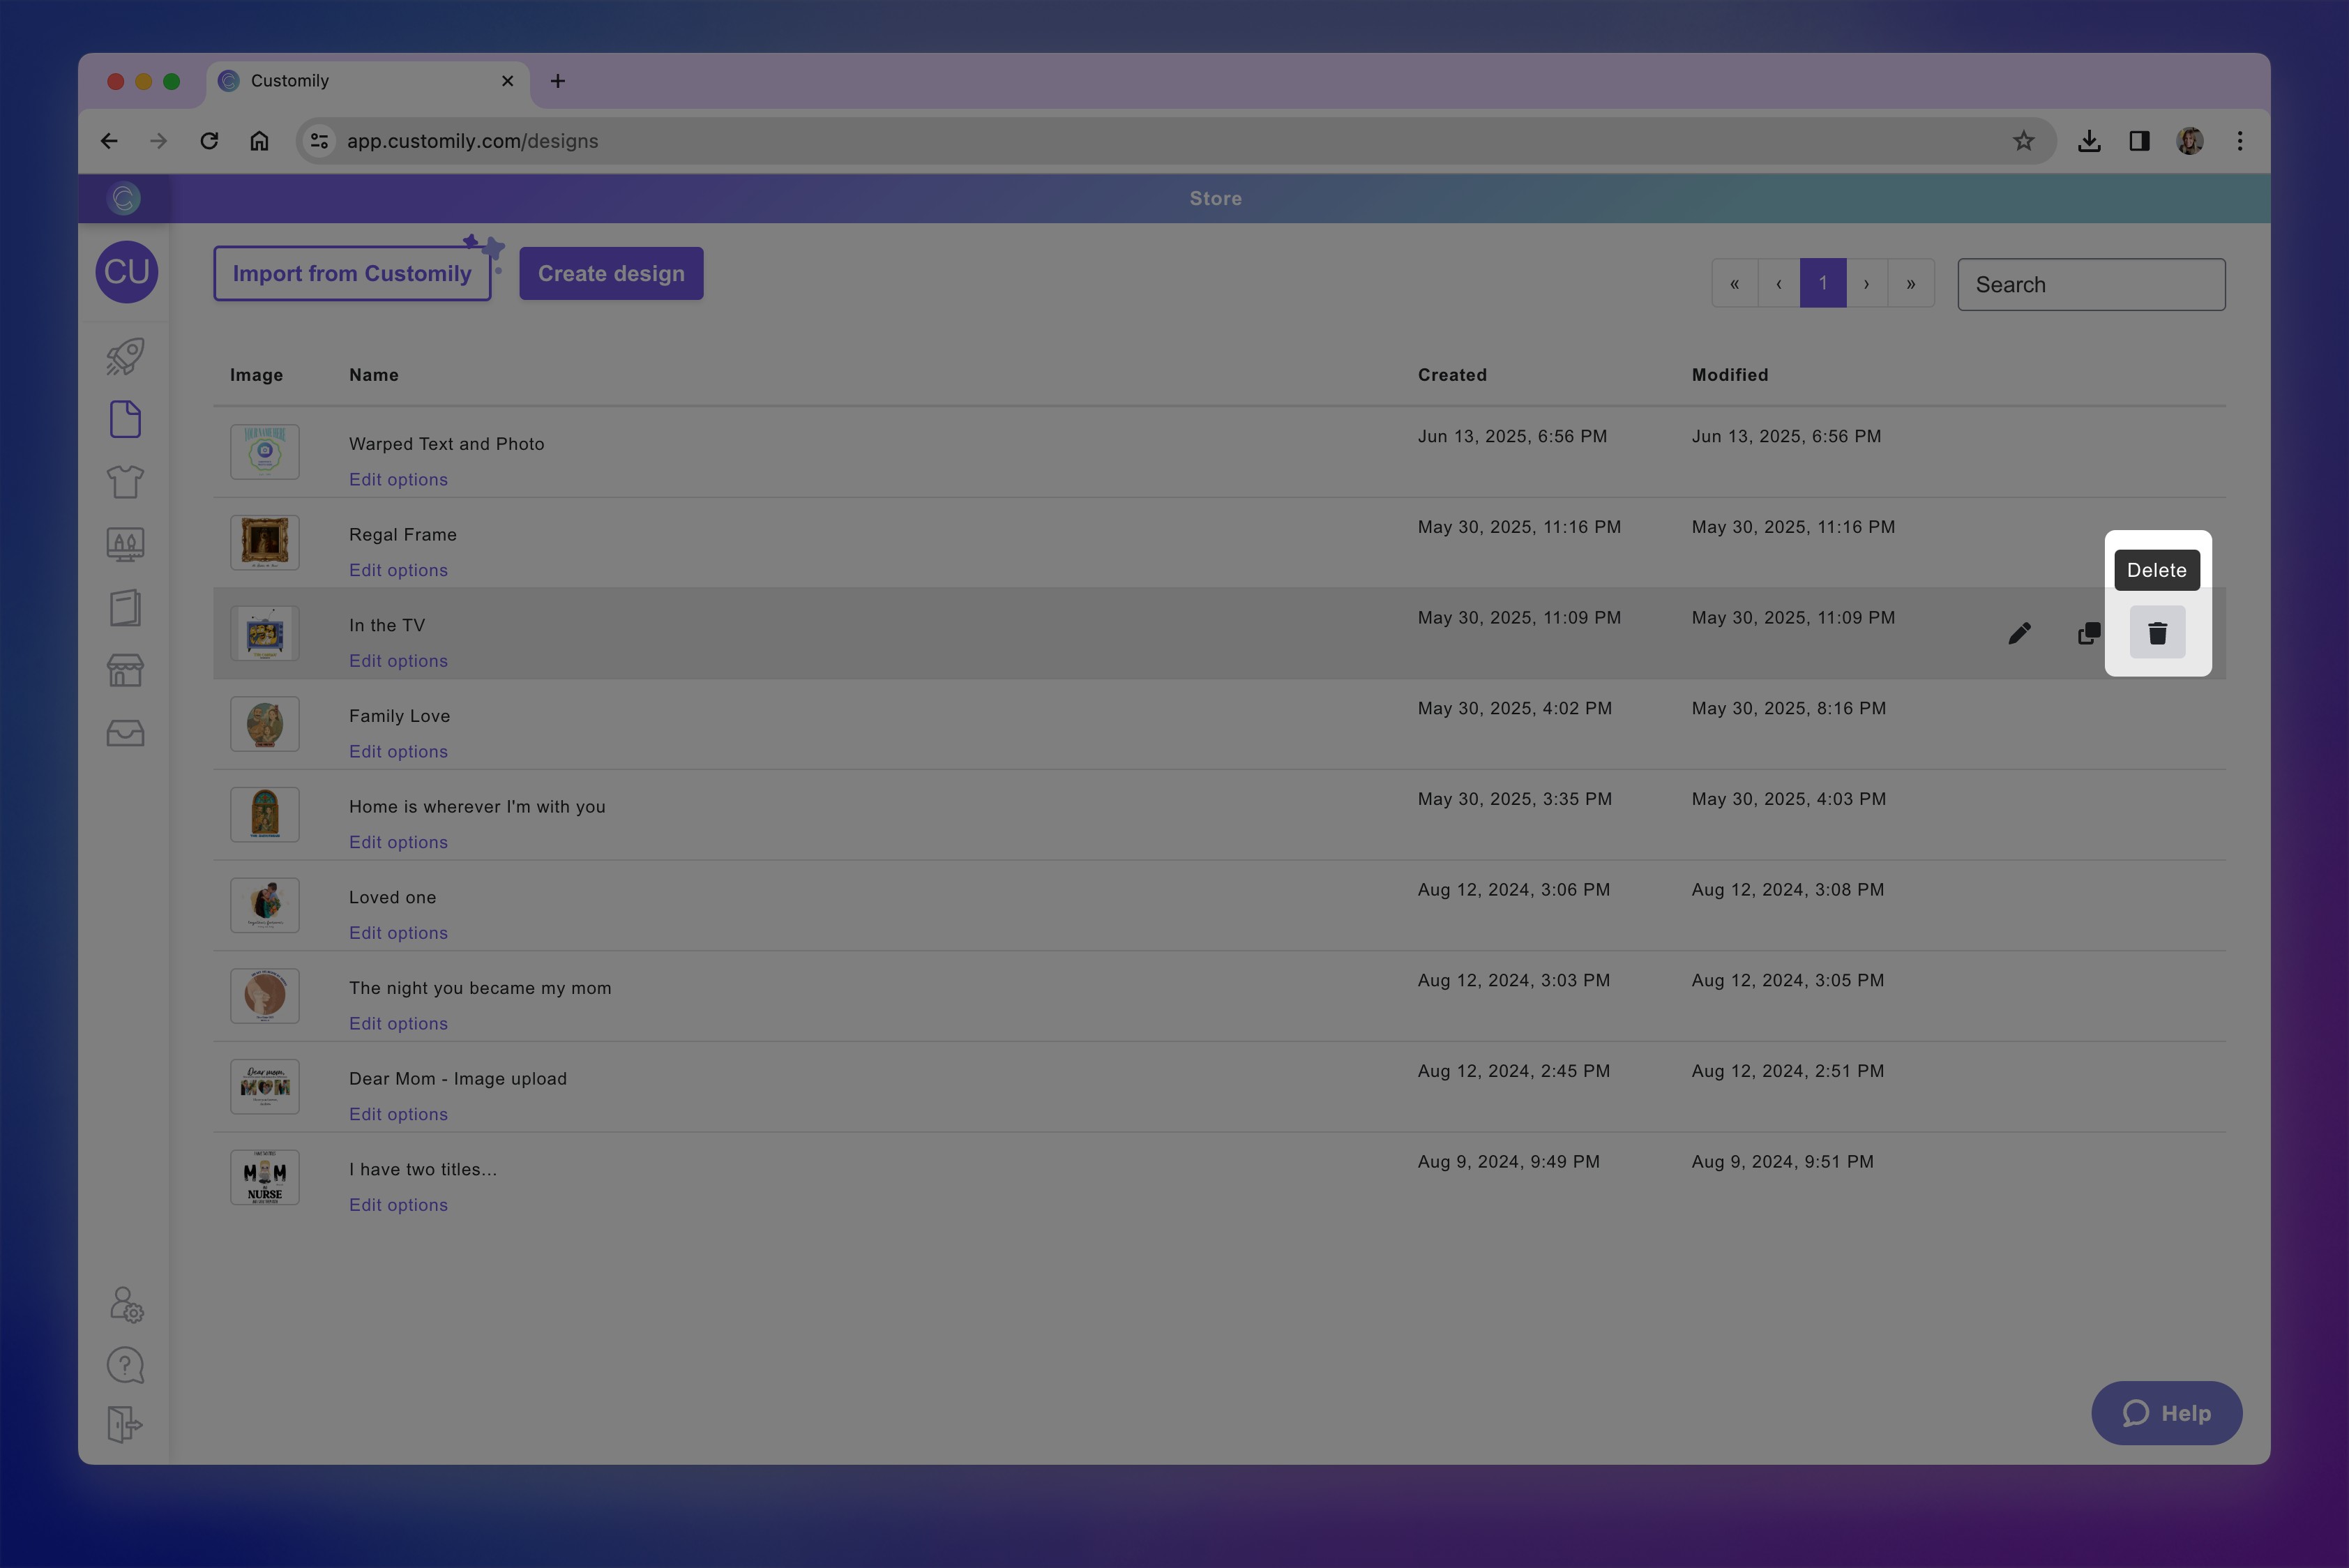
Confirm the deletion to permanently remove it from your account.
Important
If you've already published products using this design, they won't be affected when you delete it. However, deleting a design cannot be undone — make sure you won’t need it again before removing it.