How to create a My Design from scratch
Last updated: April 30, 2026
Why create a My Design from scratch?
Creating a My Design from scratch gives you complete creative control over every element in your personalized product, you decide what gets personalized and how. Unlike ready-made designs, which come prebuilt with specific layouts and personalization options, a custom design lets you tailor everything — from the artwork to the shopper’s experience.
You can start simple and build up complexity as you go — from a single editable name to multi-step personalization experiences with images, maps, calendars, and more.
How to create a My Design from scratch
Start a new My Design
Click Create new design from the start menu, or open the my designs panel from the left-side menu and click the Create Design button on the top left corner.
Name your design
A pop-up will ask you to give your design a name. Choose something descriptive so you can easily identify it later. You can rename it anytime.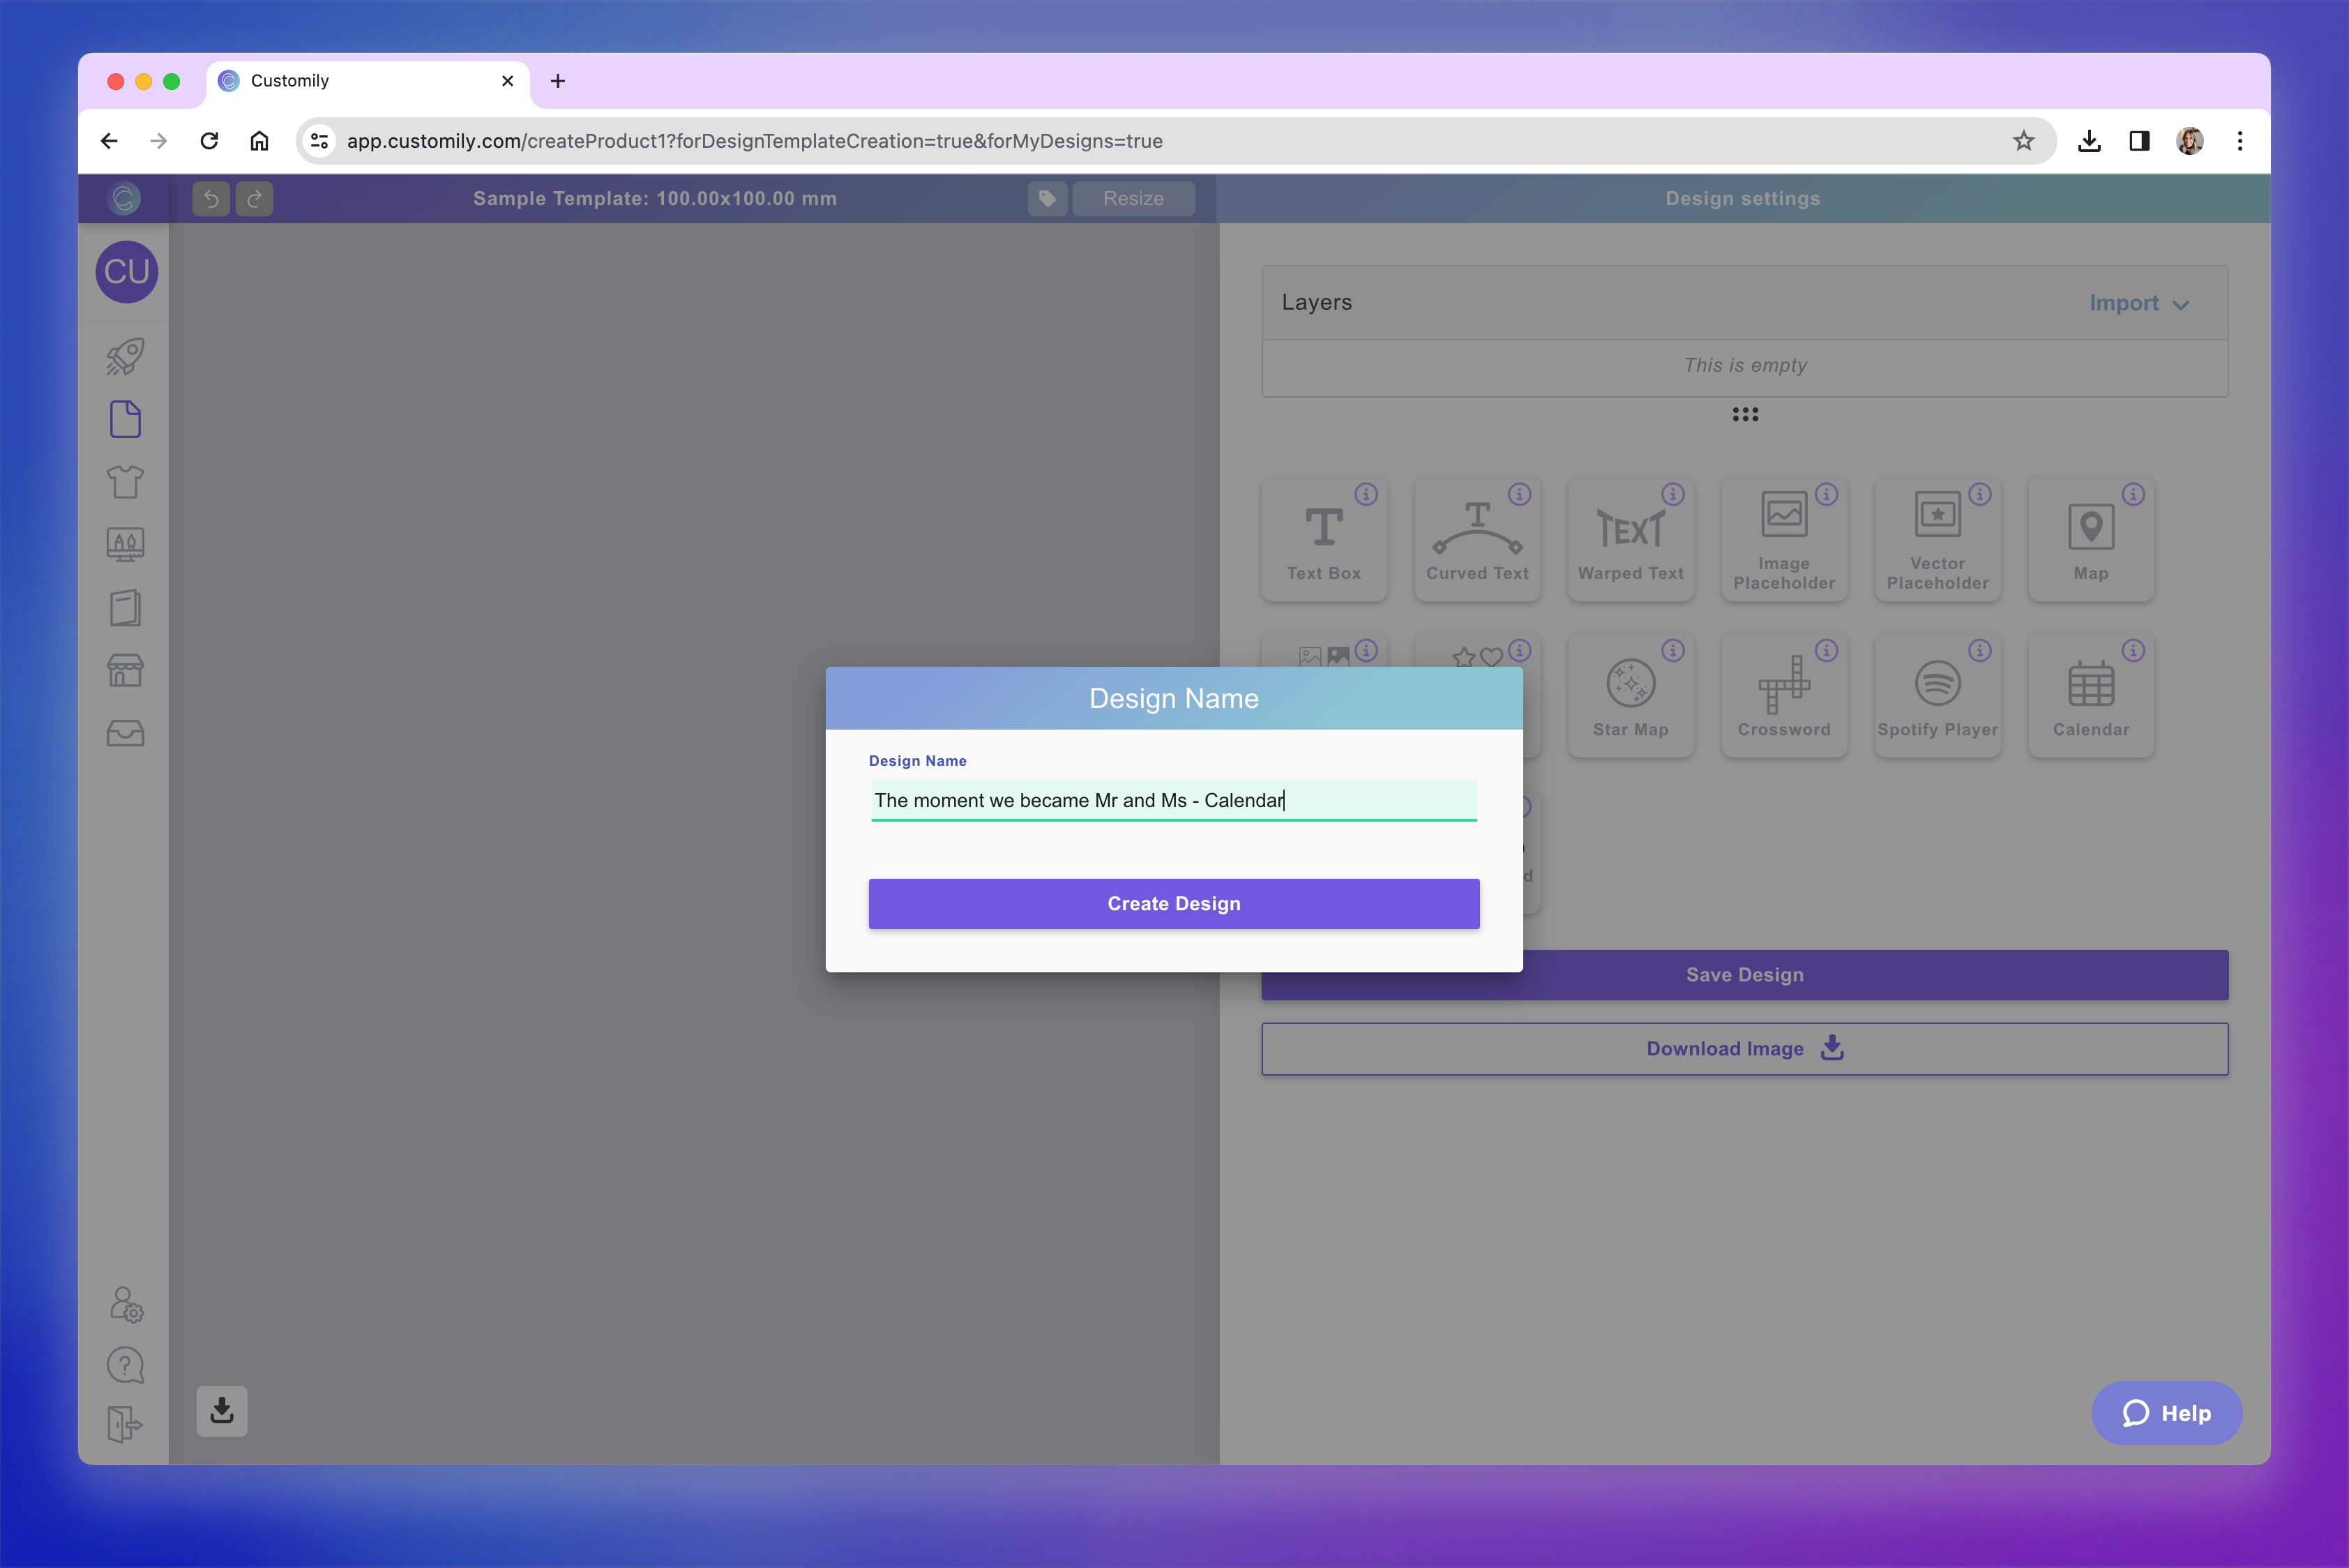
Set your canvas size (optional)
By default, your design canvas is set to 1000 x 1000 mm — a recommended size that works well across most products.
You can change this by clicking Resize at the top and entering custom dimensions if needed.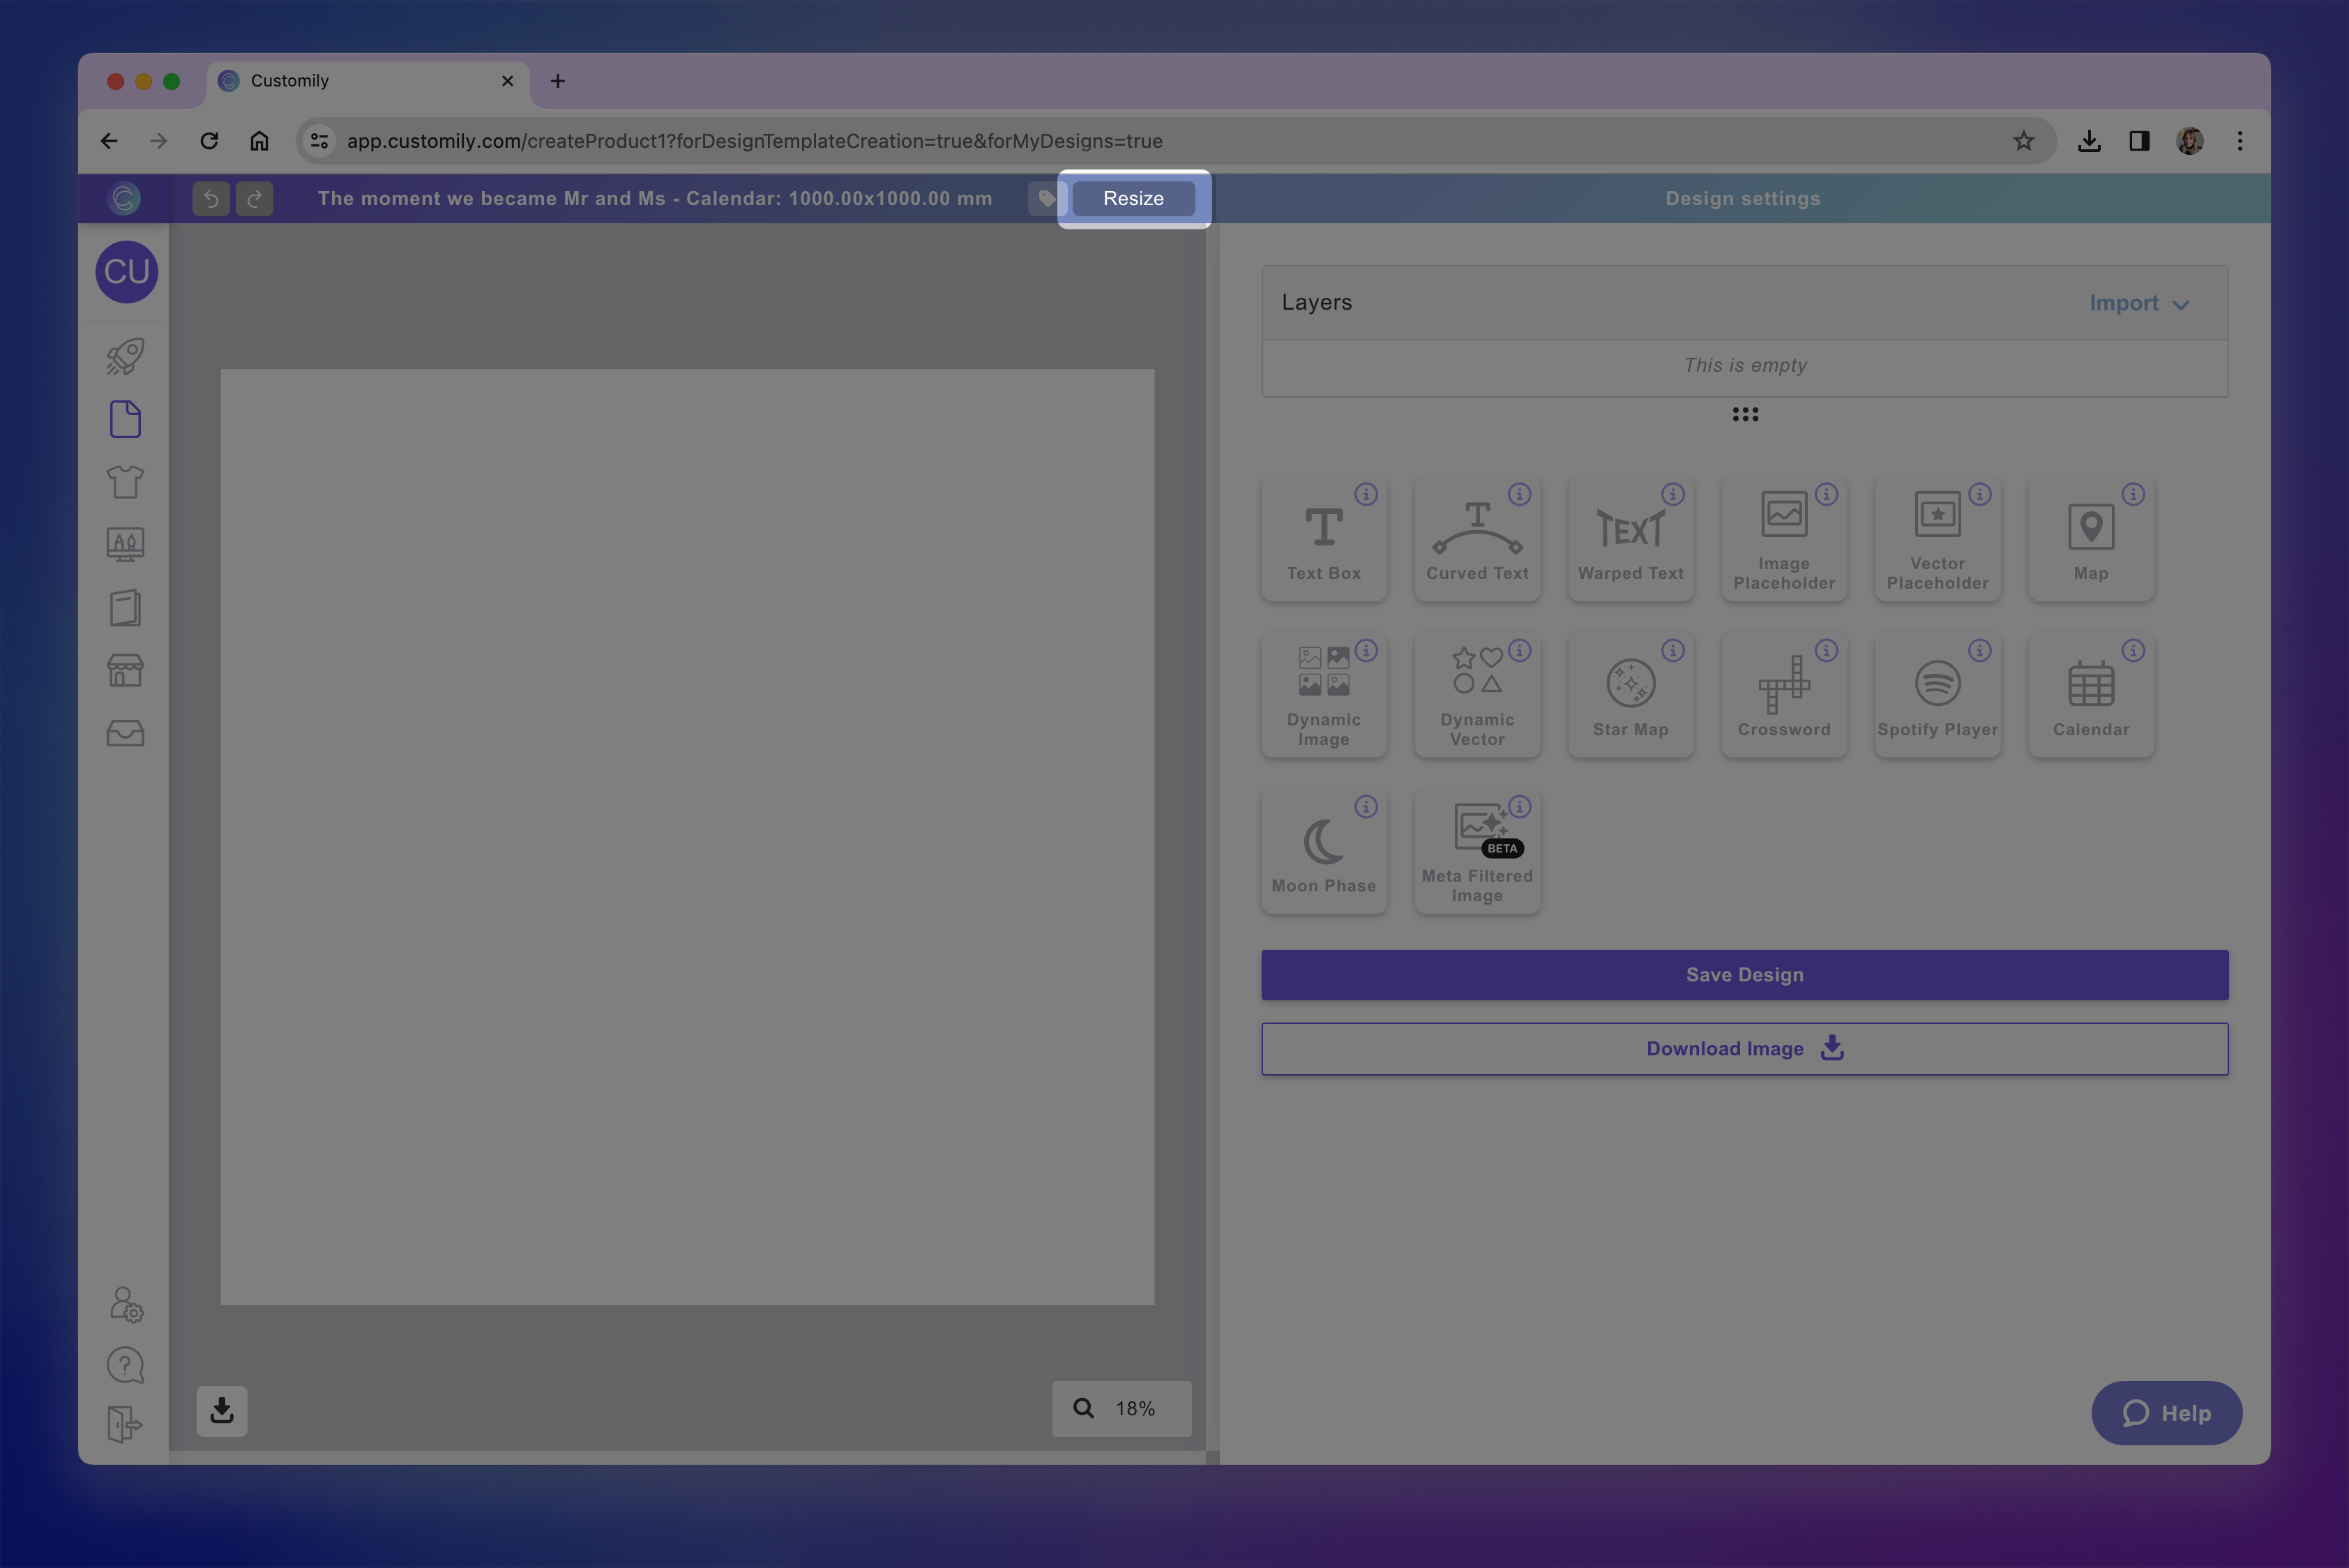
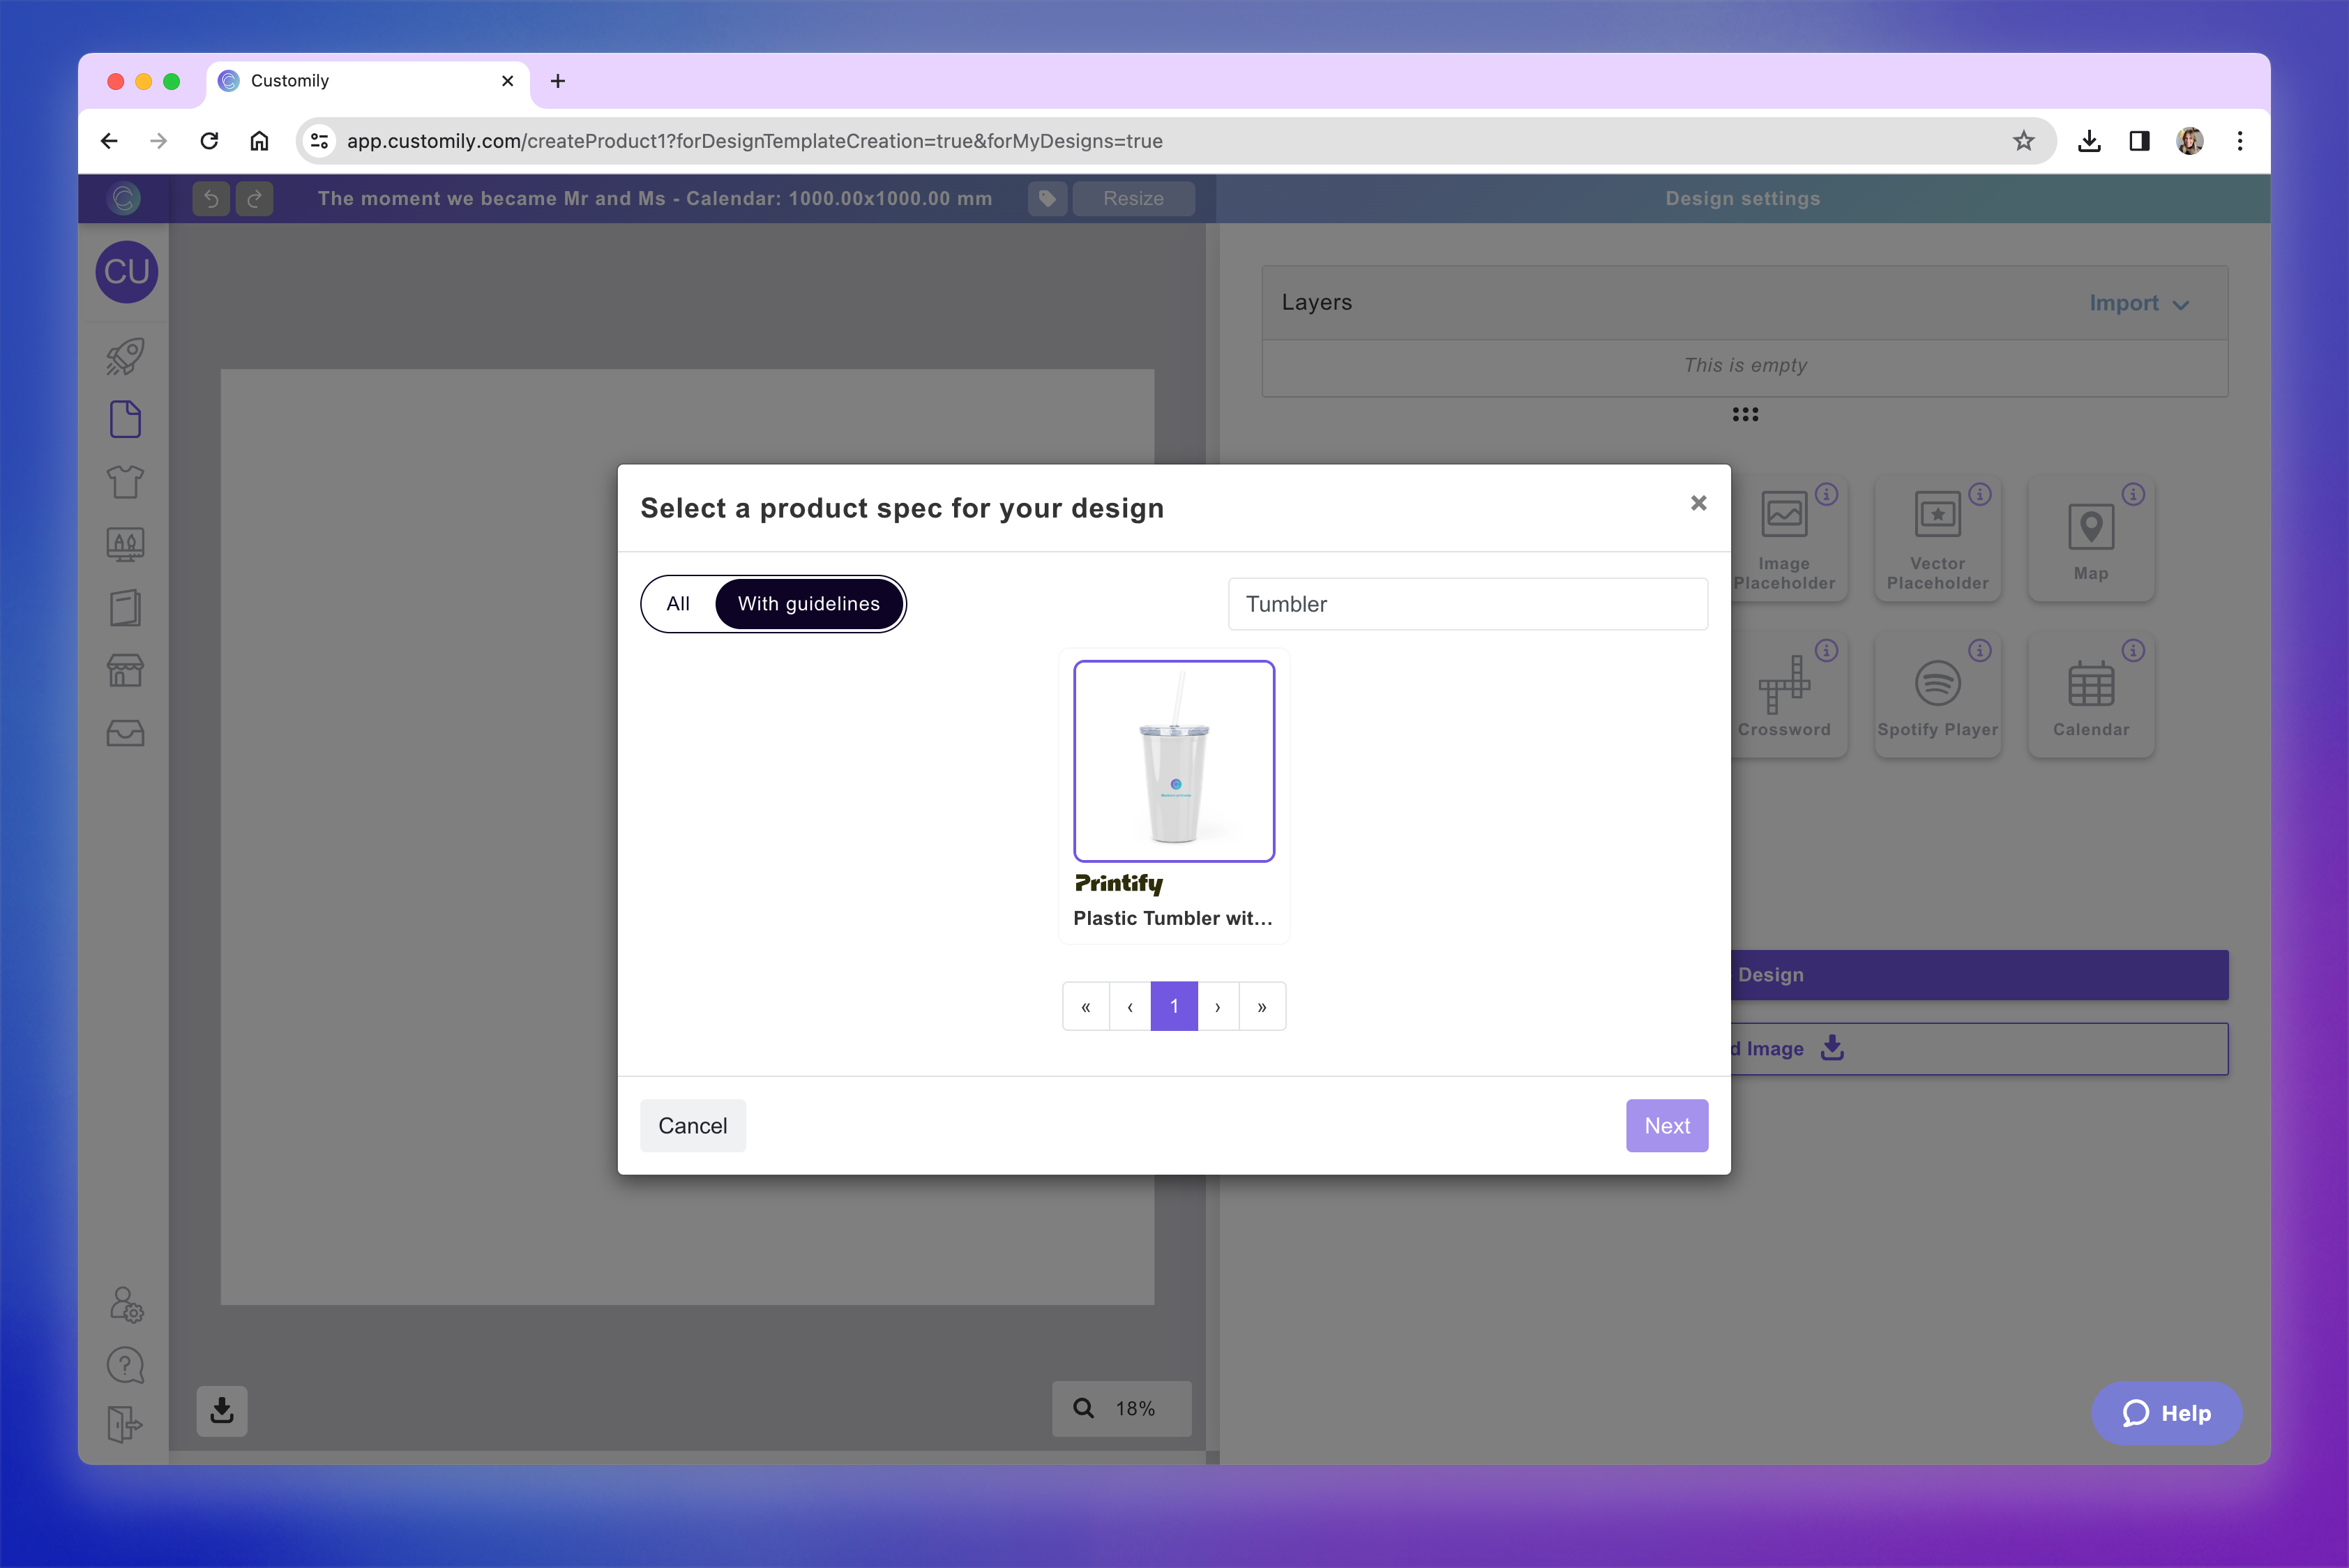
Pro Tip
If you're designing for a specific product, click the Tag icon 🏷 next to the Resize button. This lets you search for a product and automatically resizes your canvas to match that product’s print area. If the product has guidelines (like safe zones or bleed areas), they’ll appear on your canvas too — making it easier to design with precision.
Start building your design
Use the tool panel on the right to add personalizable and static elements to your design.
You can include:
- Text fields
- Clipart and image libraries
- Shopper uploaded images
- Maps, calendars, moon phases, and moreExplore all the elements you can add to your design here.
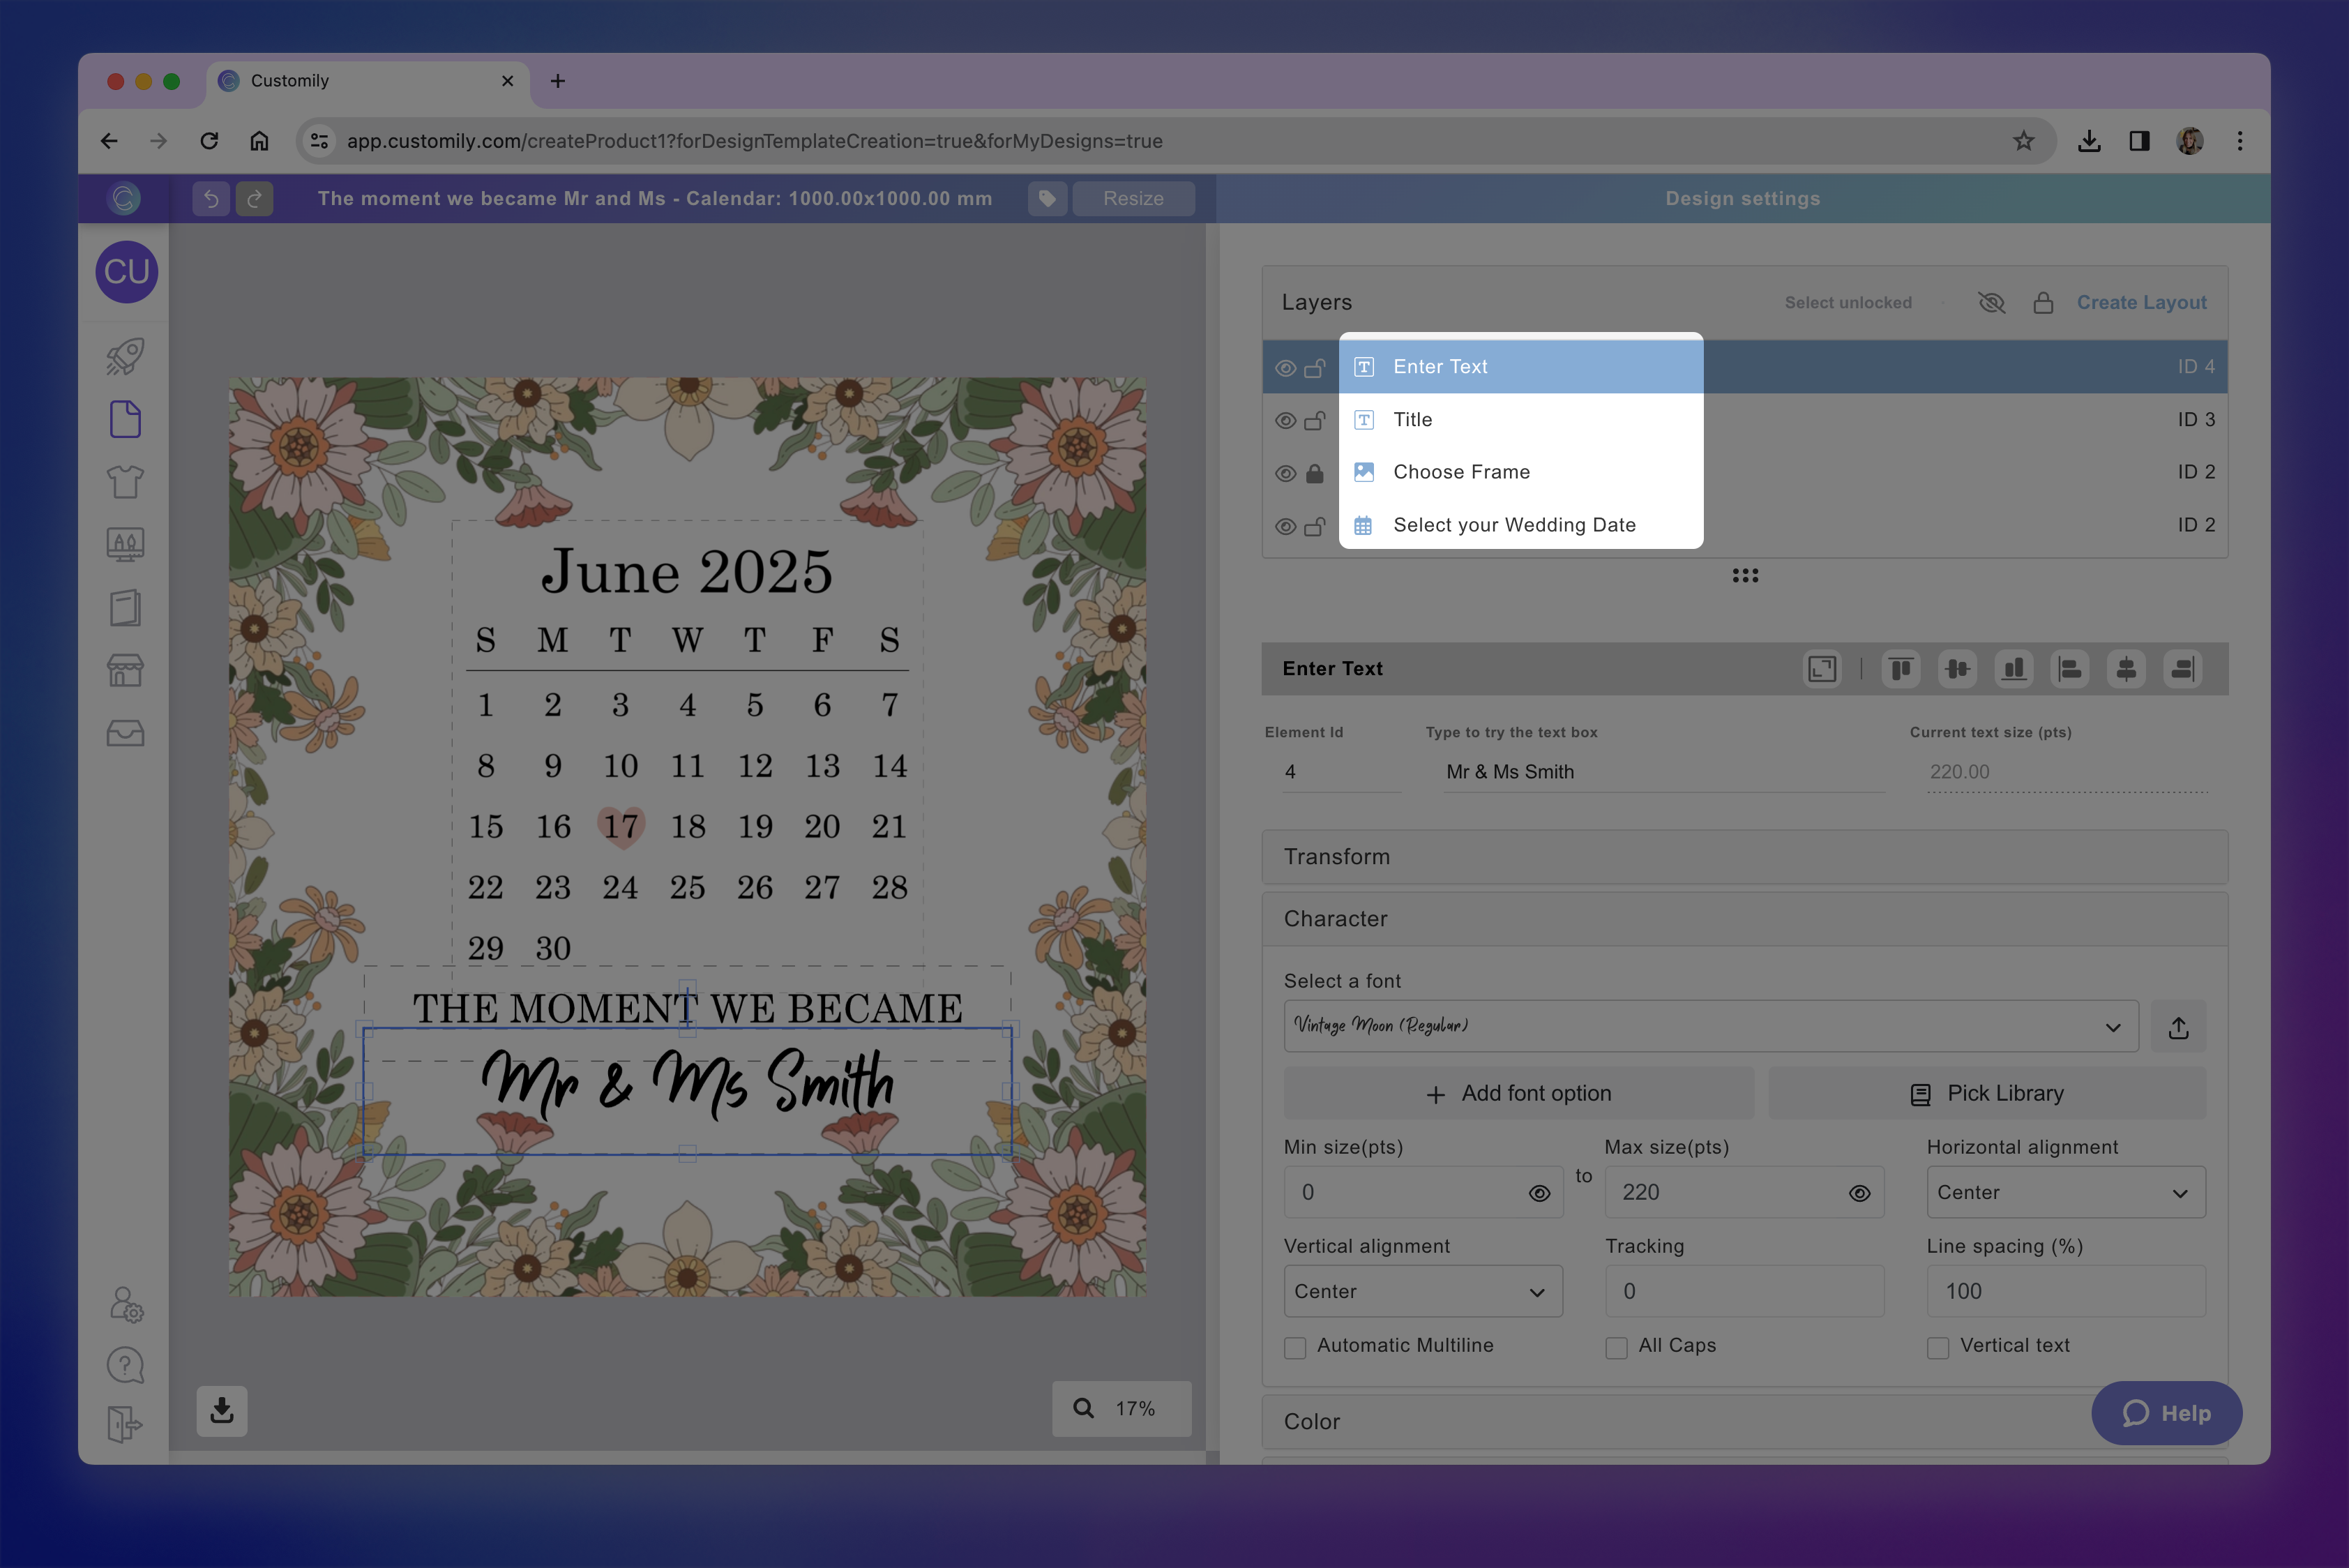
Here’s an example of what a design can look like once you've added and arranged your elements.
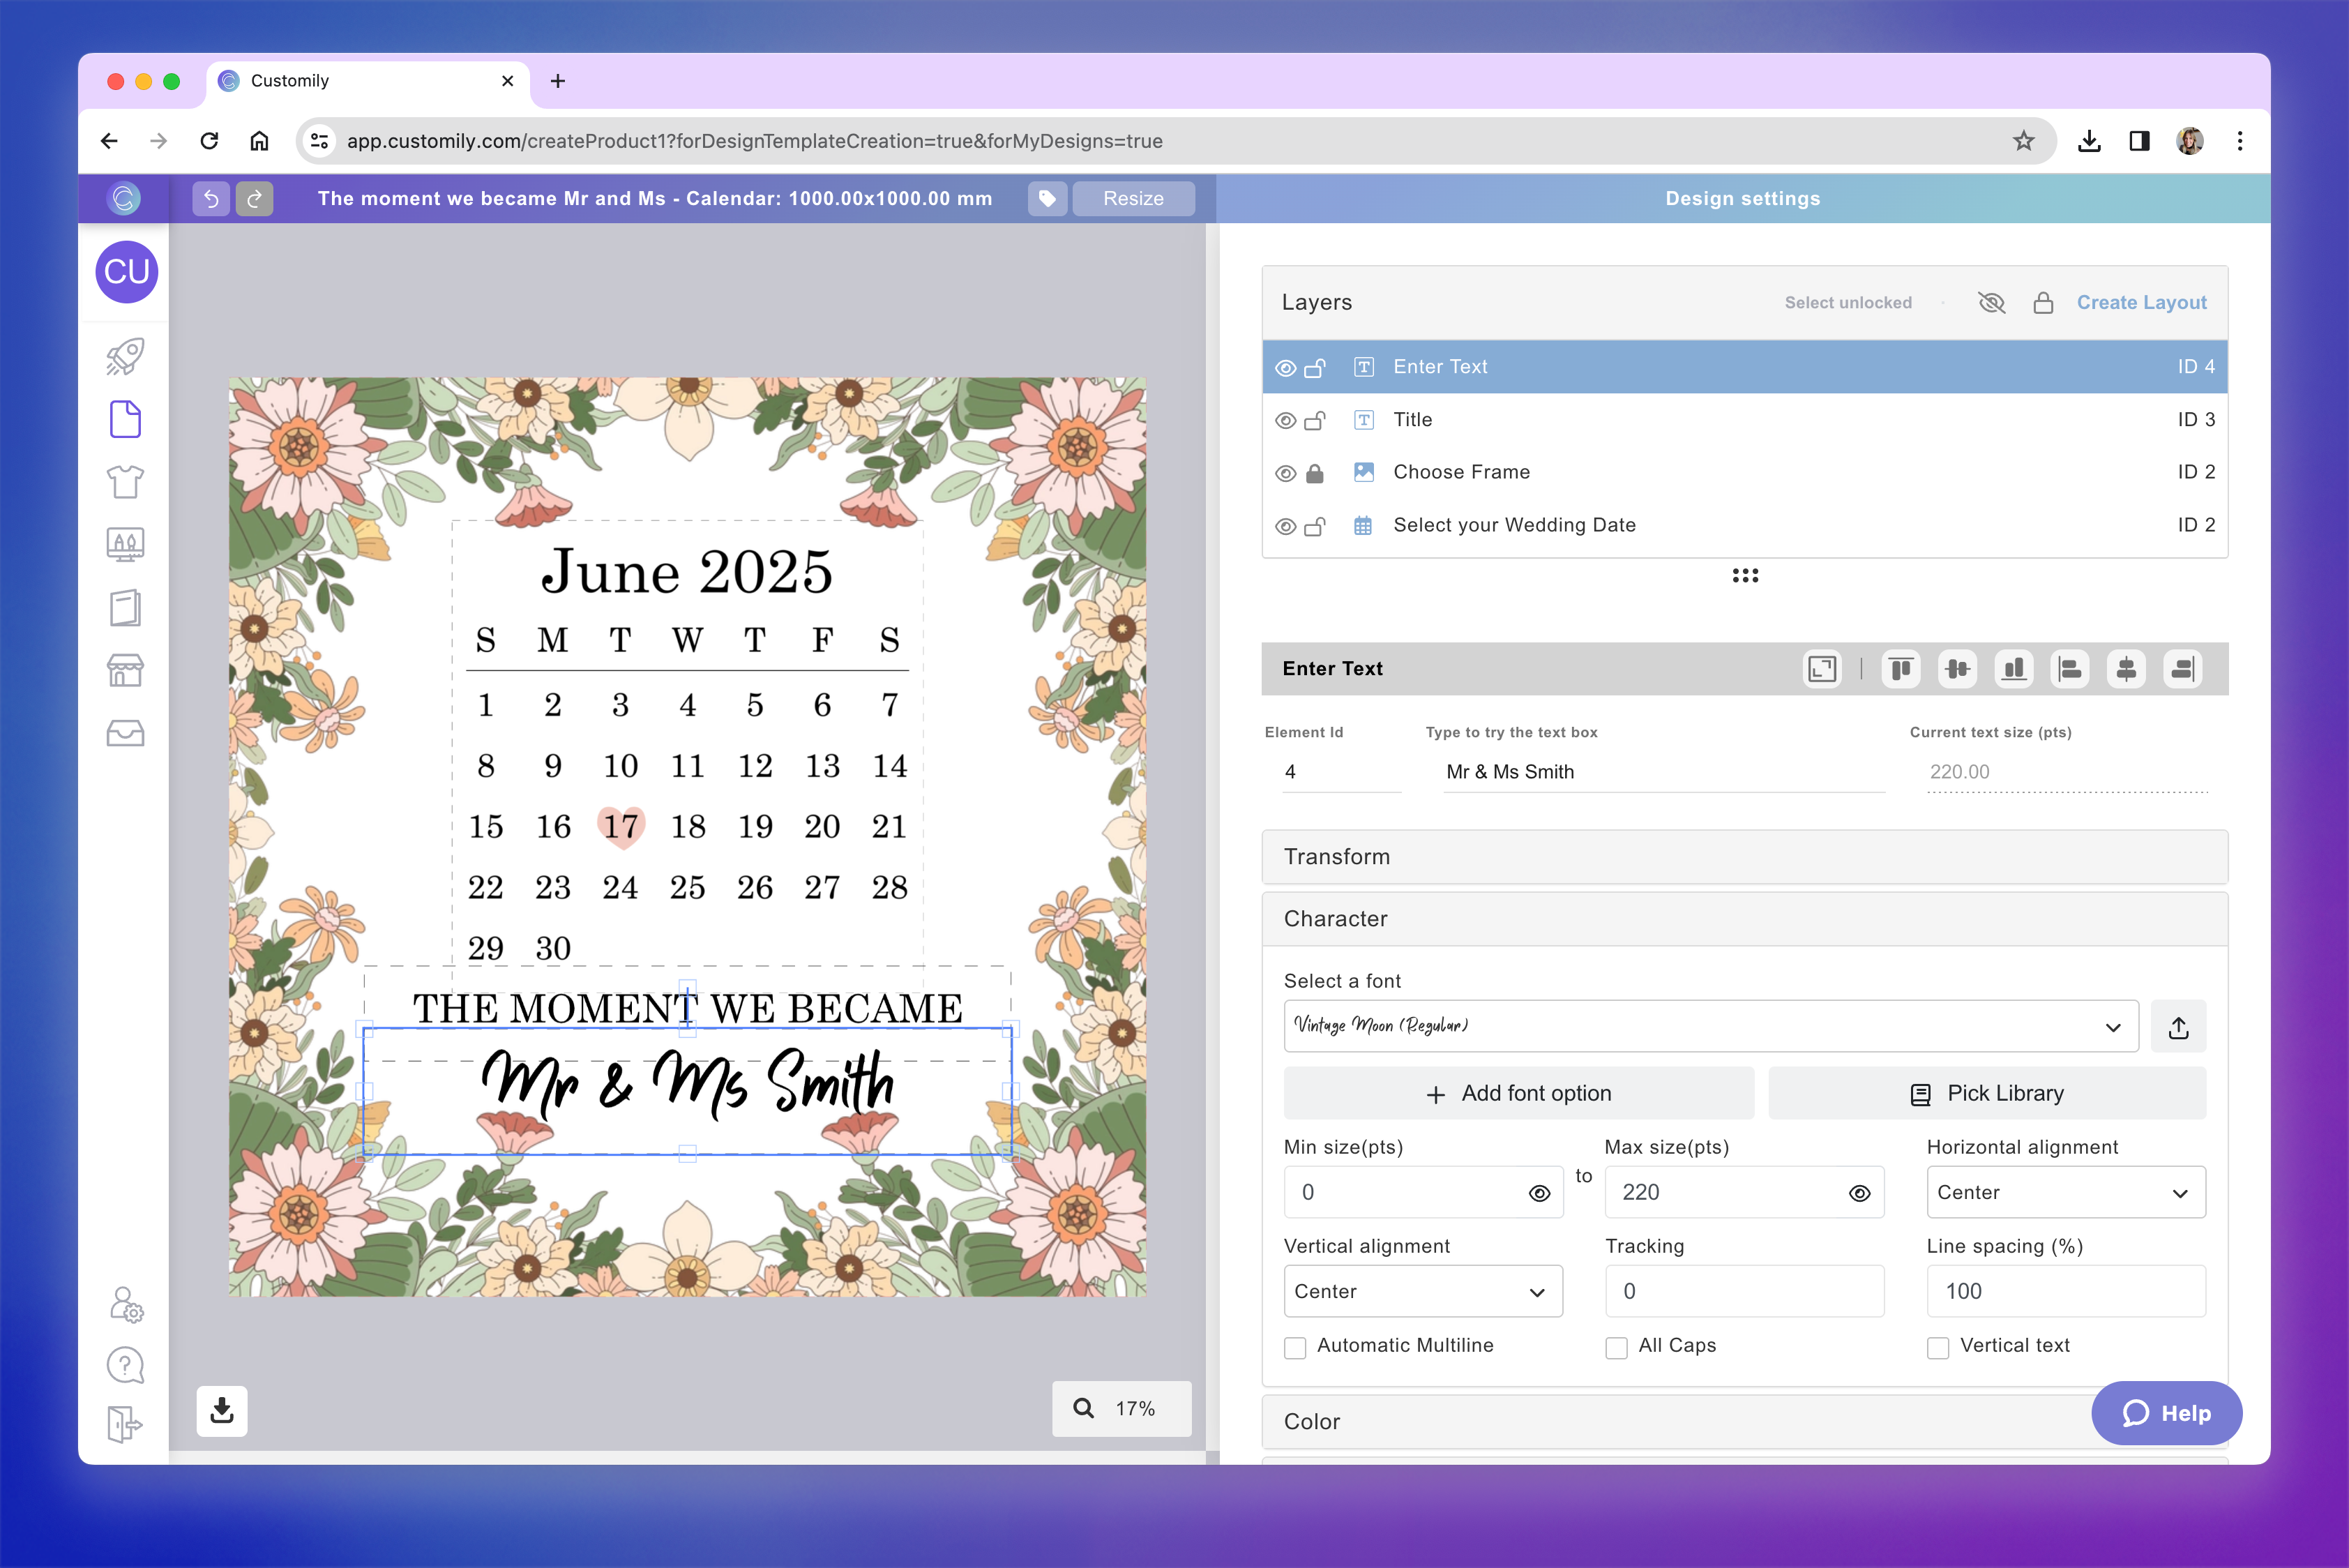
This design includes a text box for shoppers to add their names, a title reading “The moment we became”, a calendar for selecting a wedding date, and a dynamic image featuring a floral frame with four different art options.
Each element you add can be styled, positioned, and configured for personalization using the settings on the right. You can also manage and reorder layers using the layer panel. To learn how to make the most out of our Design Studio, check our guides on how to style and organize your elements here.
Pro Tip
The names you give to your layers will be used to automatically generate the labels in your option set (the form your shoppers use to personalize). For example, if you're adding a text field for a shopper to enter a name, name that layer something clear like “Name” or “Add your name” — it’ll save you time later!
Save your design
Once you’re happy with your layout and personalization setup, click Save in the top-right corner.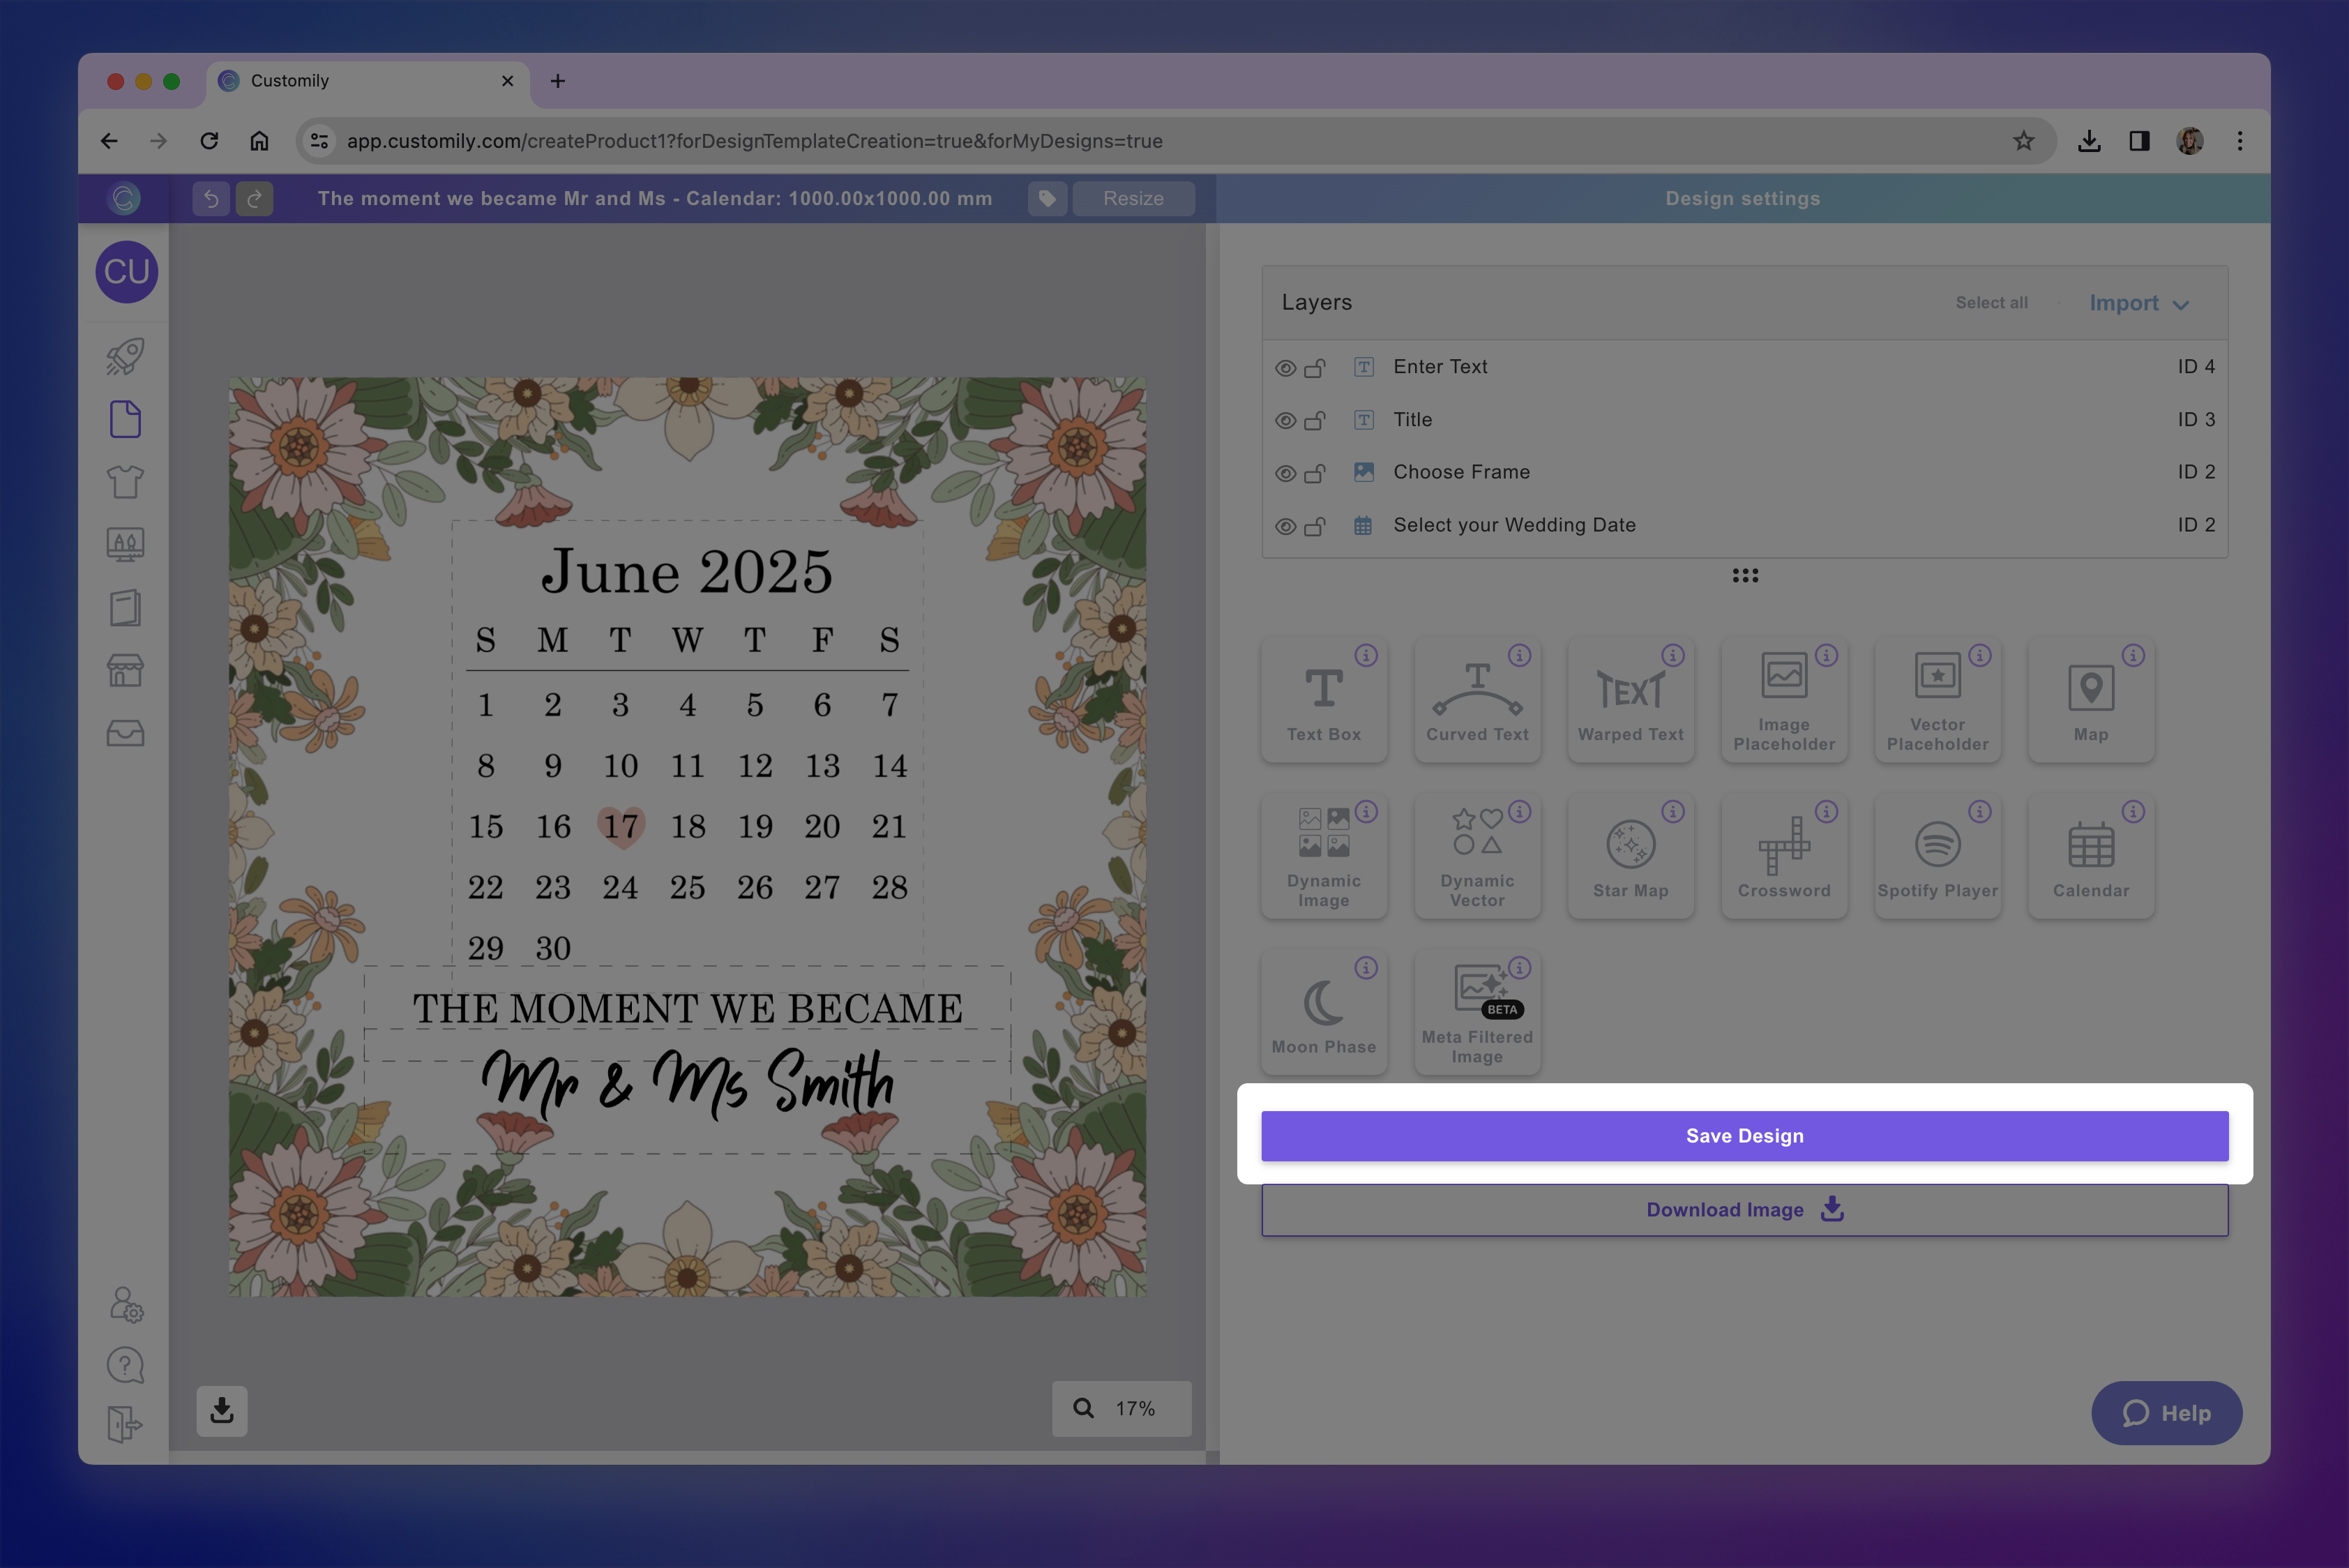
Pro Tip
Right below the Save button, you'll find the Download image option. This lets you download a static image of your design — perfect for creating promotional graphics or extra mockups for your product gallery. It won’t affect the functionality of your design, but it’s a handy way to showcase it.
(Optional) Edit the Option Set
After saving, Customily will automatically create an Option Set — the form shoppers use to personalize your product. This form is based on the elements you added to your design and their layer names.
If you want to refine the experience, you can open the Option Set now and customize it further. You can:
Change option labels to make option clearer for shoppers
Change option styles for example from swatch to dropdown
Customize input behavior like setting character limit, or allowing only numbers or letters in a text input
Set default selected options, so a choice is pre-selected when the product loads
Add placeholder text inside inputs to guide shoppers on what to write
Add help text to give extra context or instructions under each option
Add conditional logic, so certain options only appear based on previous selections
Delete options if you want elements to appear on the product but not be editable by the shopper
You can always come back and edit the Option Set later from the My Designs panel. Learn more about editing and customizing option sets here.