How to Modify a Customily Design to Create Your Own
Last updated: April 30, 2026
Why start from a Customily design
Customily’s ready-made designs are not only ready to use — they’re also fully editable. That means you can take any design from our gallery and make it your own.
This is a great option if you:
Like the layout or concept of a design but want to change the text, images, or styling
Want to save time while still offering unique products
Need a faster way to build a large catalog without starting every design from scratch
You can customize anything in the design: add or remove elements, change fonts or colors, update personalization options, or replace cliparts and images with your own, and more.
How to create a design starting from a Customily design
Start from Customily Design
Click Start from Customily Design from the start menu, or open the my designs panel from the left-side menu and click the Import from Customily button on the top left corner.
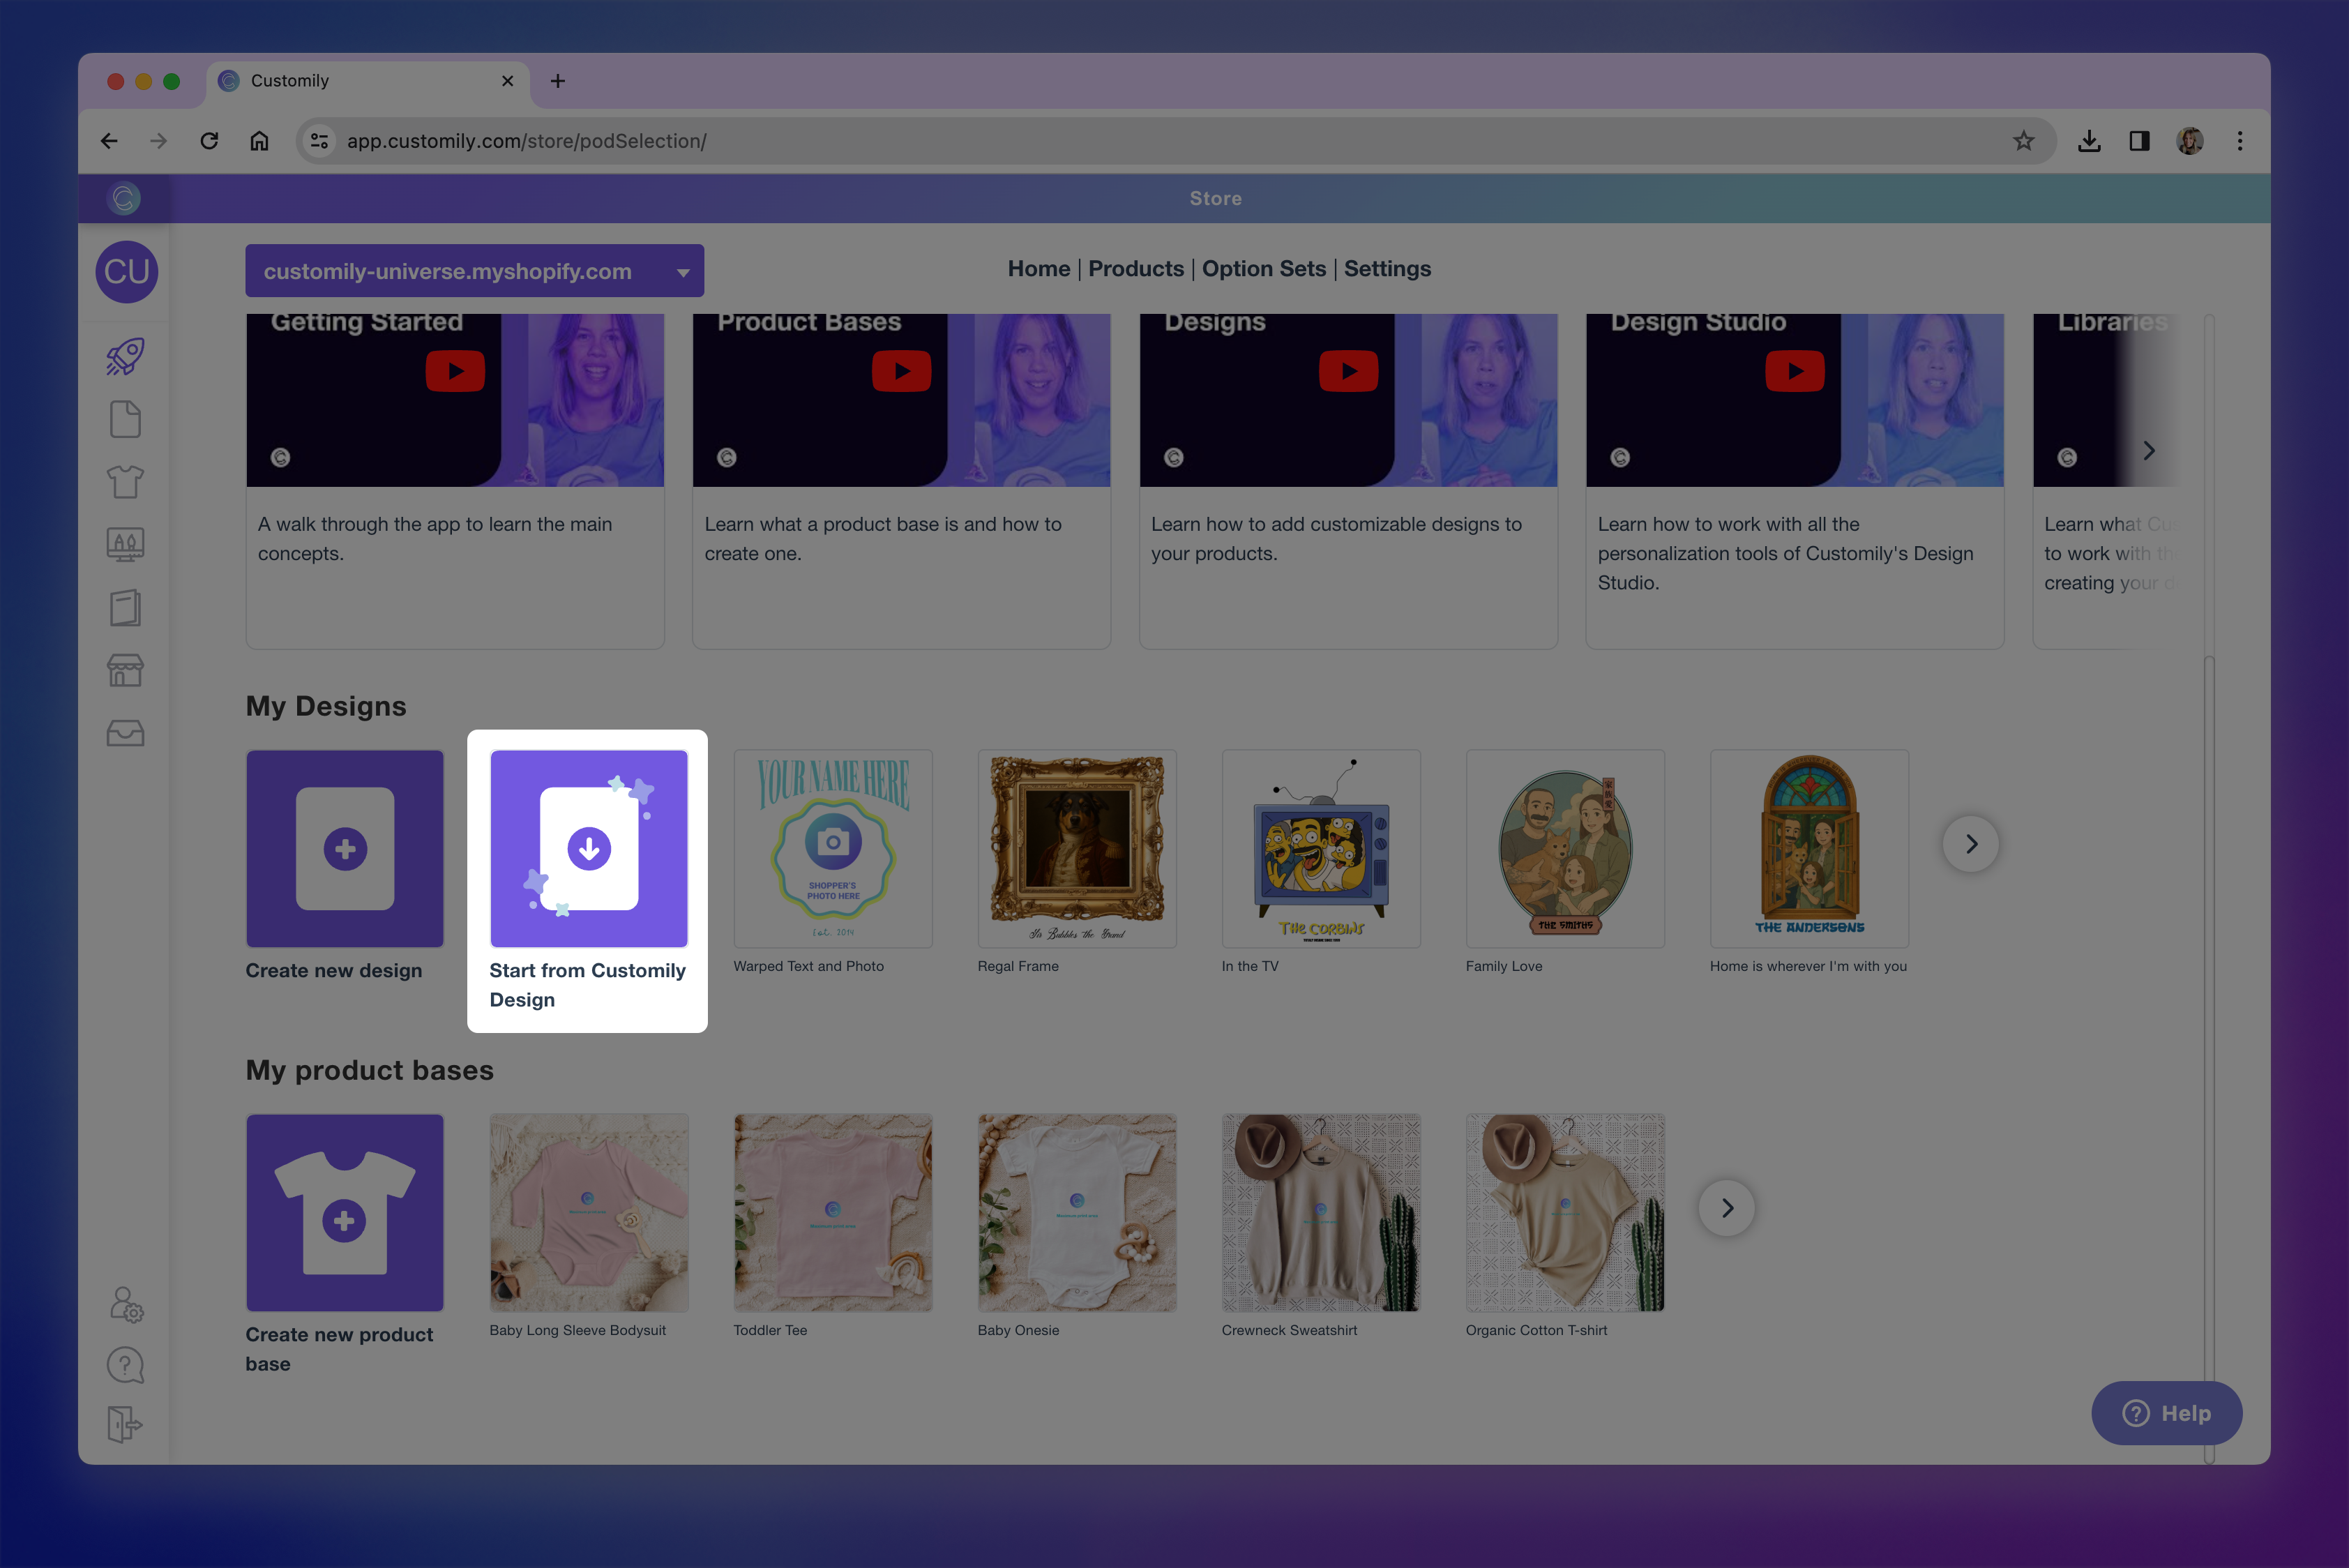
This will open the full Design Gallery where you can browse or search for a design to use as your starting point.
Choose a Customily Design
Browse by category or use the search bar to find something specific.
We have designs grouped by occasions (holidays, weddings), recipients (mom, dad, couples), personalization types (maps, calendars), and more.
Click on a design to select it.
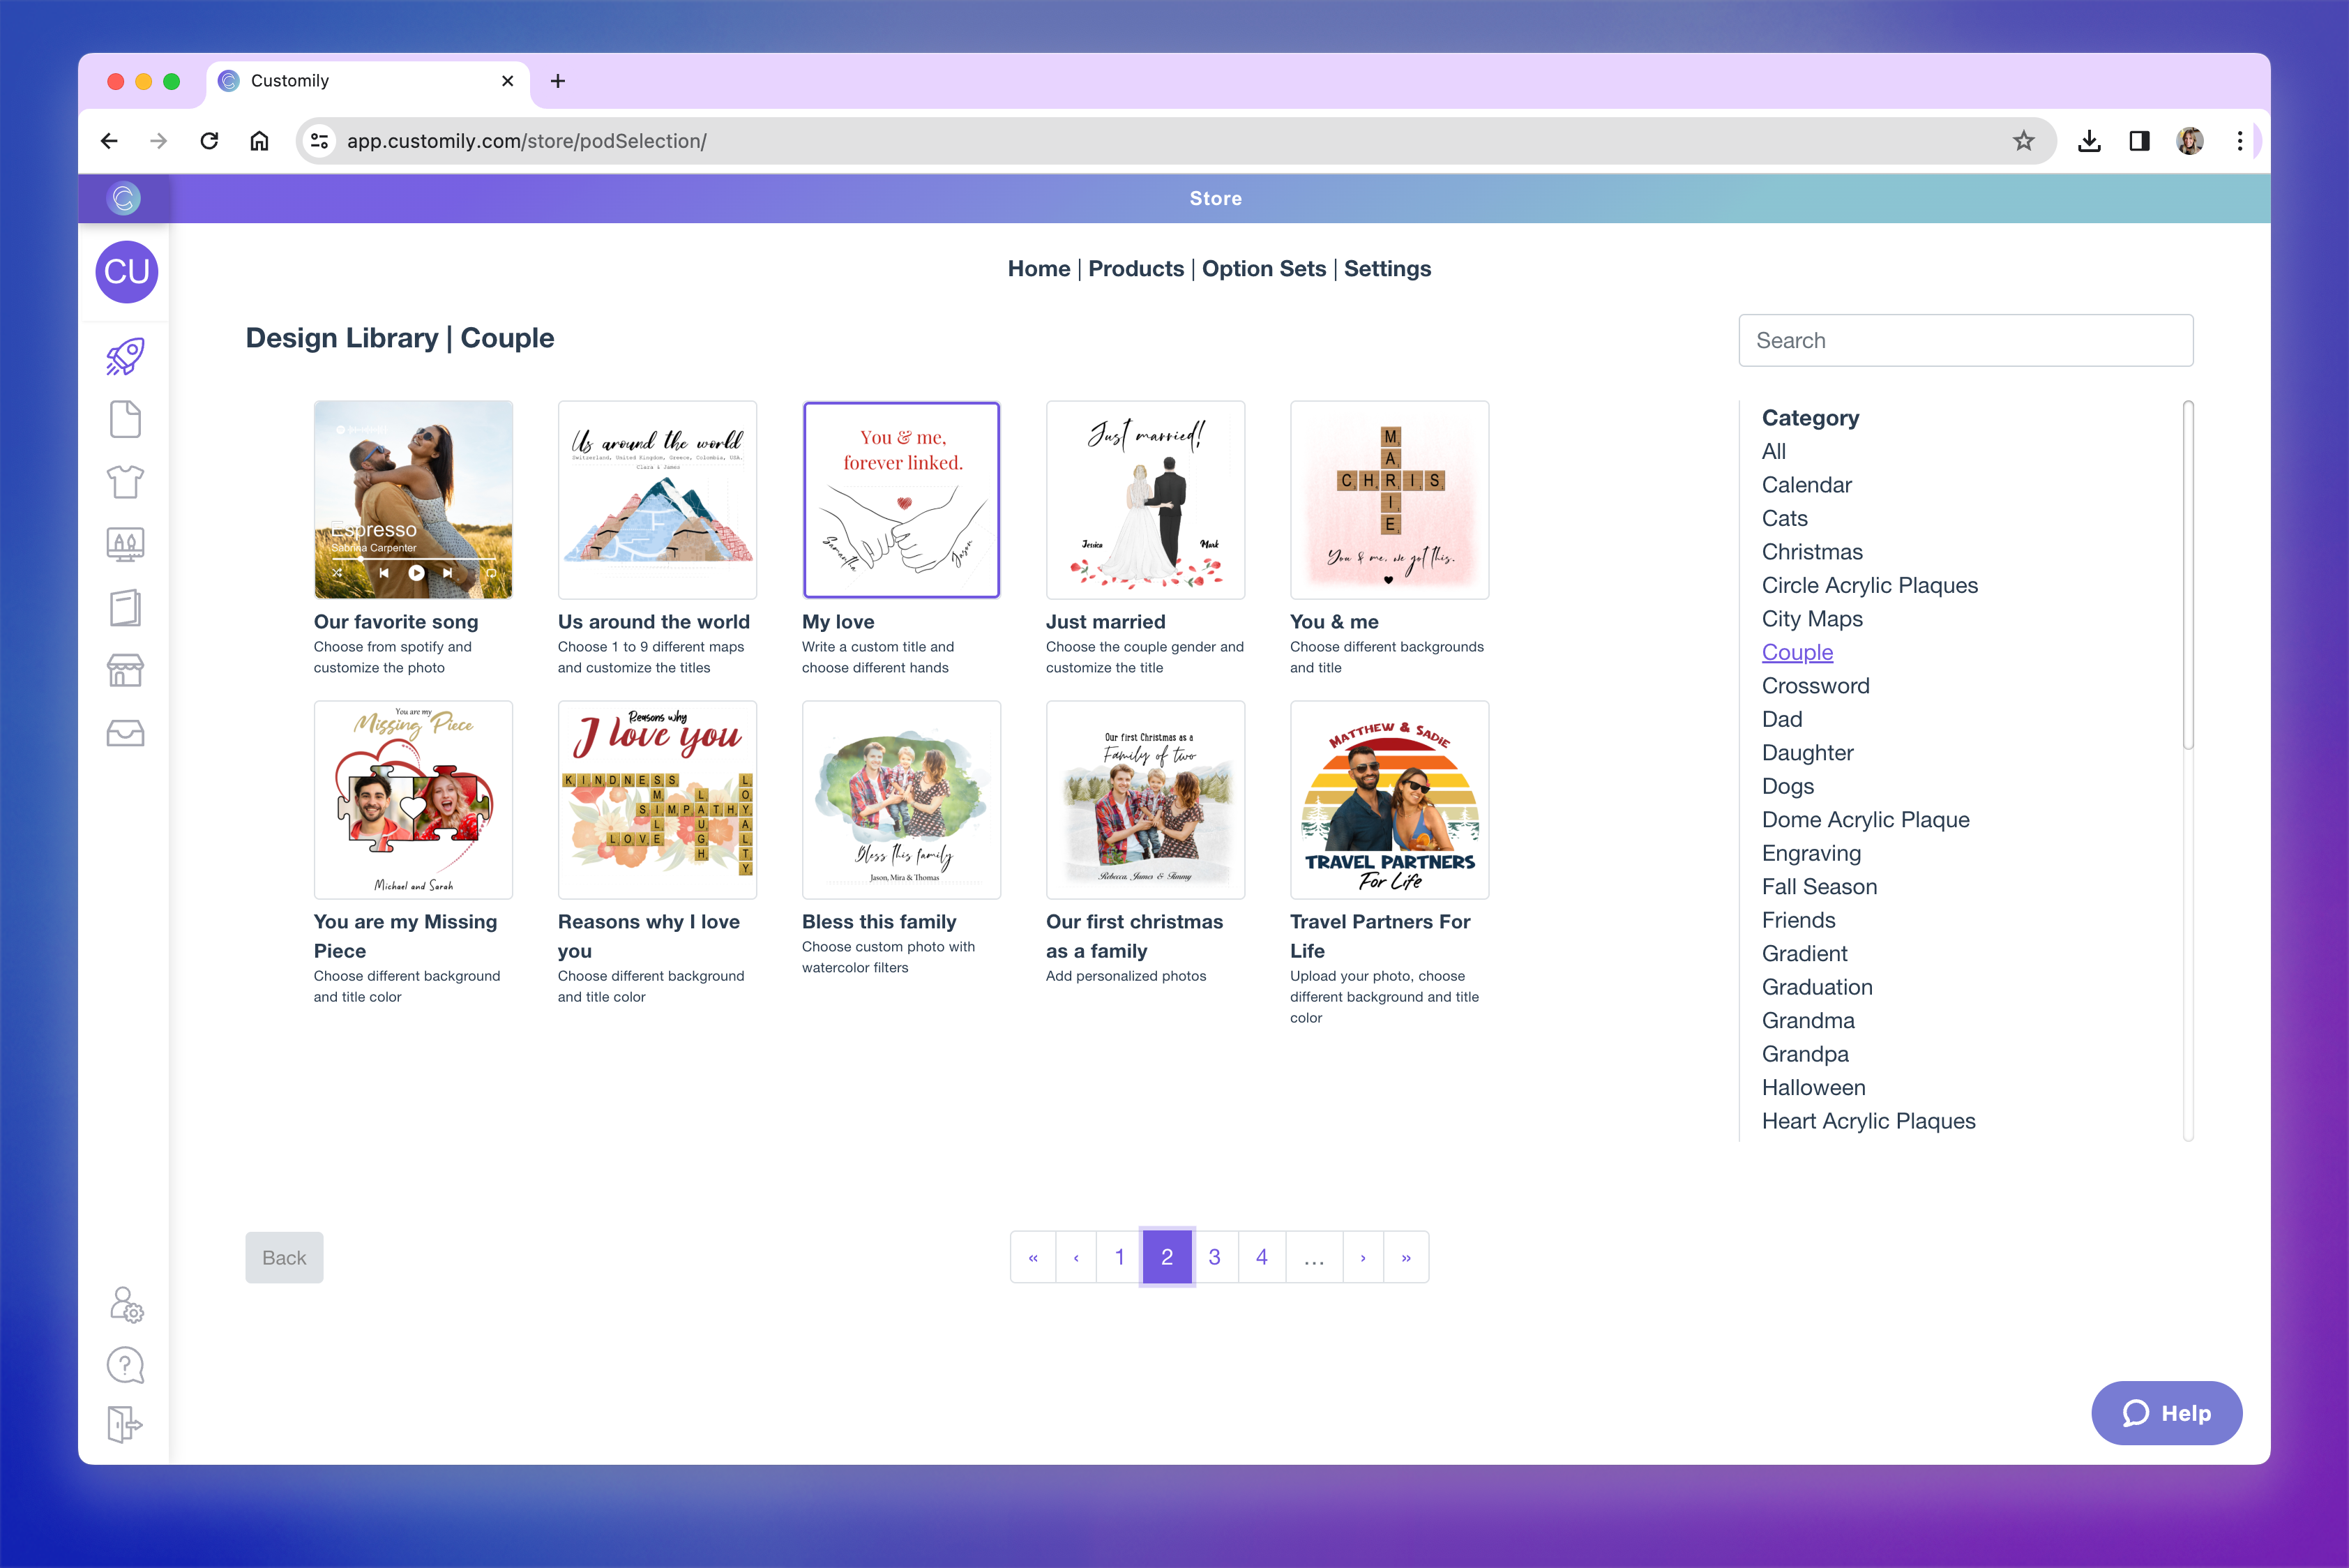
Once you select a design, it will be imported into your Design Studio so you can start editing.

Edit the design to make it your own
Once inside the Design Studio, you can:
Move, resize, or delete any elements
Add new personalization features like text fields, image uploads, clipart libraries, or interactive elements like maps, moon phases, calendars and more.
Update fonts, colors, or artwork to match your brand
Replace images or cliparts with your own assets
Explore all the elements you can add to your design here.
Each element that comes with the design, as well as any element you add can be styled, positioned, and configured for personalization using the settings on the right. You can also manage and reorder layers using the layer panel. To learn how to make the most out of our Design Studio, check our guides on how to style and organize your elements here.
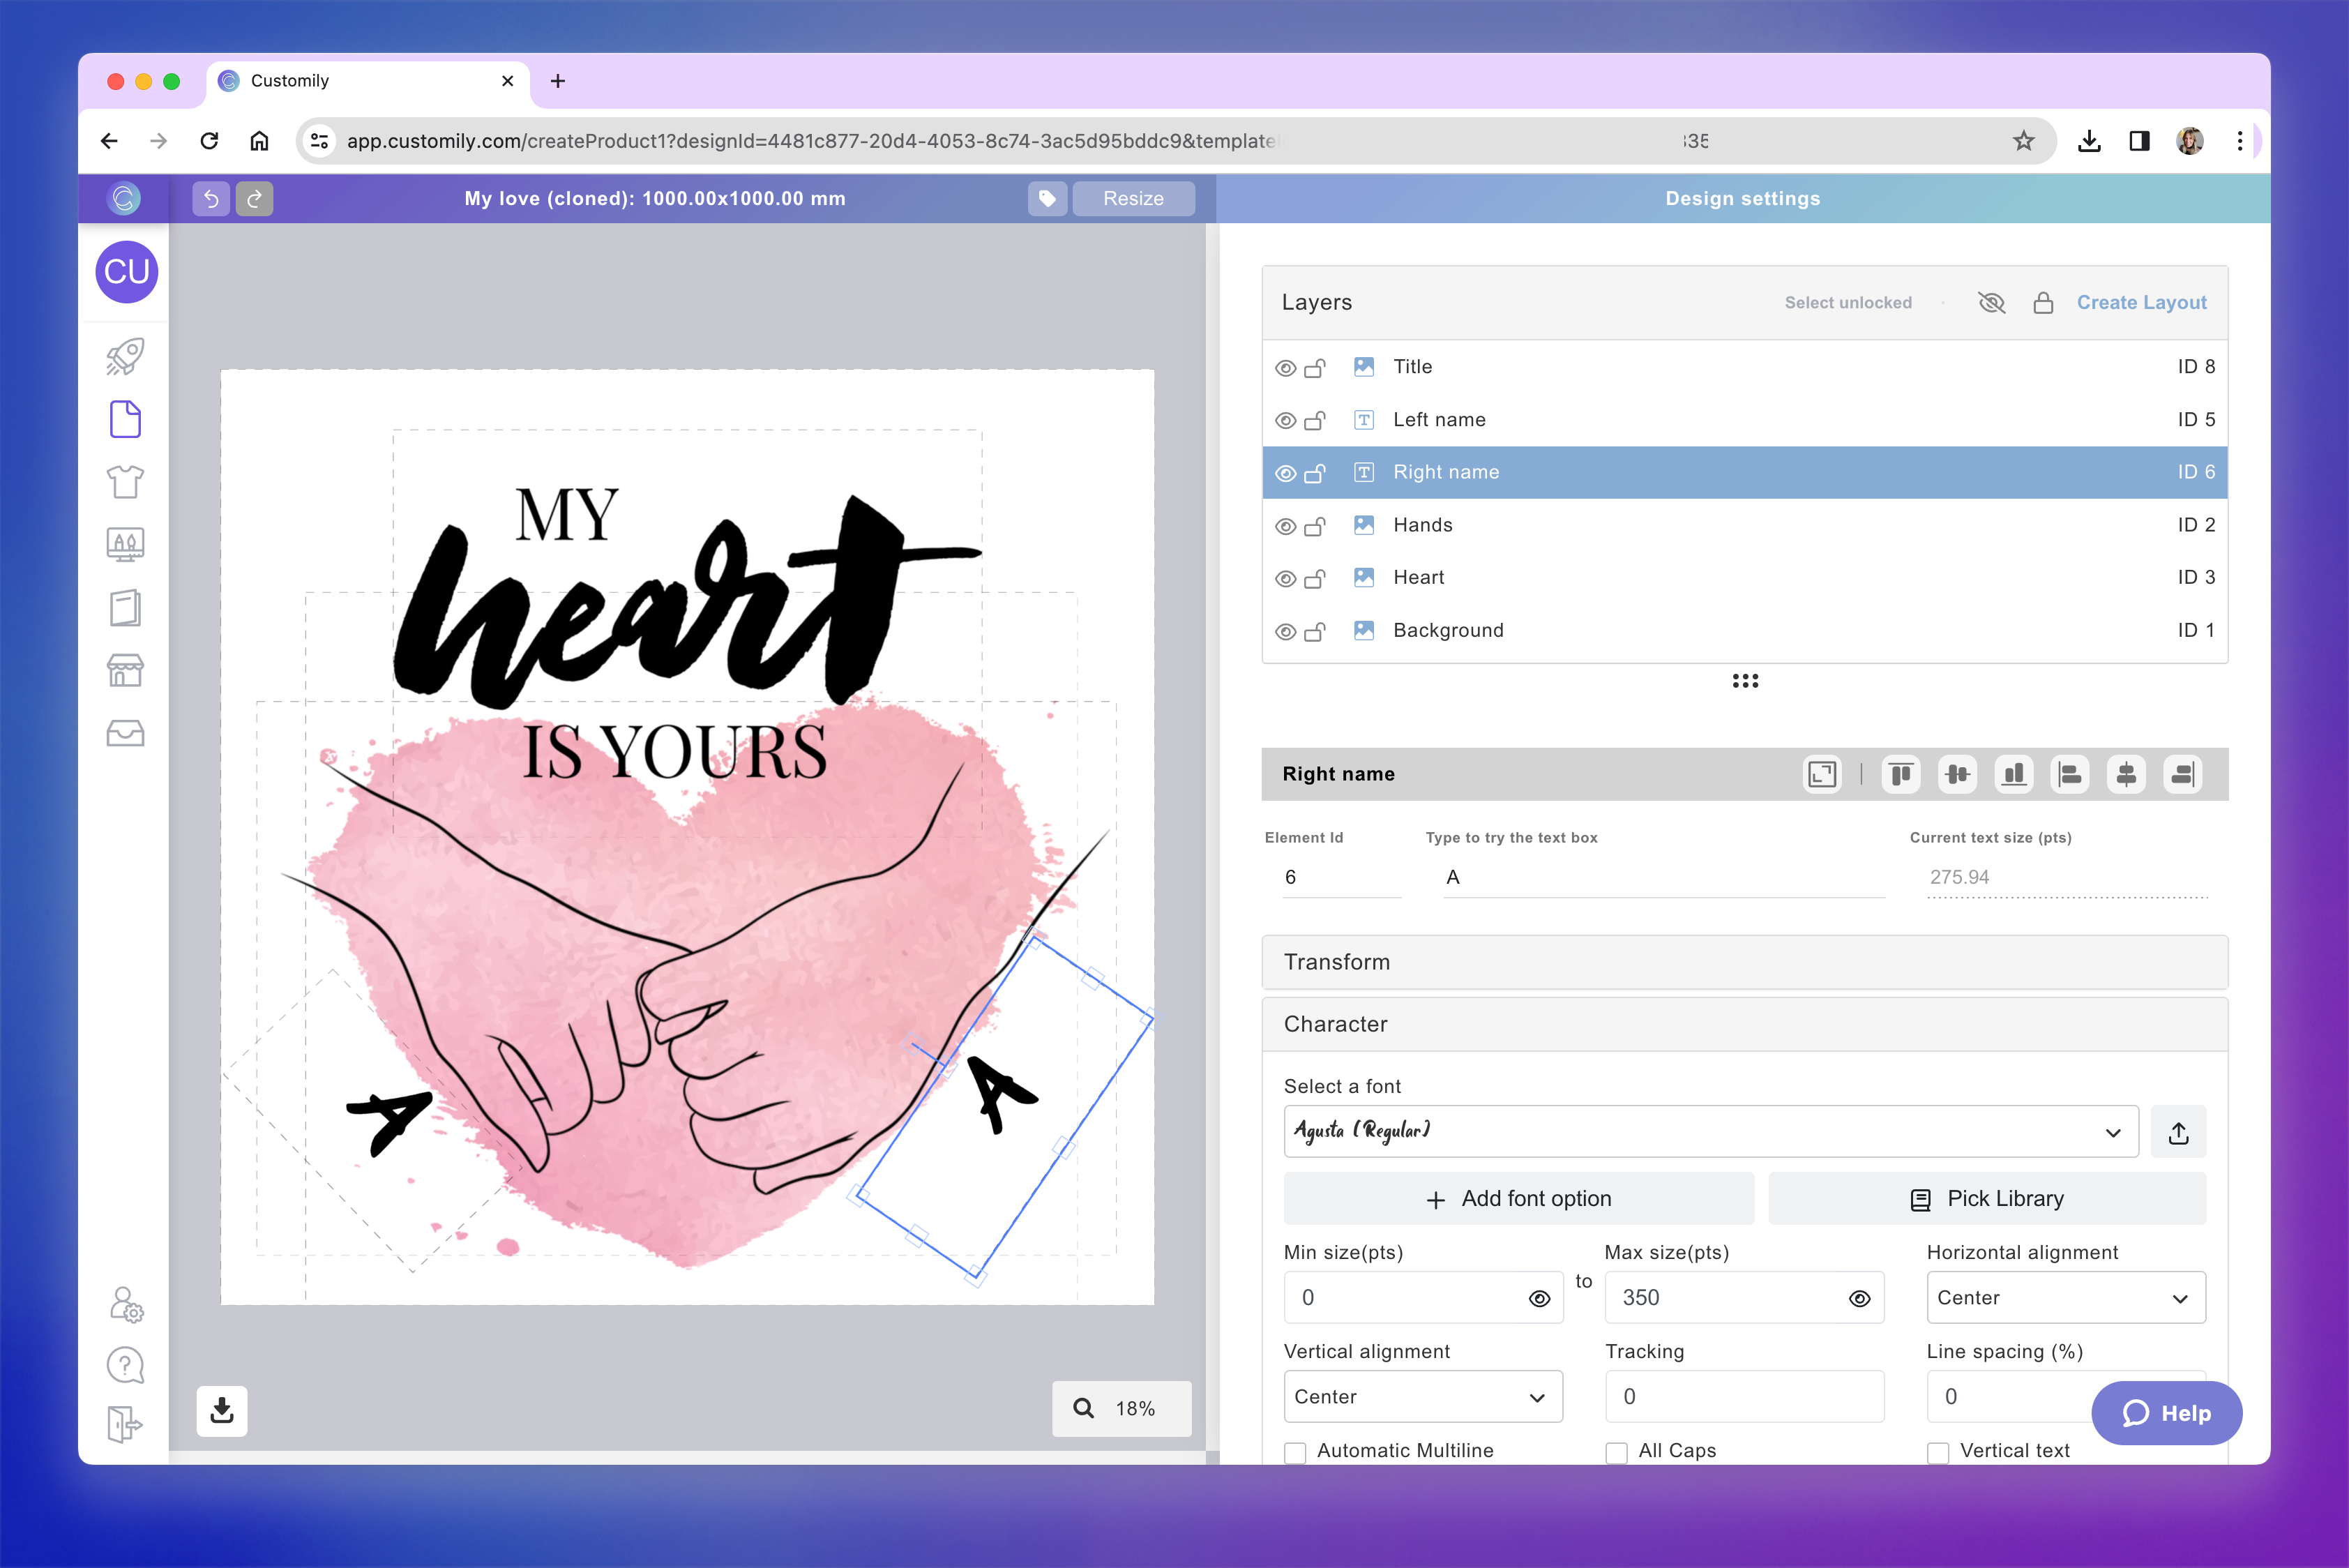
In this example, we changed the small heart (Layer: Heart with id 3) for a larger watercolor heart and moved it behind the hands. We also changed the title, for a bold quote, and changed the font of the Left and Right name. With 3 slight changes, we created a completely new design.
Pro Tip
The names you give to your layers will be used to automatically generate the labels in your option set (the form your shoppers use to personalize) — so it’s helpful to use clear, shopper-friendly names like “Pet Name” or “Select Character.”
Save your design
Once you’re happy with the edits:
Click Save to store your new design

Pro Tip
Right below the Save button, you'll find the Download image option. This lets you download a static image of your design — perfect for creating promotional graphics or extra mockups for your product gallery. It won’t affect the functionality of your design, but it’s a handy way to showcase it.
Imported designs may take a couple minutes to appear on your My Designs panel. Don't worry, this is Customily importing all the assets and options into your account.
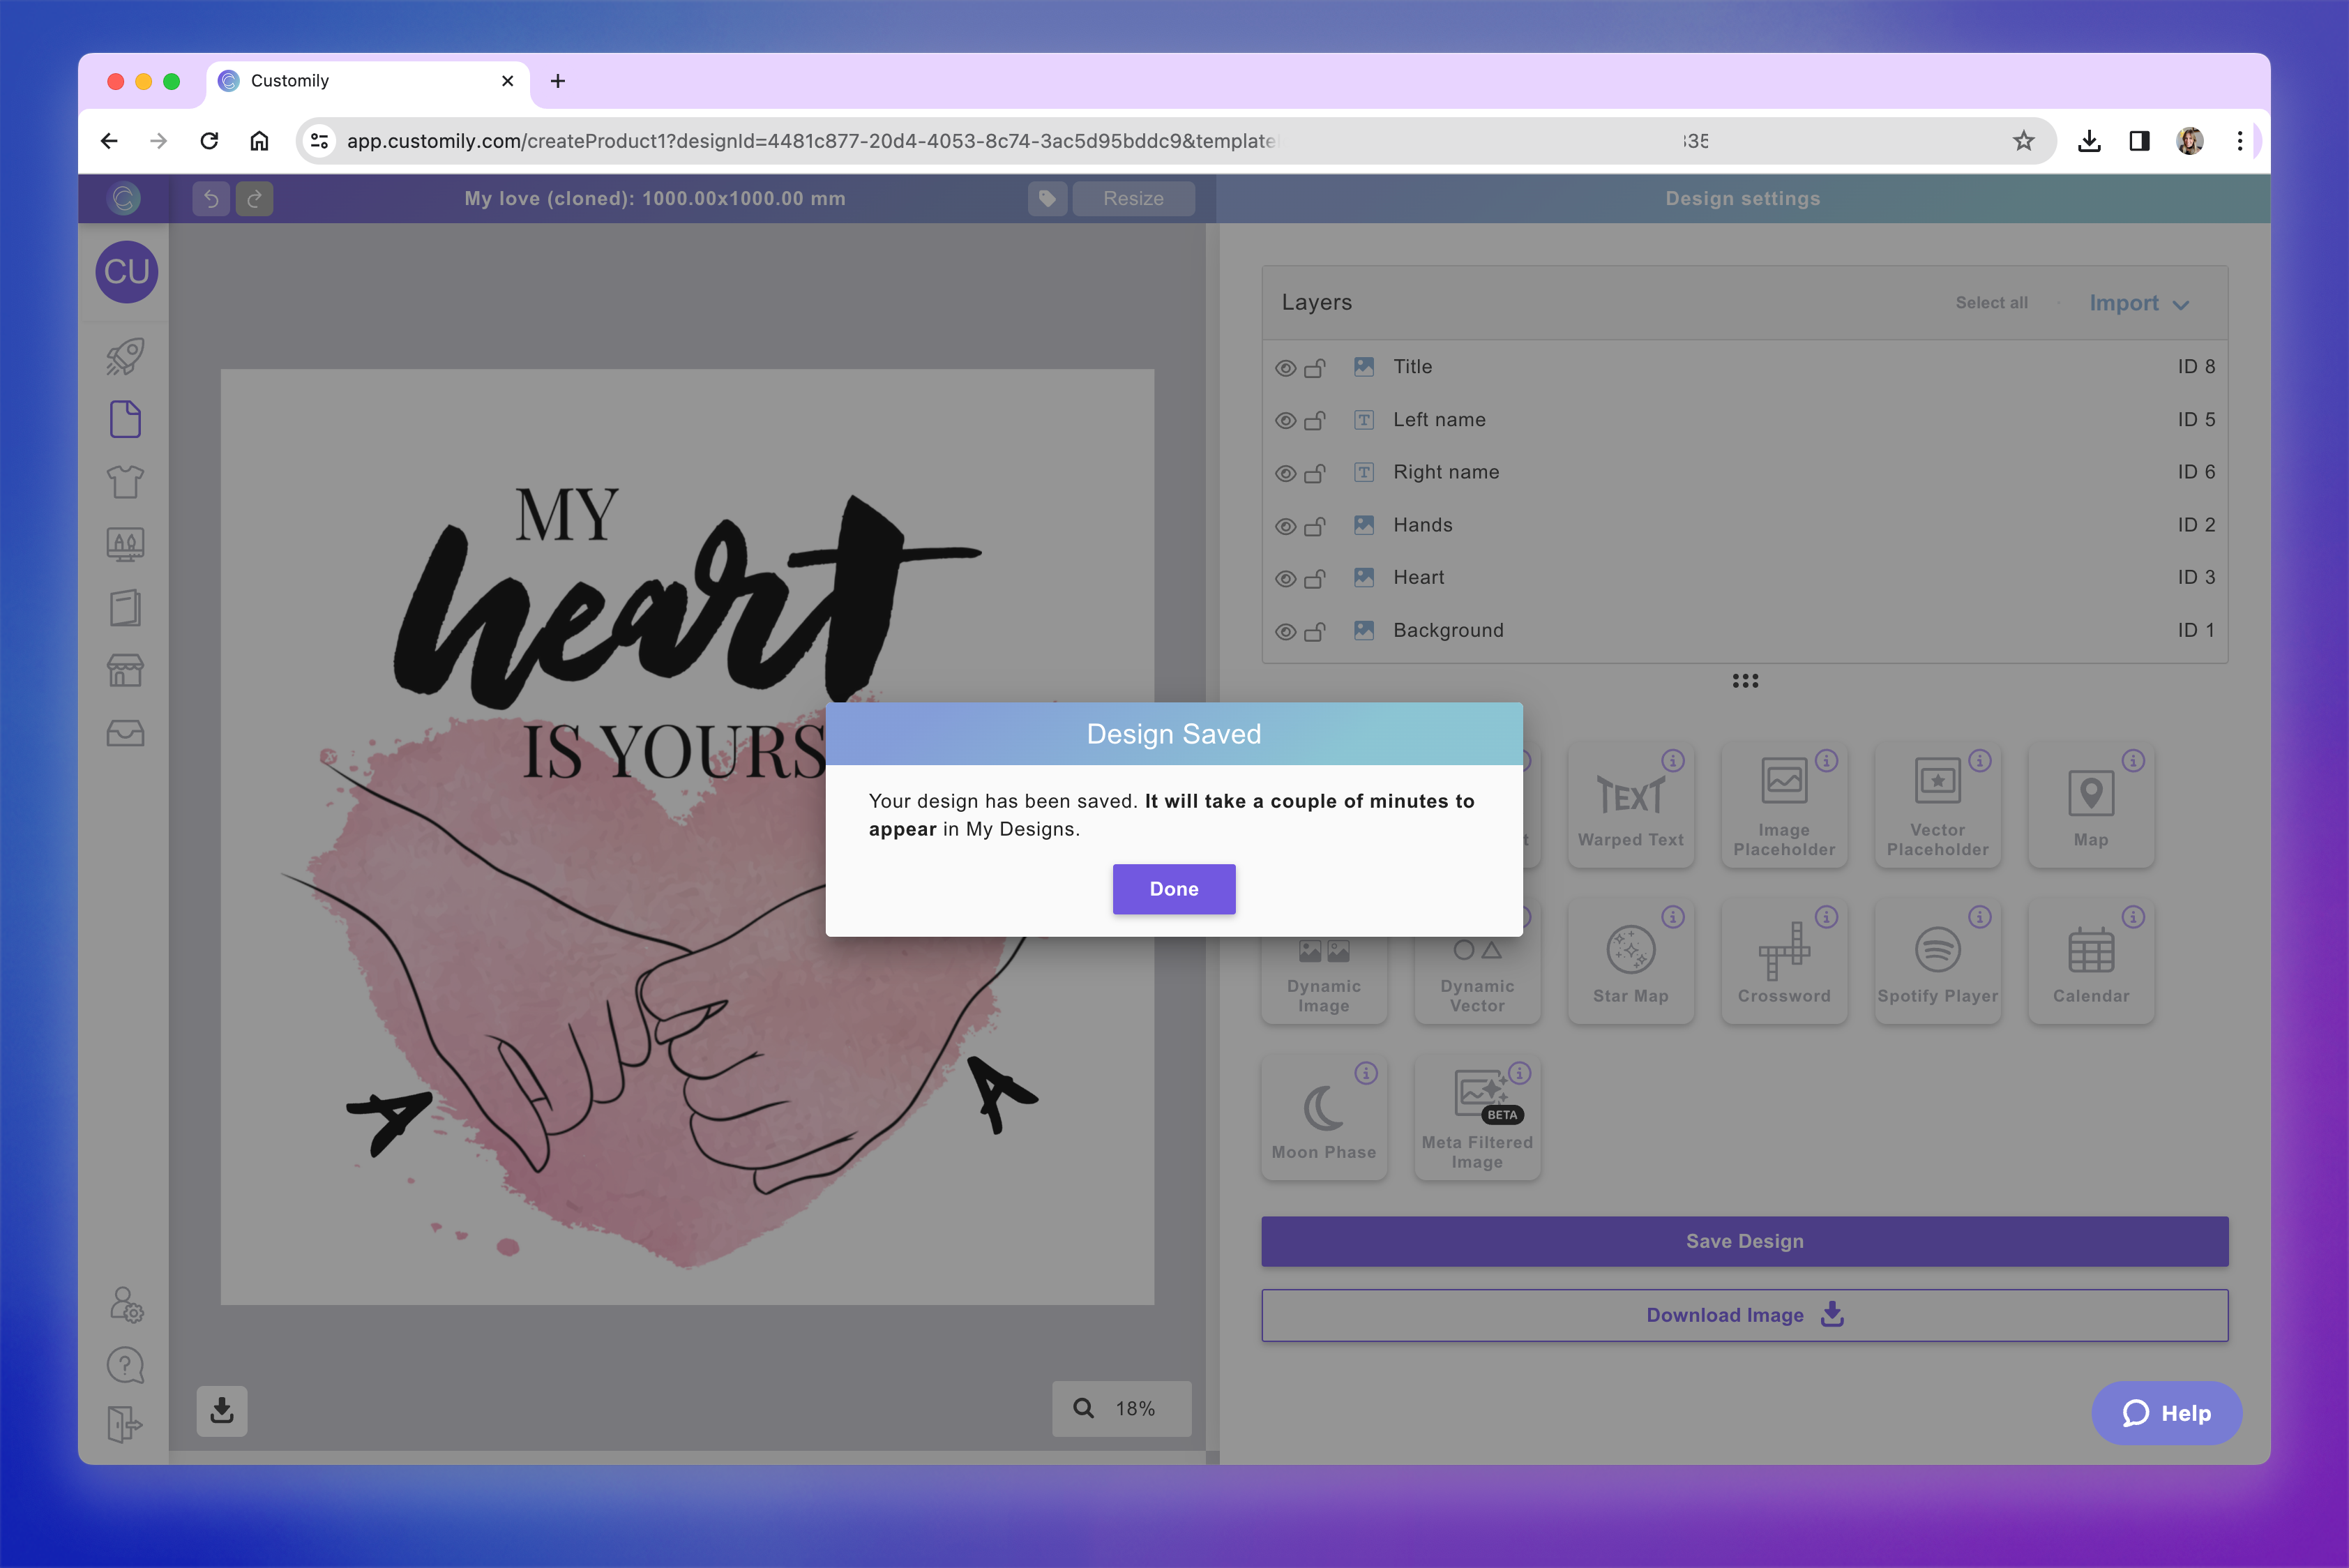
In the meantime you can keep working on your account, small notification on the top right will let you know once the Design is ready to use.
Imported designs will appear at the top of your Designs list, with the word (cloned) in it's name.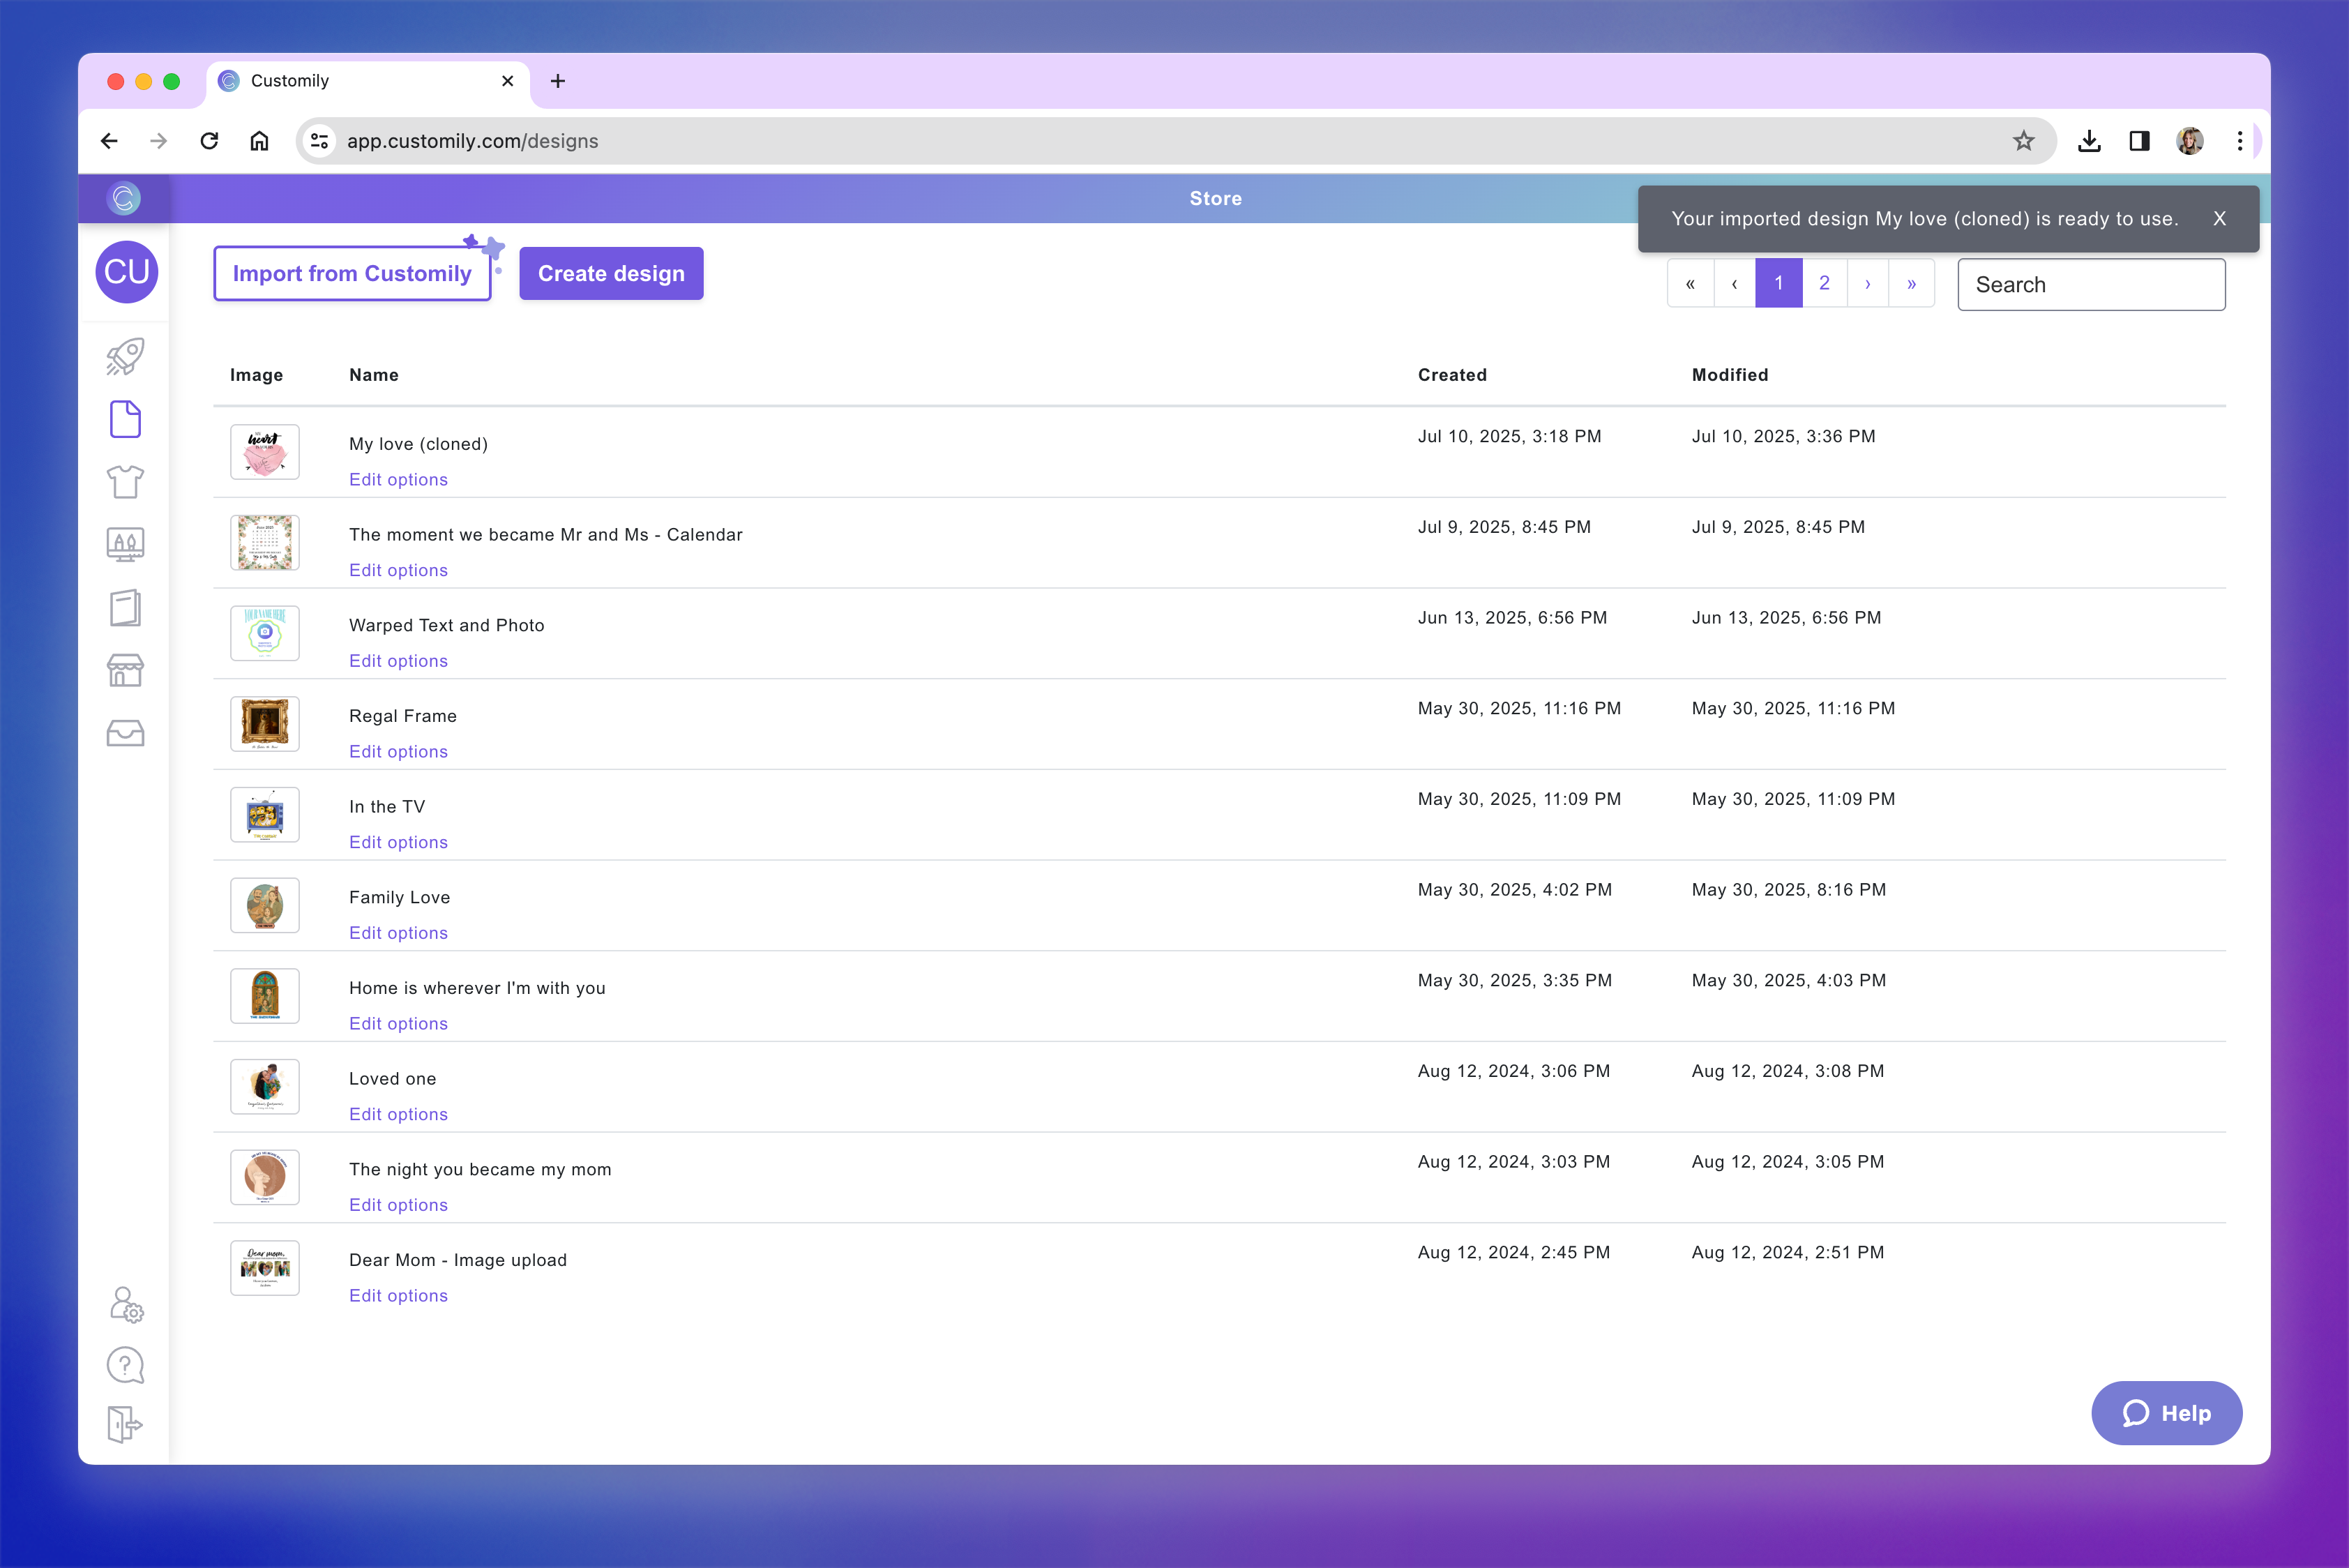
(Optional) Edit the Option Set
After saving, Customily will automatically create an Option Set — the form shoppers use to personalize your product. This form is based on the elements you added to your design and their layer names.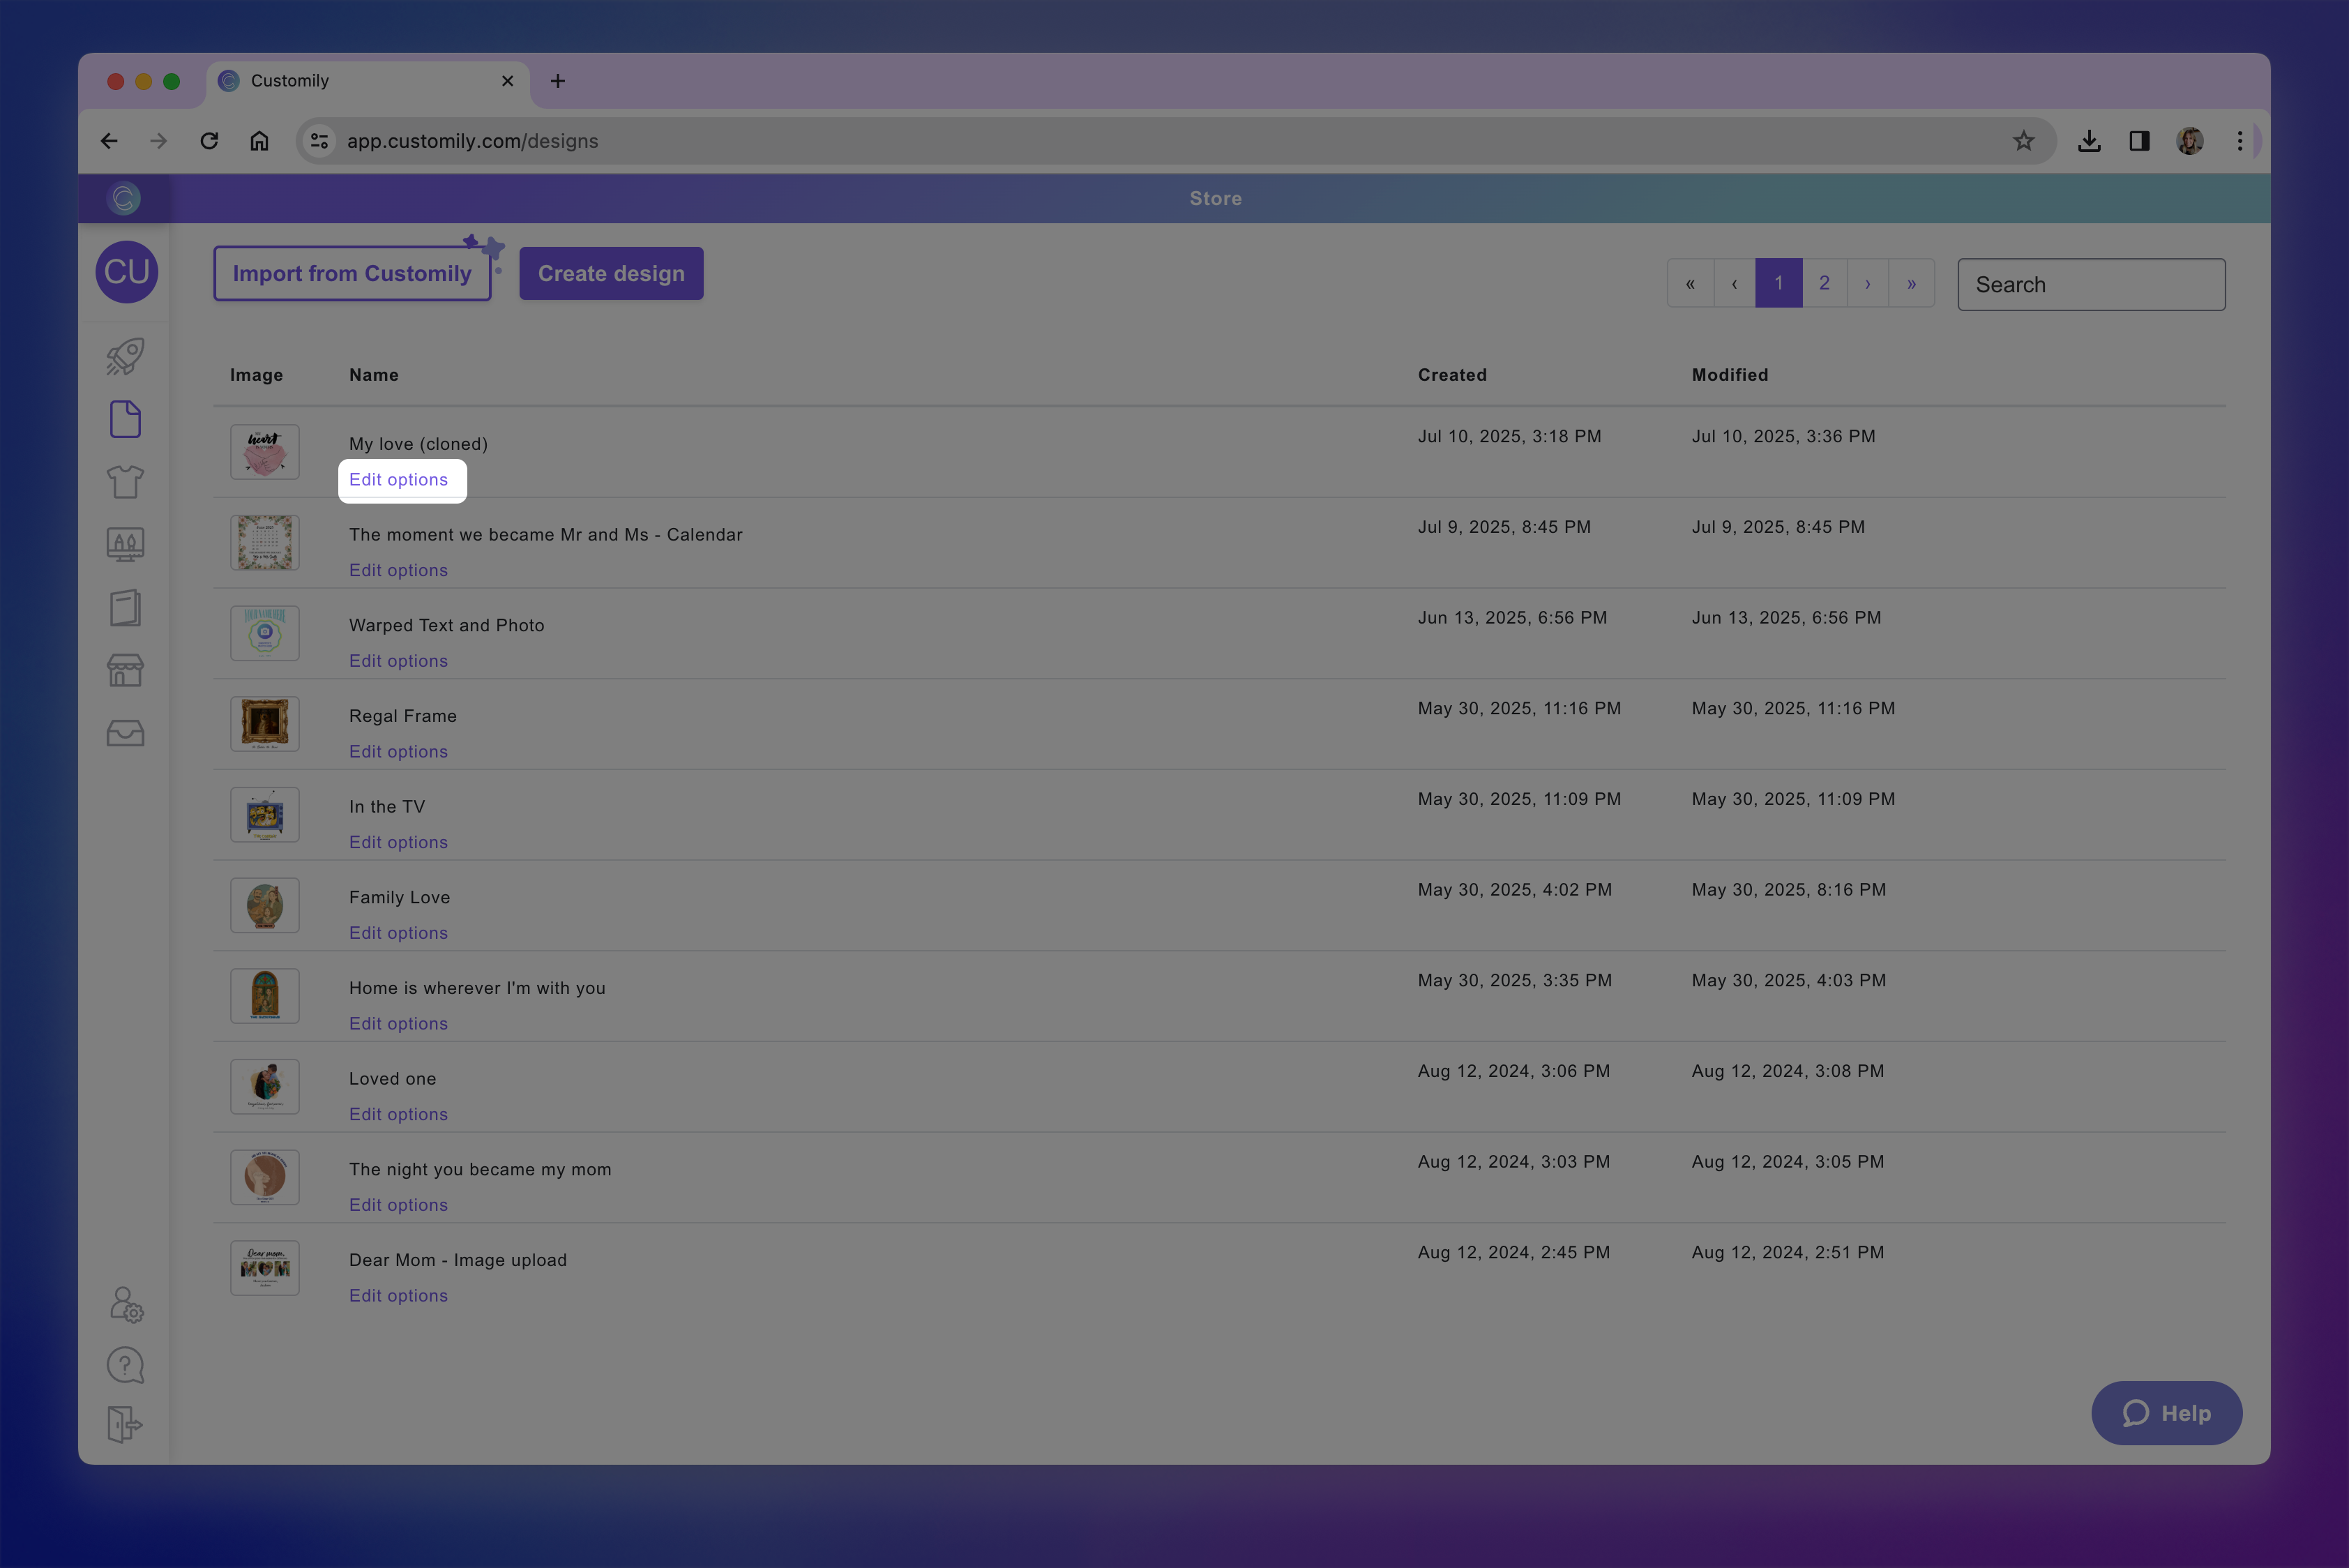
If you want to refine the experience, you can open the Option Set now and customize it further. You can:
Change option labels to make option clearer for shoppers
Change option styles for example from swatch to dropdown
Customize input behavior like setting character limit, or allowing only numbers or letters in a text input
Set default selected options, so a choice is pre-selected when the product loads
Add placeholder text inside inputs to guide shoppers on what to write
Add help text to give extra context or instructions under each option
Add conditional logic, so certain options only appear based on previous selections
Delete options if you want elements to appear on the product but not be editable by the shopper
You can always come back and edit the Option Set later from the My Designs panel. Learn more about editing and customizing option sets here.