Create a new personalized product using your own product
Last updated: October 7, 2026
This guide shows you how to publish a new personalized product listing on your store using a product you’ve set up in Customily as a Product Base.
You’ll choose your Product Base, select its variants, and add a Design that shoppers can personalize. Customily automatically creates the Template and Option Set needed to power the personalization.
Before publishing, you can test the personalization and review your product images, listing details, and prices—or keep the product as a draft to finish later.
Note
Using My product bases does not include automatic POD fulfillment. Customily generates the personalized print files using your Product Base’s settings, and you handle production and shipping yourself or through your fulfillment partner.
Before you start
You must create a Product Base before beginning this flow. It defines your product’s variants, print areas, printing requirements, and mockup images. See 📄 How to create a Product Basefor instructions.
If you want to use your own Design, we recommend creating it beforehand as well. See 📄 How to create a new Designfor instructions.
You can also choose a ready-made Design from Customily’s Design Library during setup.
1. Choose your Product Base
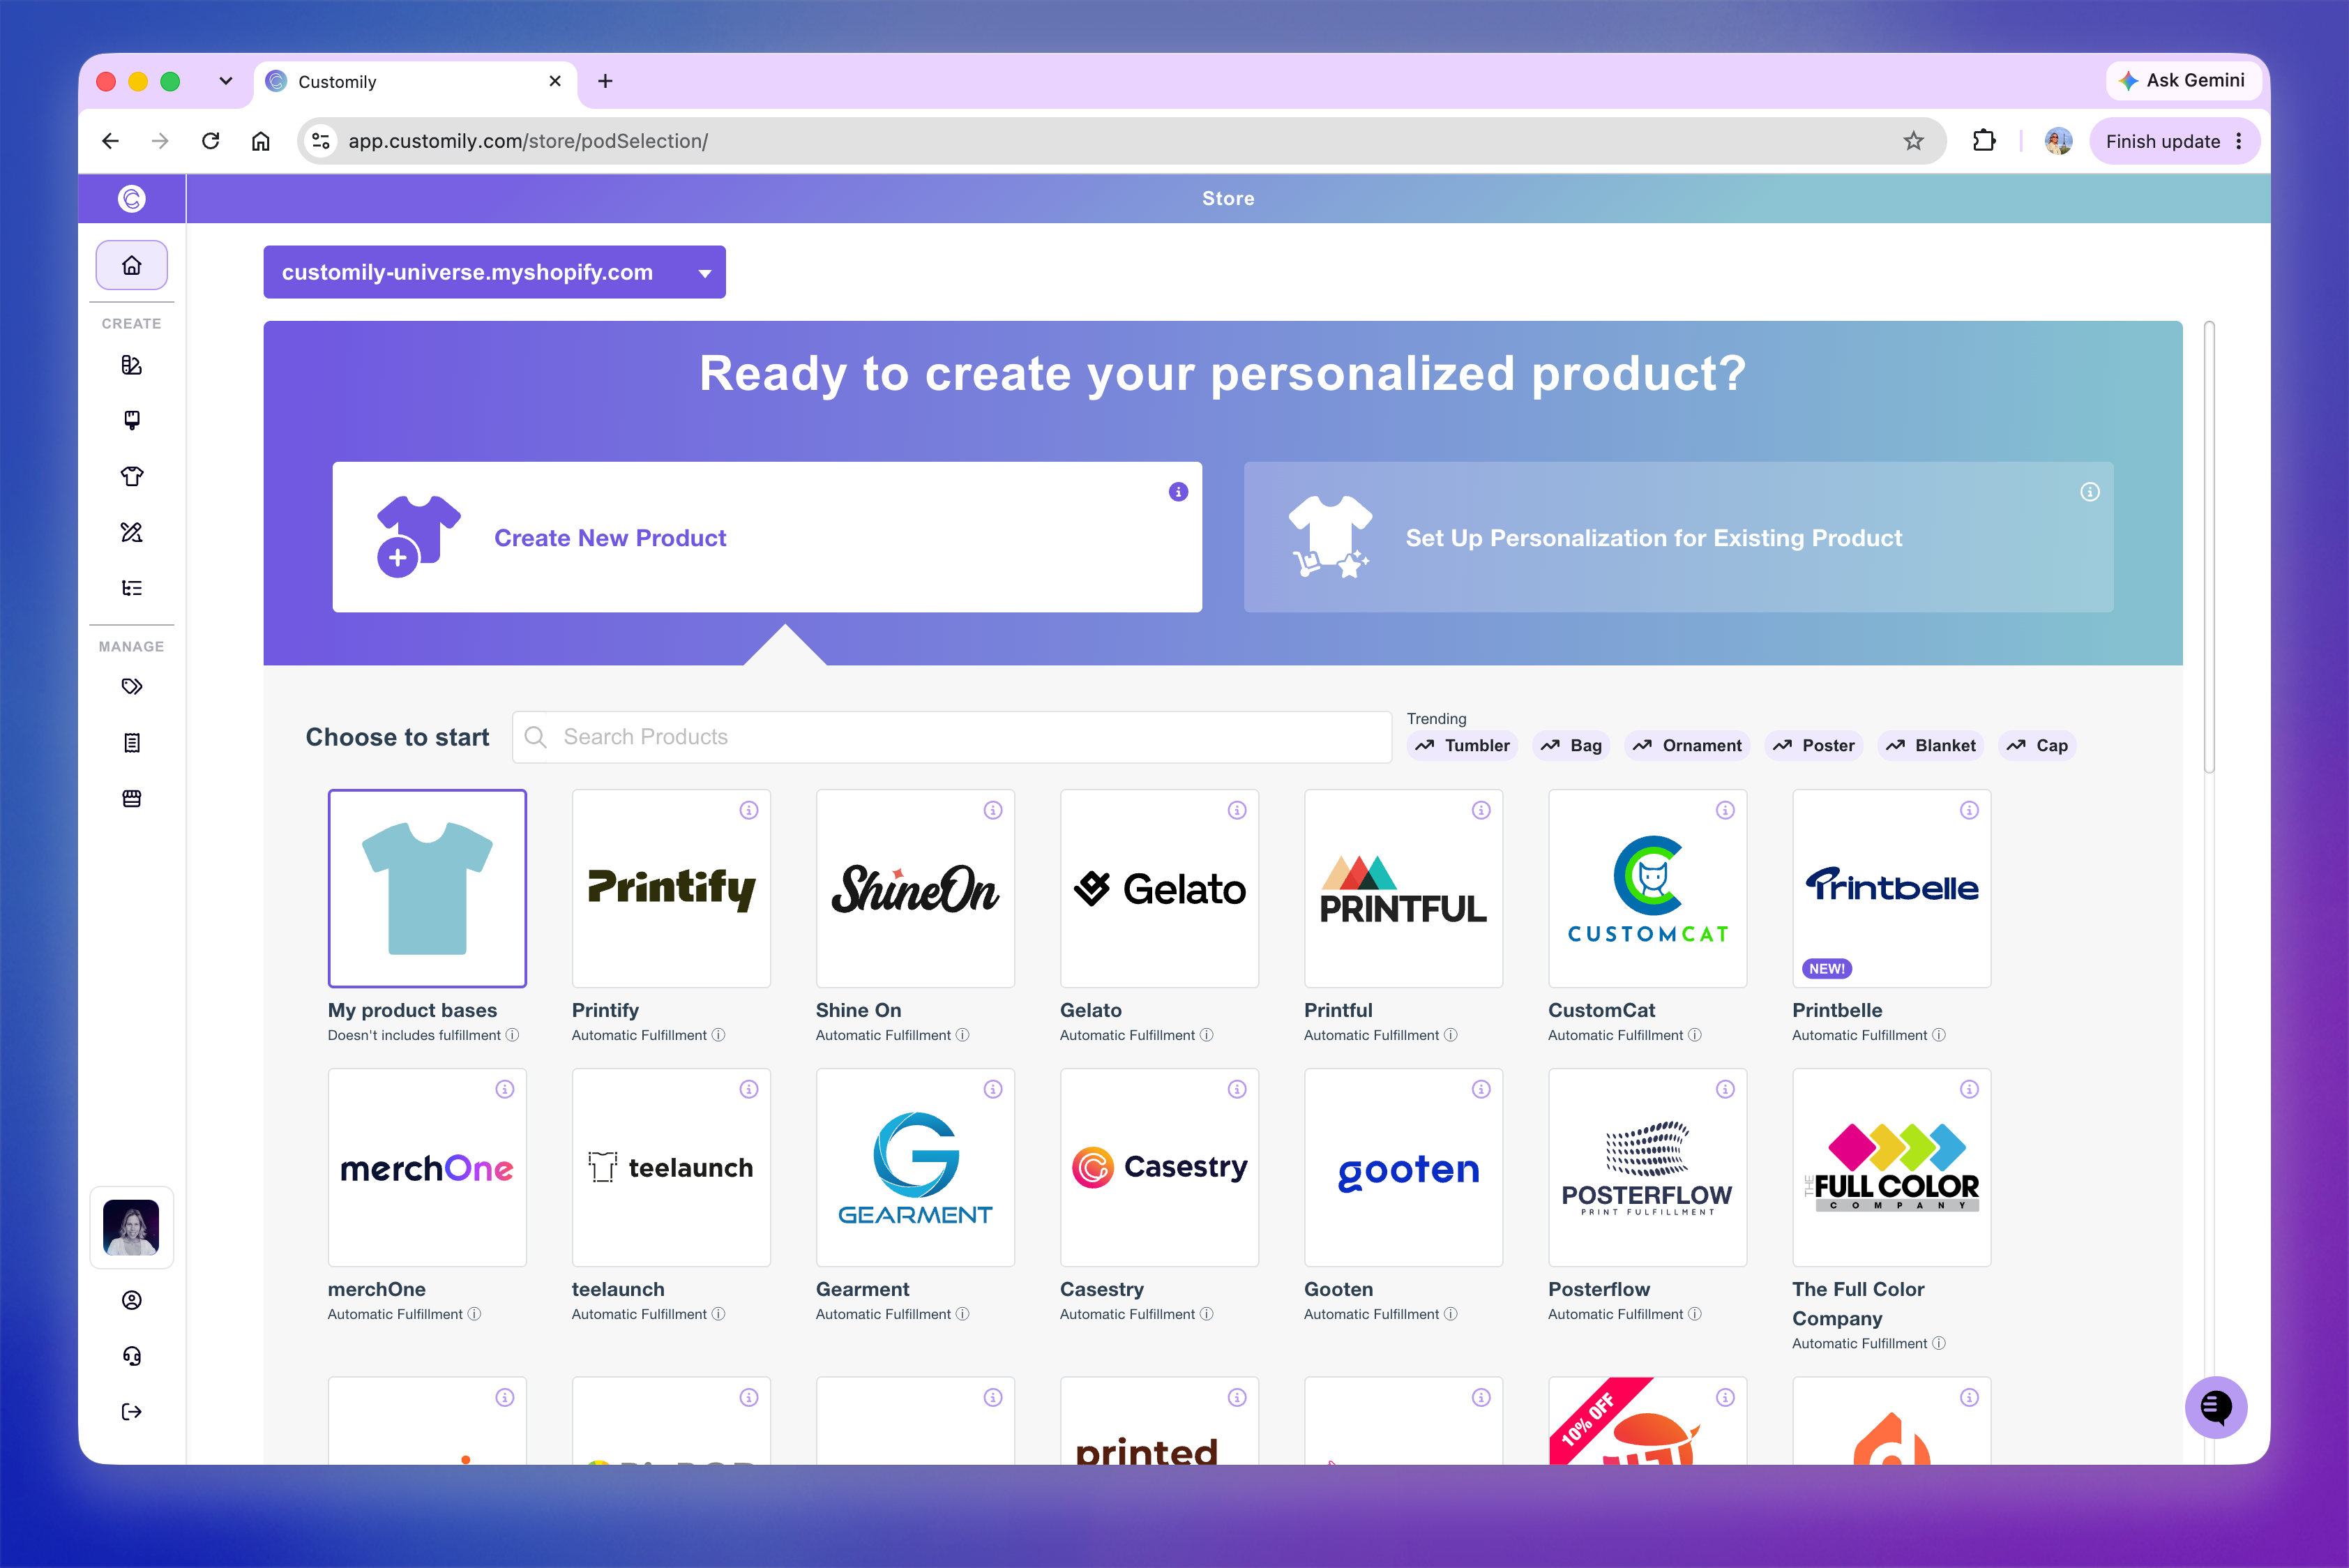
Go to Home and click Create New Product.
Select My product bases.
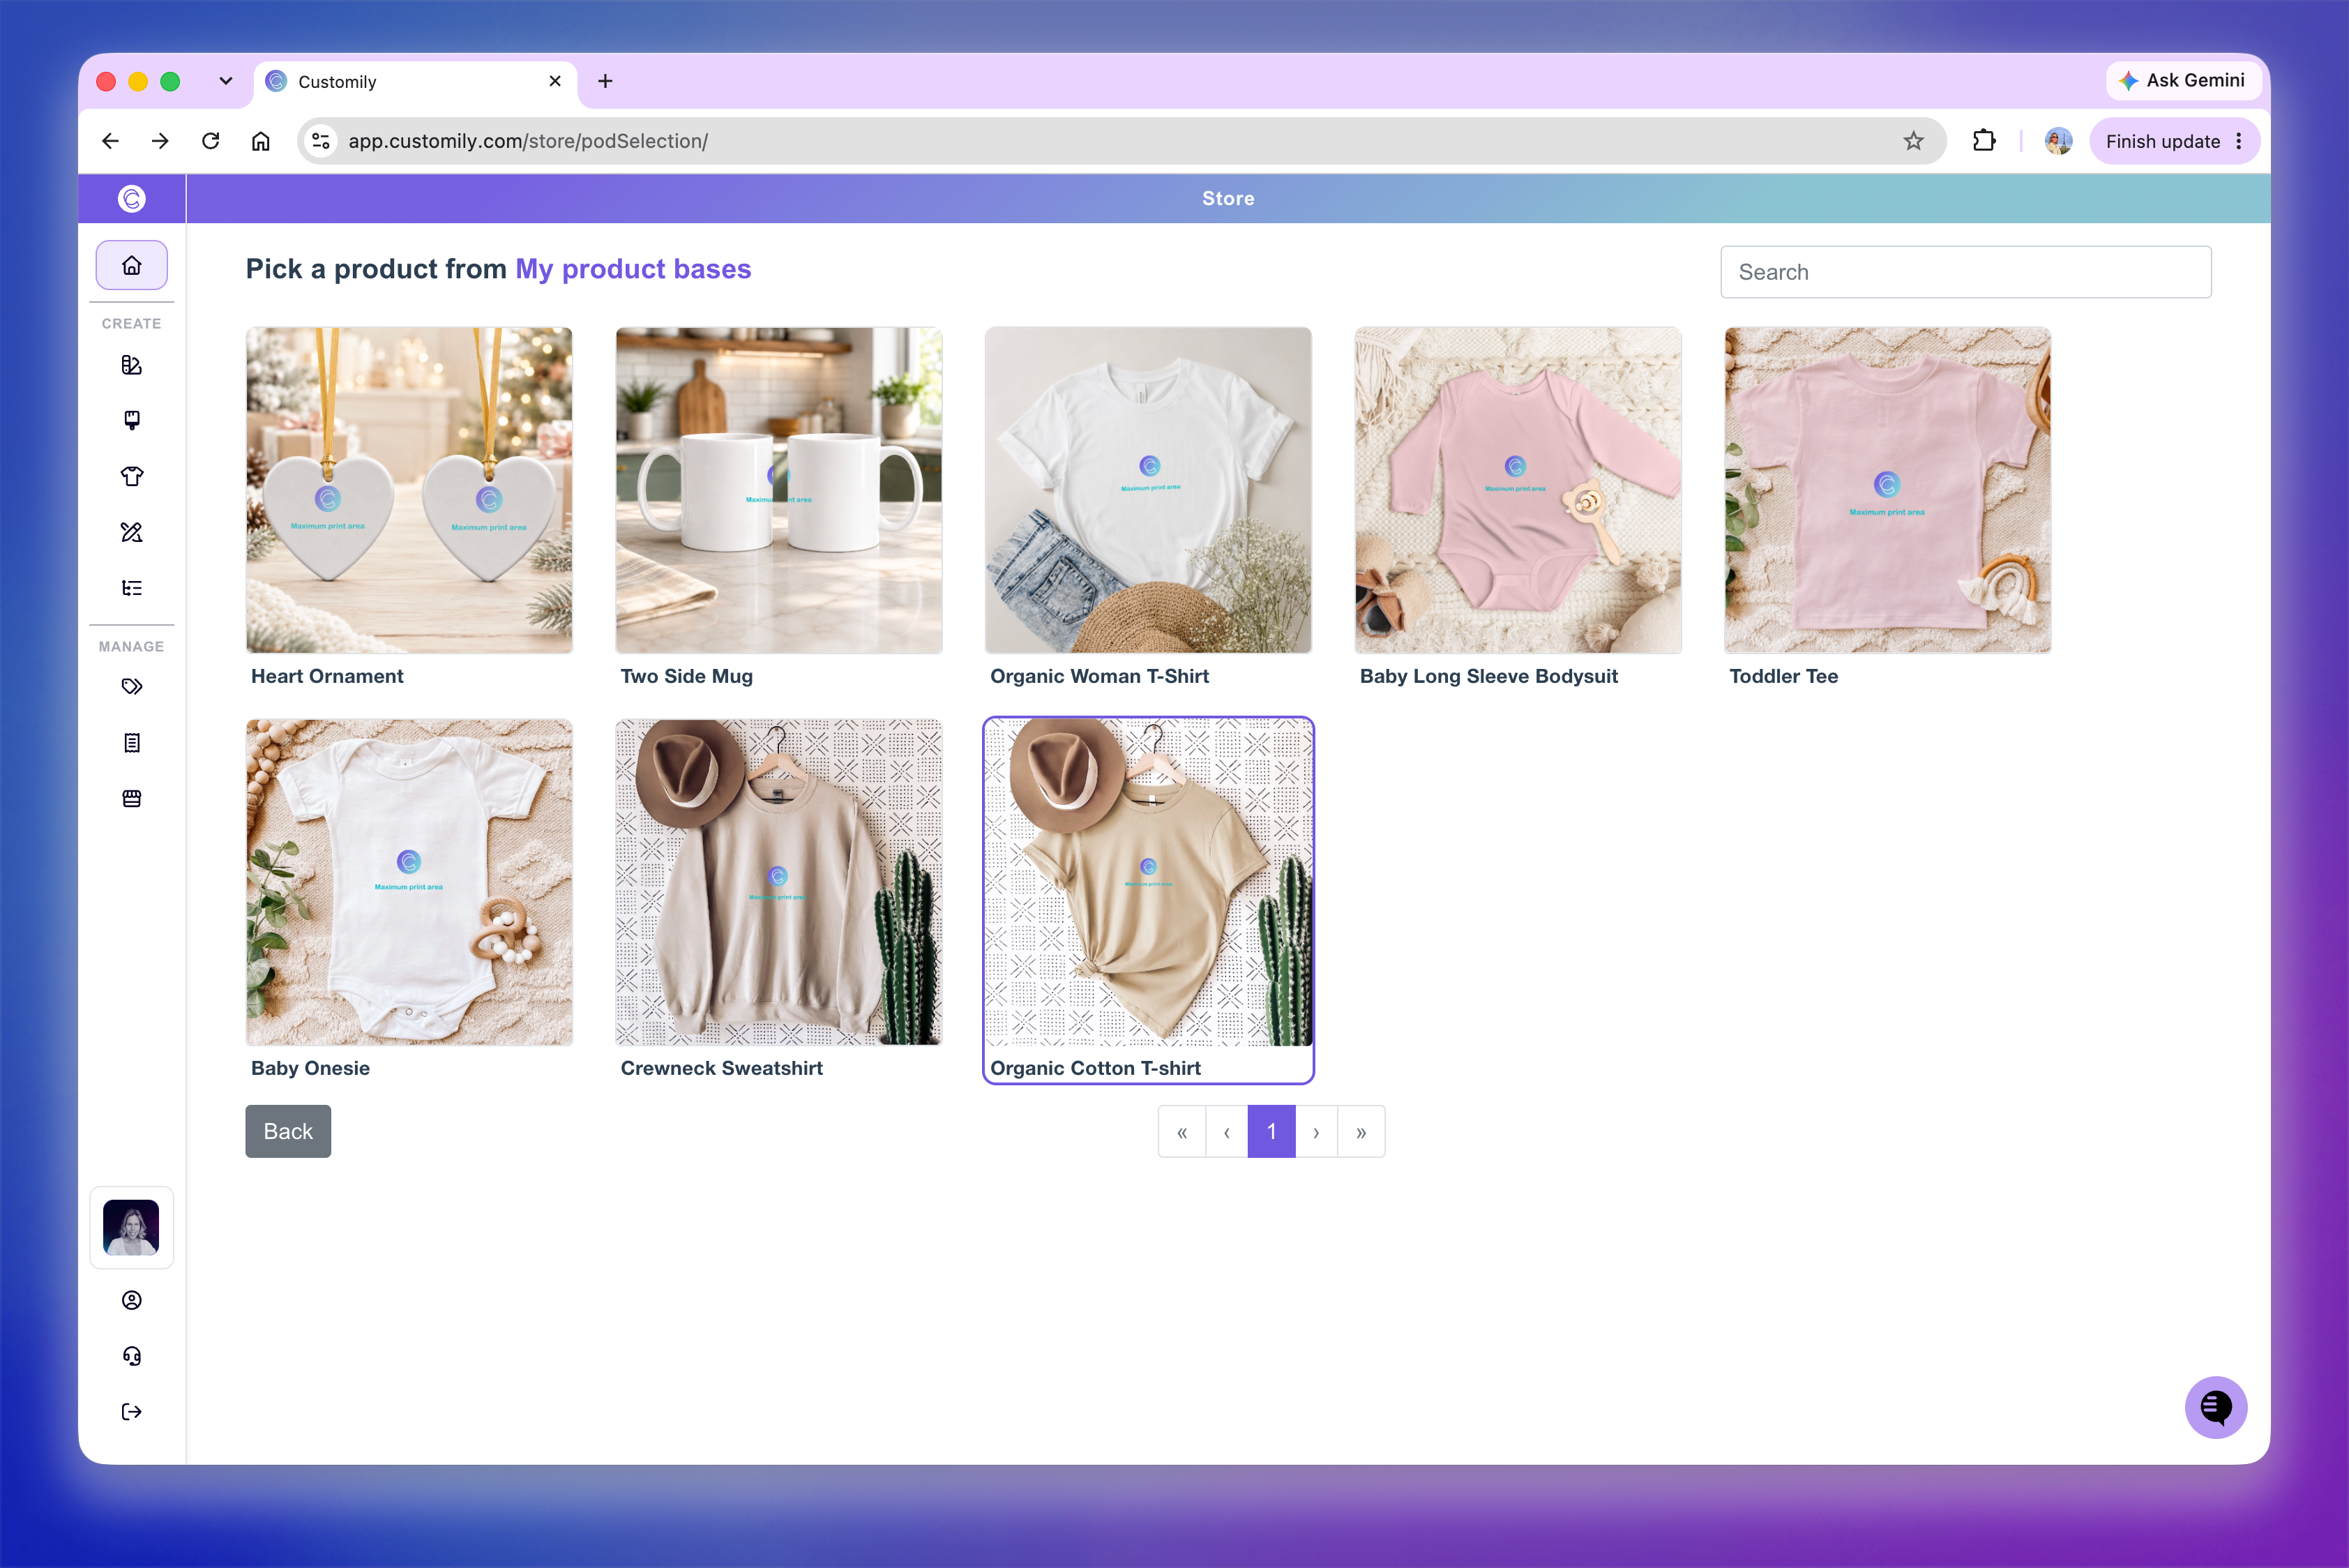
Browse your Product Bases or use the search field to find one.
Click the Product Base you want to use.
Tip
In the Built for Shopify version of Customily, you can also start from Products. In the full app, start from Home.
2. Select variants and print areas
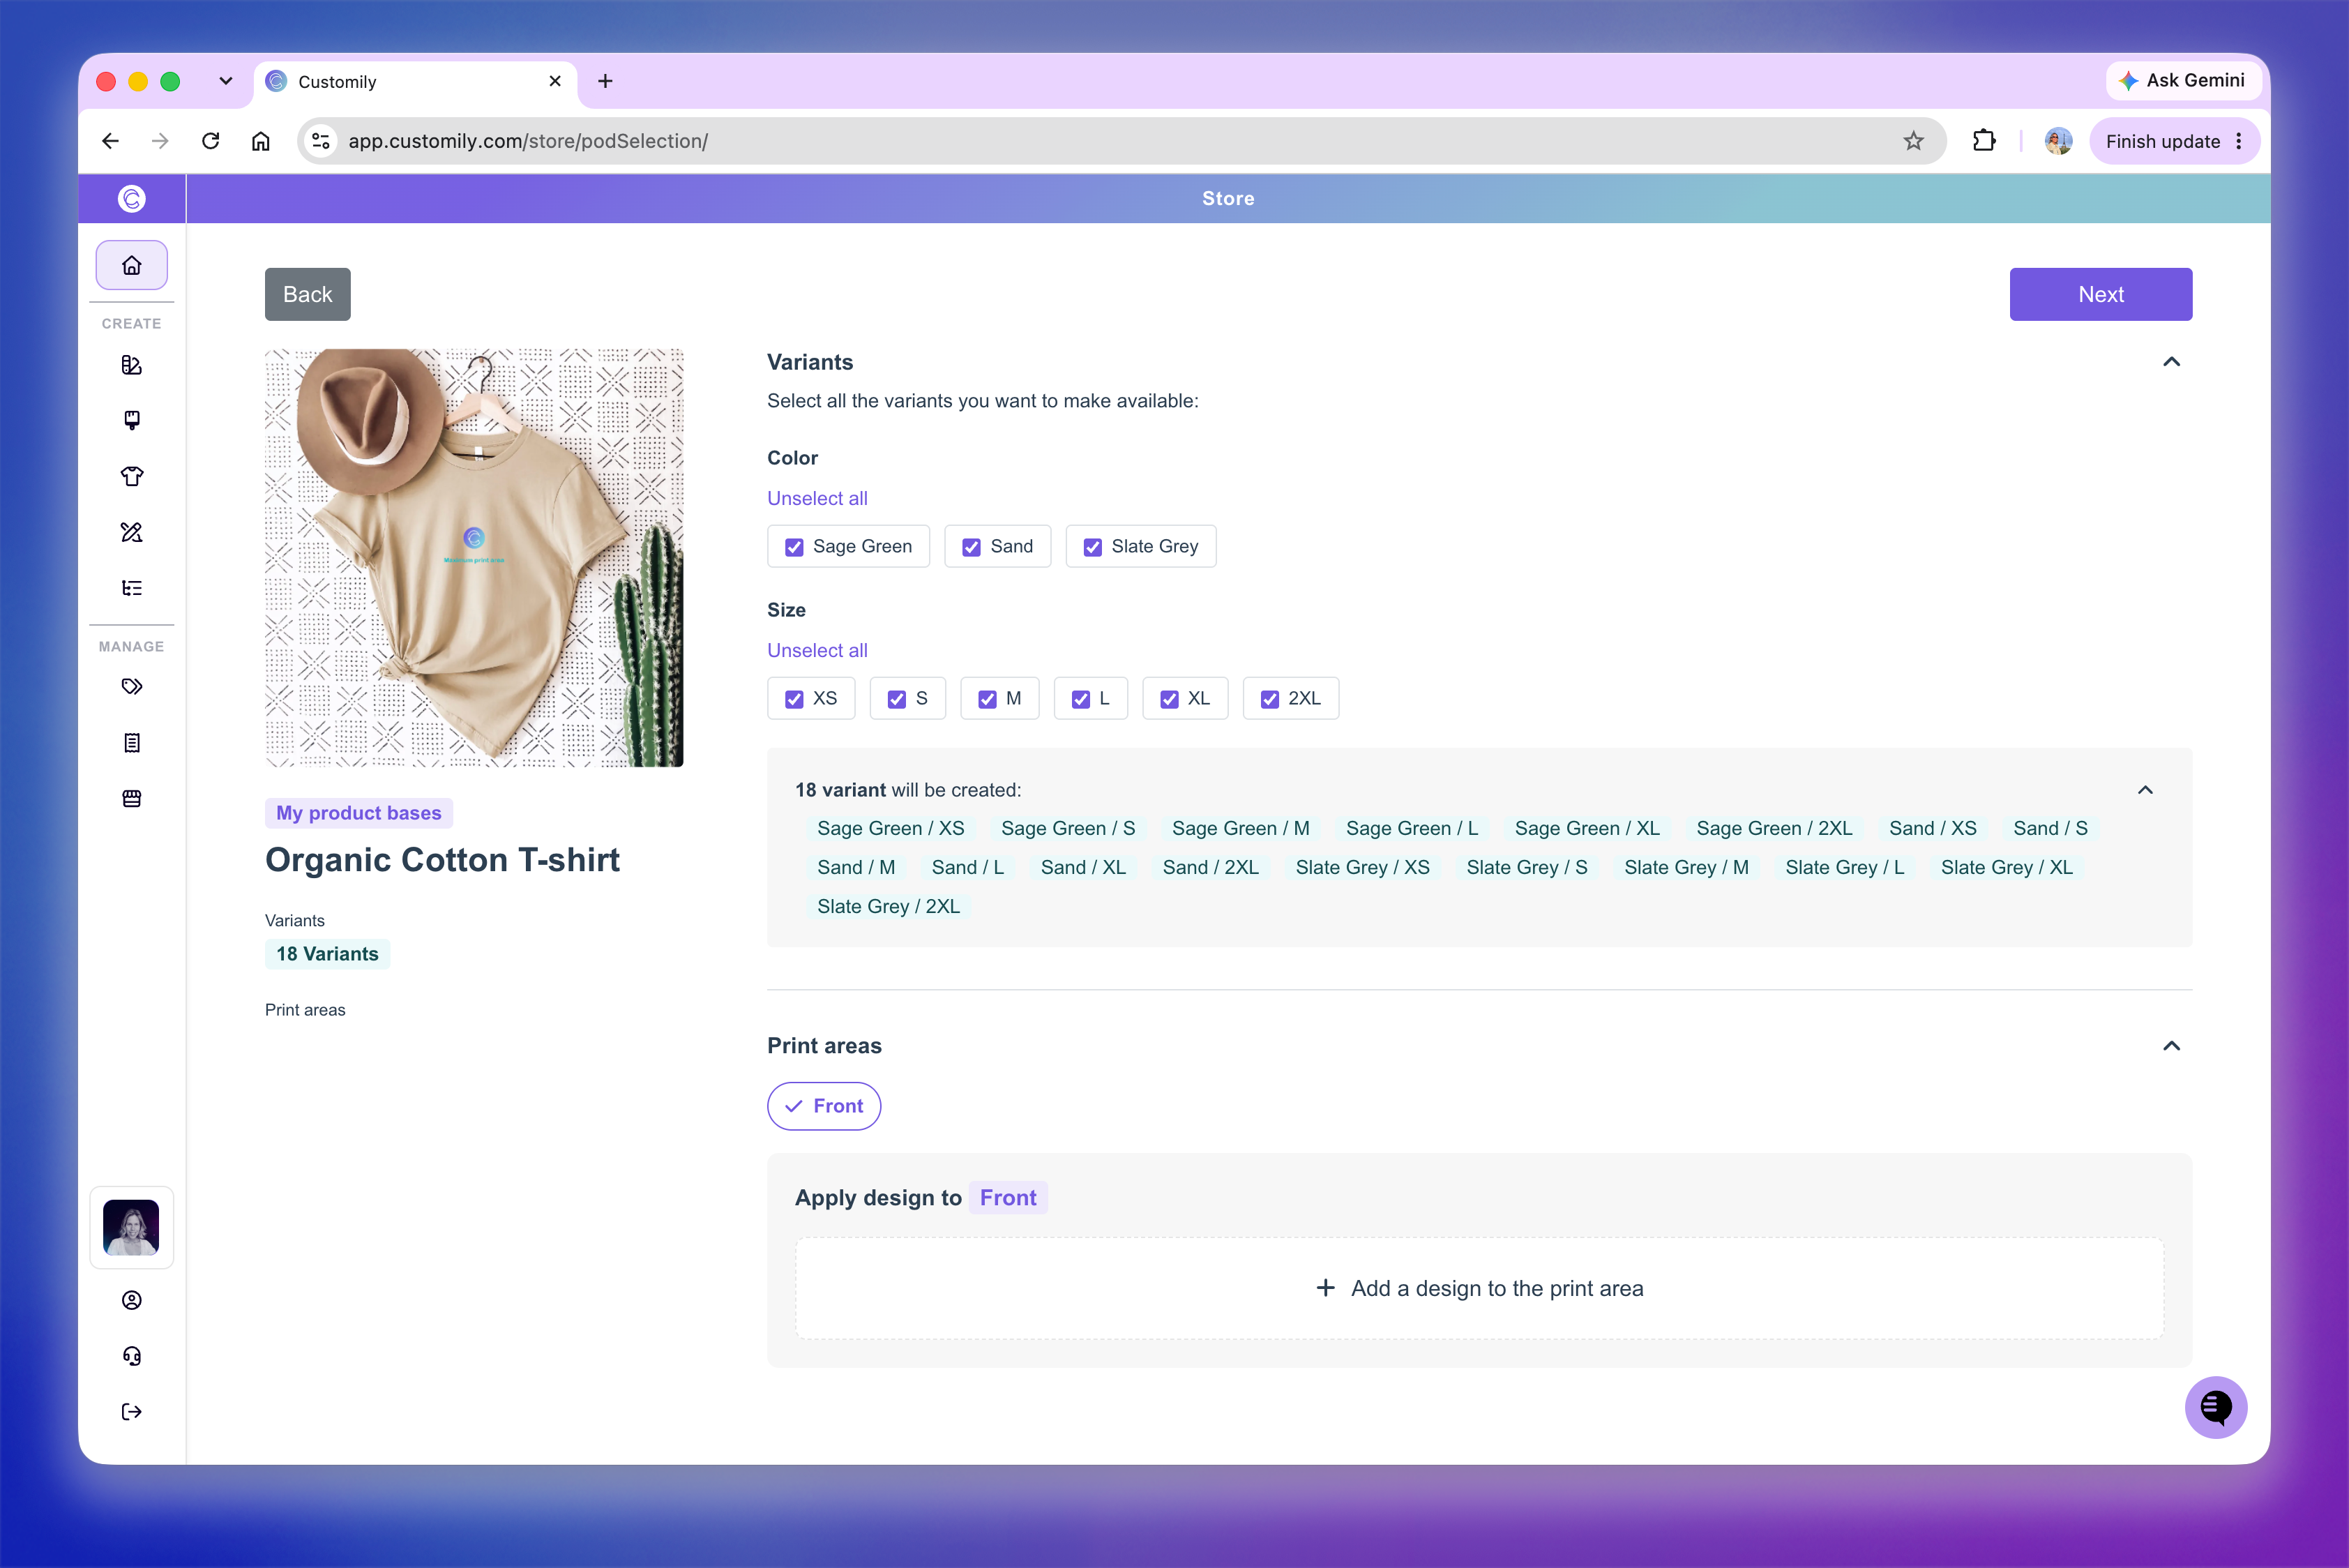
Under Variants, select the options you want to offer, such as colors and sizes. You can select them individually or use Select all.
Review the list of variant combinations that will be created.
Under Print areas, select where you want to add your Design. You can select multiple print areas and choose a Design for each.
The available variants and print areas depend on how you configured your Product Base.
3. Add a Design
For a selected print area, click Add a design to the print area.
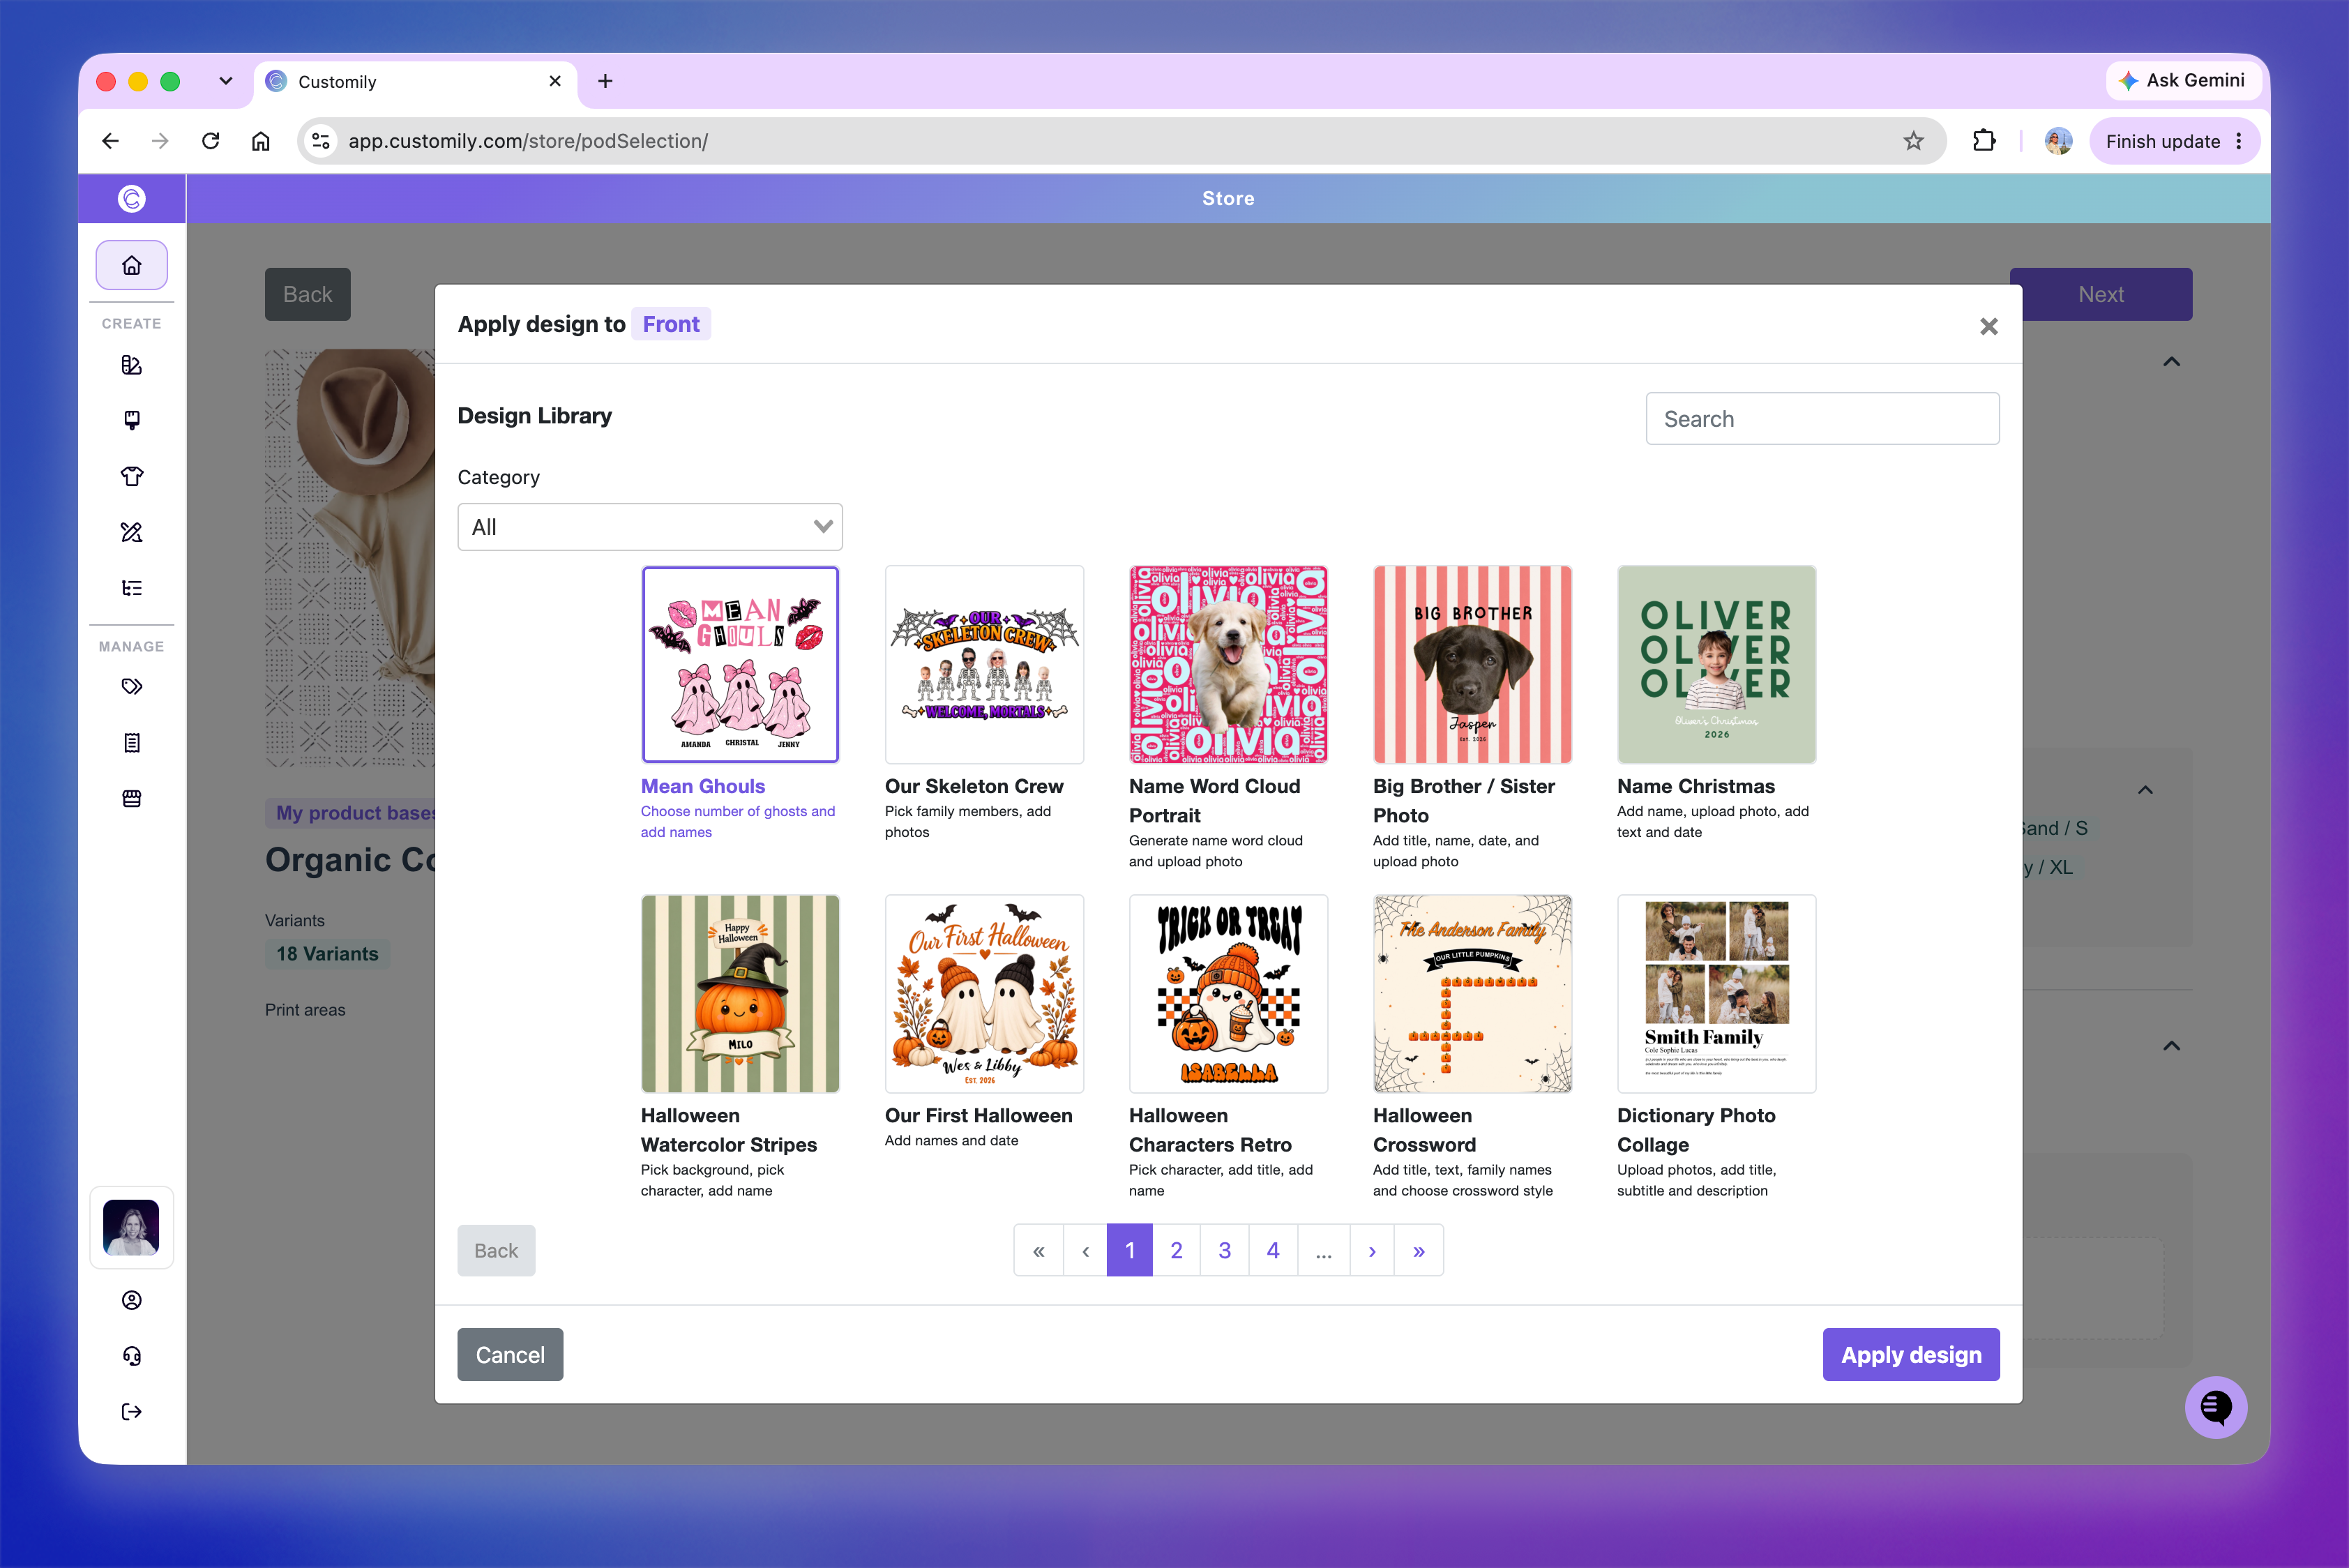
Choose one of the available ways to add a Design:
Pick from your designs — Use a Design saved in your account.
Pick from Customily’s designs — Choose a ready-made Design from Customily’s Design Library.
Create a Design — In supported cases, create a new Design directly during product setup.
Select or create your Design, then click Apply design.
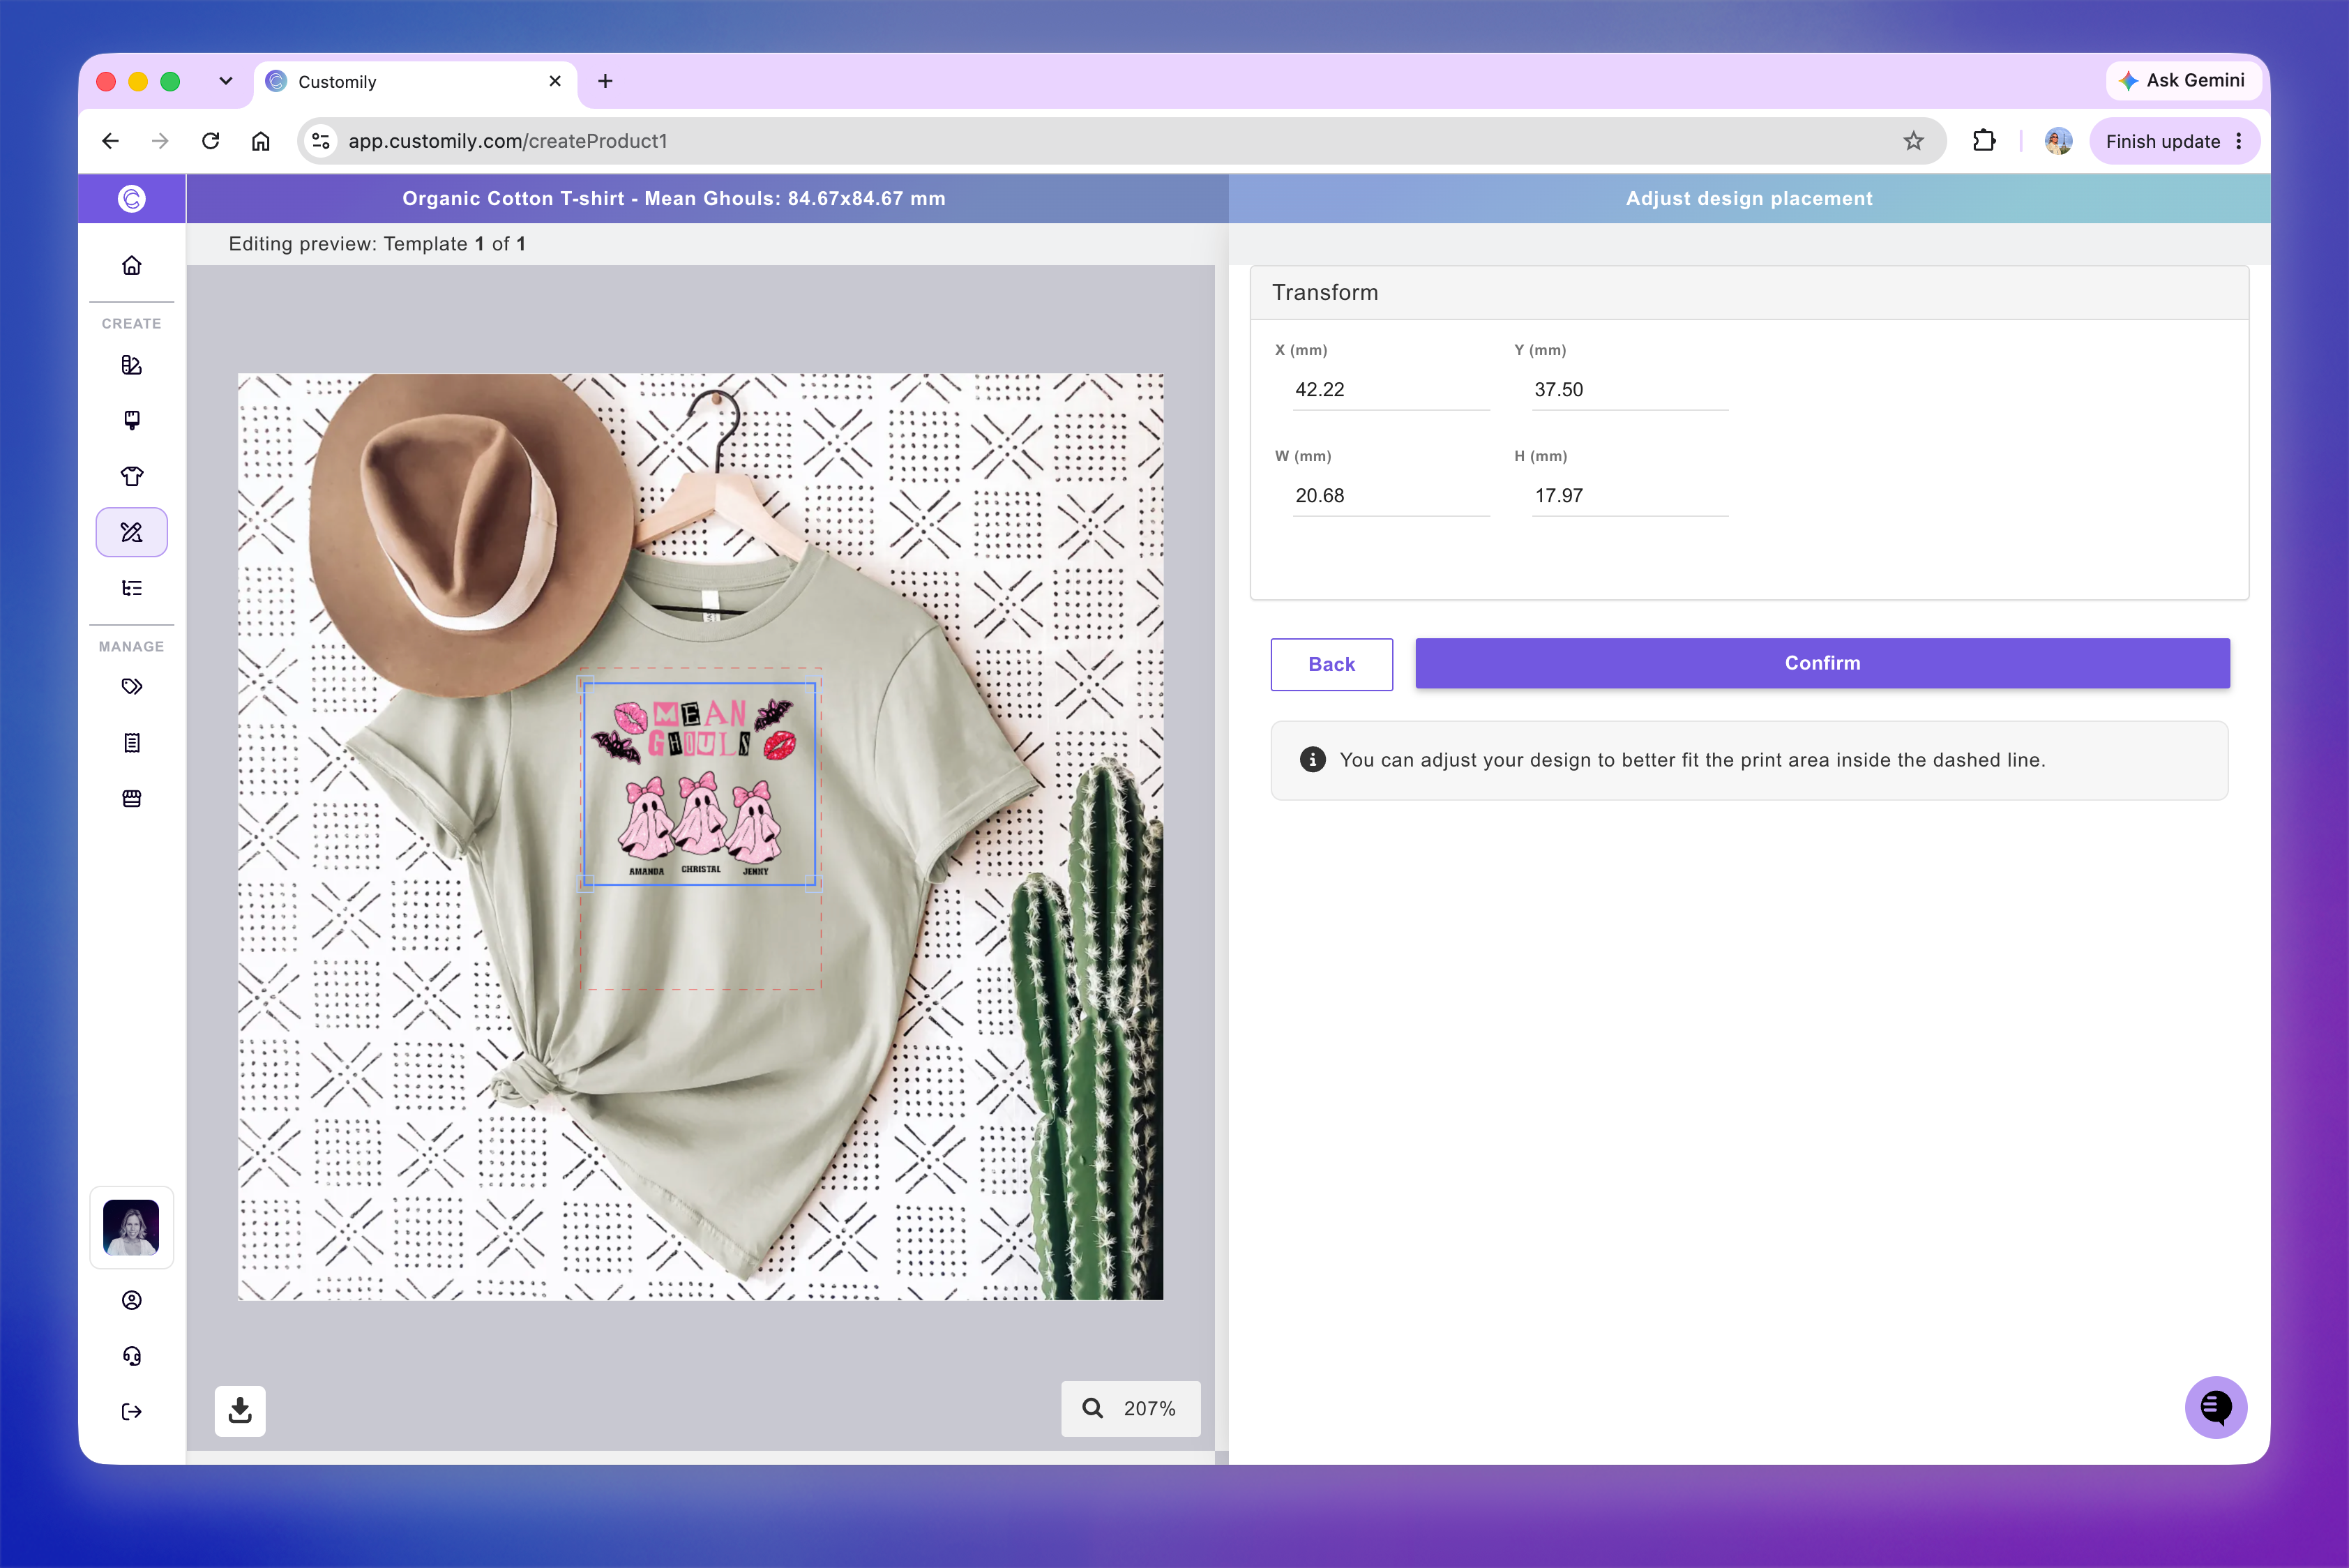
Adjust the Design’s placement
Position and resize your Design on the product, keeping it within the print area marked by the dashed line. You can adjust it on the preview or use the Transform fields.
Click Confirm to apply the placement.
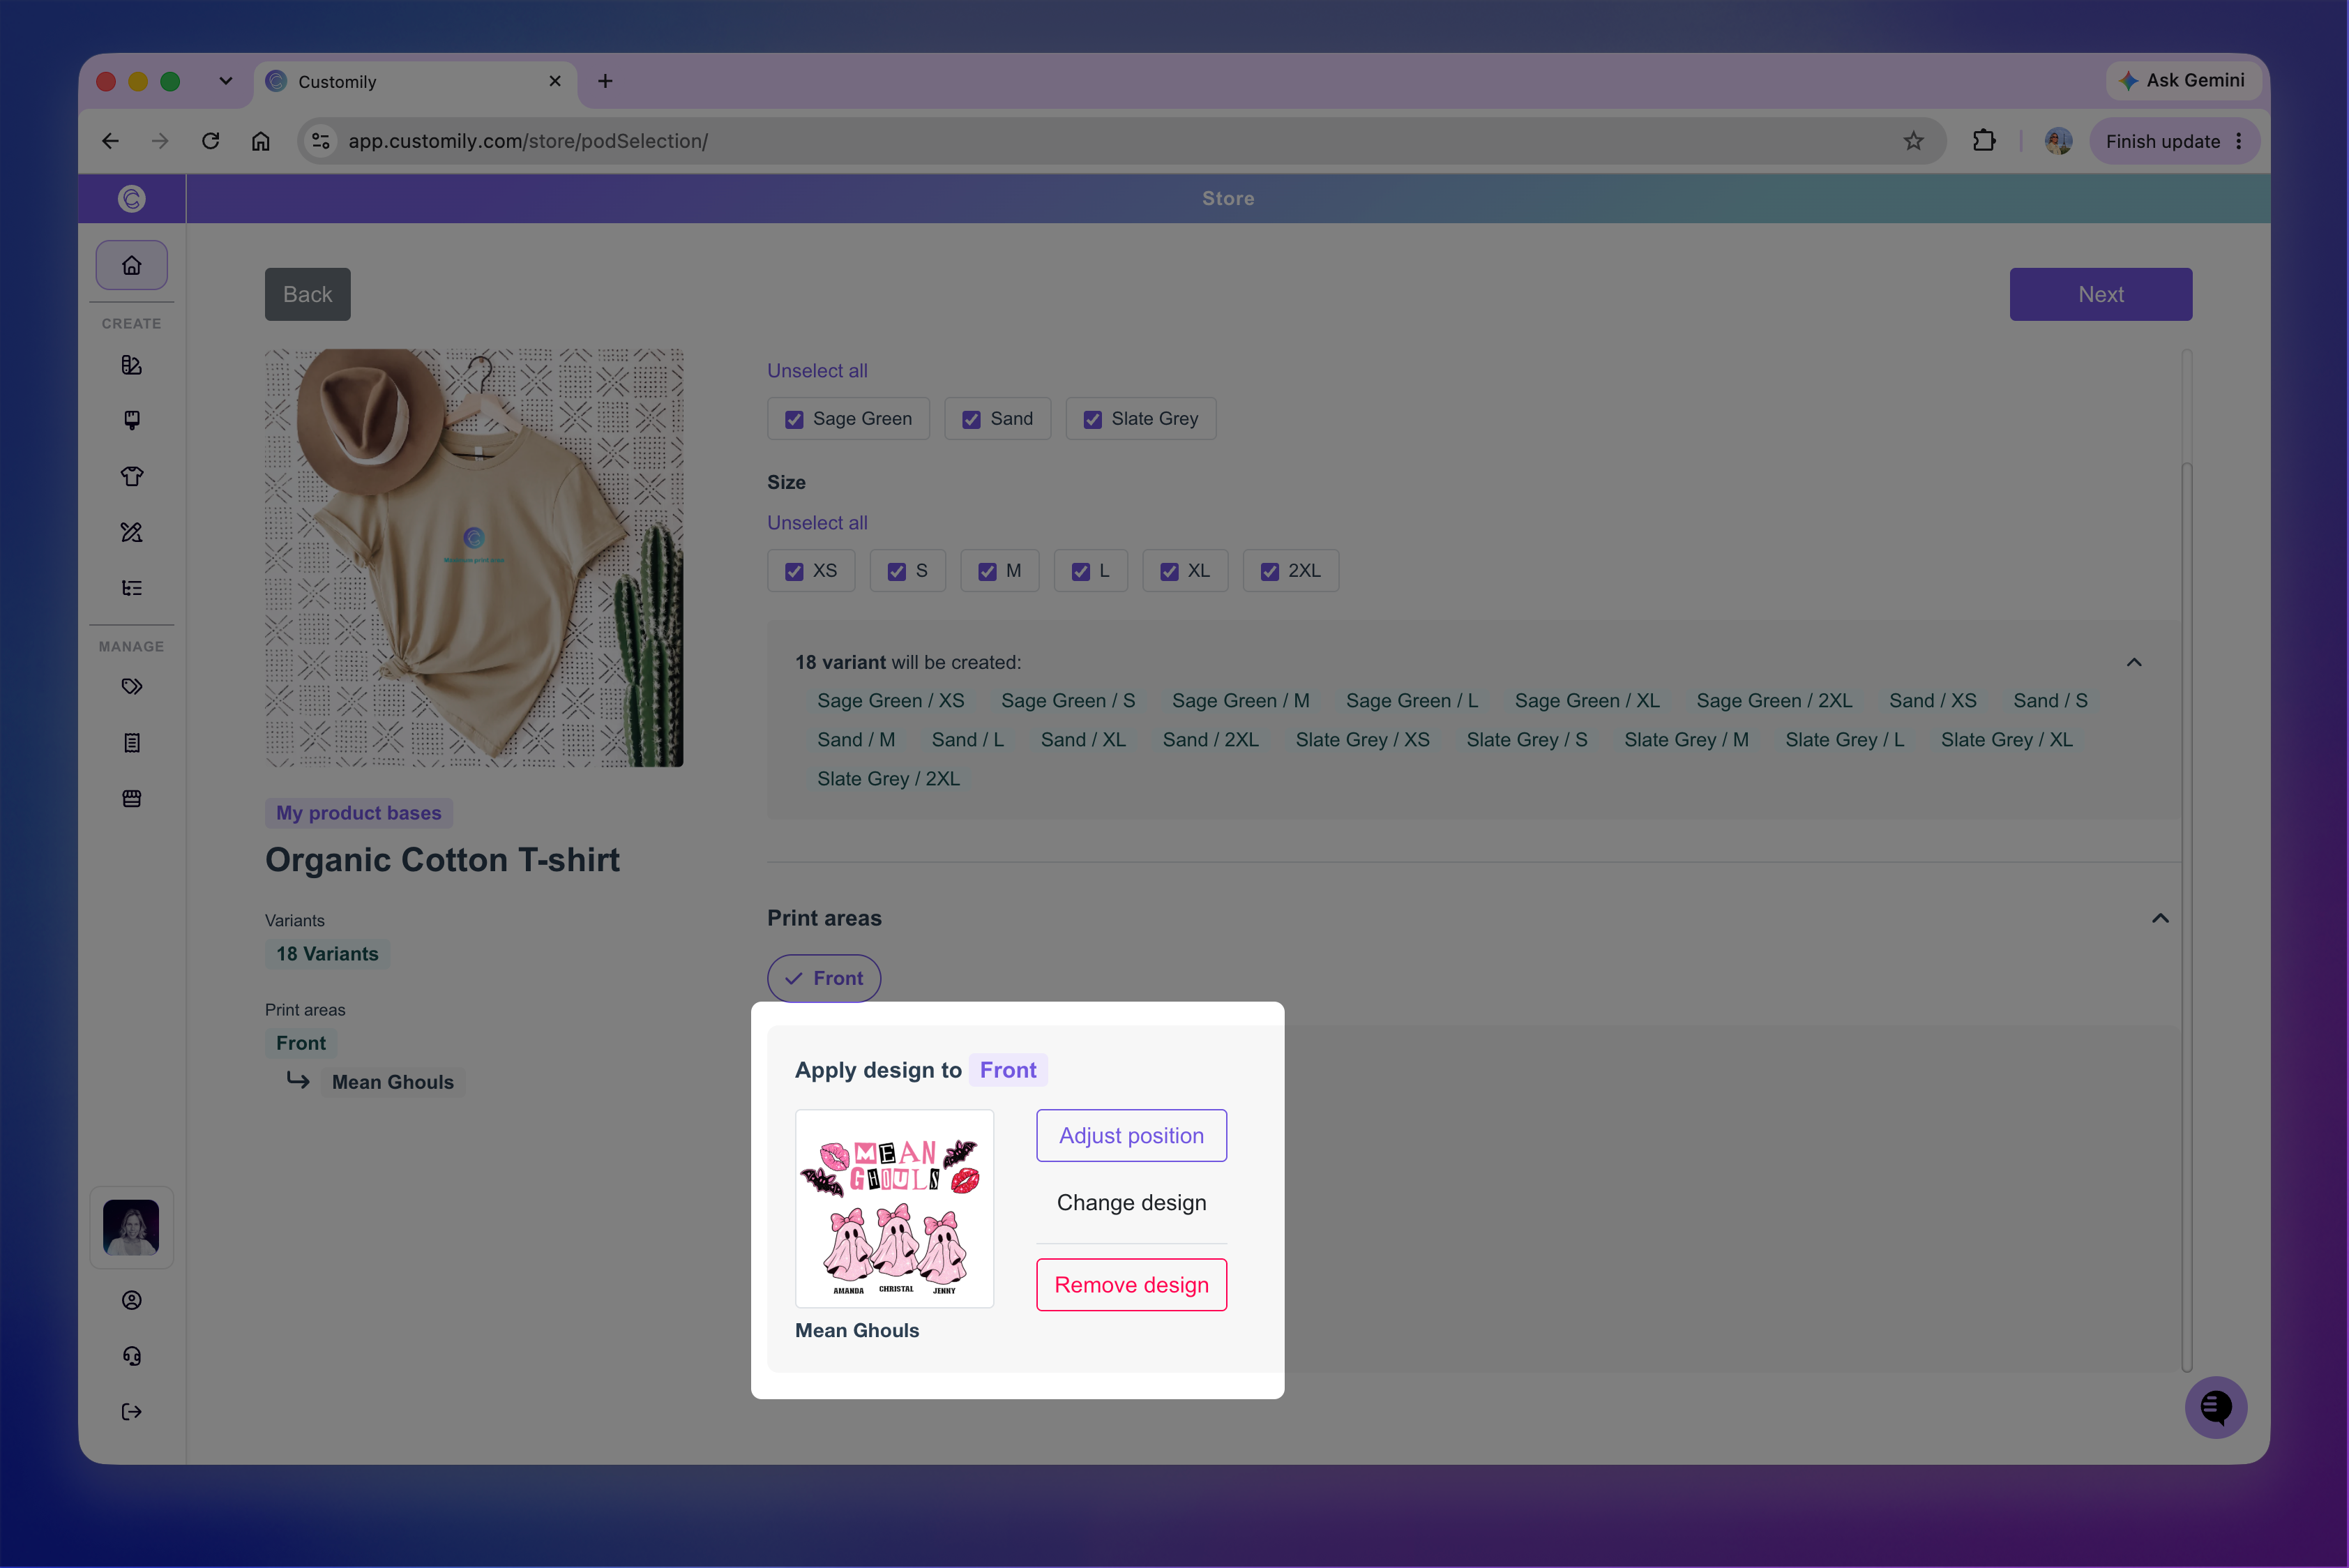
You can revisit it using Adjust position, choose another Design using Change design, or remove it using Remove design.
Repeat for any additional print areas you want to use.
4. Create the product
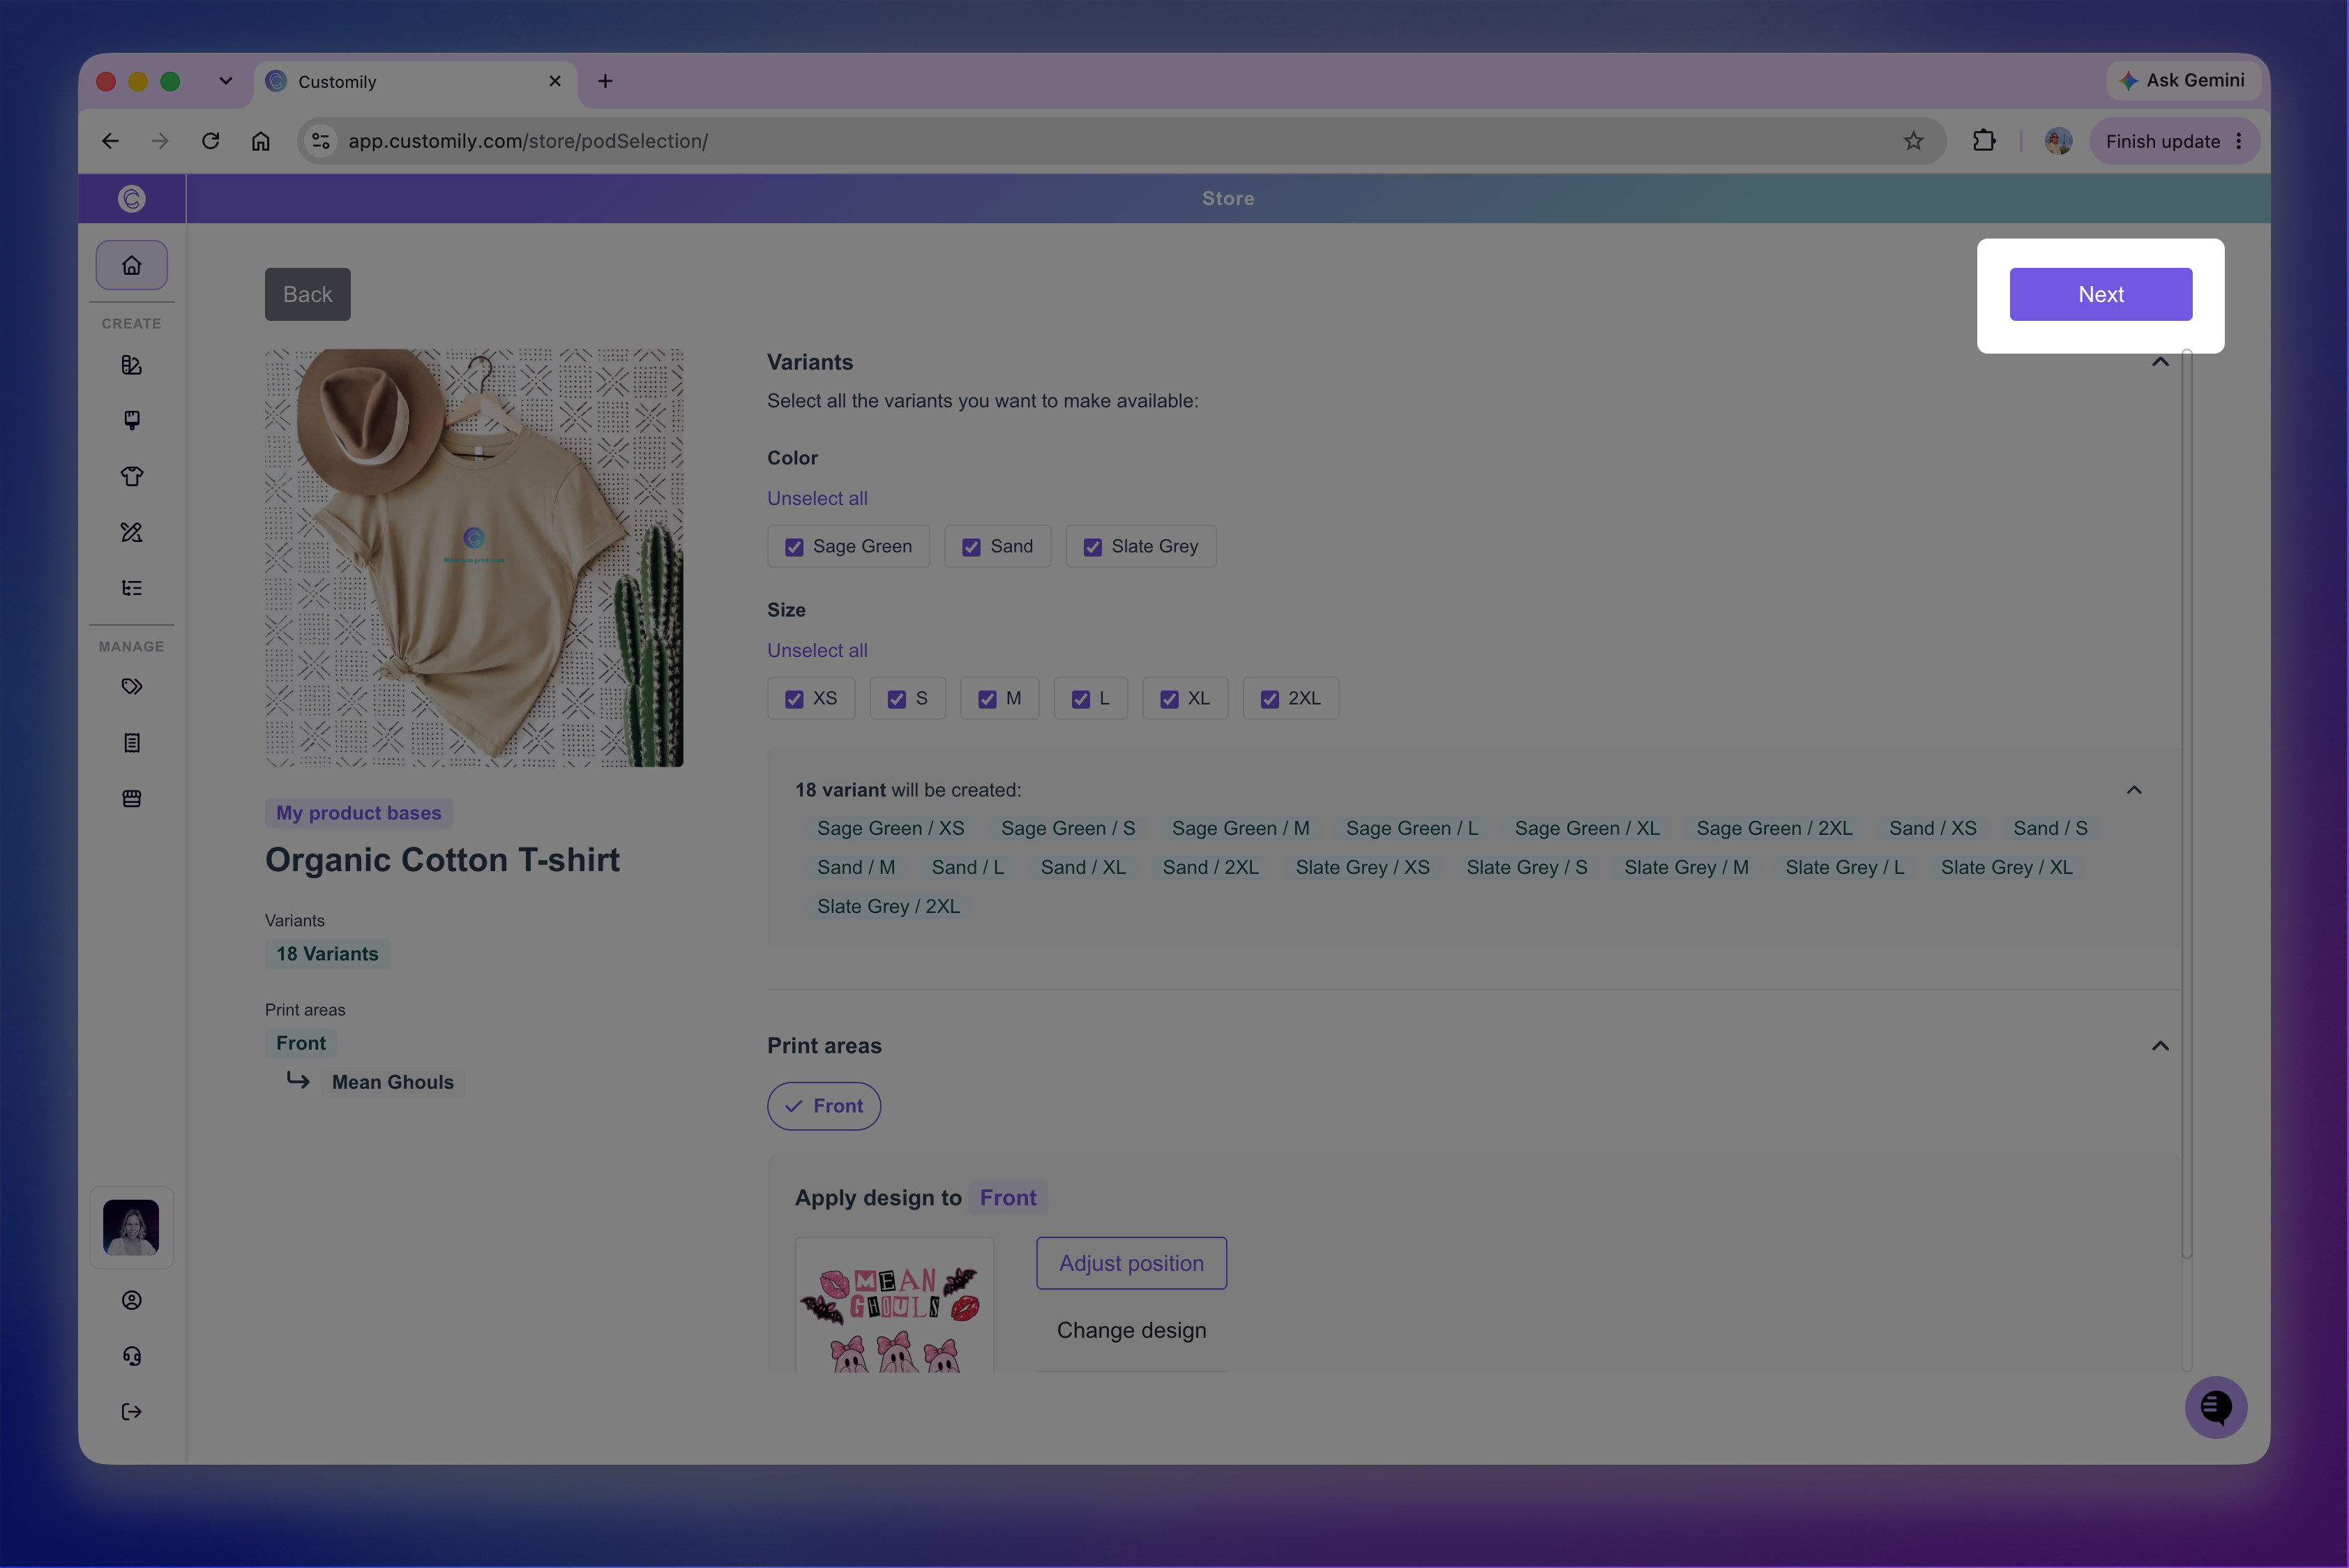
Once you’ve selected your variants and added your Designs, click Next.
If the store selection window appears, select the store or stores where you want to create the product and click OK.
Customily creates the product listing and automatically generates and connects its Template and Option Set, combining your chosen Design with the product information and print settings from your Product Base.
5. Preview and prepare your listing
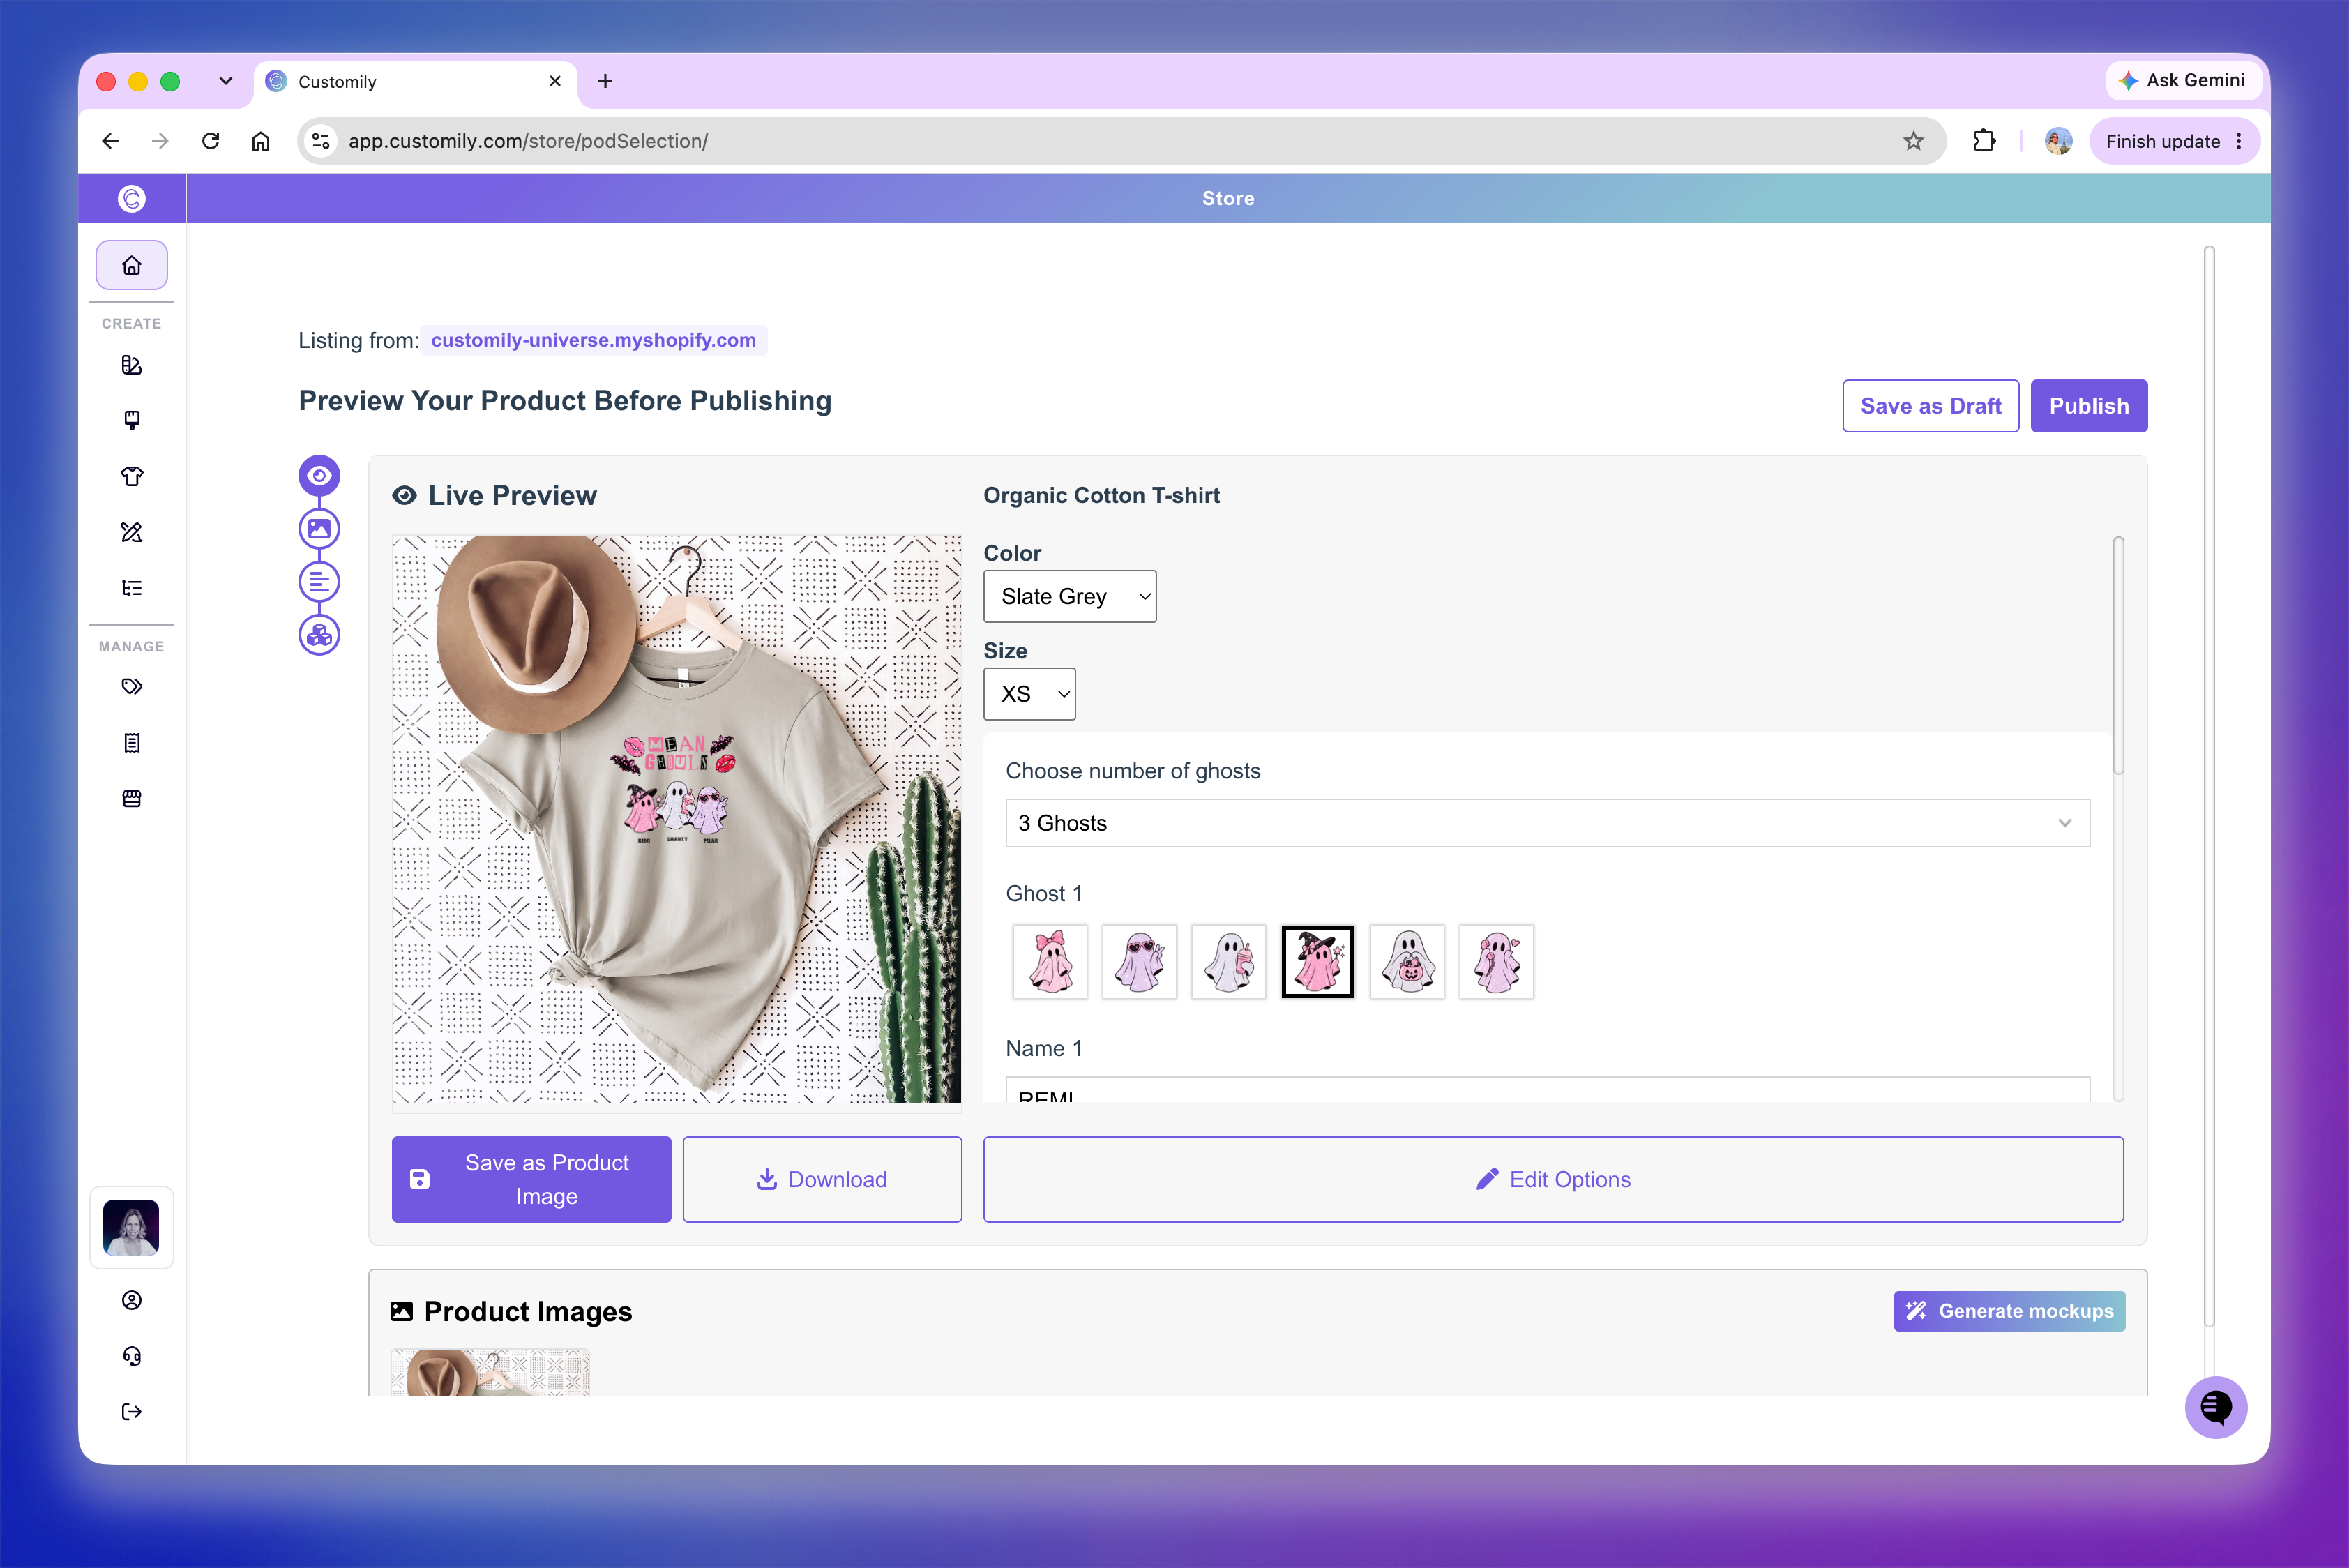
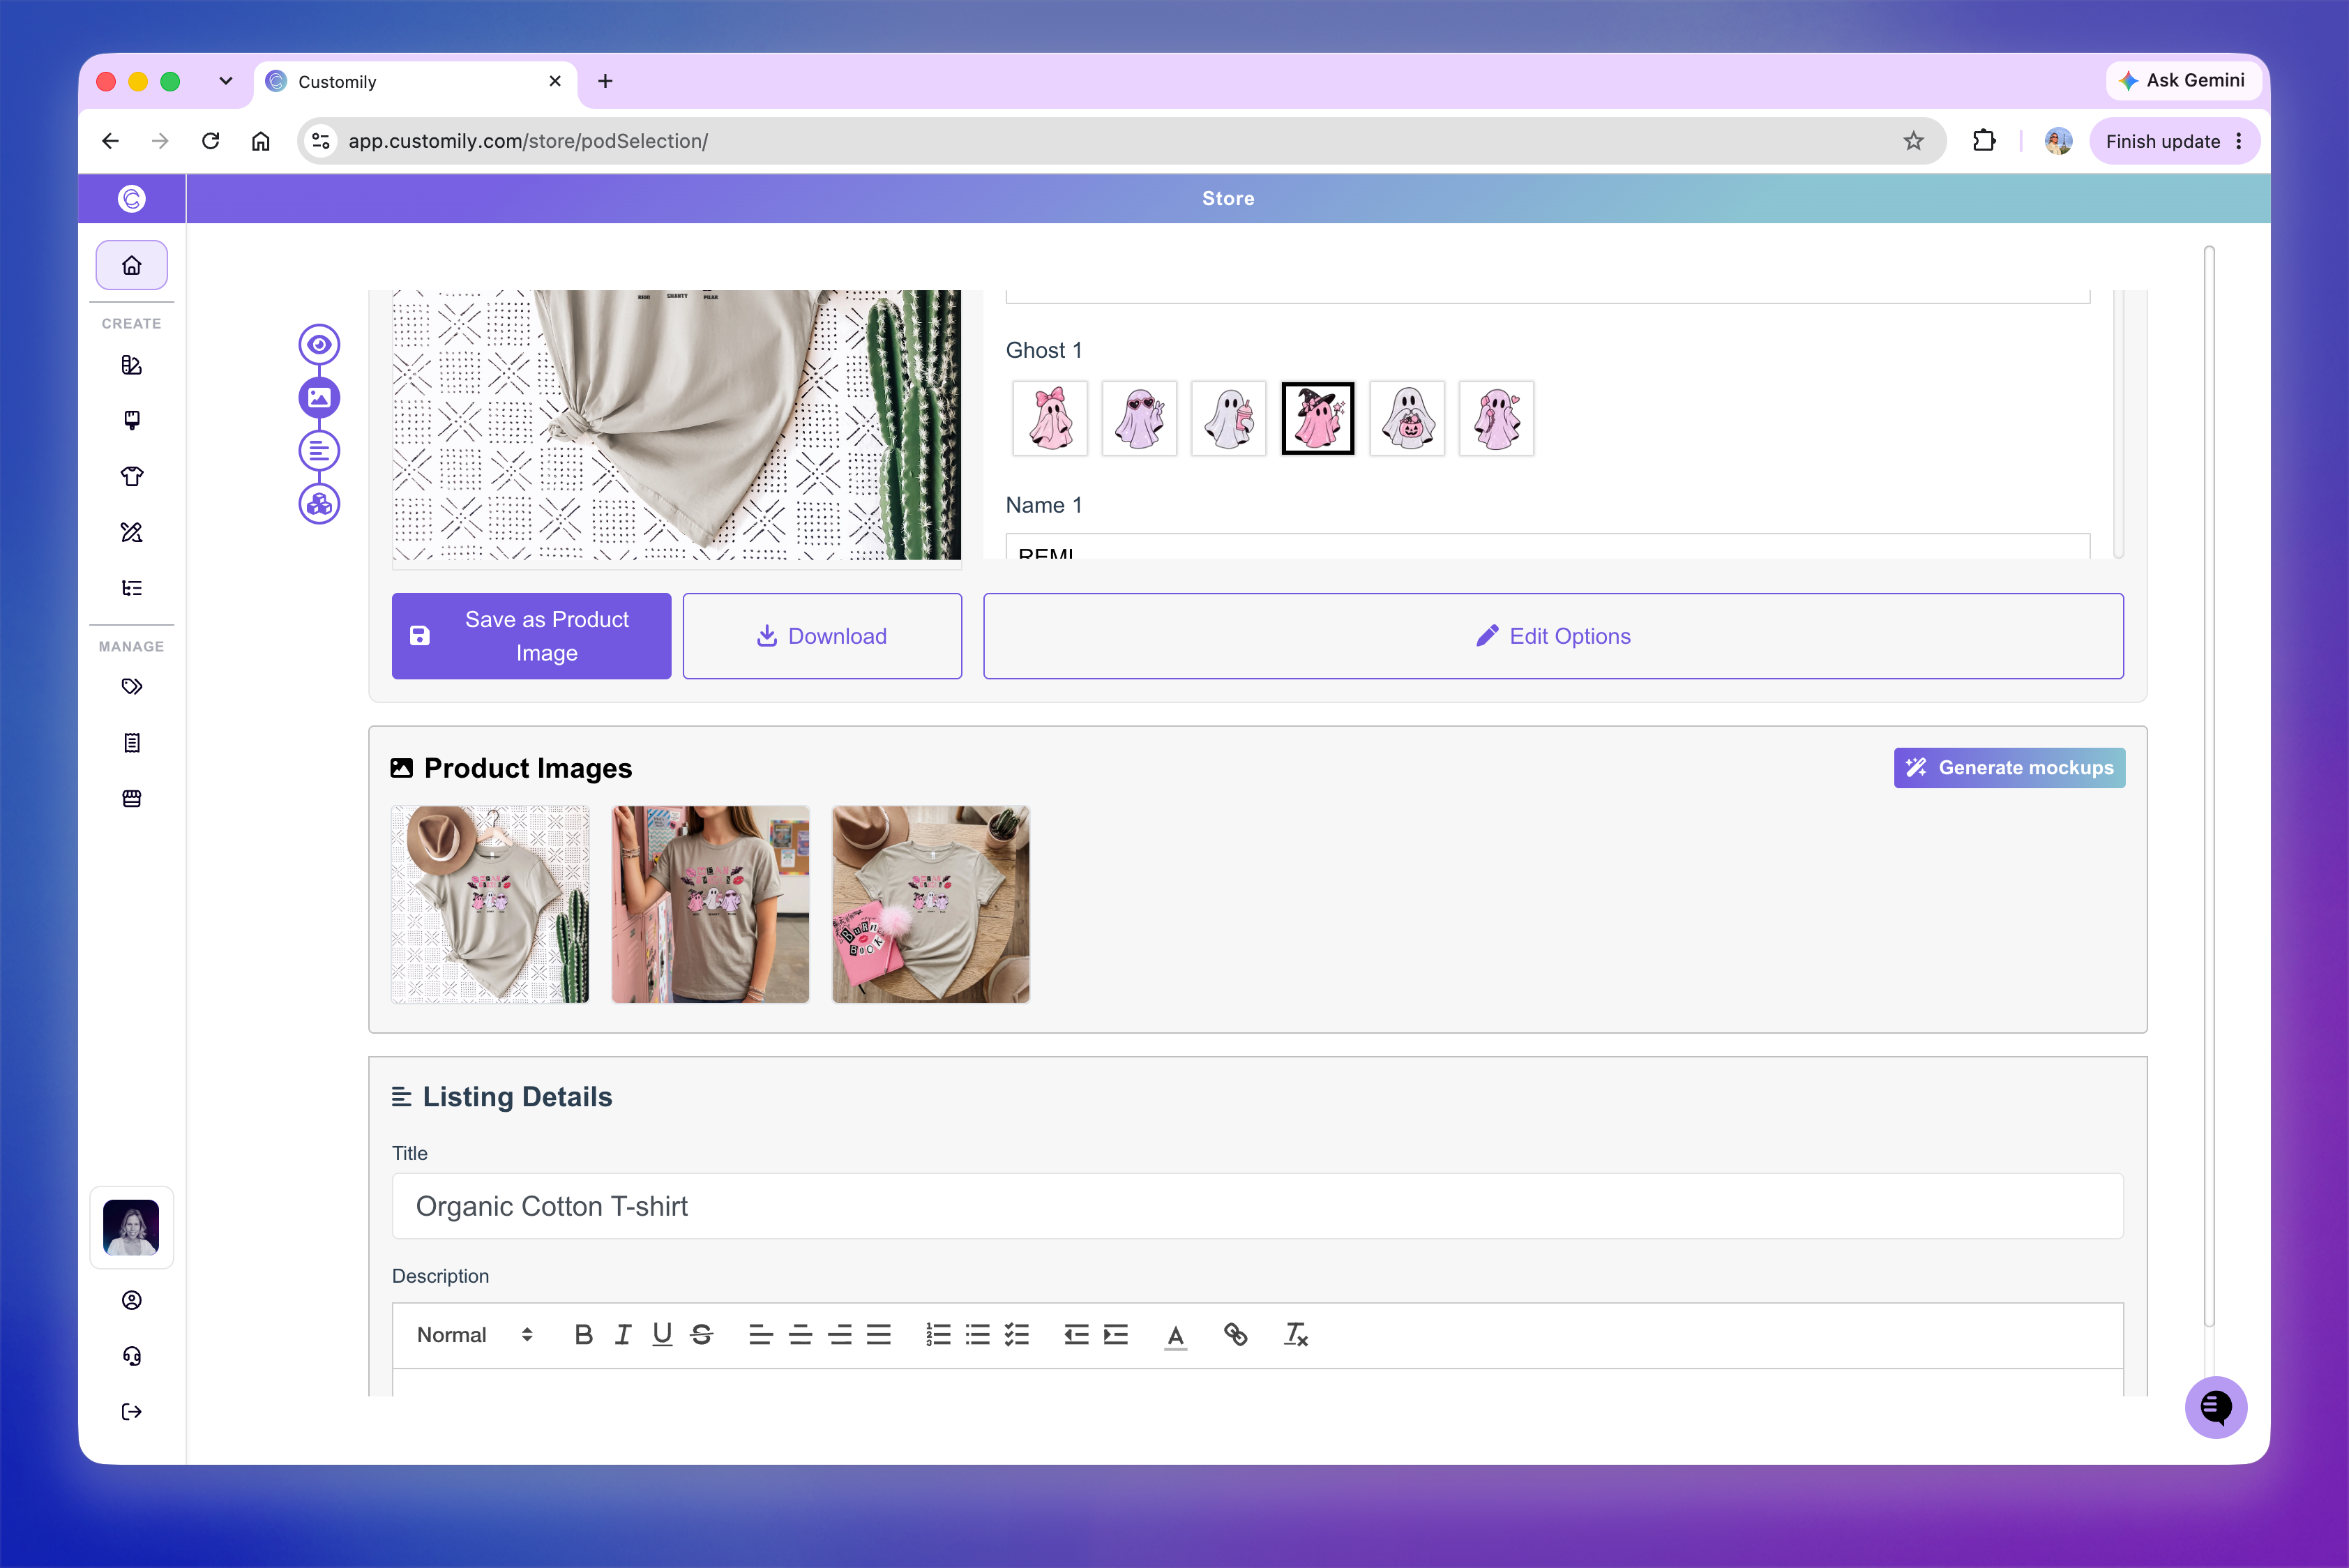
Once your product is created, you’ll see Preview Your Product Before Publishing. Here you can test the personalization and edit your product images, listing details, and prices before publishing.
Your product is saved as a draft at this stage, so it isn’t available to shoppers yet.
Test the personalization
Use Live Preview to try the personalization options and switch between product variants. Check that the preview updates as expected.
To adjust the personalization options, click Edit Options.
Prepare product images
You can personalize the preview and click Save as Product Image to add that image to your listing. Use Download to save a copy to your computer.
Under Product Images, you can also use Generate mockups to create additional images for your listing.
Review listing details and prices
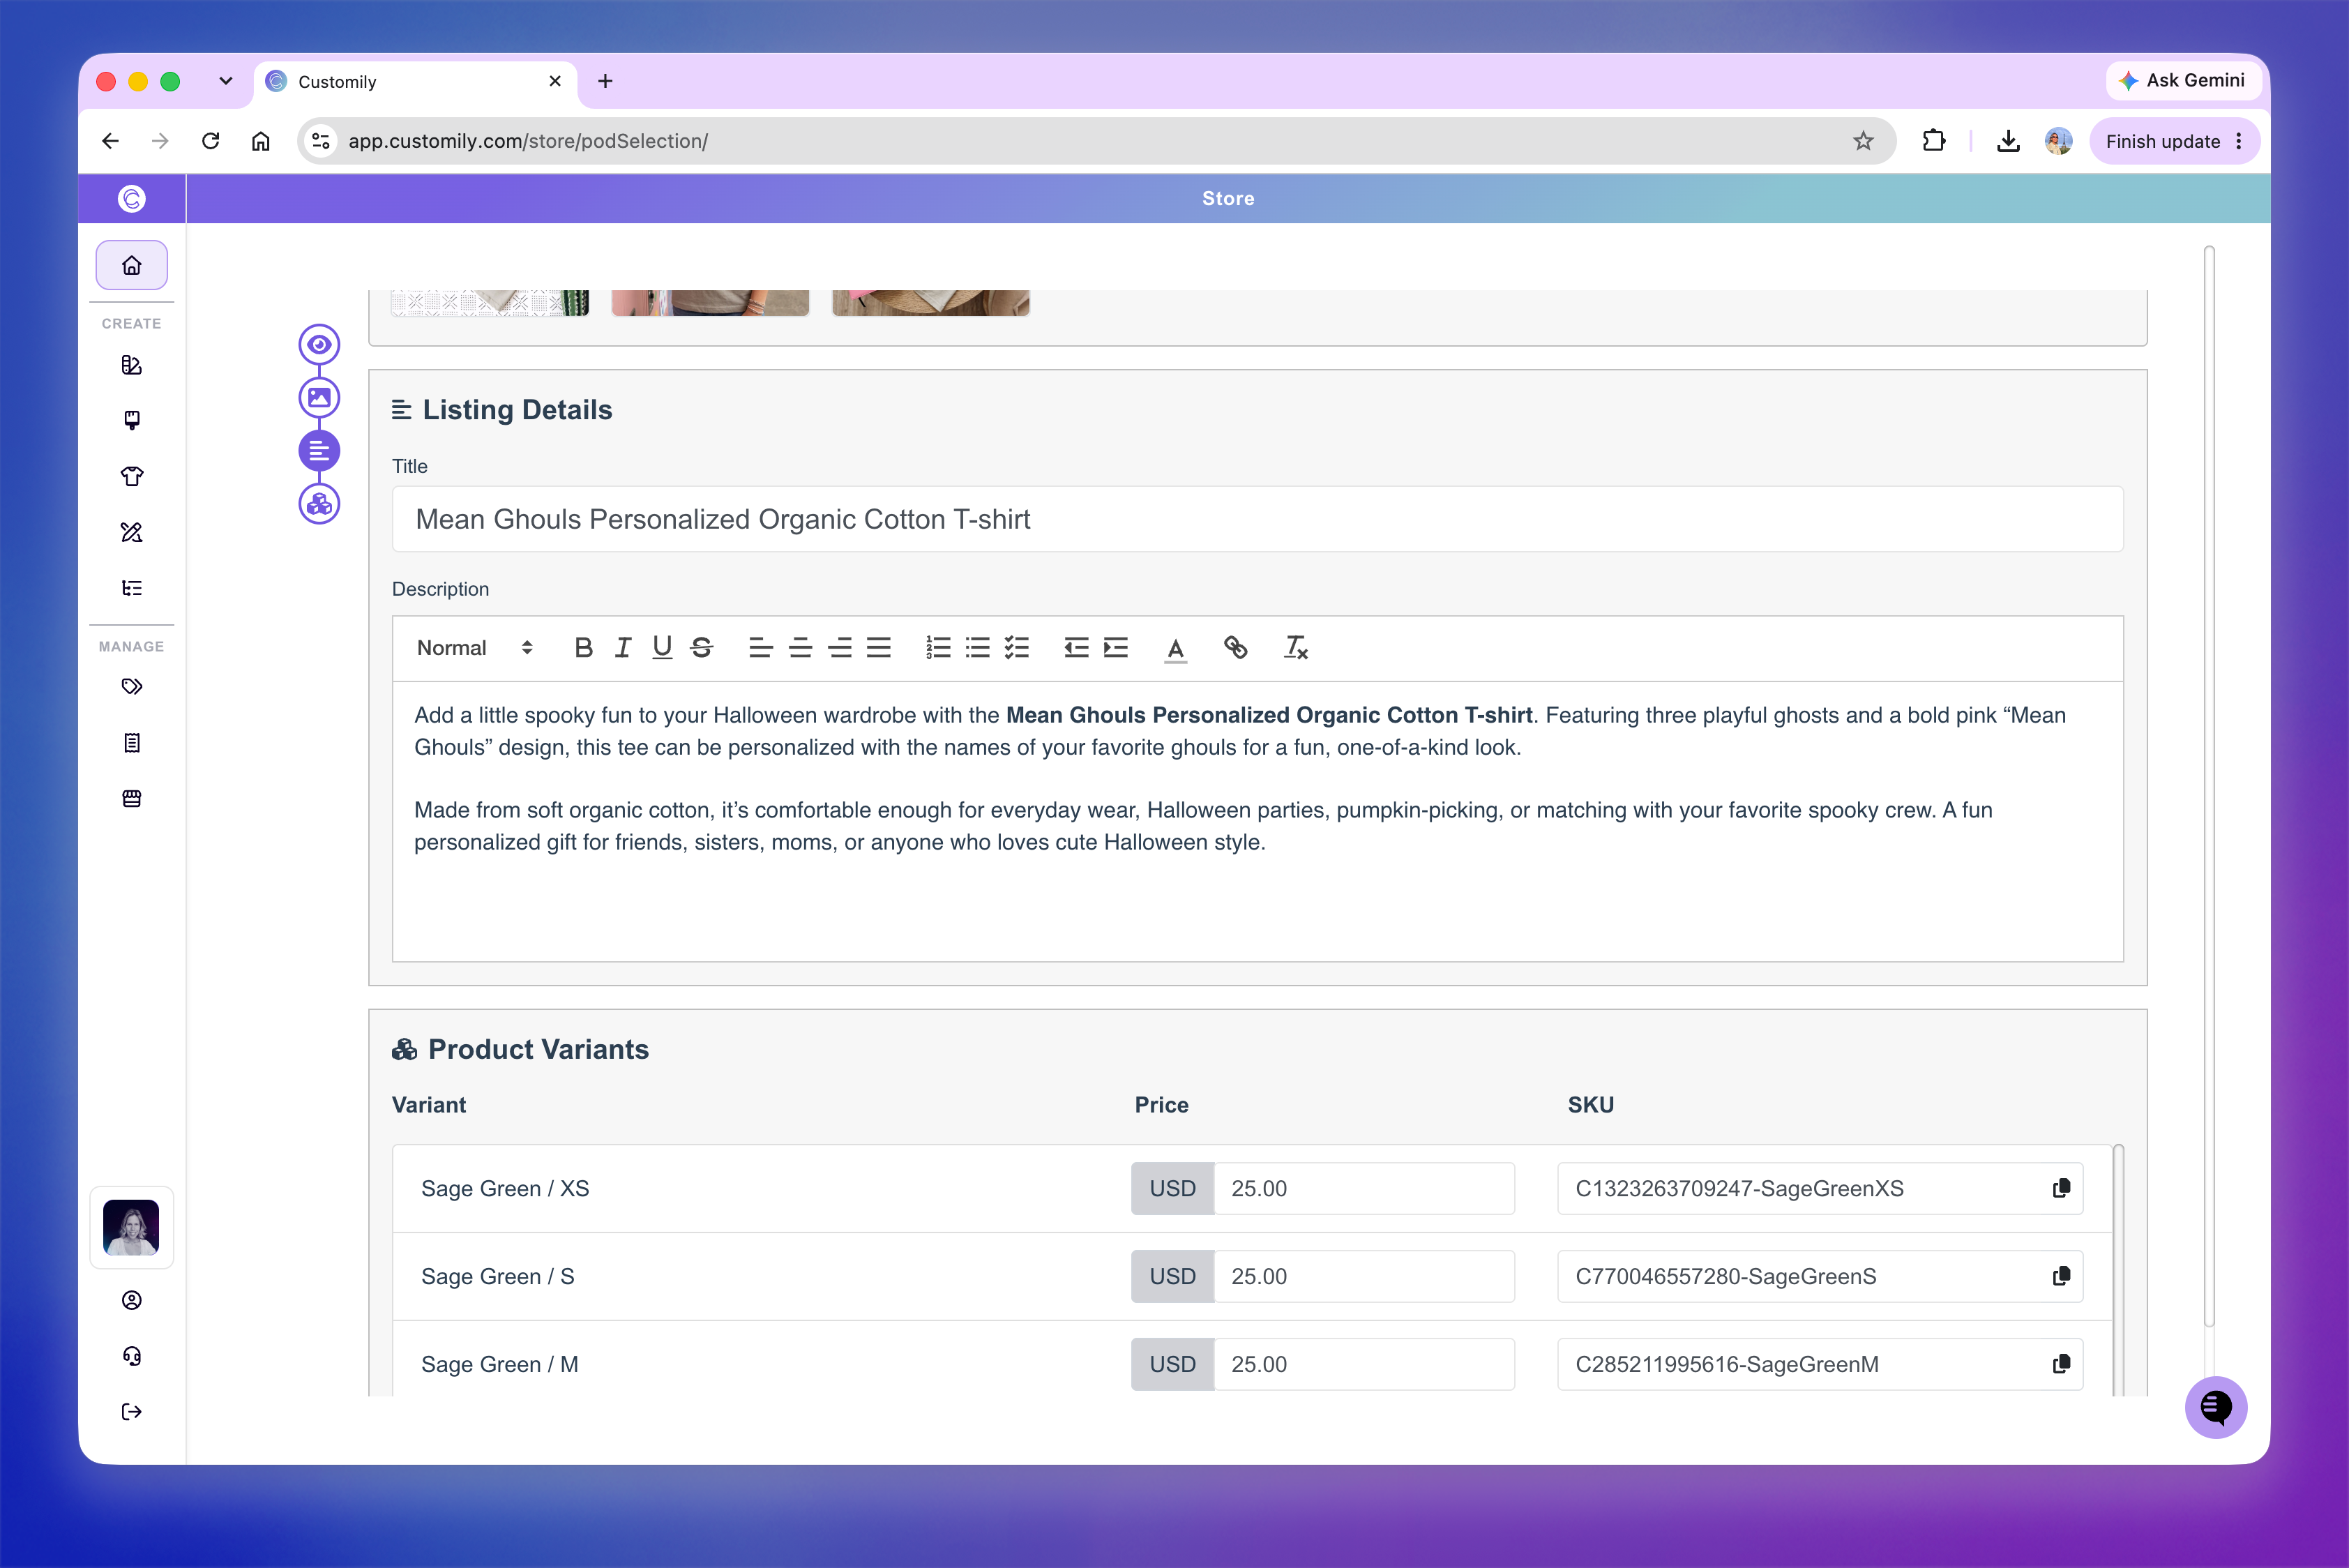
Under Listing Details, review and edit the product’s Title and Description.
Under Product Variants, review the Price and SKU for each variant. Set the selling prices you want to use before publishing.
6. Publish or keep as a draft
When you’re ready, choose:
Publish — Publish the product to your store. Its storefront page opens in a new tab, while your current tab displays the product’s configuration in Customily.
Save as Draft — Keep the product as a draft so you can continue preparing it before publishing.
You can find the product under Products in Customily to review or adjust its configuration later. See 📄 Manage a product in Customilyfor more information.