Using My Designs
Last updated: April 30, 2026
Once you’ve created your own designs in Customily — whether from scratch or by modifying an existing one — you can use them to create and publish personalized products for your store.
This article walks you through the process of applying a design from My Designs to any product base, including your own product bases or those from print-on-demand providers.
Why Use a My Design?
Using your own designs gives you full creative control. You can tailor every element of the design to match your brand, your product, and your customers. It’s perfect for:
Personalization ideas that are unique to your store
Offering designs that aren’t available in the Customily gallery
Creating designs for different occasions or audiences using your custom artwork
How to Apply a My Design
My Designs are used by combining them with a product base to create a personalized product listing. This automatically sets up your product with a complete template, personalization options, and preview — ready to publish.
It’s the best way to launch personalized products, especially if you want to reuse the same design across multiple products, or publish several themed products using the same layout.
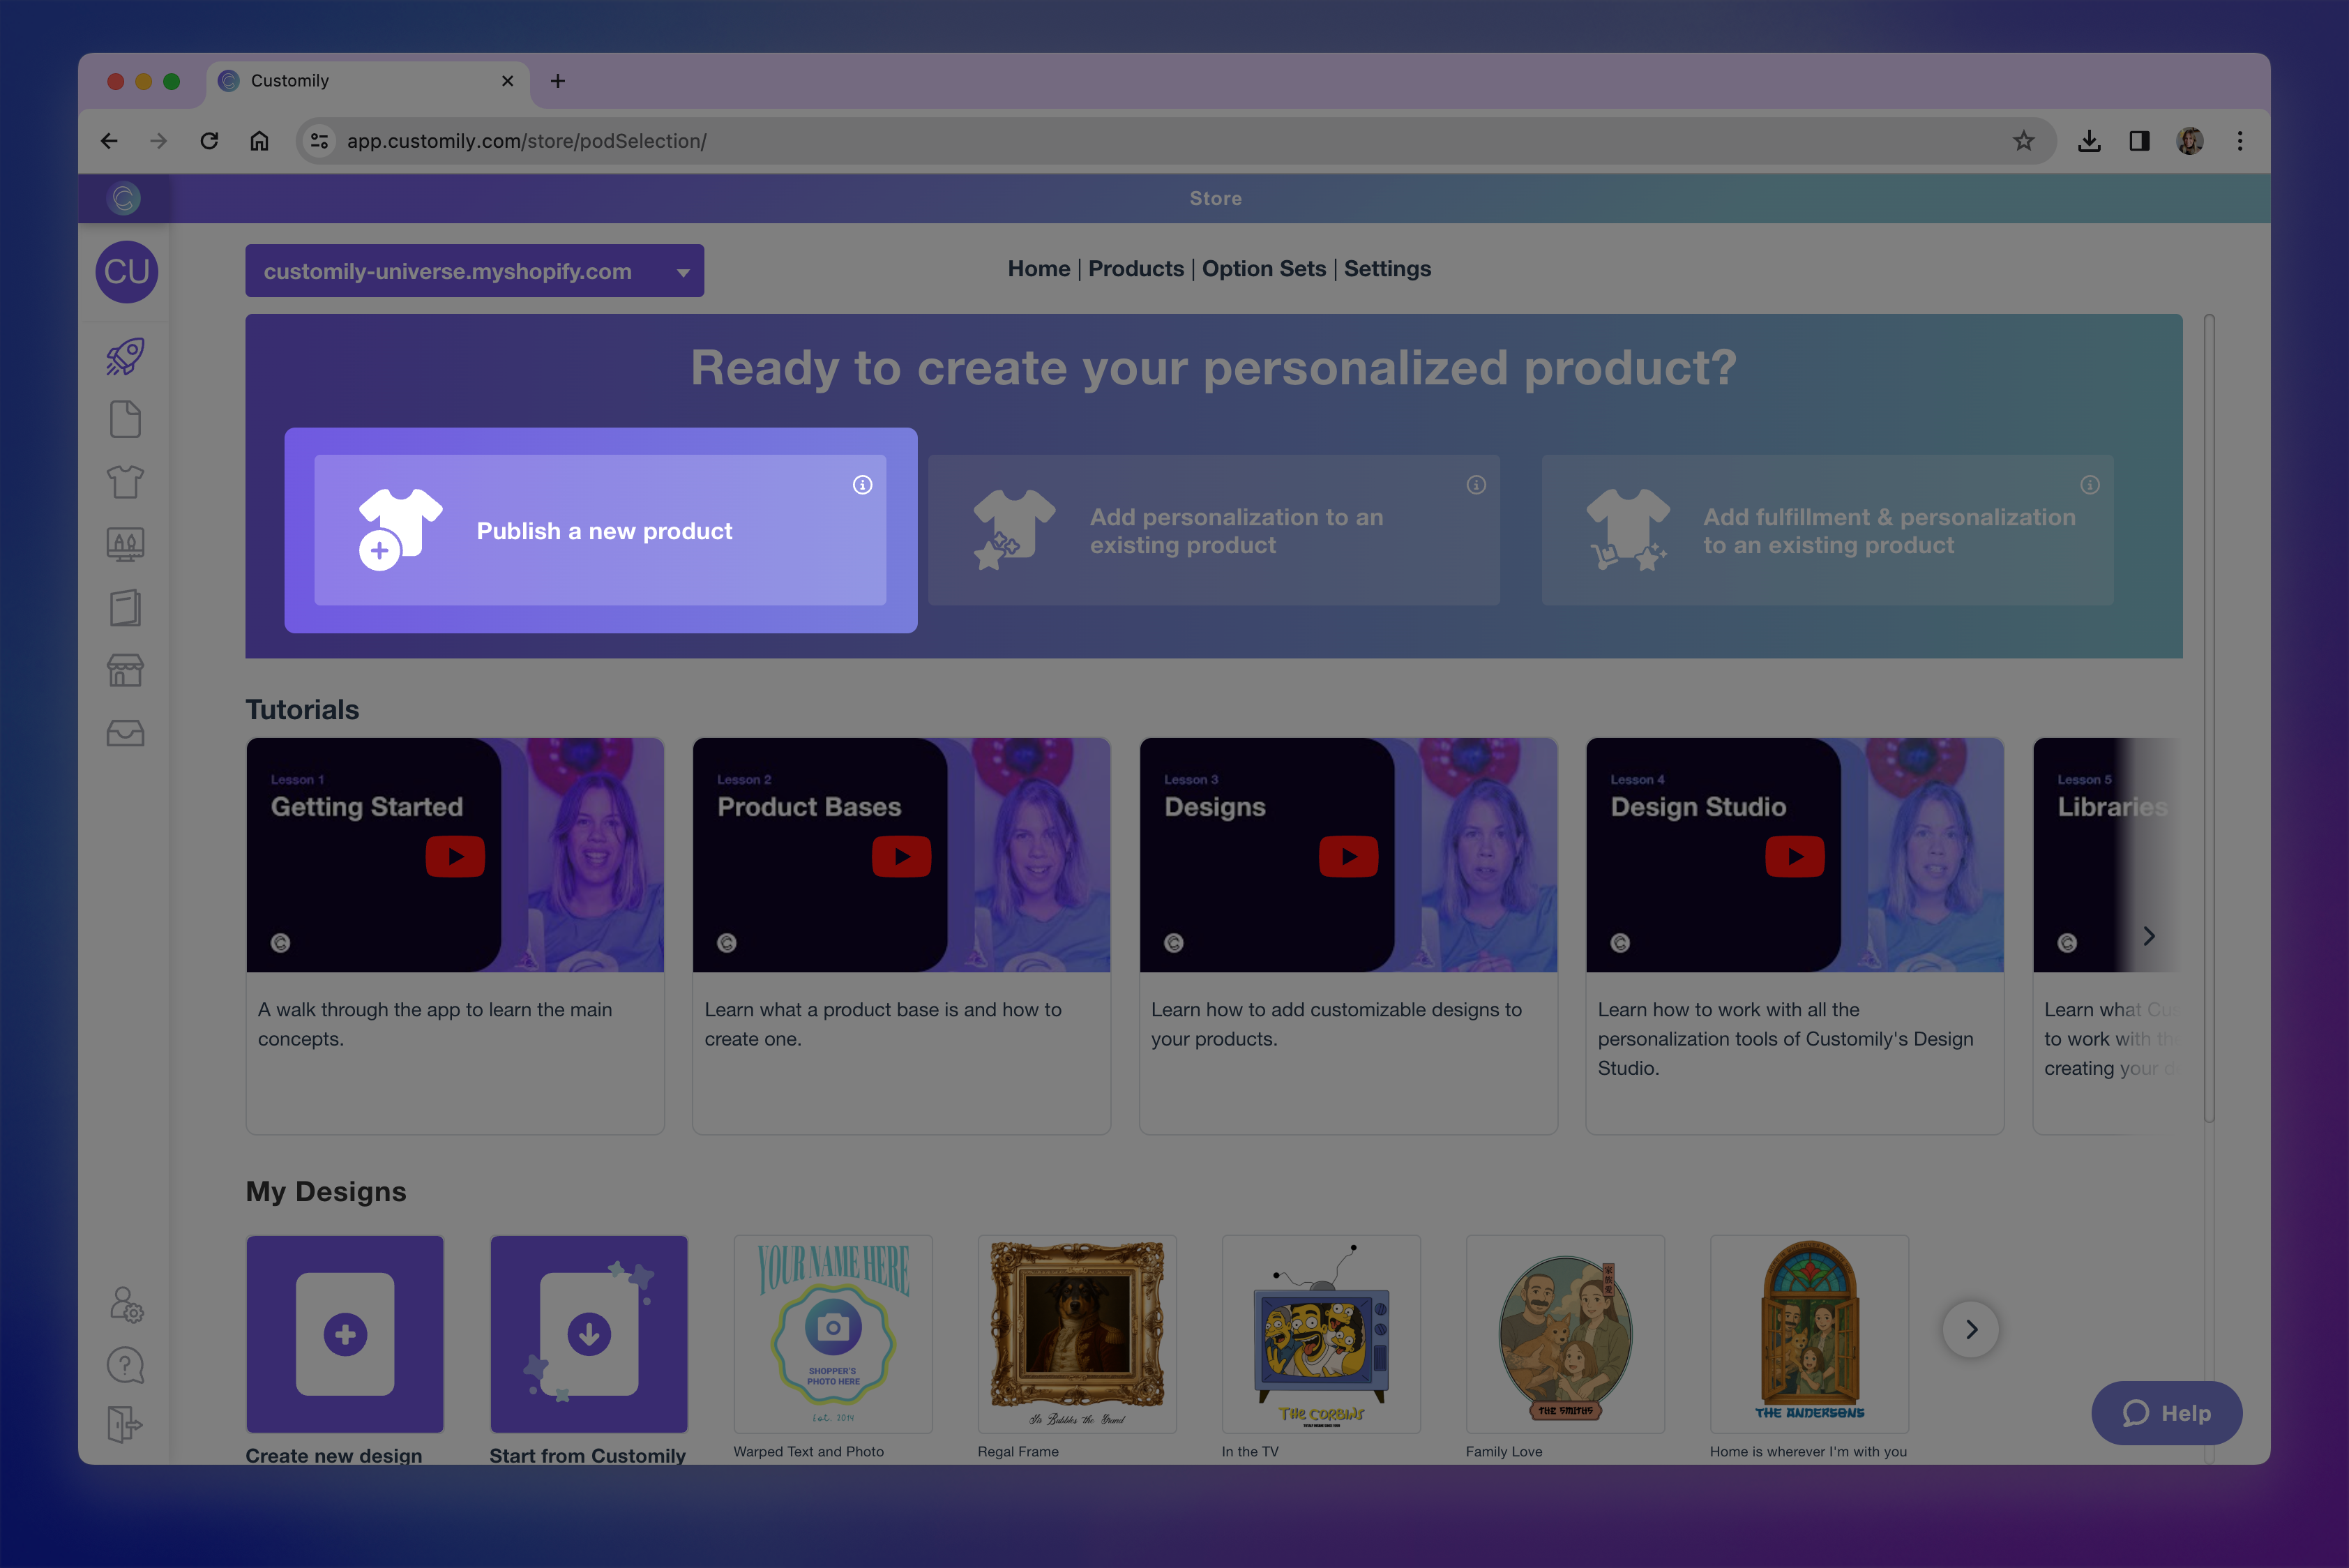
To publish a product using a My Design:
Go to the Start Menu and click Publish a New Product from your dashboard.
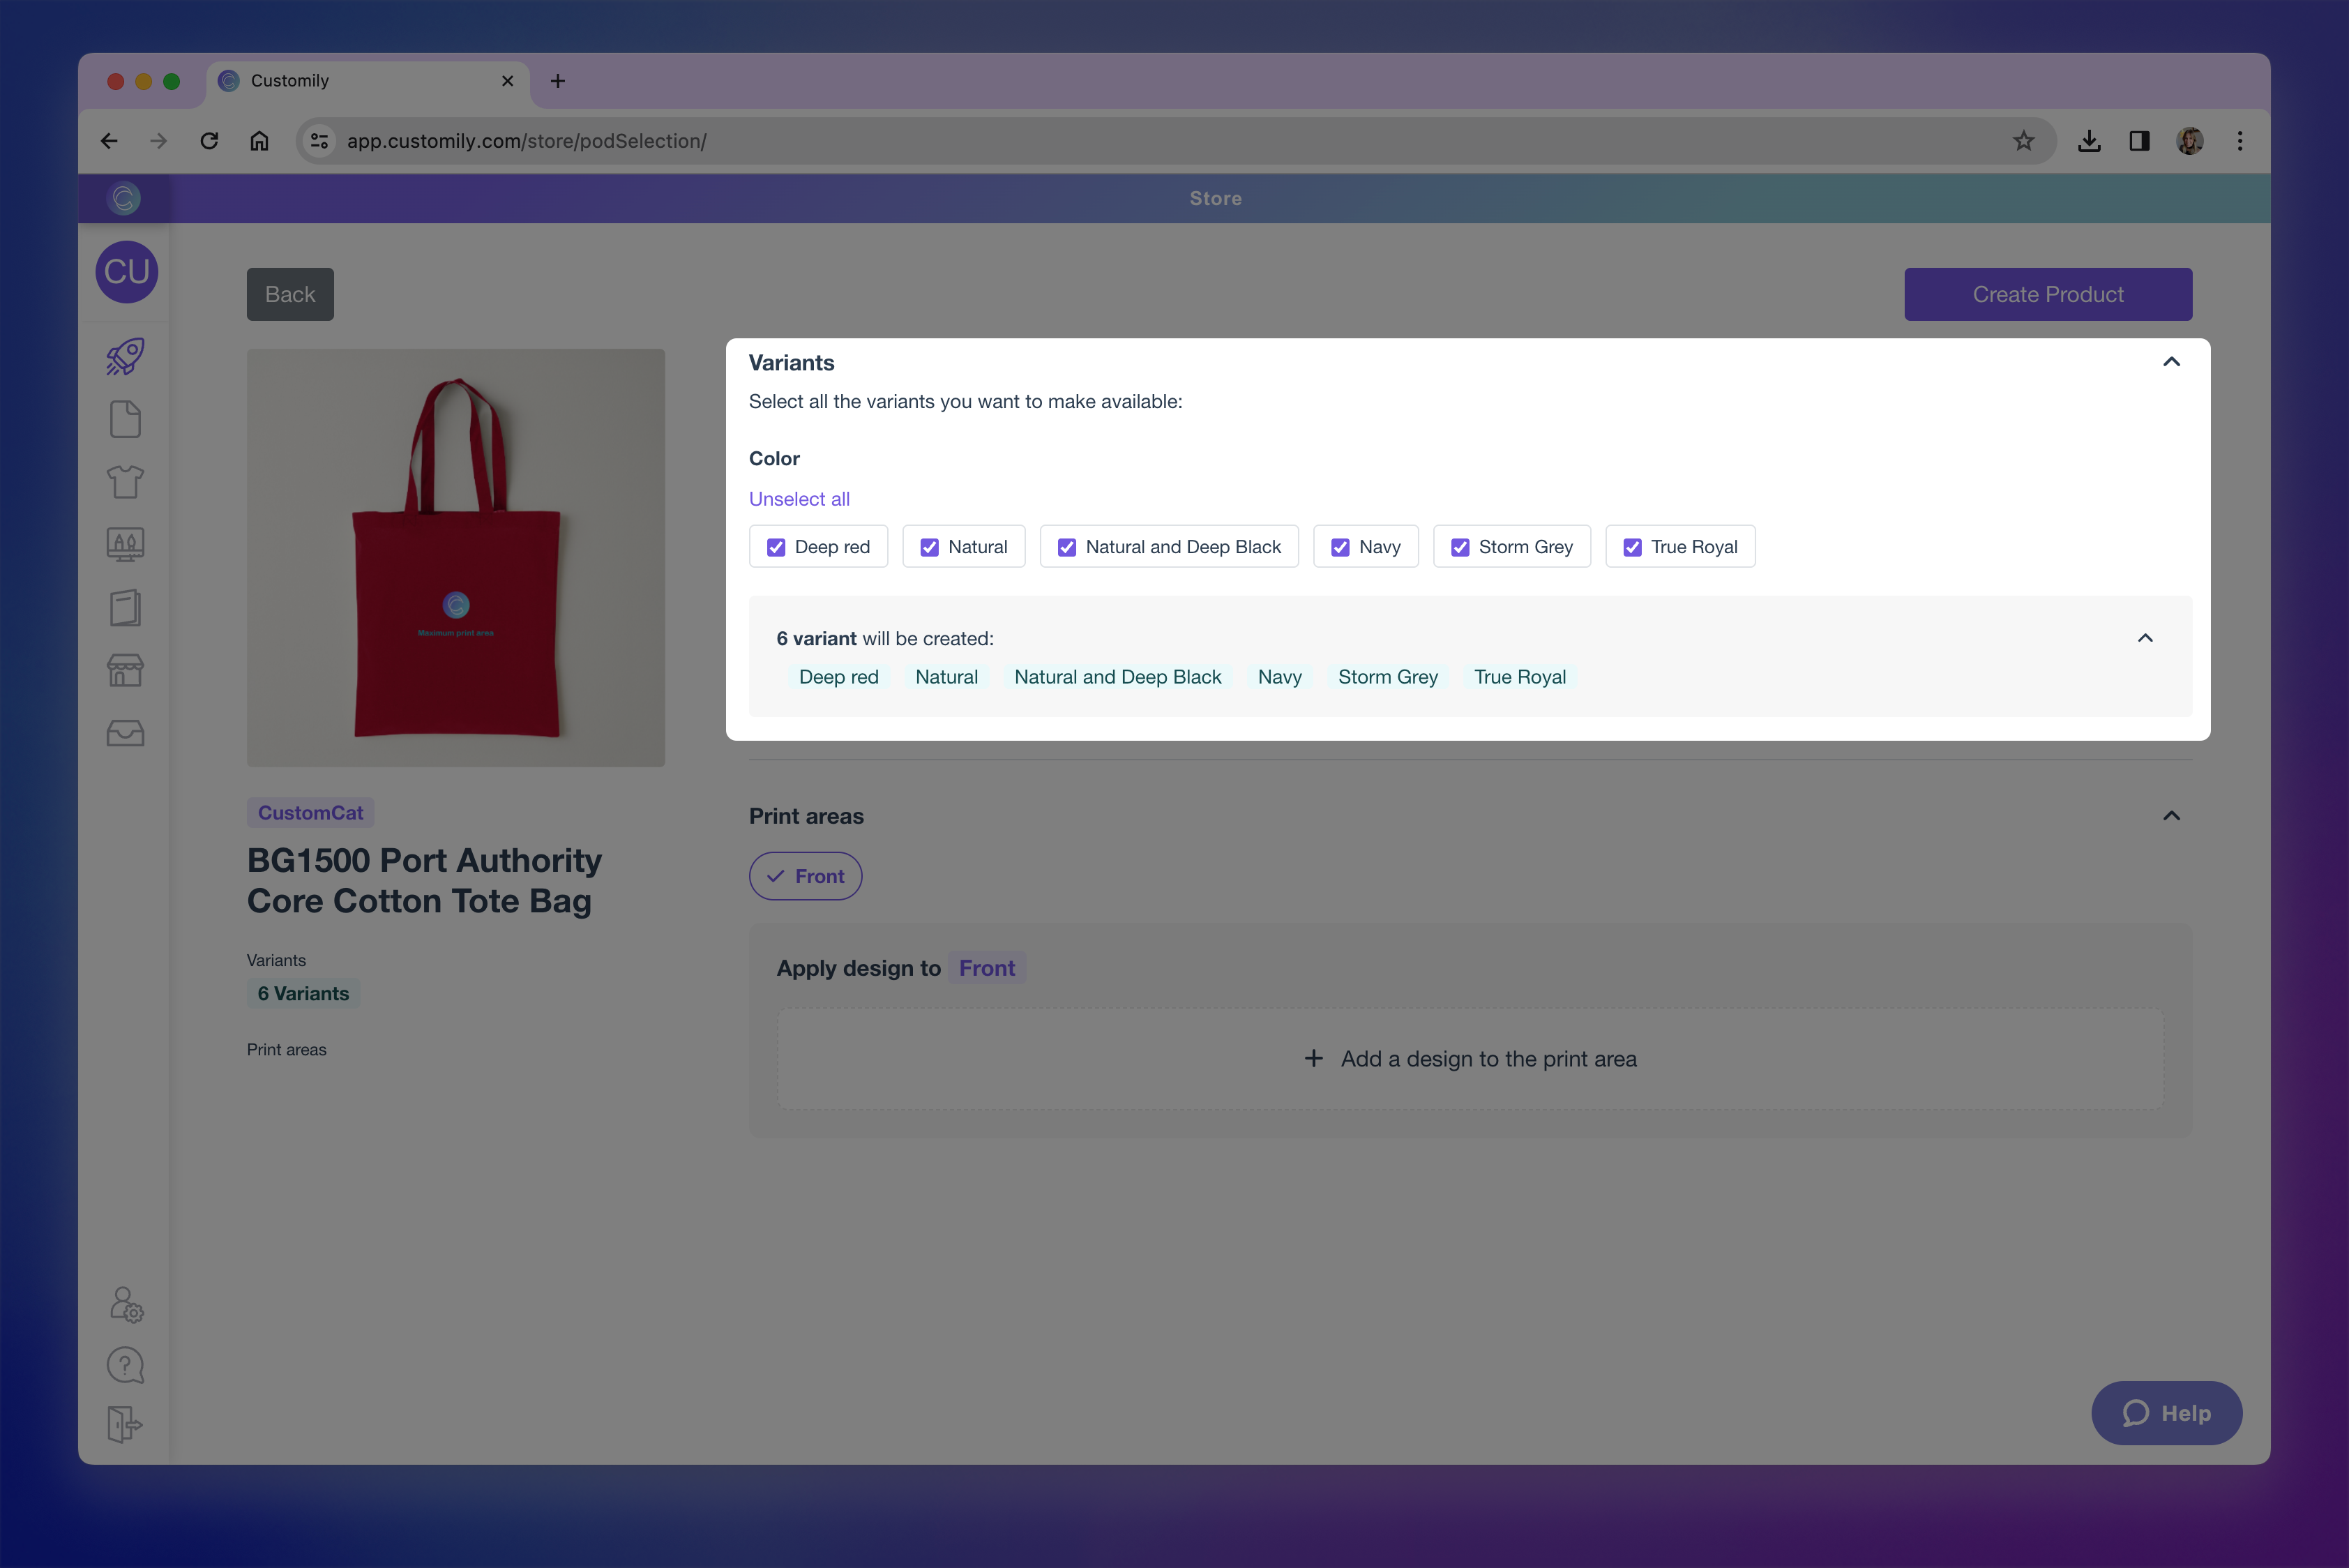
Choose your product base. It can be a POD product or one of your own product bases.

Select your preferred variants. Below your selection, you'll see a list of all the variants that will be created on your store.
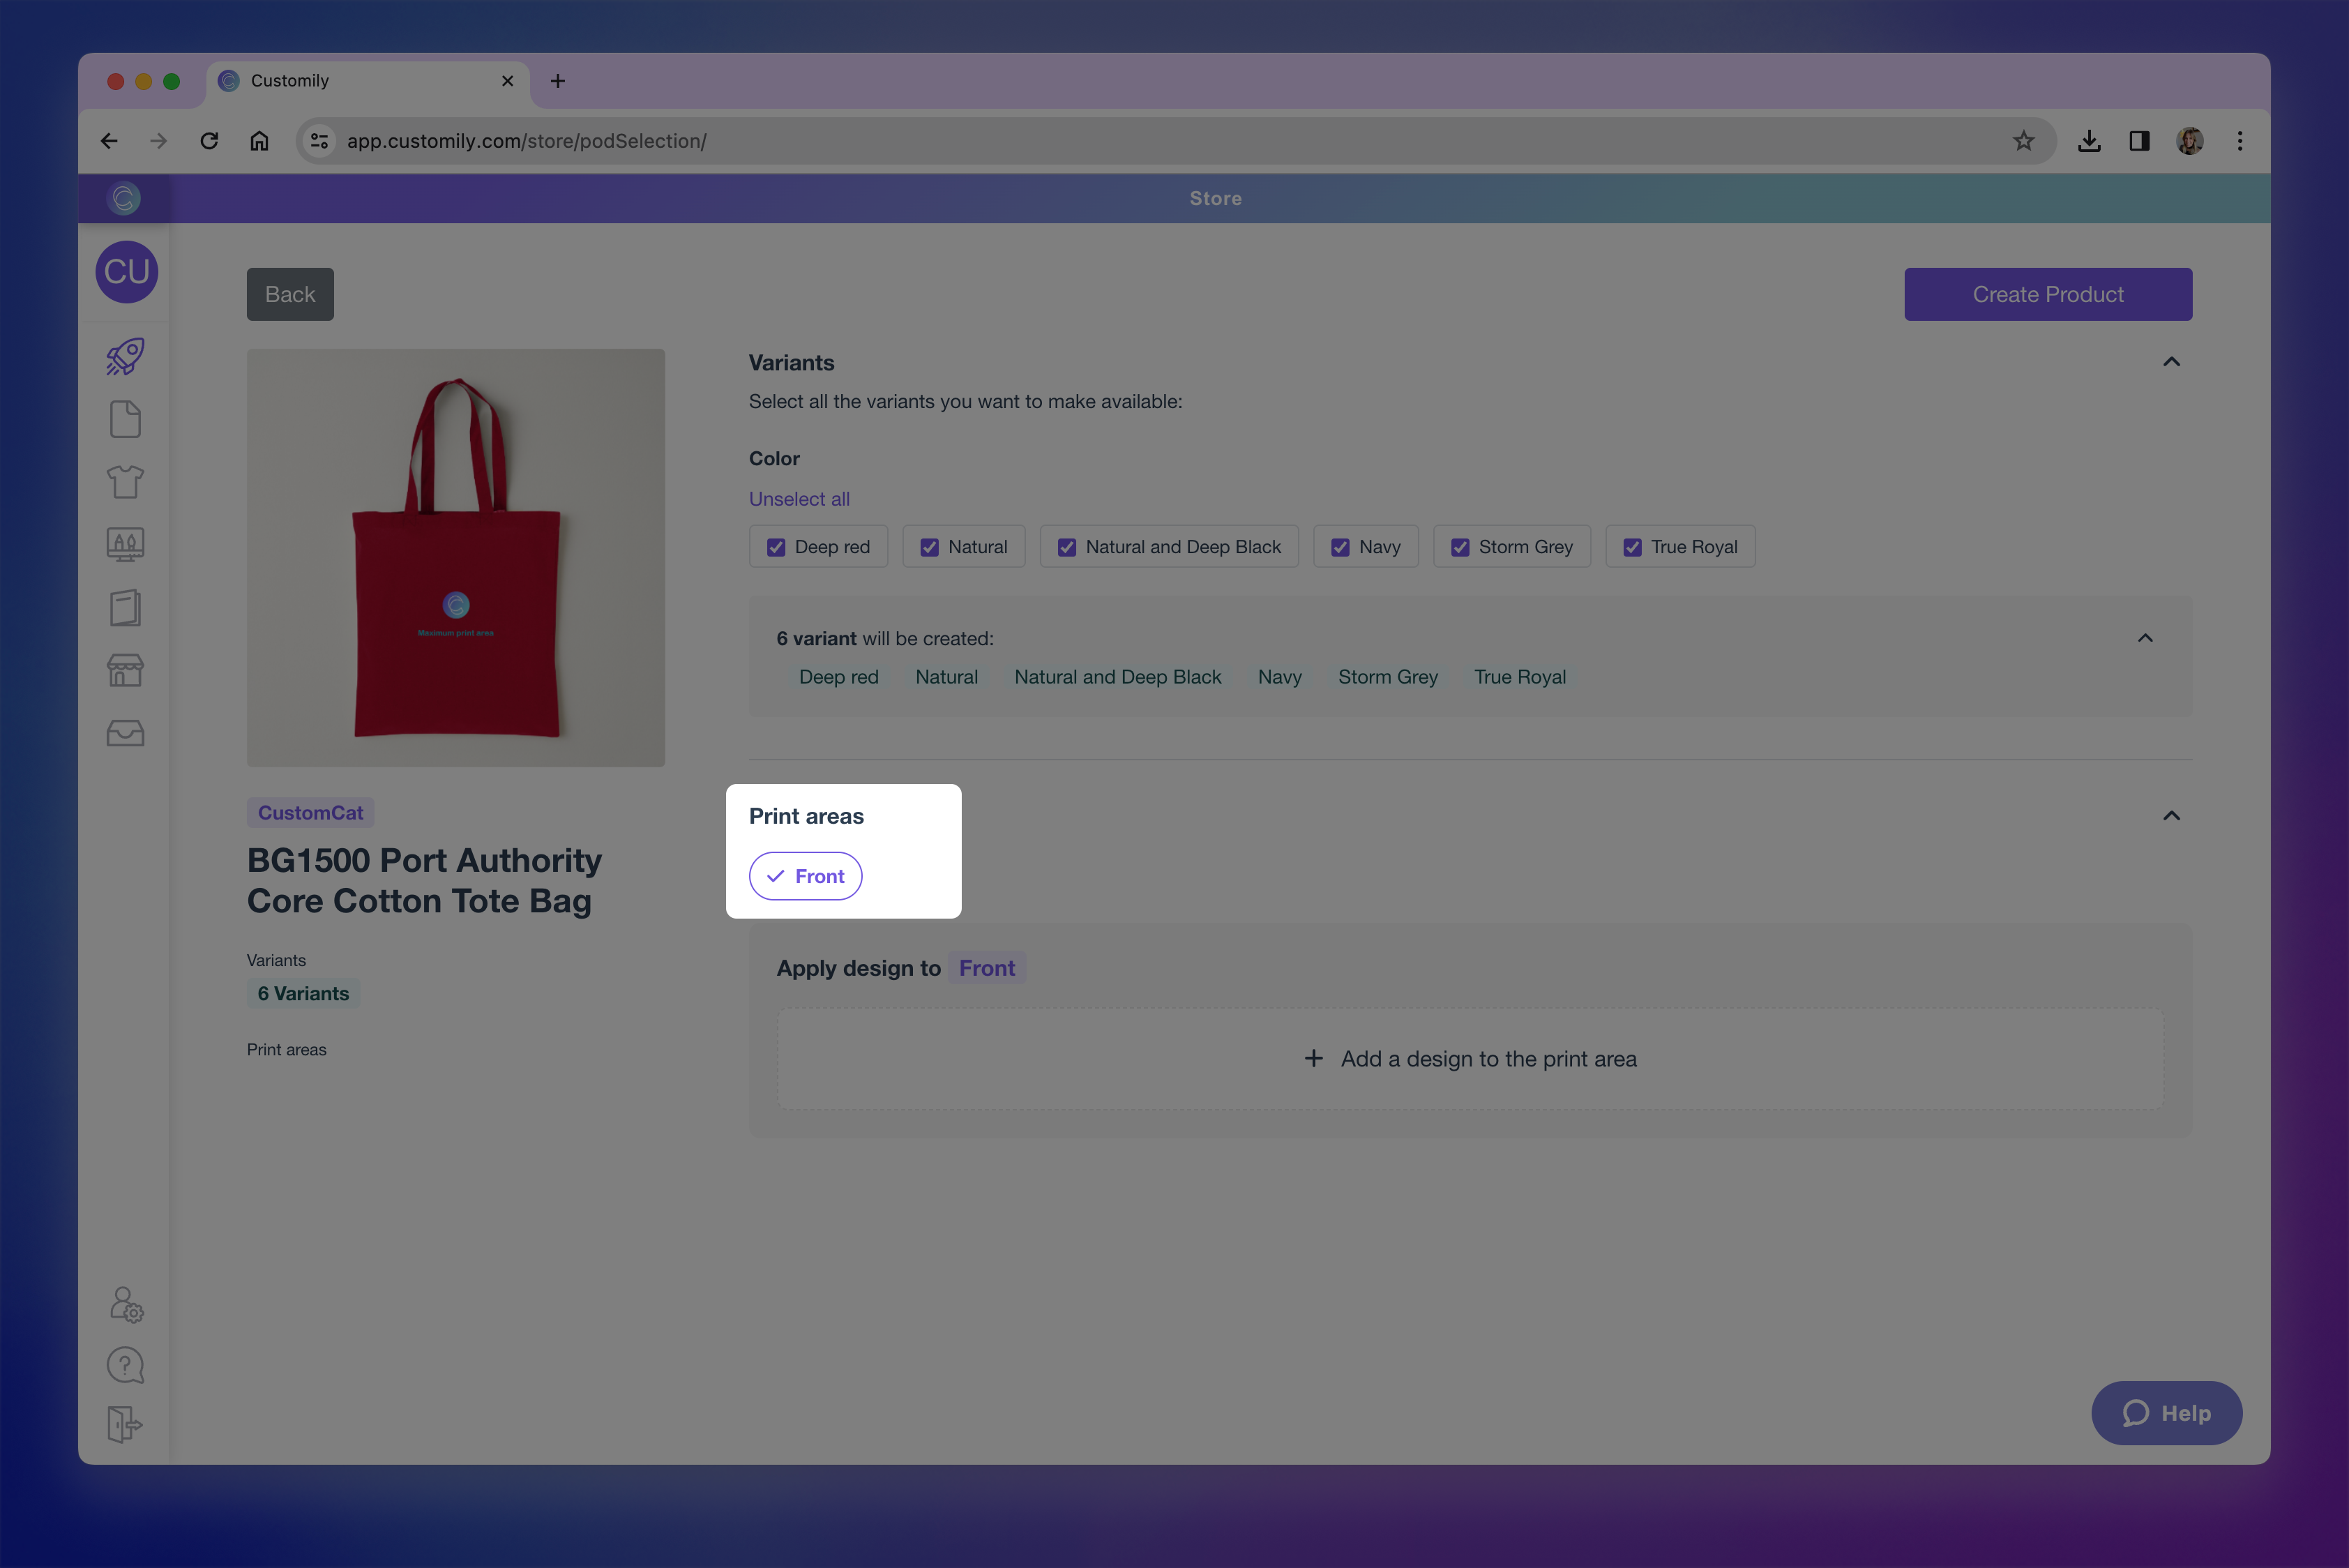
Choose the Print Areas where you'd like to apply a design. Depending on the product you can choose one or multiple print areas. You'll be able to choose a design for each print area.
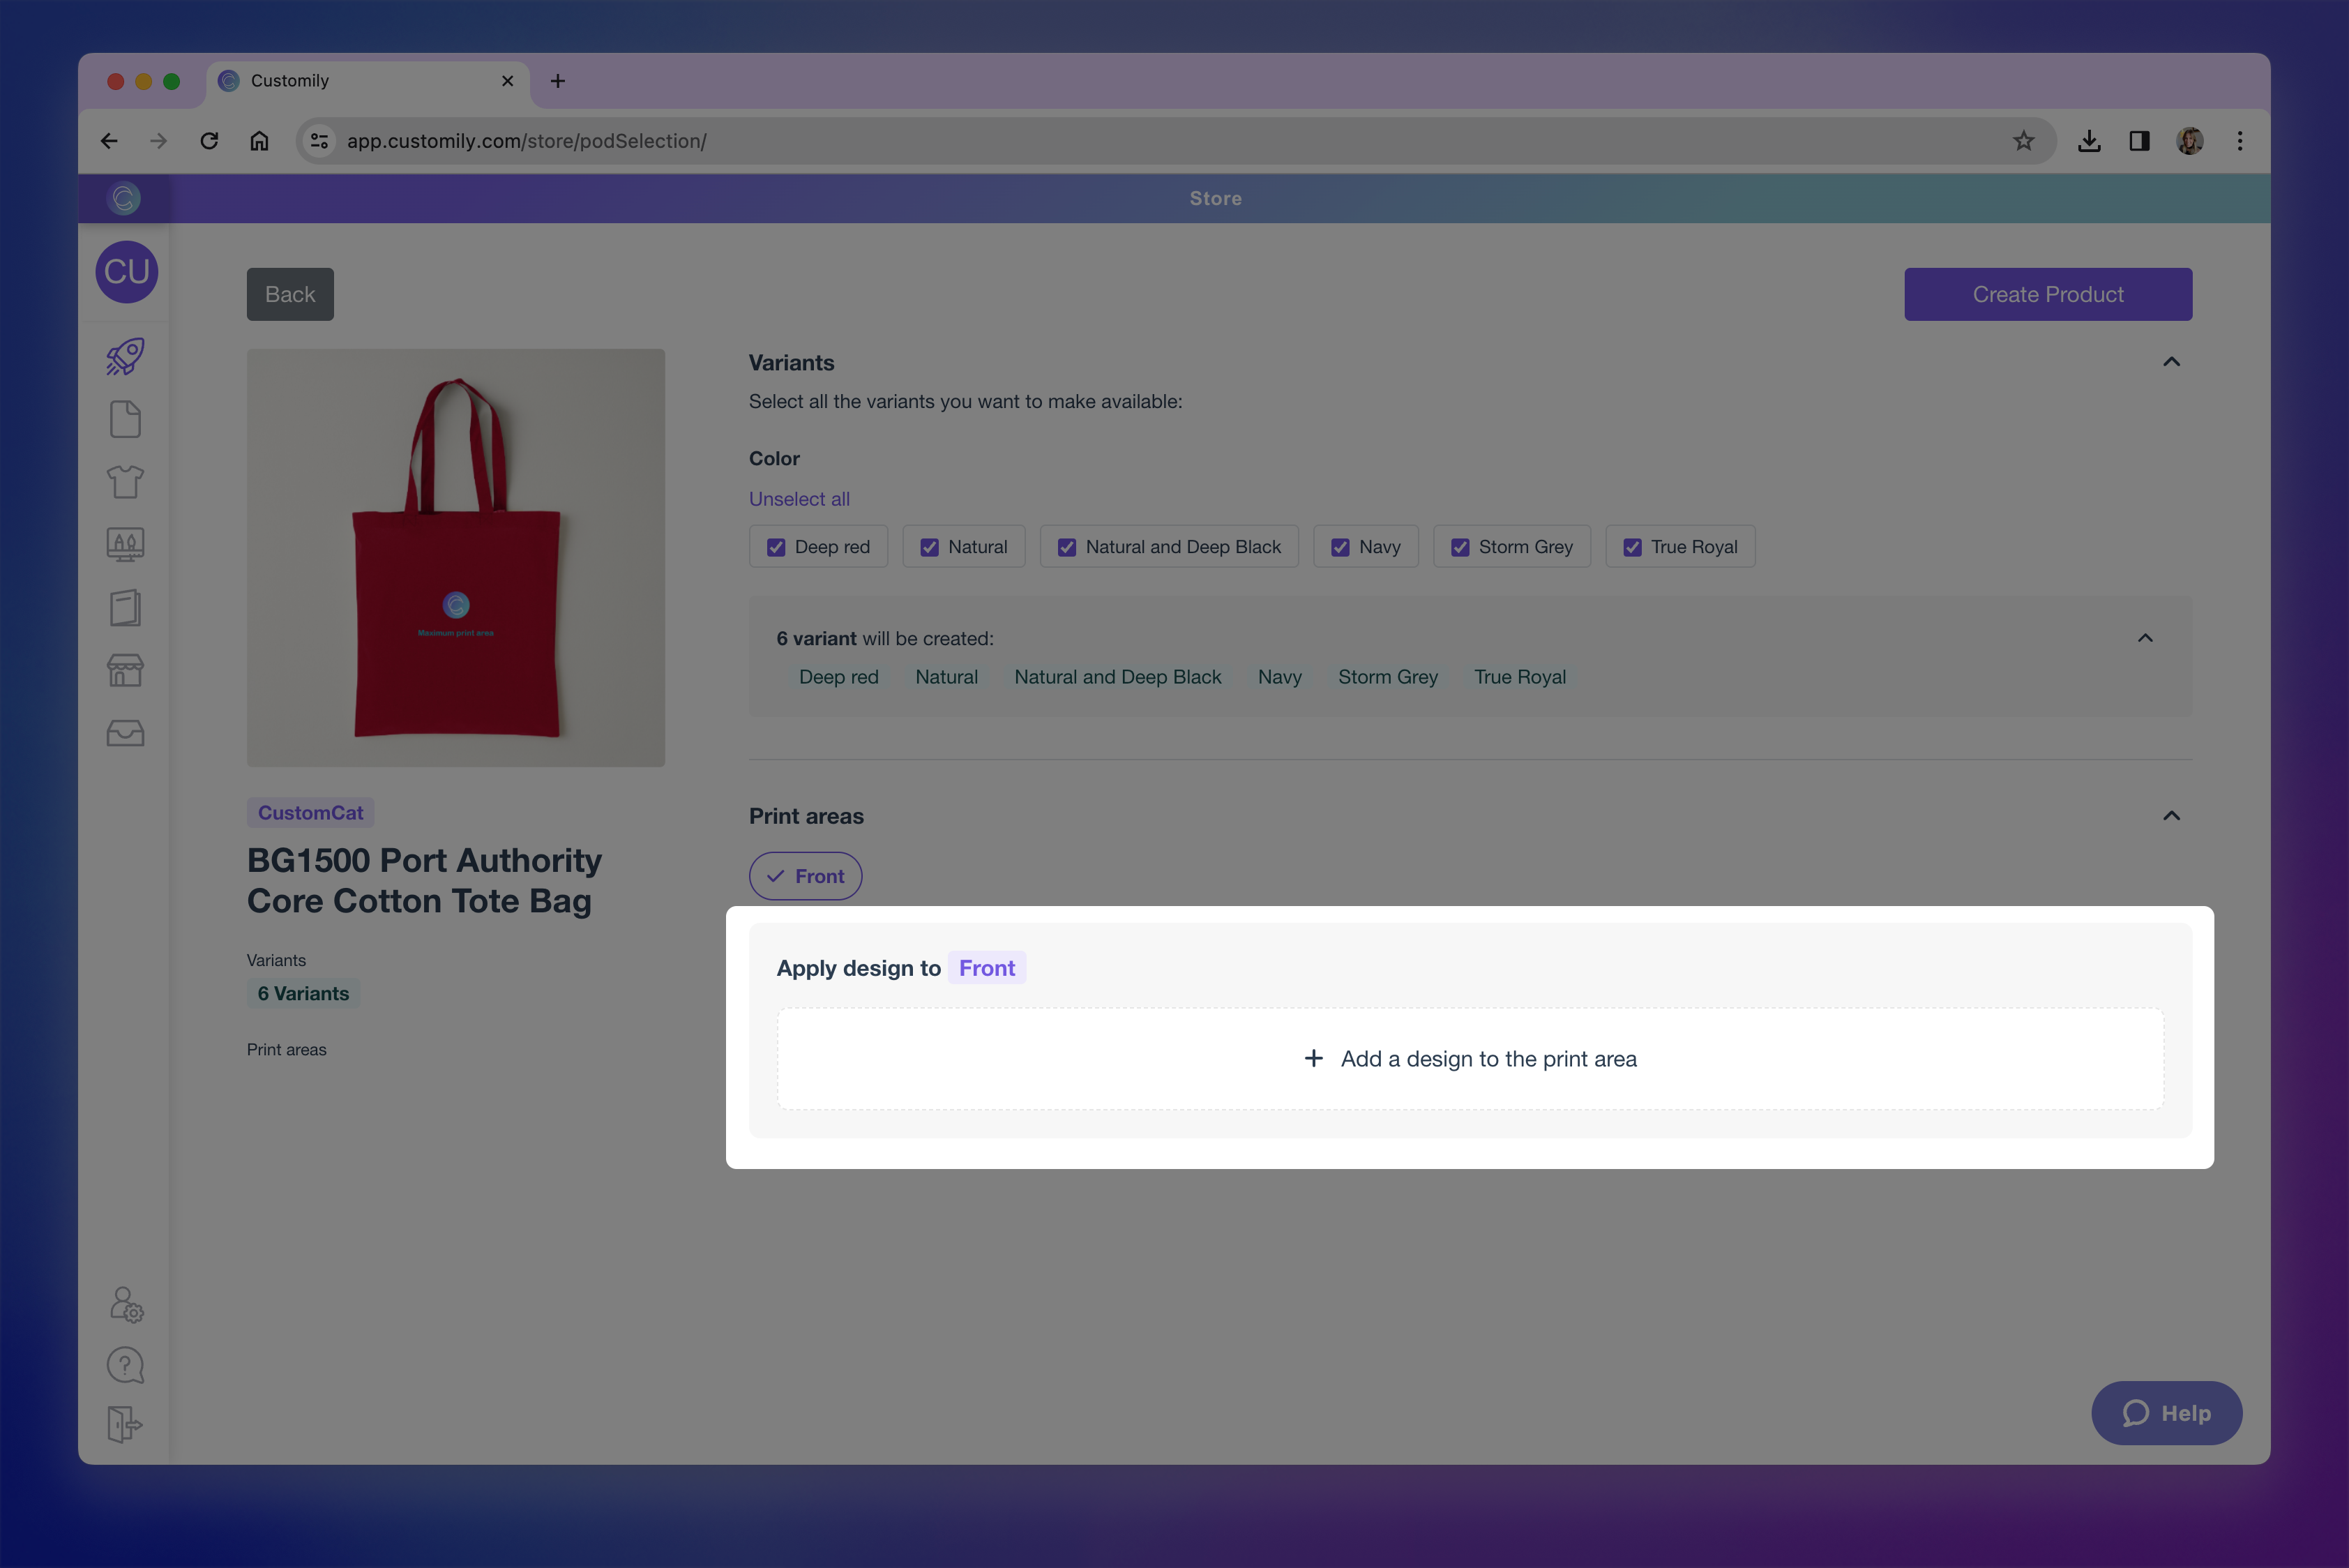
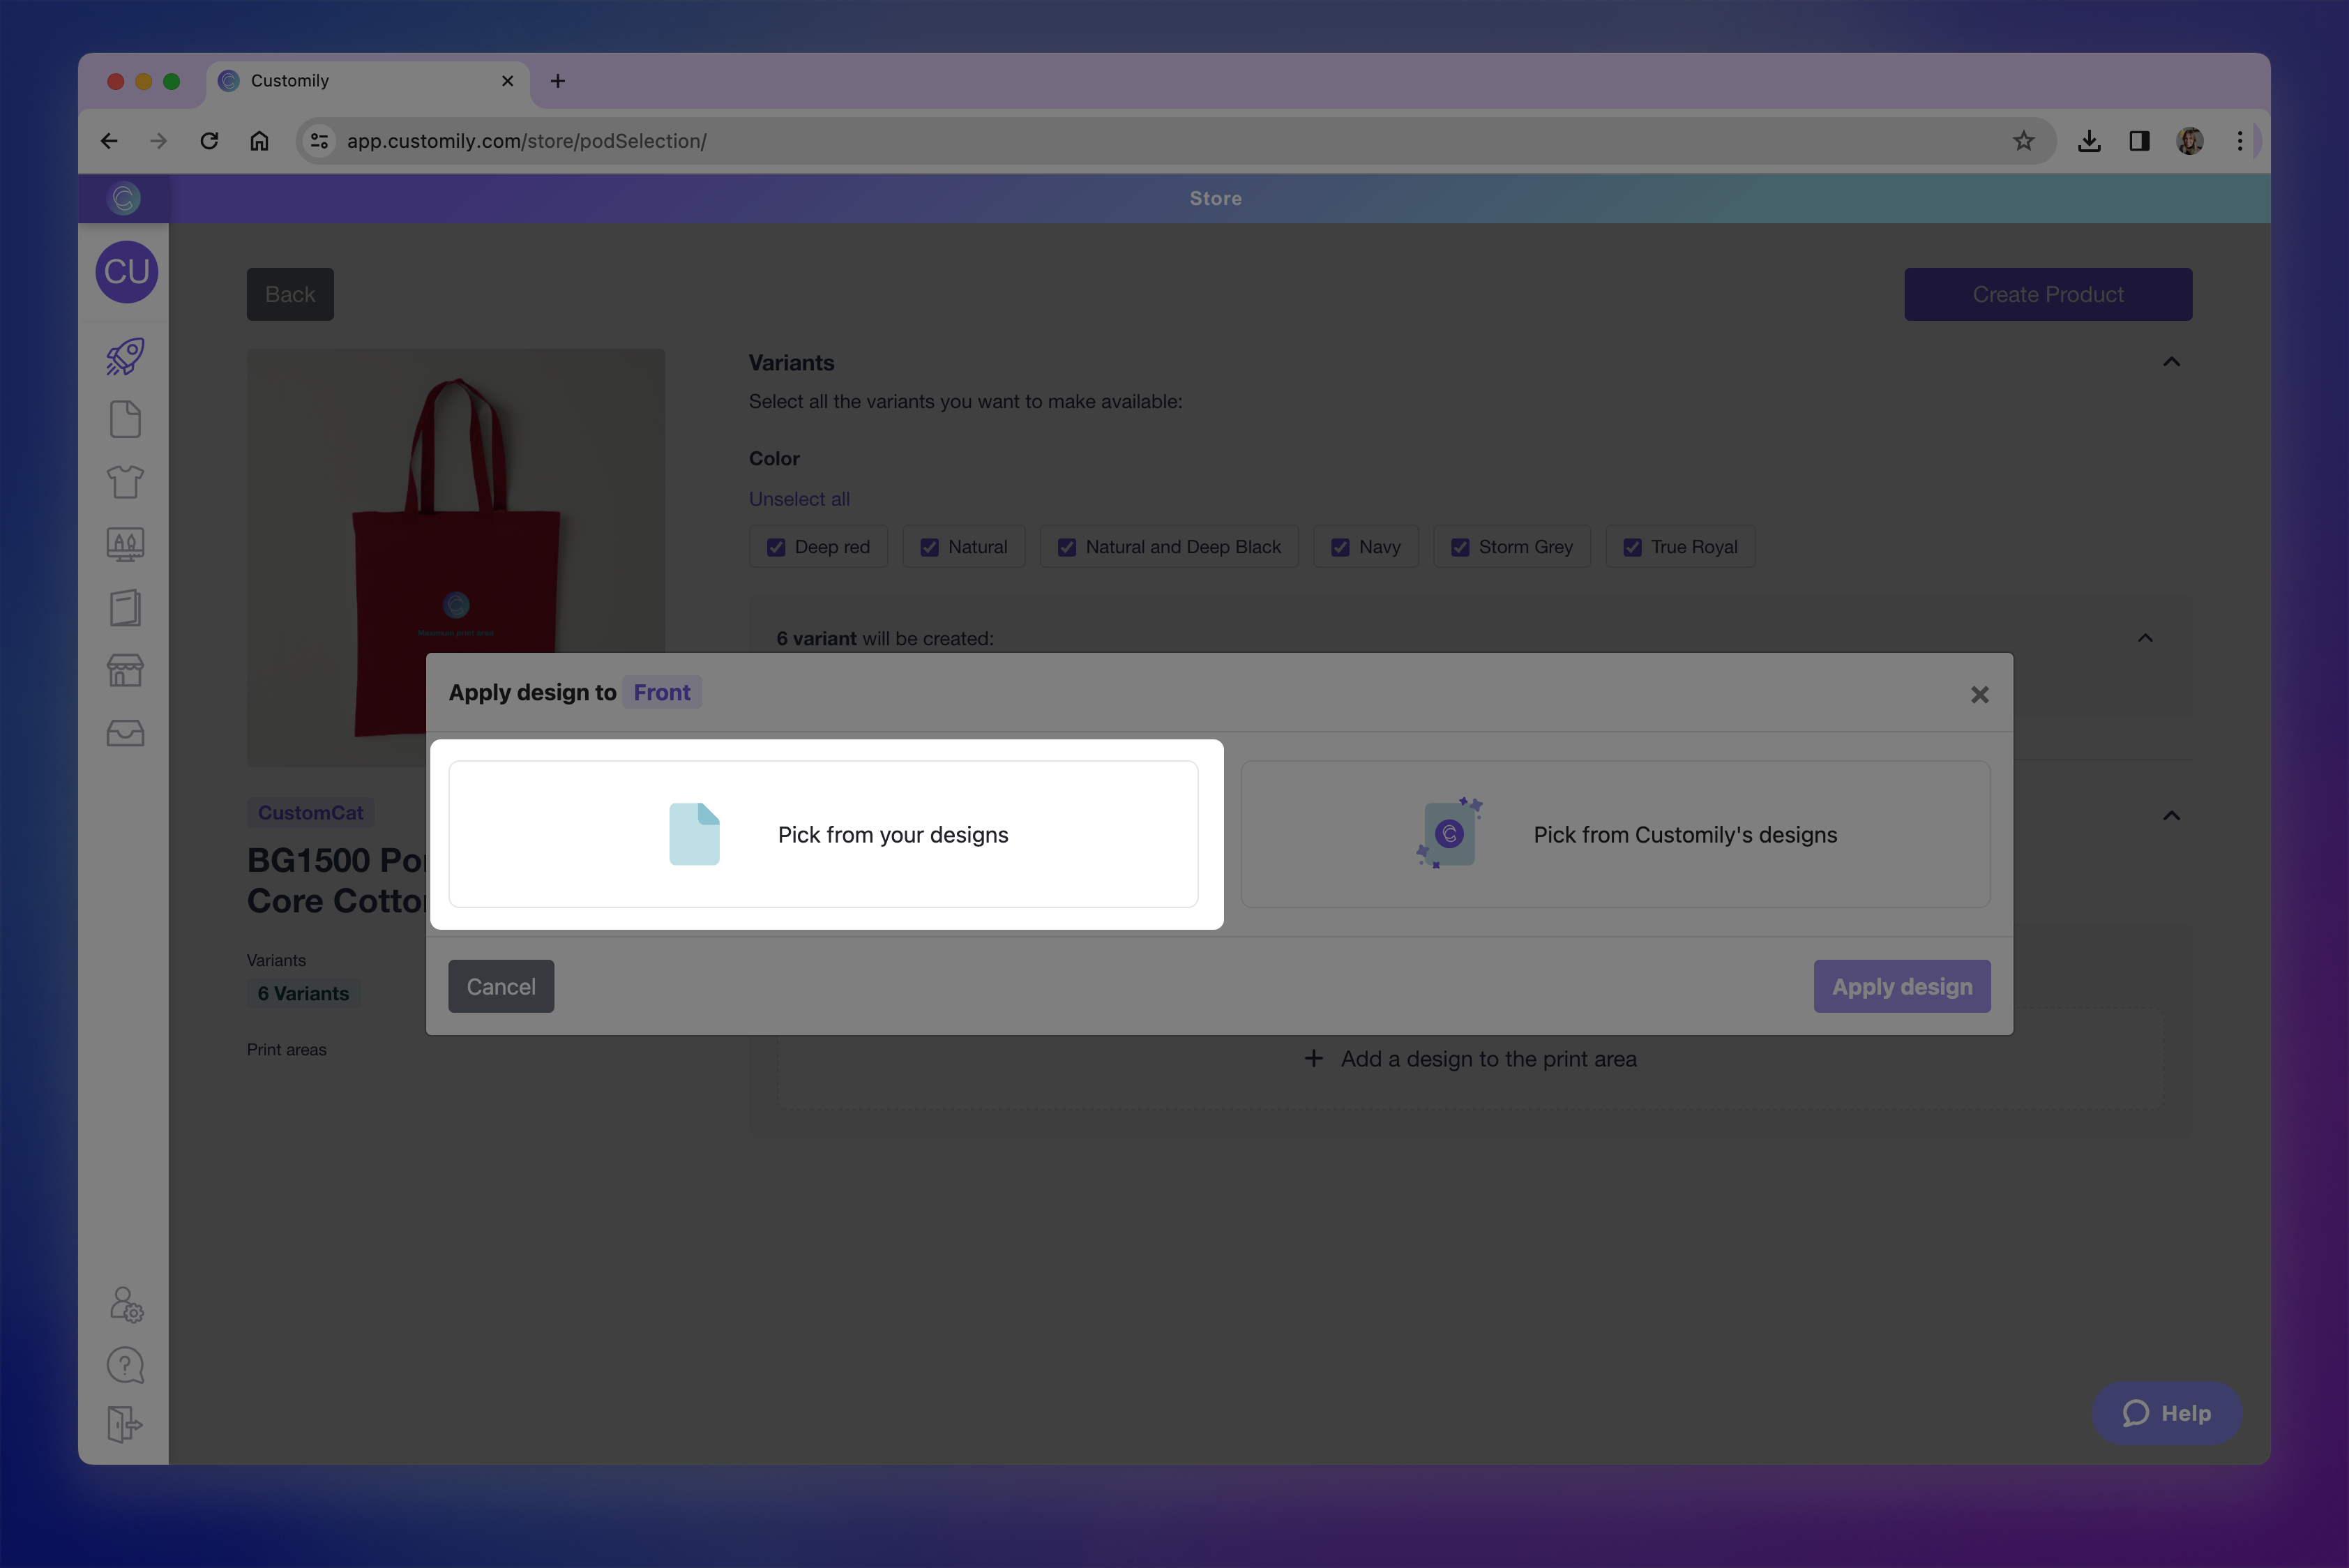
Click + Add a design to the print area to select a design.
Click on the Pick from your designs to browse the design gallery.
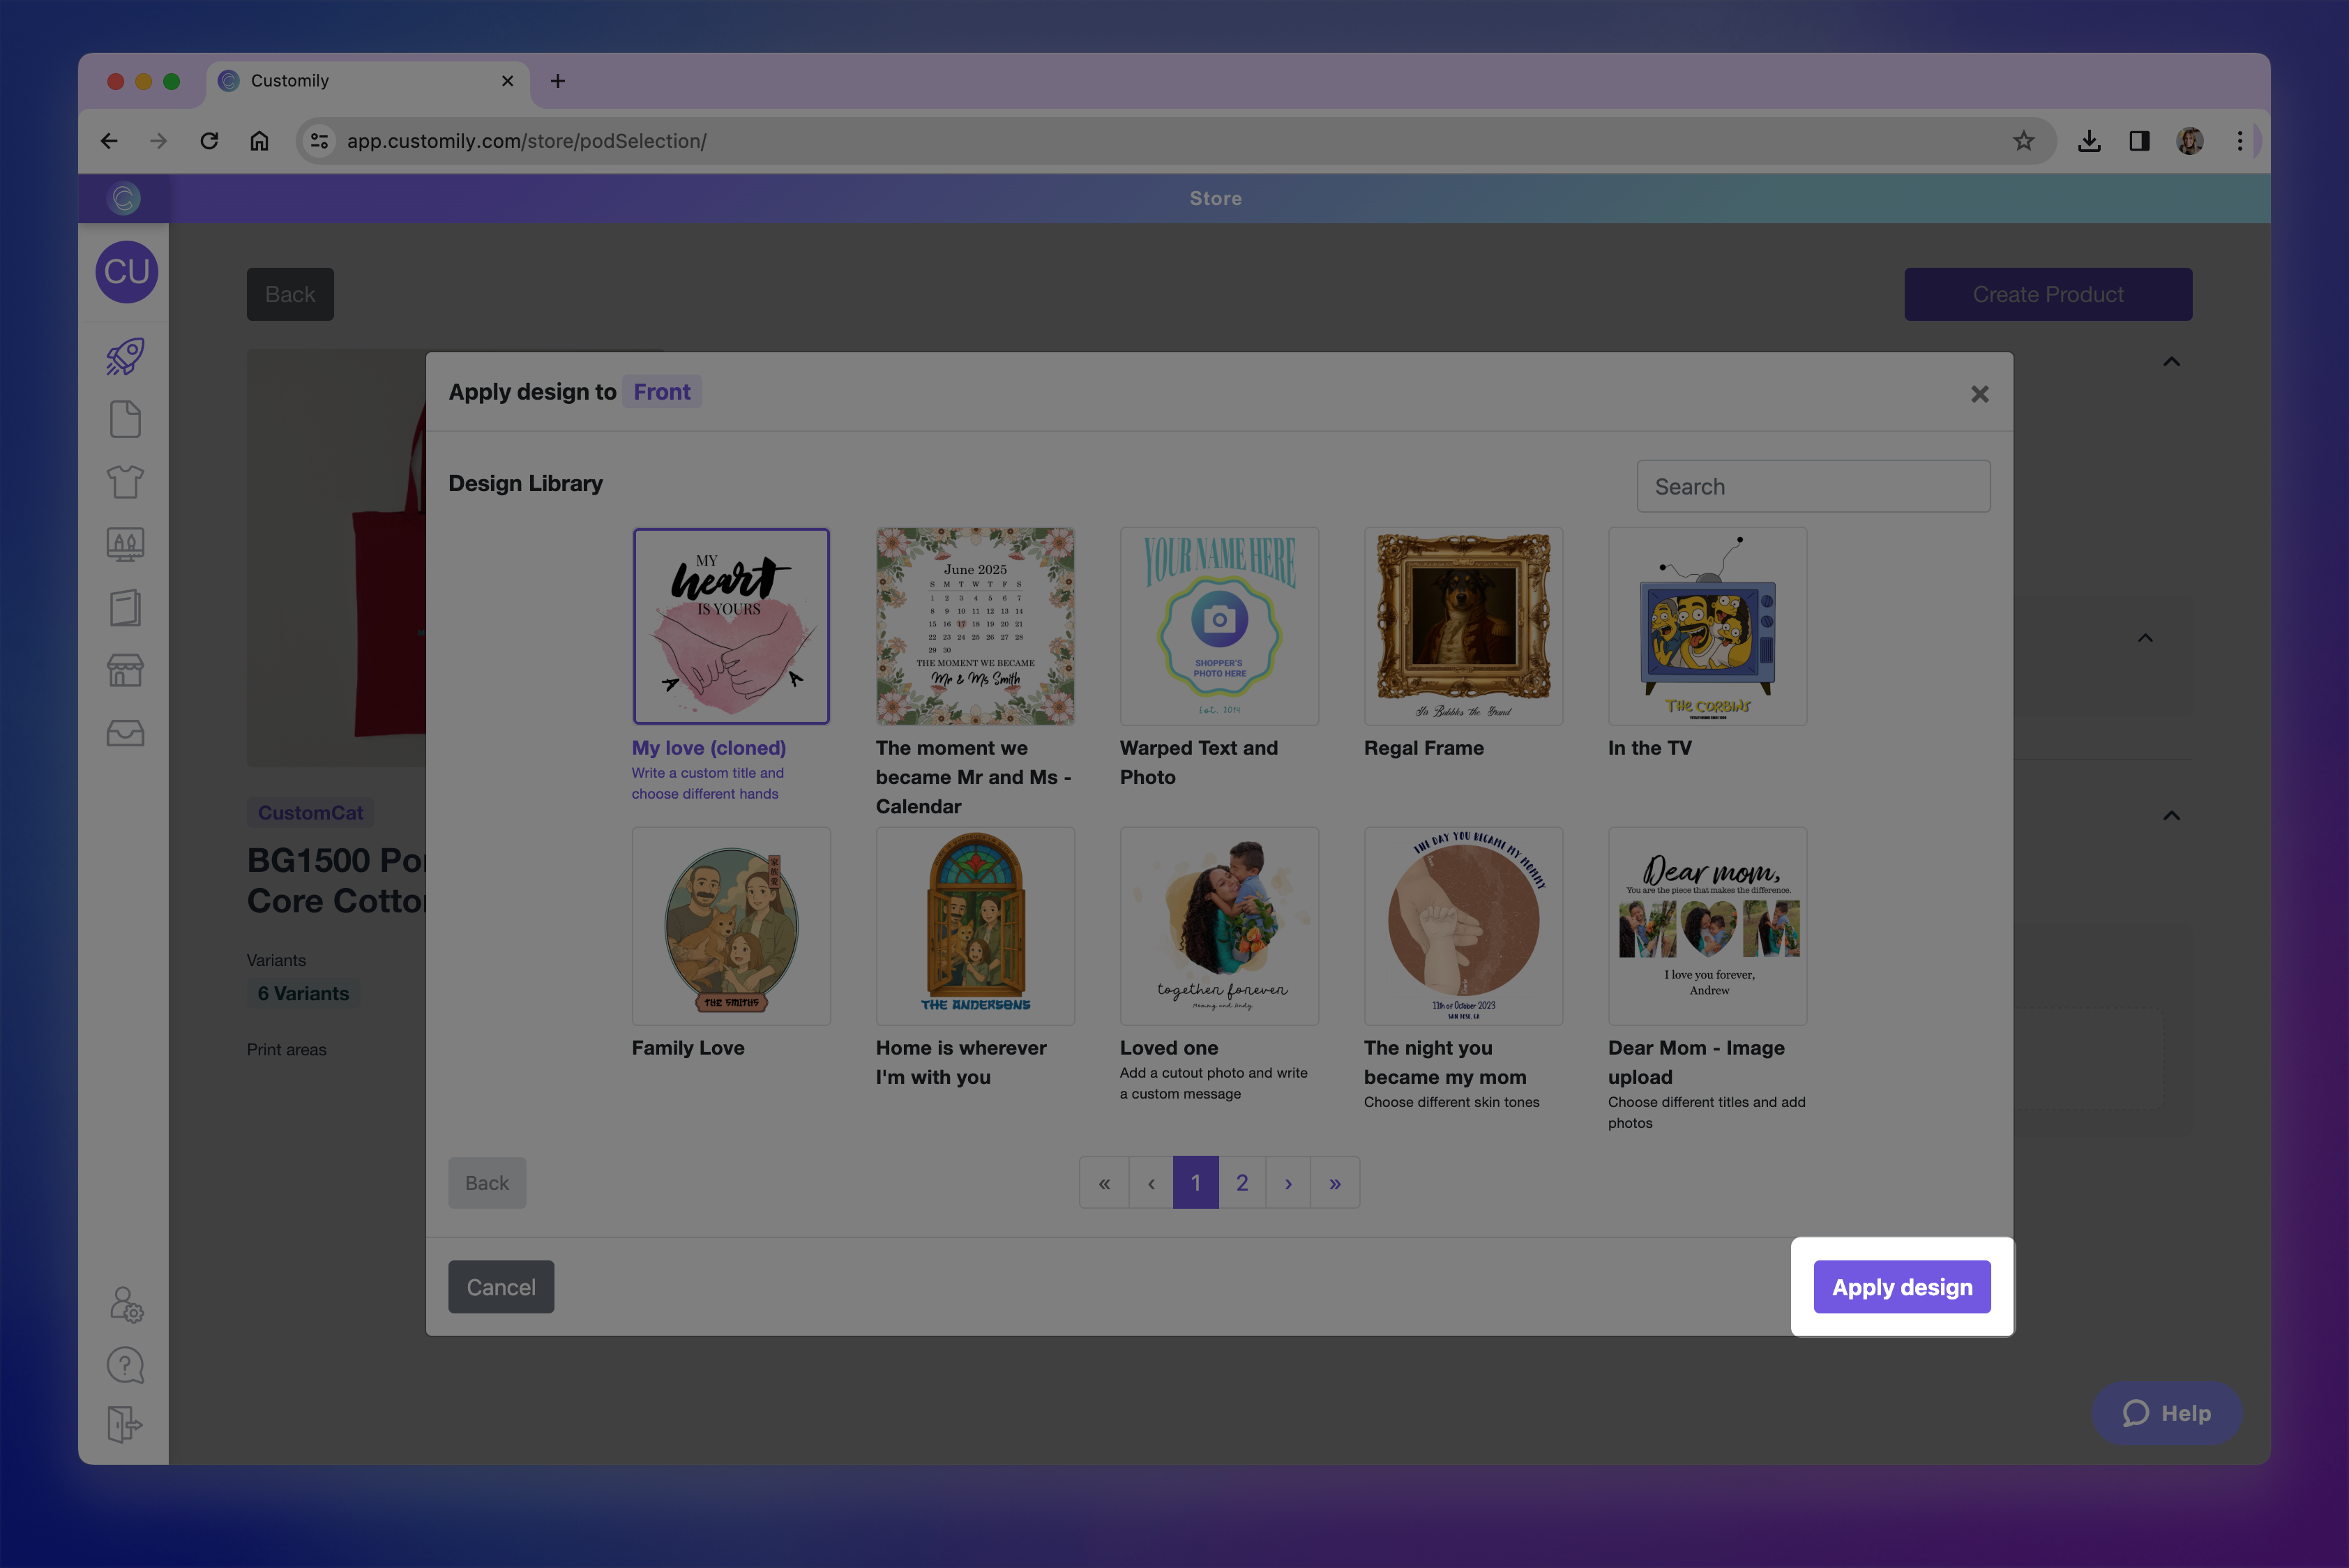
Browse through your designs and select one.

You’ll see your gallery with the newest designs showing first. You can use the search bar at the top to find something specific.
Once you select a Design, click Apply Design.
After selecting the design, you'll be able to place and scale it within the print area to ensure it fits the product just how you want. The print area is represented by the dashed red line.
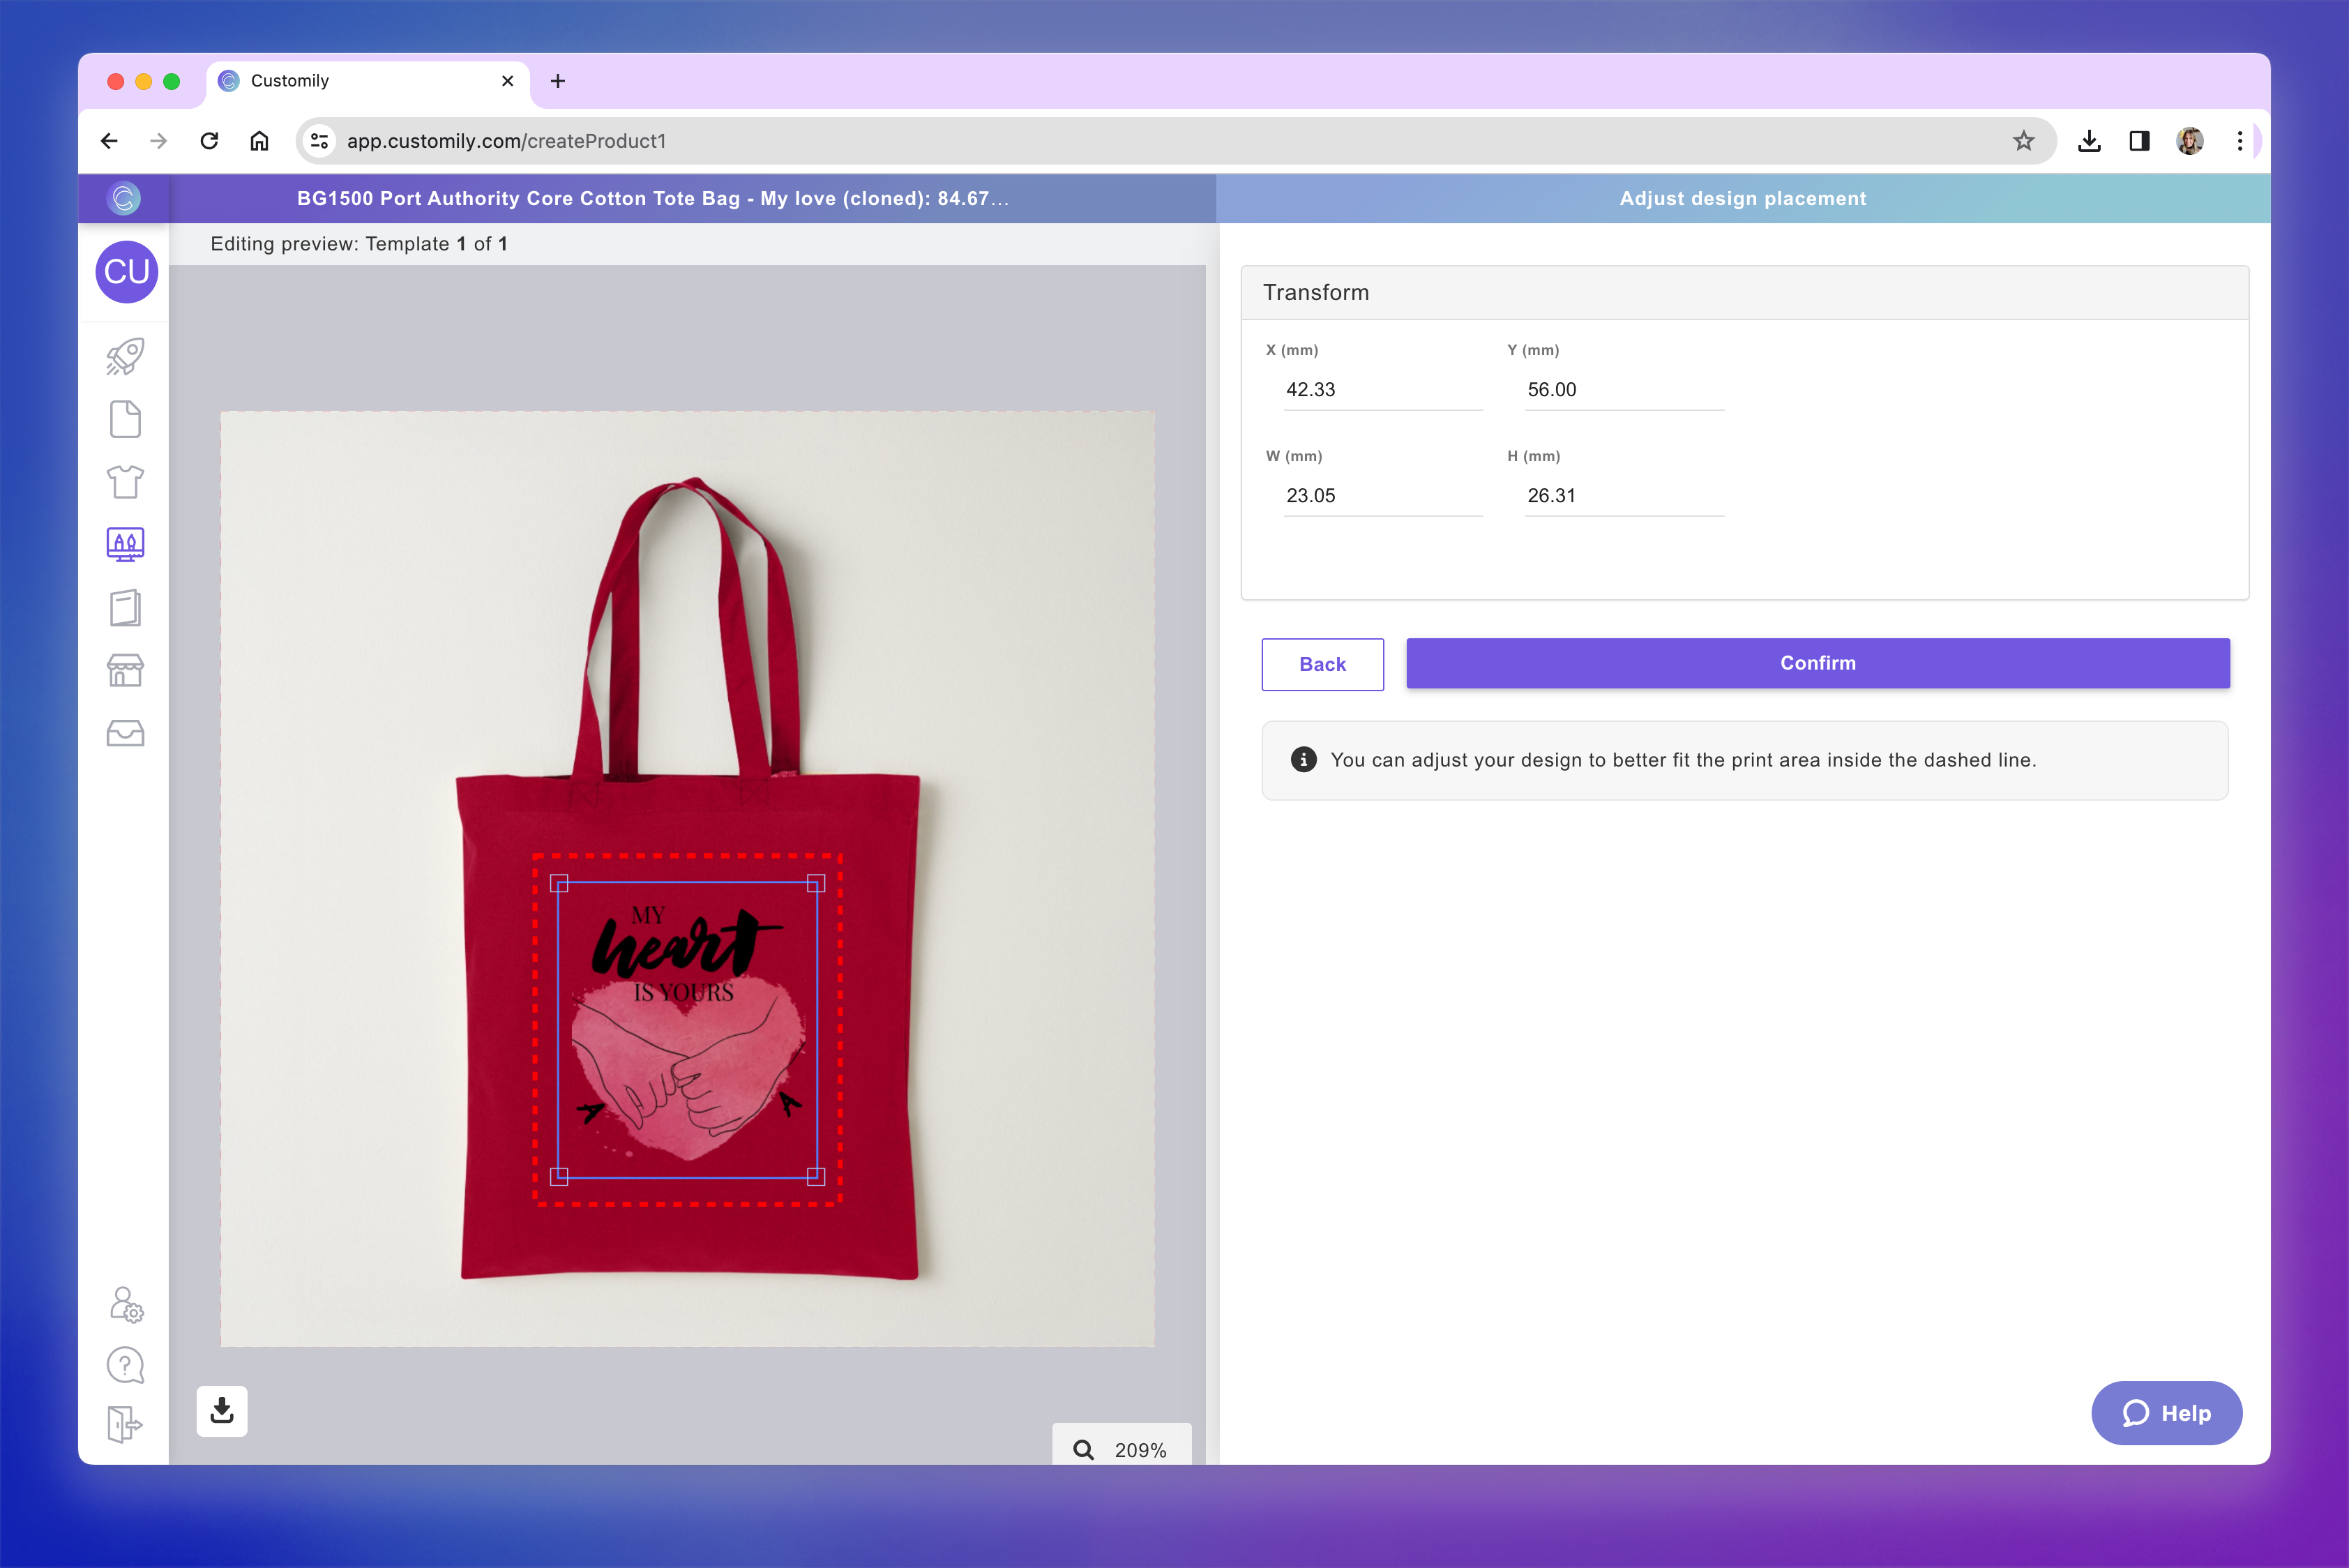
Click Confirm once the placement looks right.
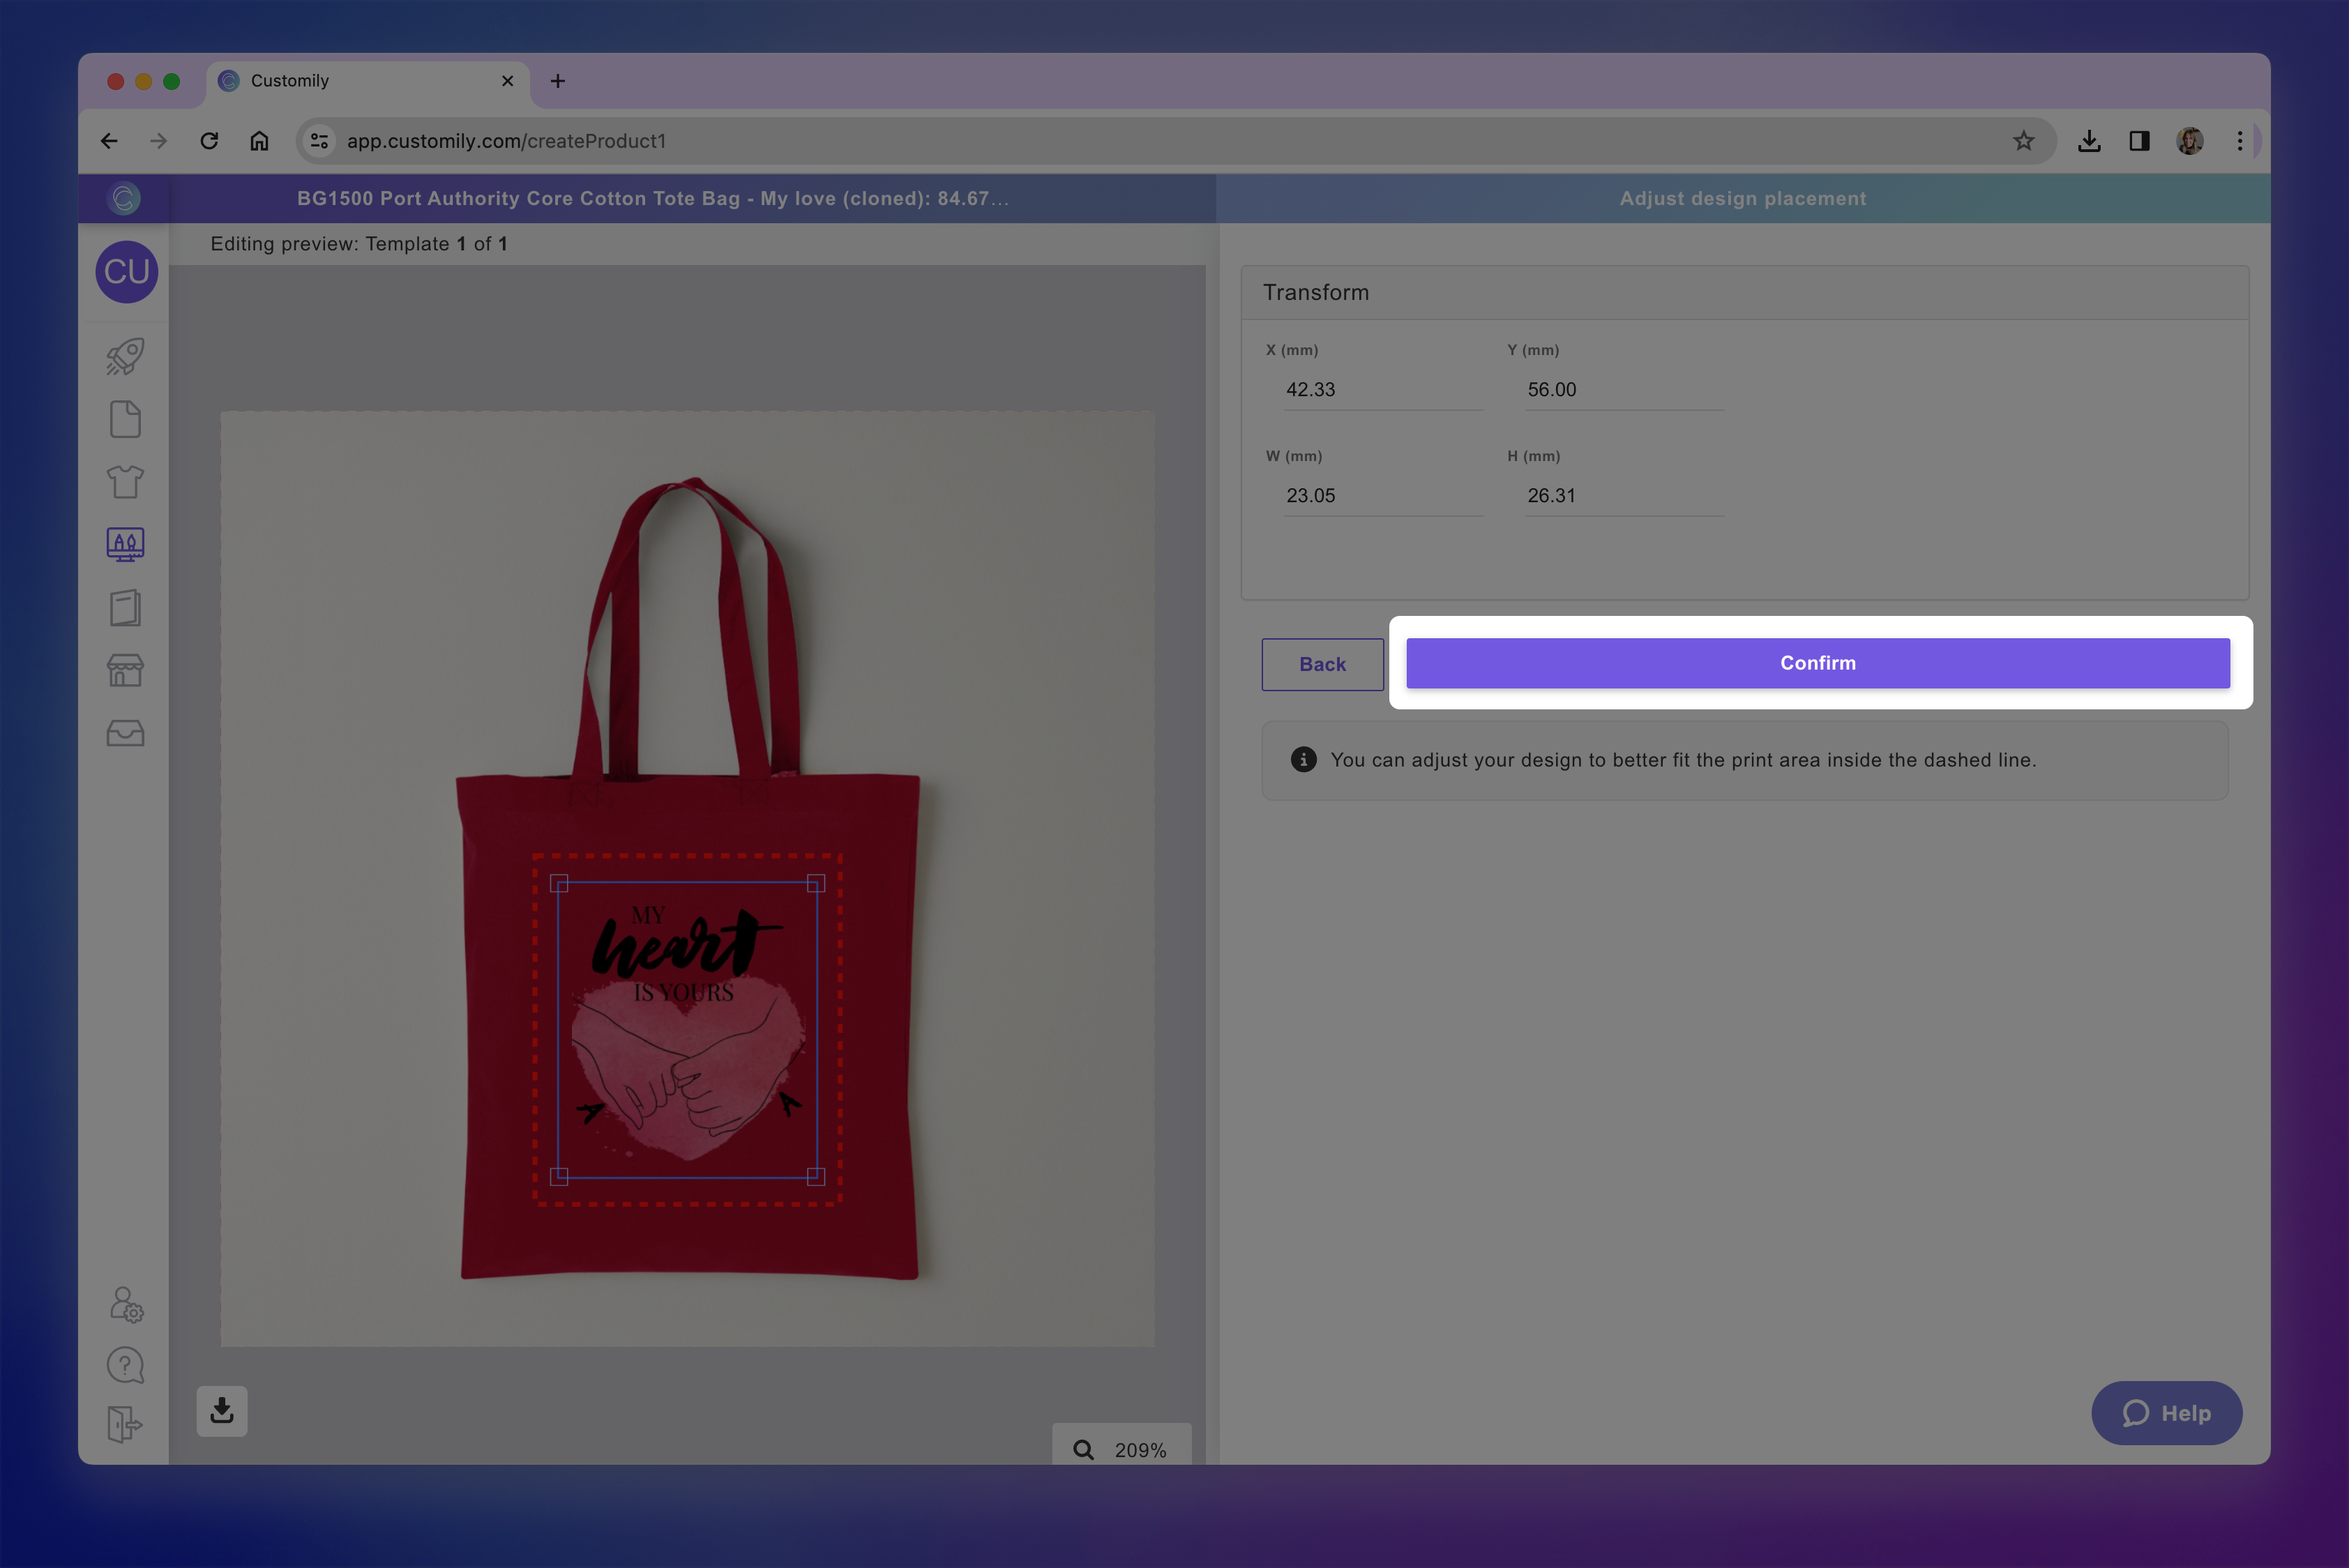
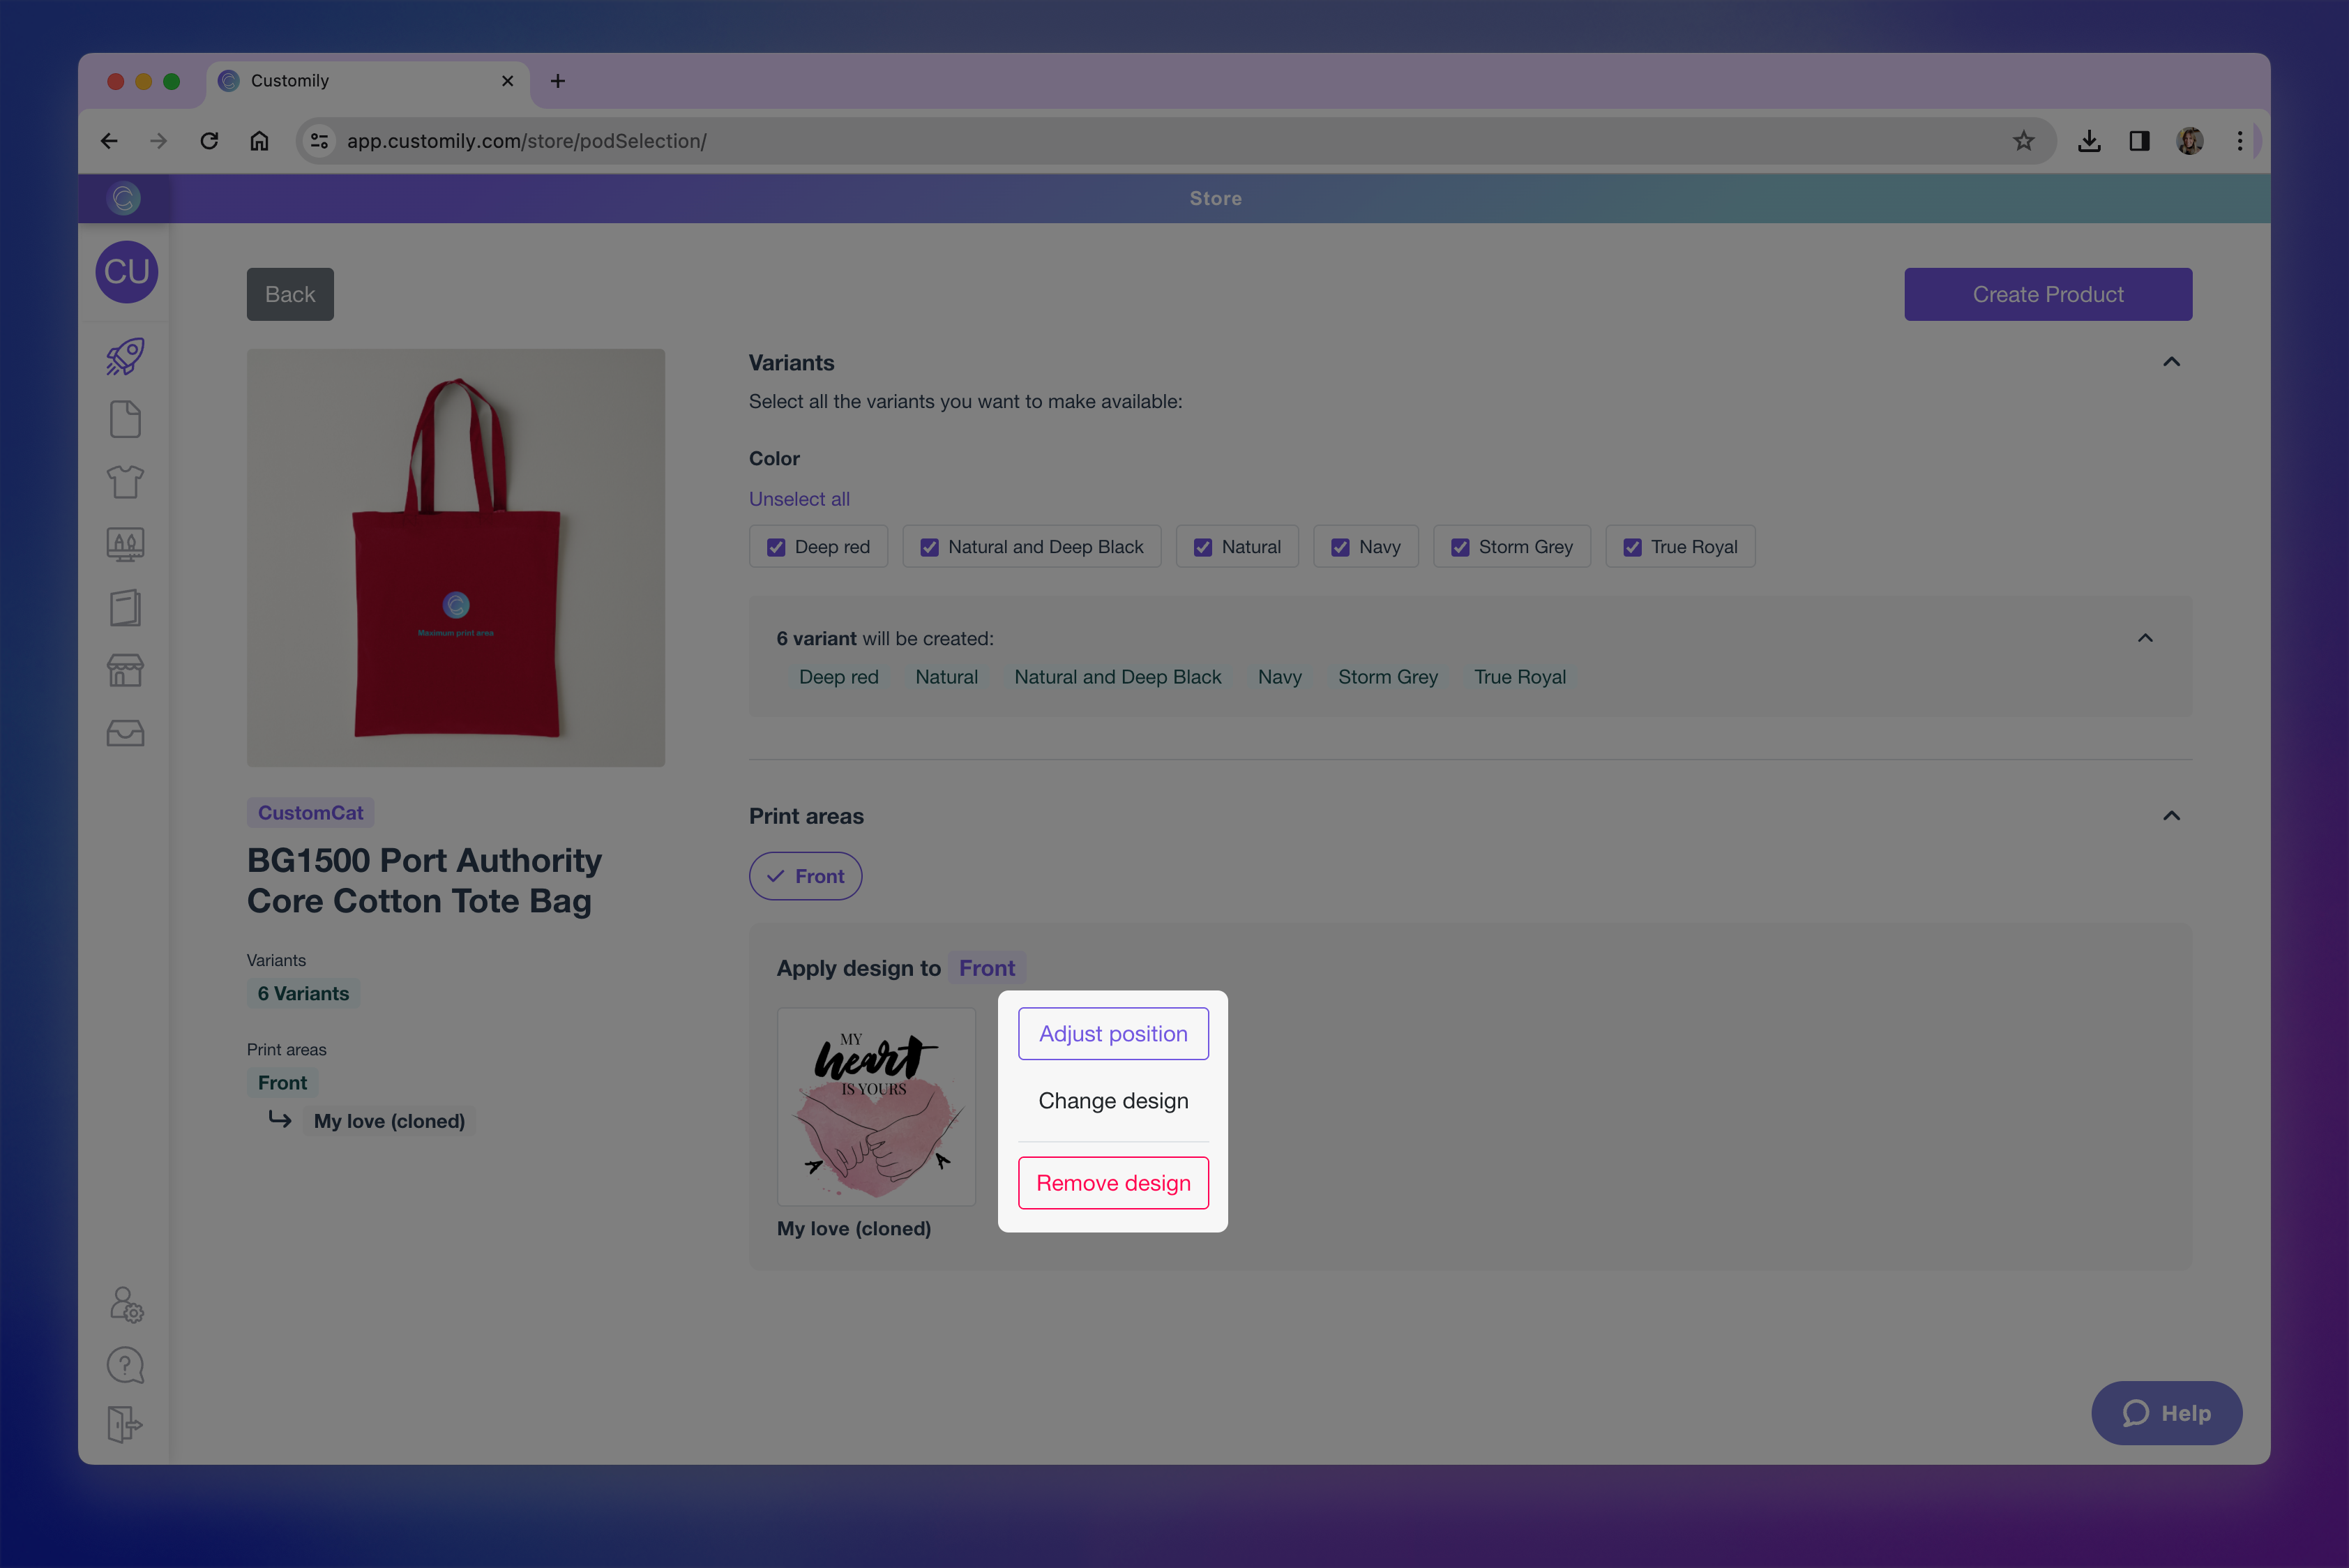
If you need to make changes later, you can click Adjust Position to reposition the design. You can also Remove or Change Design at any time before publishing.
Once you confirm the placement of your design, you can continue creating the product to get it ready for your store!

In the final step, you'll see a live preview of your product with the selected design and its option set already applied.
