Apply custom styles with CSS
Last updated: October 1, 2026
Use custom CSS when you want more control over the appearance of Customily elements on your storefront than the built-in Styles settings provide.
Custom CSS can be used to style virtually any element added by Customily, including personalization options, buttons, the product gallery, Modal Preview, messages, and other parts of the personalization experience.
Important
Custom CSS requires some familiarity with CSS. Incorrect styles can affect the layout or functionality of your product page, so we recommend testing your changes carefully.
Add custom CSS to your store
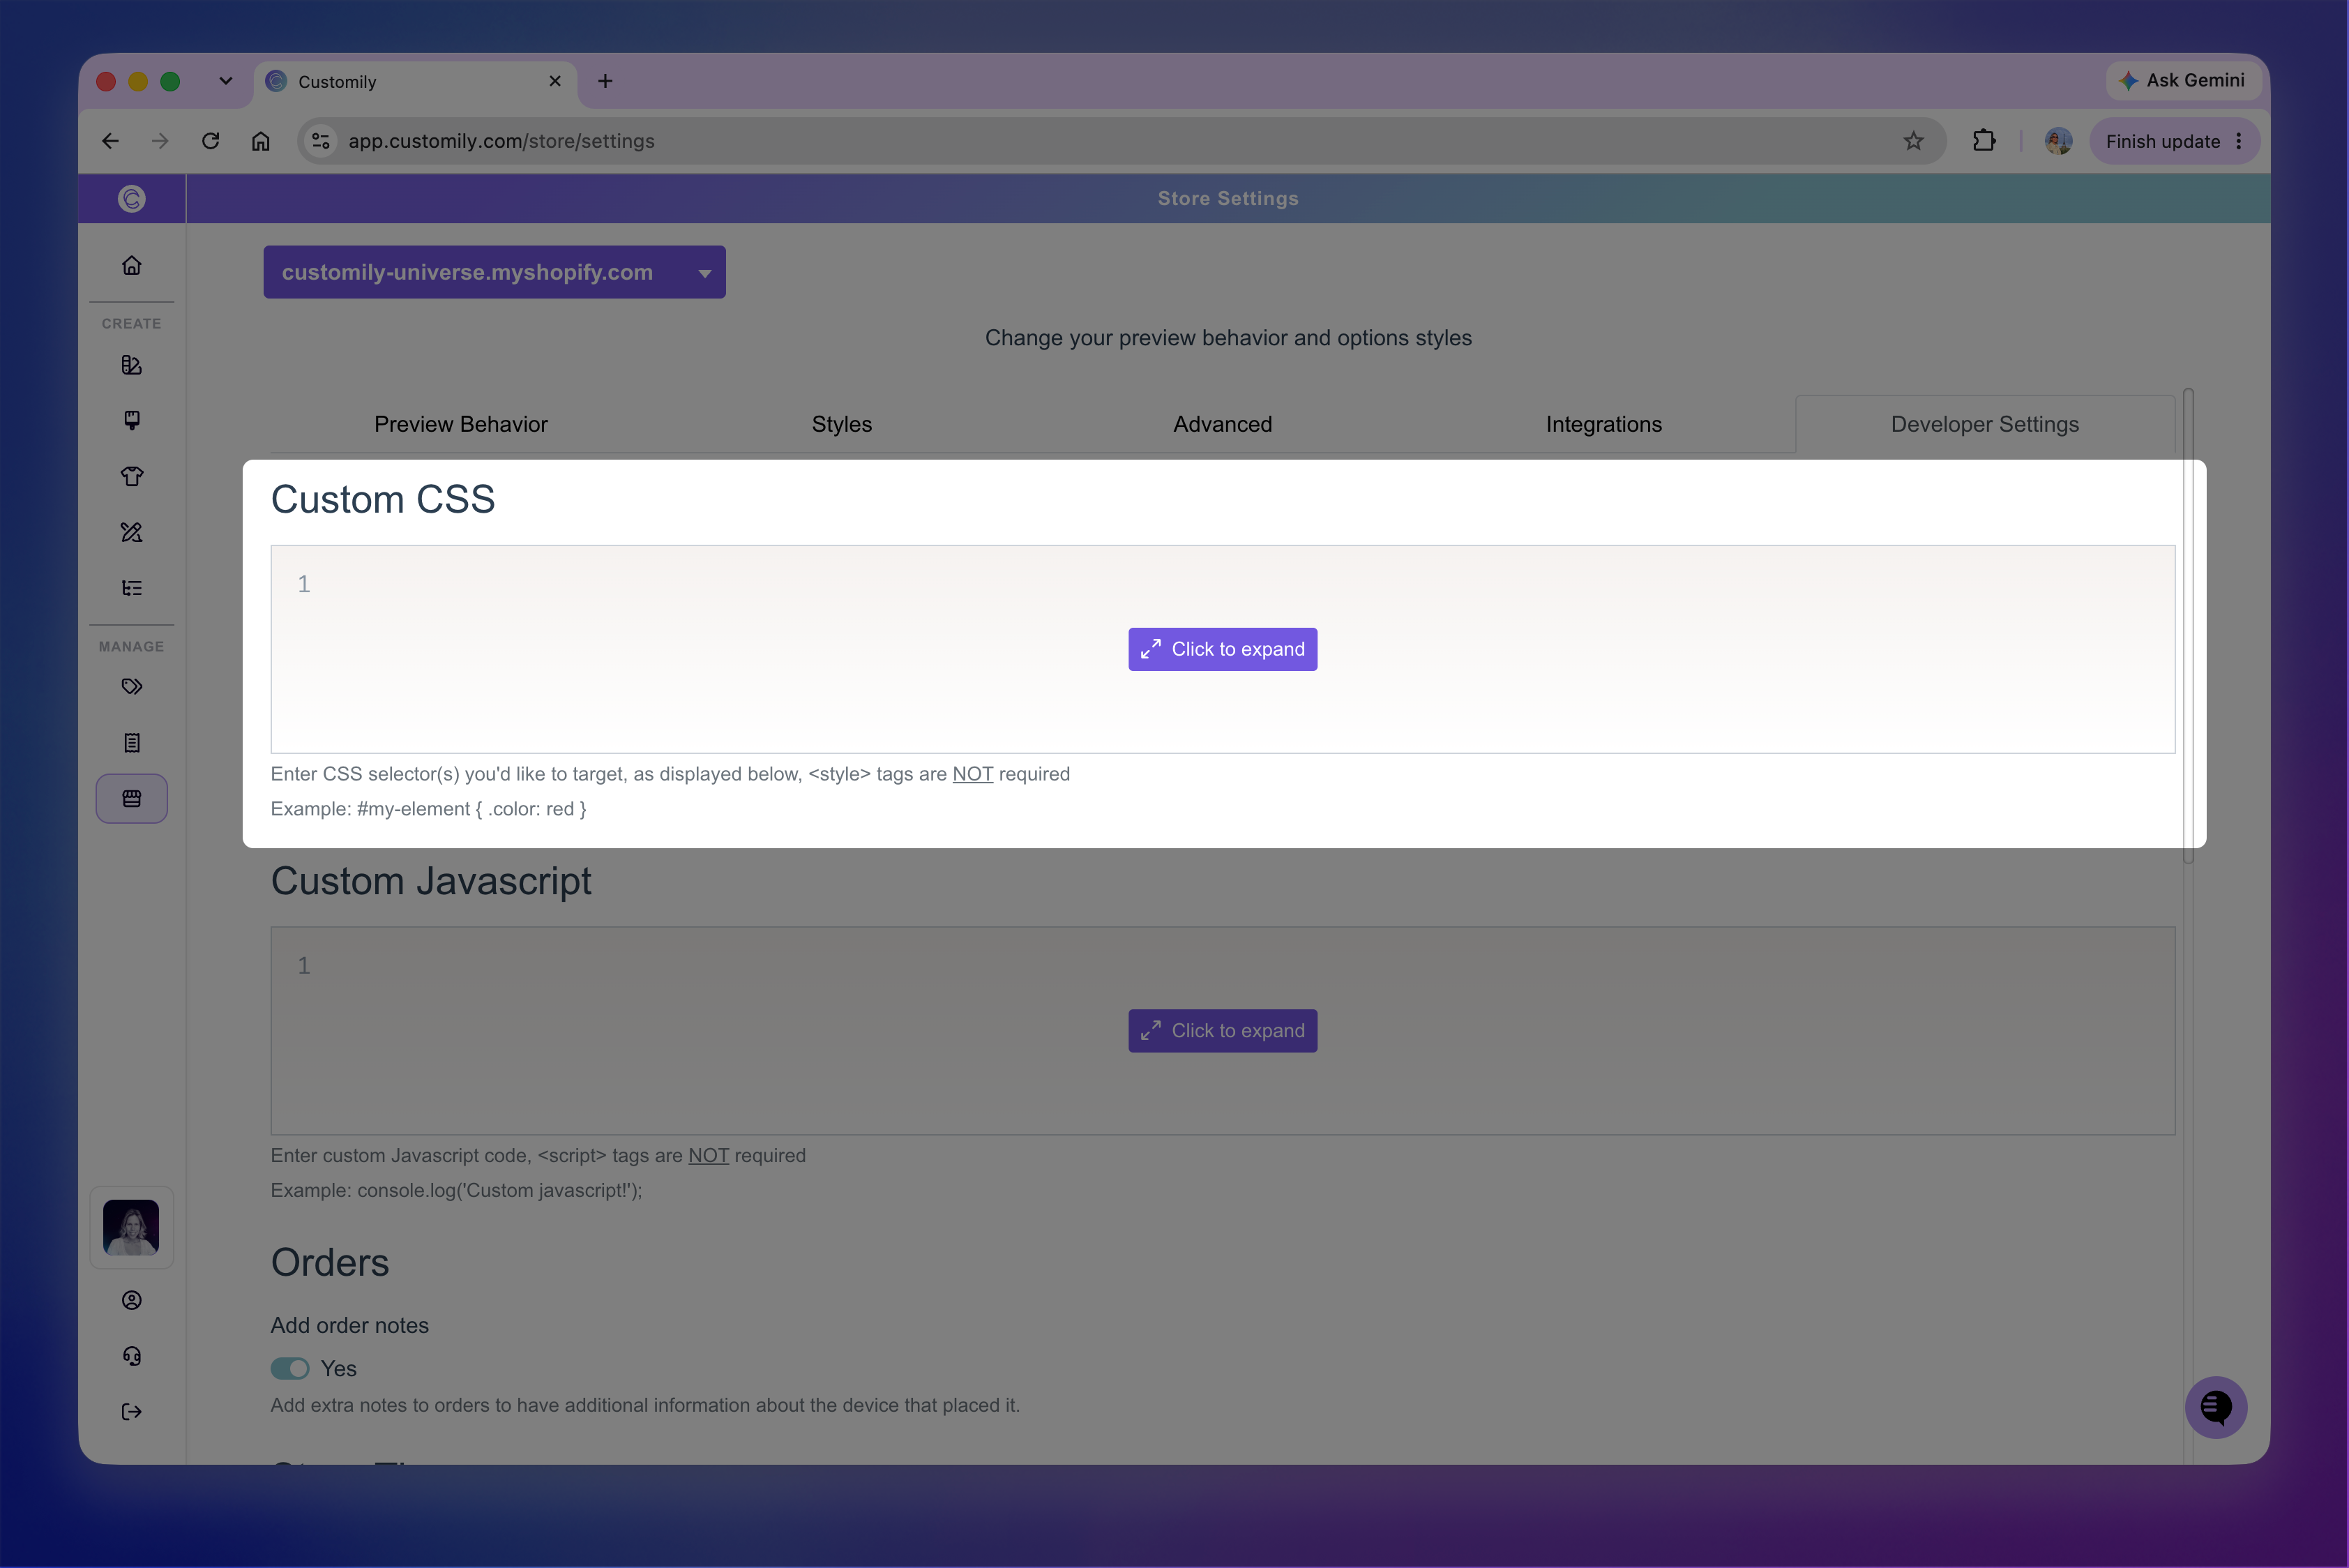
Go to Store Settings > Developer Settings, then add your CSS to the Custom CSS field.
Add your CSS rules, save your changes, and check your storefront to make sure the elements look and behave as expected.
Tip
Before using custom CSS, check Store Settings > Styles. Many common styling changes can be made directly from the interface without code.
Common Customily selectors
CSS selectors identify the storefront elements you want your styles to affect. Here are some commonly used selectors for Customily elements:
Element | Class selectors |
|---|---|
Text Input | #cl_optionsapp .customily_option input |
Drodpown | #cl_optionsapp .customily_option select |
Swatch | #cl_optionsapp .swatch-container .swatch #cl_optionsapp .swatch-container label #cl_optionsapp .swatch-container label img |
Image upload button | #cl_optionsapp .customily-download-button |
Remove uploaded photo button | .cl_remove-image |
Option Labels | #cl_optionsapp .customily_option label |
Help Text | #cl_optionsapp .help-text |
Photo size limit text | .cl_image-invalid-size |
Required message | #customily-required-after-label |
You can use these selectors in Custom CSS to apply your own styles to those elements.
Target other Customily elements
If the element you want to customize isn't listed above, you can use your browser's developer tools to find its CSS selector.
Open a product page where the element is displayed.
Right-click the element you want to customize and select Inspect.
In the browser's developer tools, locate the element and look for a class or ID that identifies it.
Use that class or ID as the selector in your custom CSS.
For example, a class named customily-example would be targeted as:
.customily-example {
  /* Your styles */
}
Tip
Classes are often more reliable than IDs, since some IDs may be generated dynamically. Make sure the selector you choose is specific enough to target the element you want without affecting other parts of your storefront.
Target a specific option
If you want to apply custom styles to one particular personalization option, you can assign it a custom CSS class directly from the Option Set.
Open the Option Set and select the option you want to customize. Under Custom CSS classes, enter a class name, for example:
dog-swatch
Enter only the class name (you don't need to include the . ) and save changes.
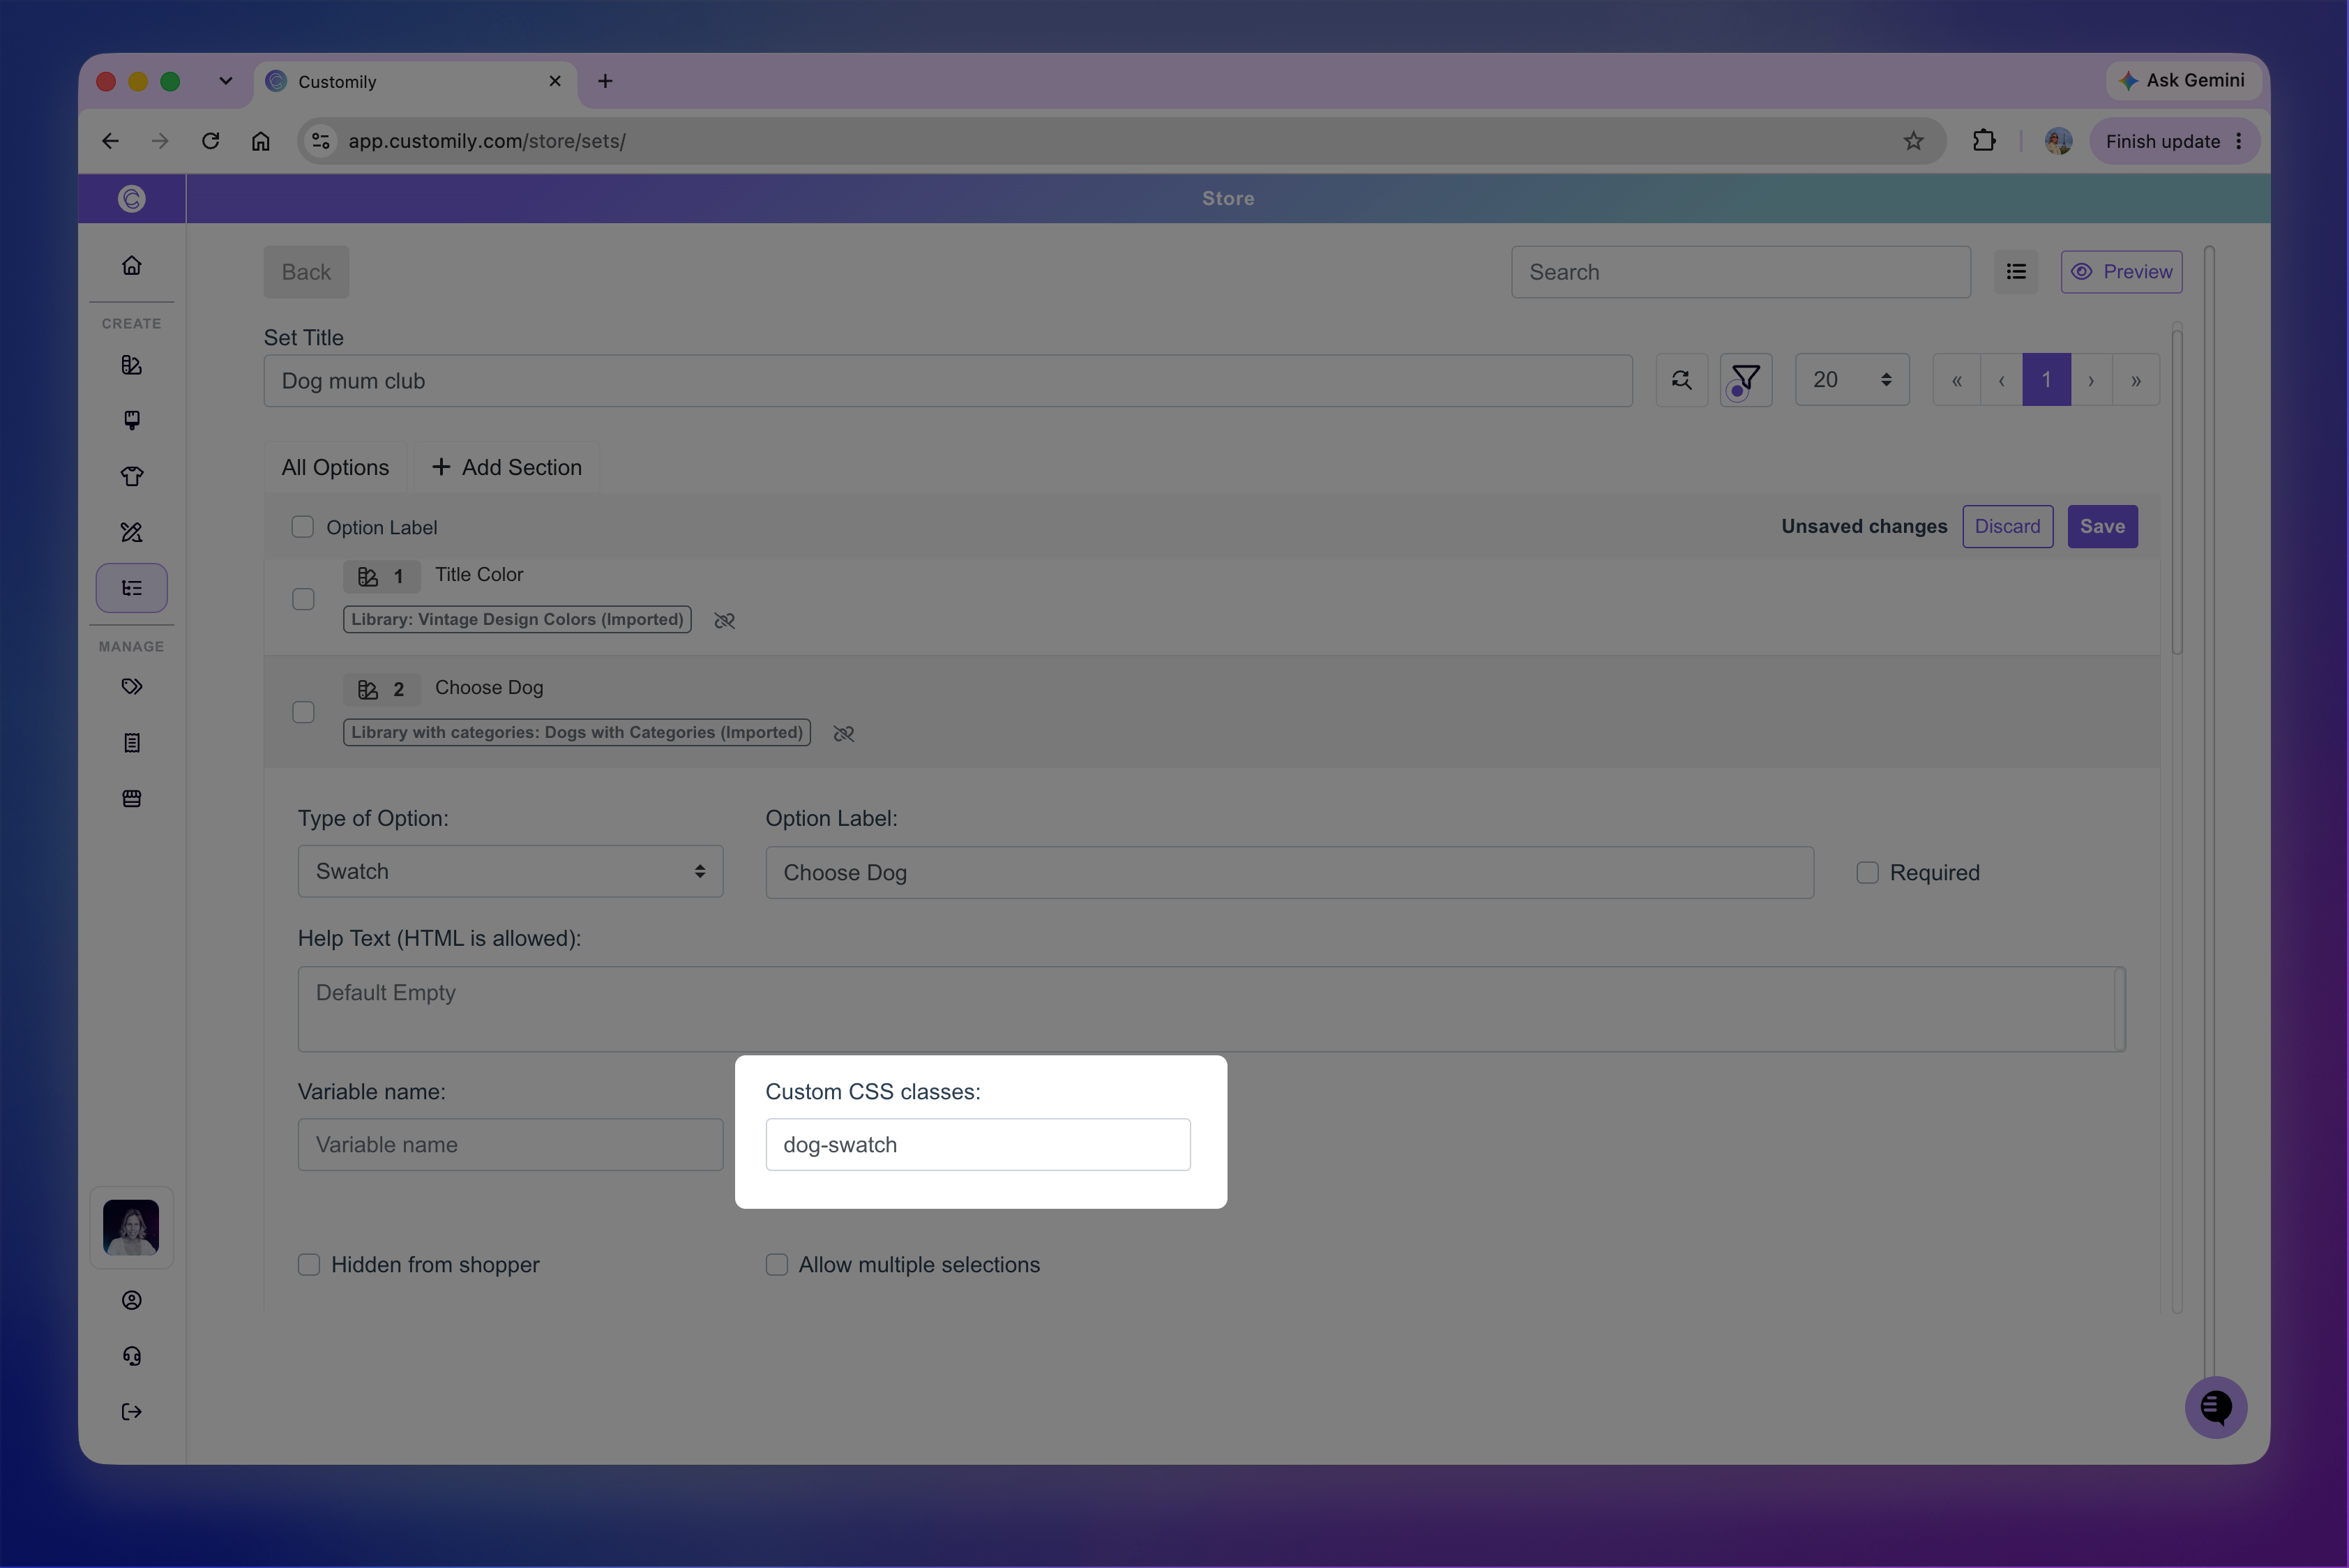
Once the class has been added, you can target it from the Custom CSS field in Developer Settings. In your CSS, add a period . before the class name:
.dog-swatch {
  /* Your styles */
}
This lets you customize that option without applying the same styles to every option of that type. Depending on the element you want to change within that option, you may need to combine your custom class with another selector.