Customize tooltips and other contextual help
Last updated: October 1, 2026
Give shoppers additional context while they personalize a product. You can display tooltips over swatches, customize how required options are identified, and add formatted help text to individual options.
Add tooltips to swatches
Tooltips display additional information when shoppers hover over a swatch.
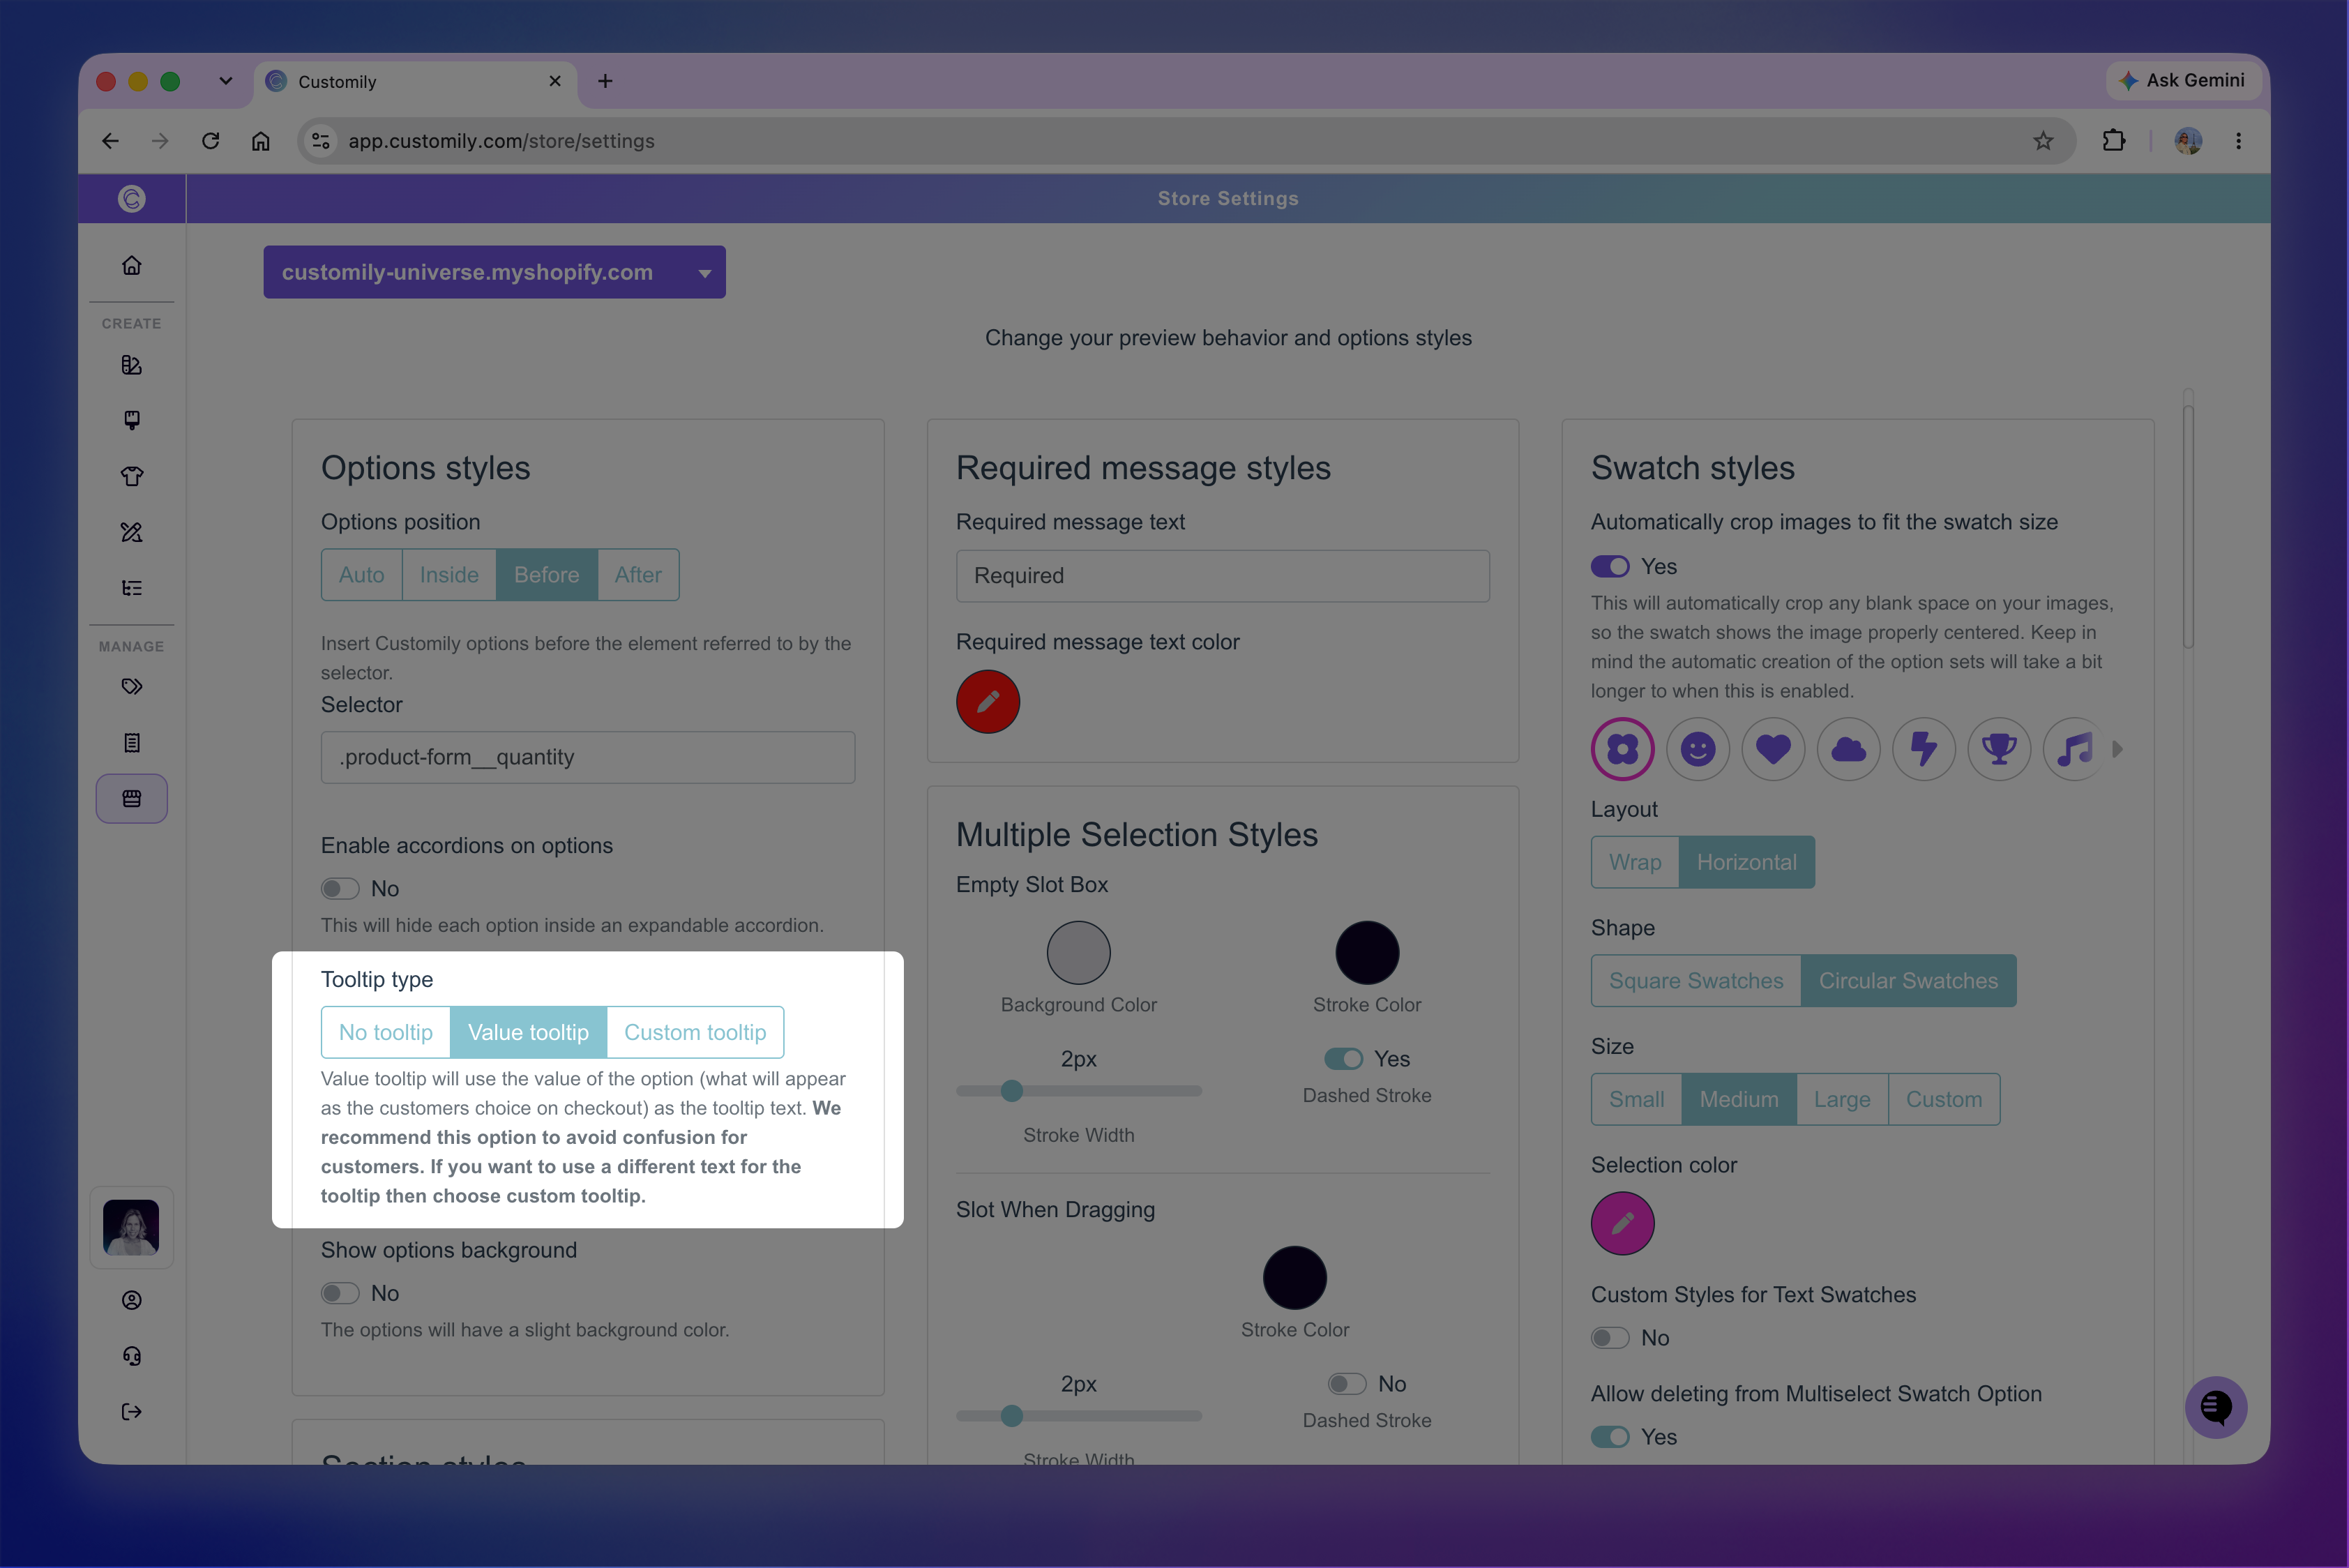
Go to Store Settings > Styles, then choose a Tooltip type:
No tooltip: Doesn't display a tooltip.
Value tooltip: Uses the option value—the value that appears as the shopper's choice at checkout—as the tooltip text.
Custom tooltip: Lets you provide different tooltip text for each swatch. When selected, an additional tooltip field is added to the swatch configuration in the Option Set, where you can enter the text you want to display for each choice.
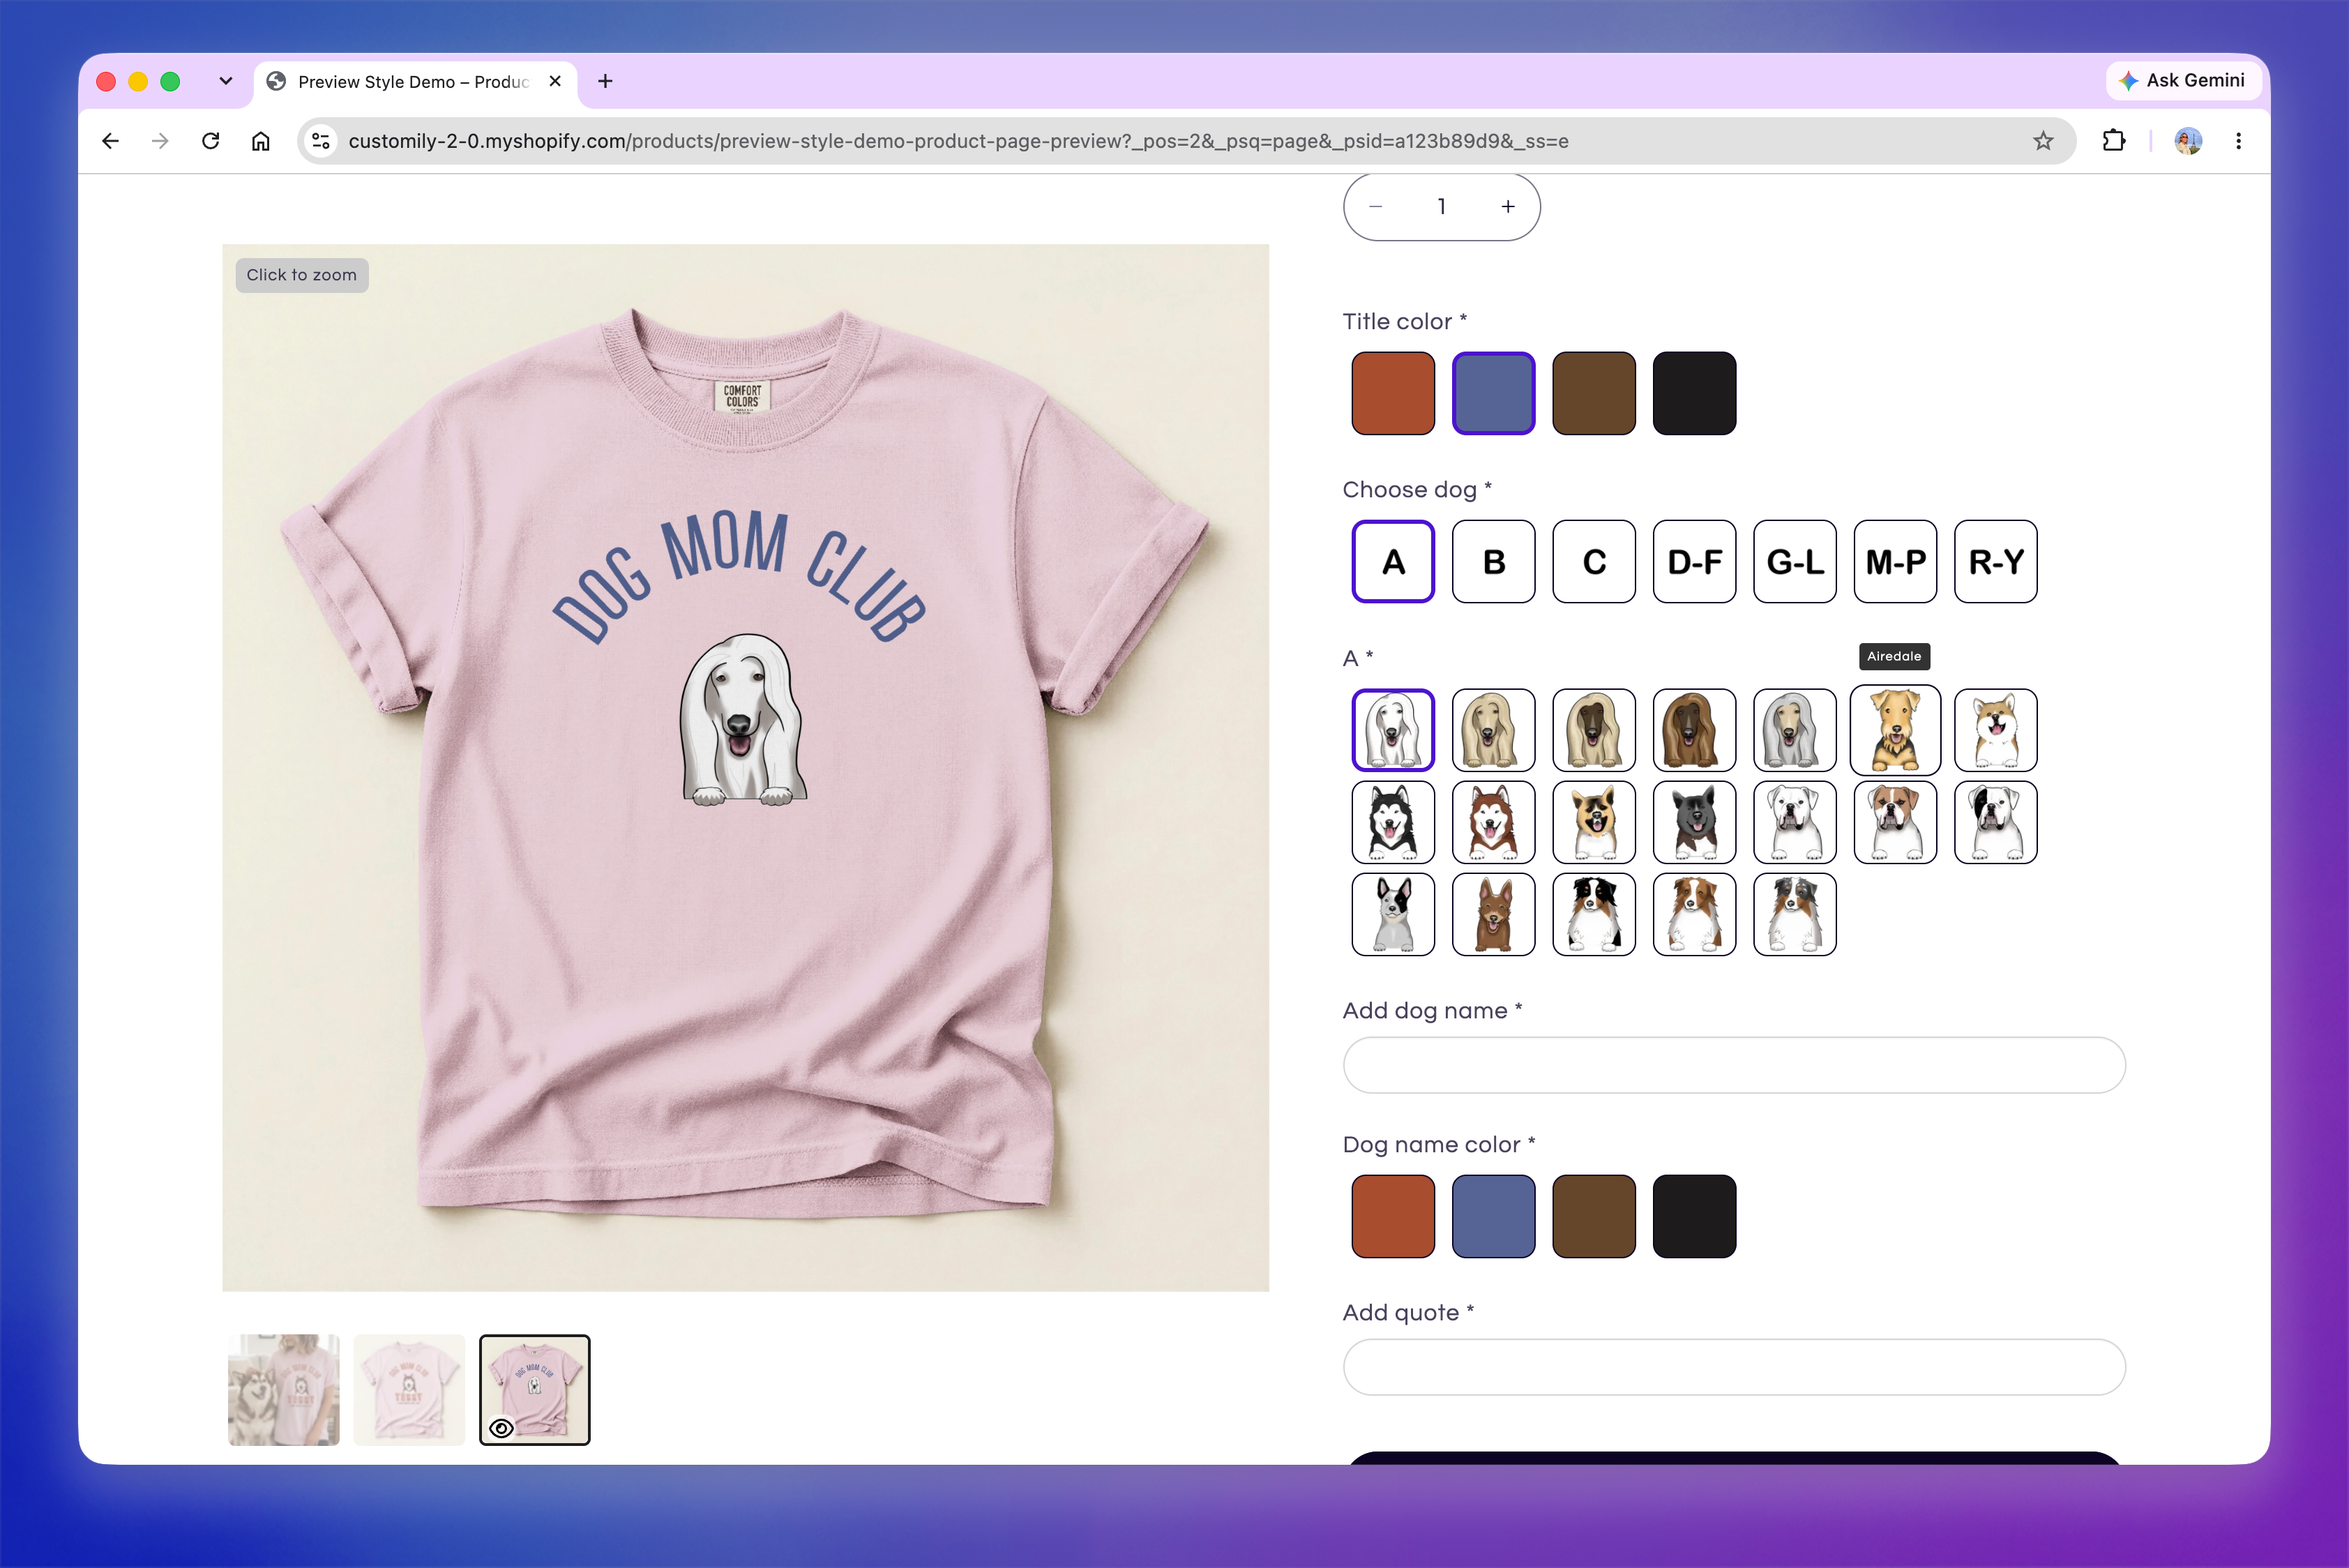
Once enabled, the tooltip appears directly above the swatch when a shopper hovers over it, giving shoppers additional information about a swatch without adding more text to the personalization form.
Tip
To customize the appearance of tooltips, use custom CSS in Developer Settings and target the tooltip with:
.tippy-popper .tippy-tooltip {
  /* Your styles here */
}
Customize the required indicator
When a shopper tries to add a product to the cart without completing all required personalization options, Customily displays a Required indicator next to each option that still needs to be completed.
Go to Store Settings > Styles → Required message to customize:
Required message text: Changes the text displayed next to incomplete required options.
Required message text color: Changes the color of the text.
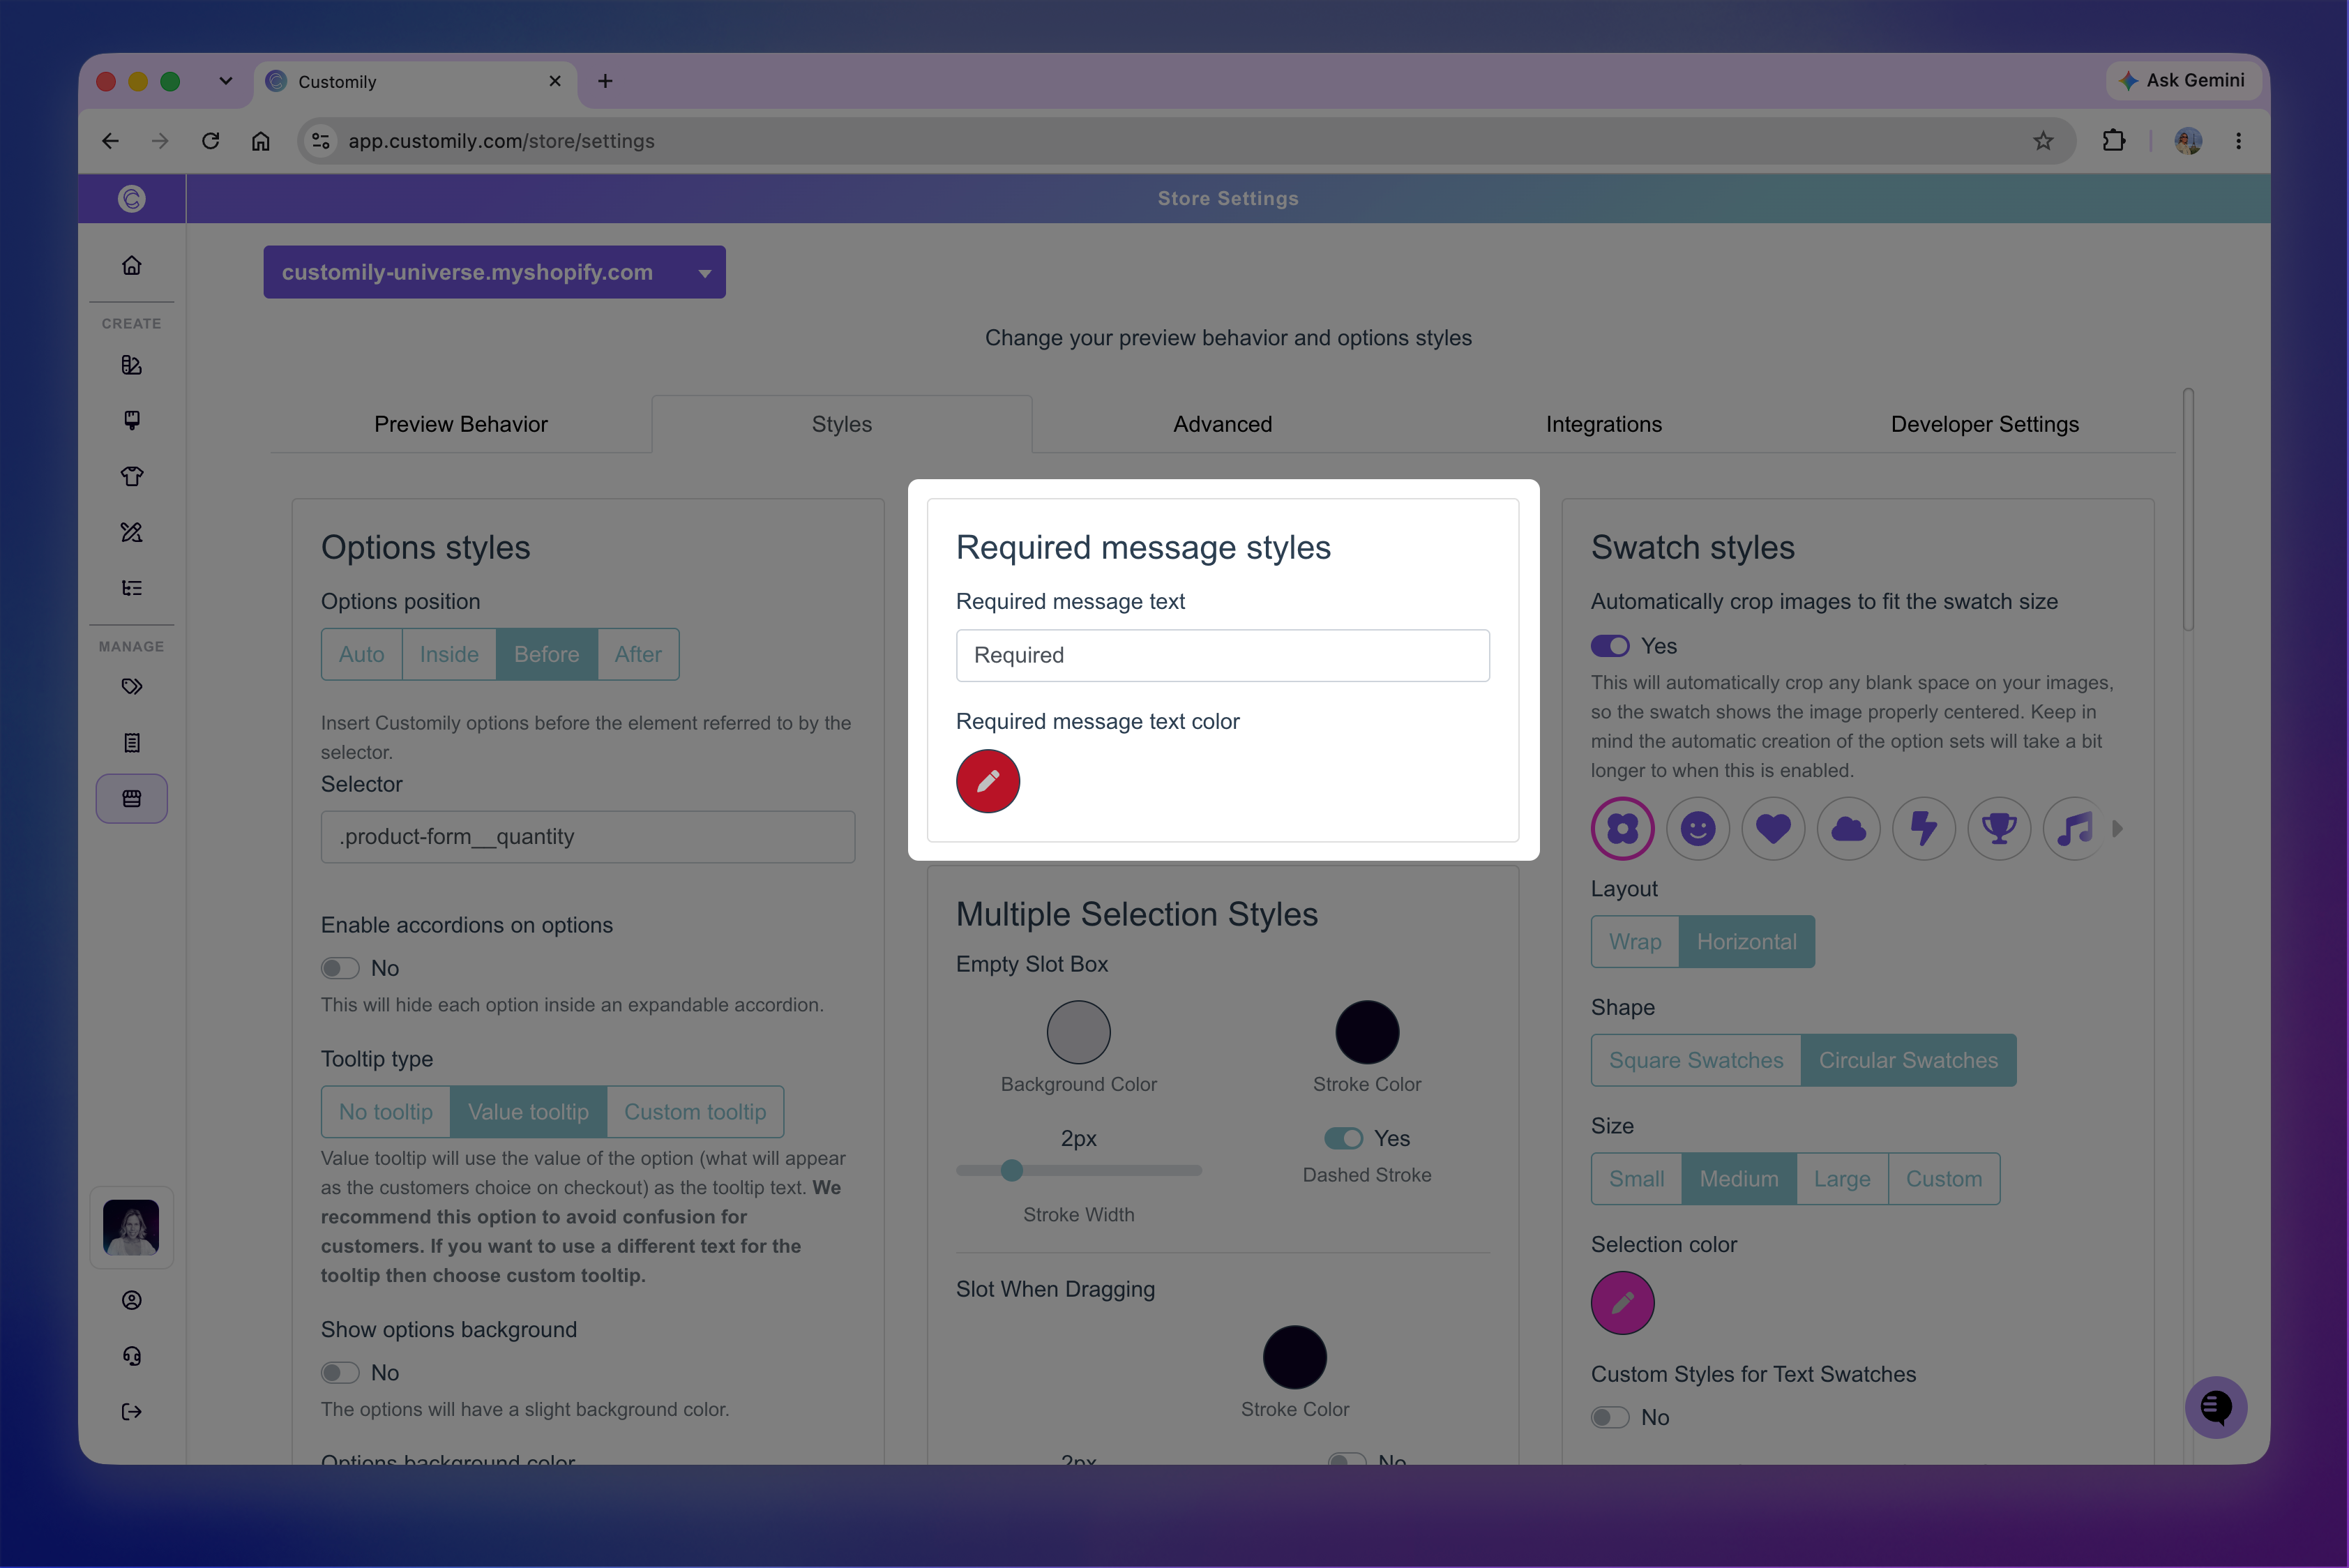
When a shopper tries to add the product to the cart without completing all required options, the indicator appears next to each required option that still needs attention.
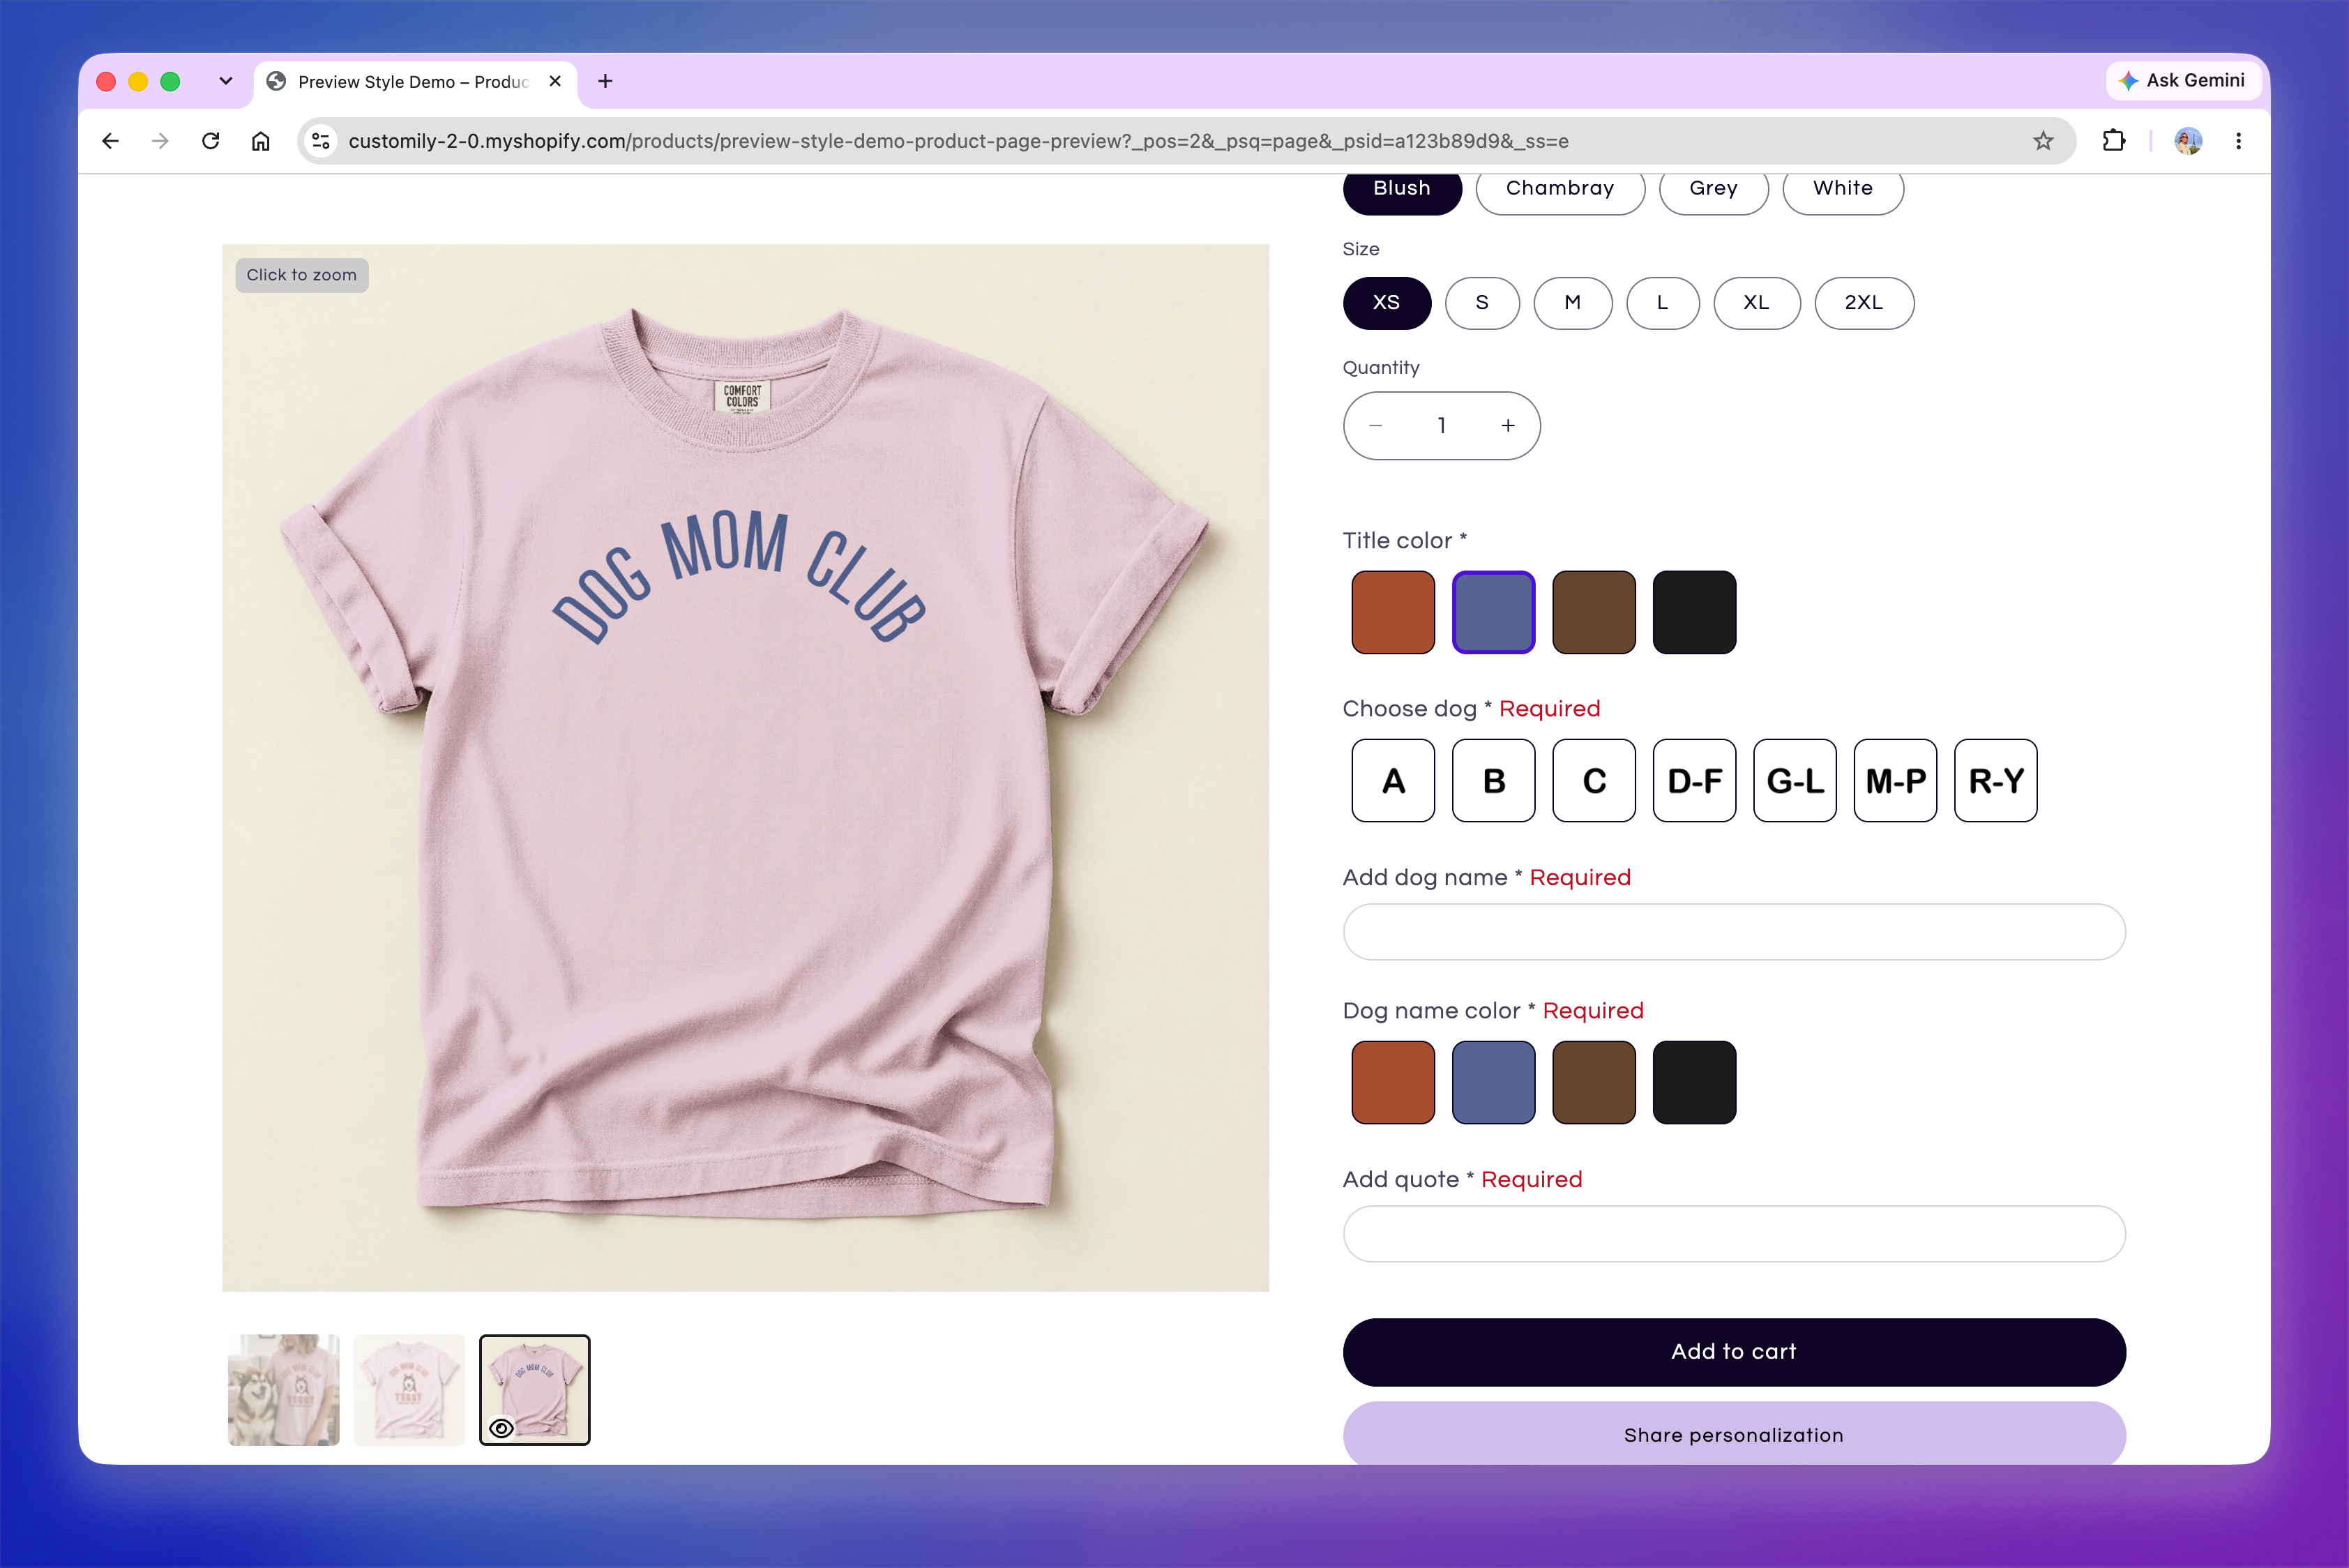
These settings apply to any type of personalization option marked as required.
Style help text
Help text isn't styled through Store Settings > Styles because it supports HTML formatting directly in the Option Set. This lets you format help text individually for each option instead of applying the same style across your store.
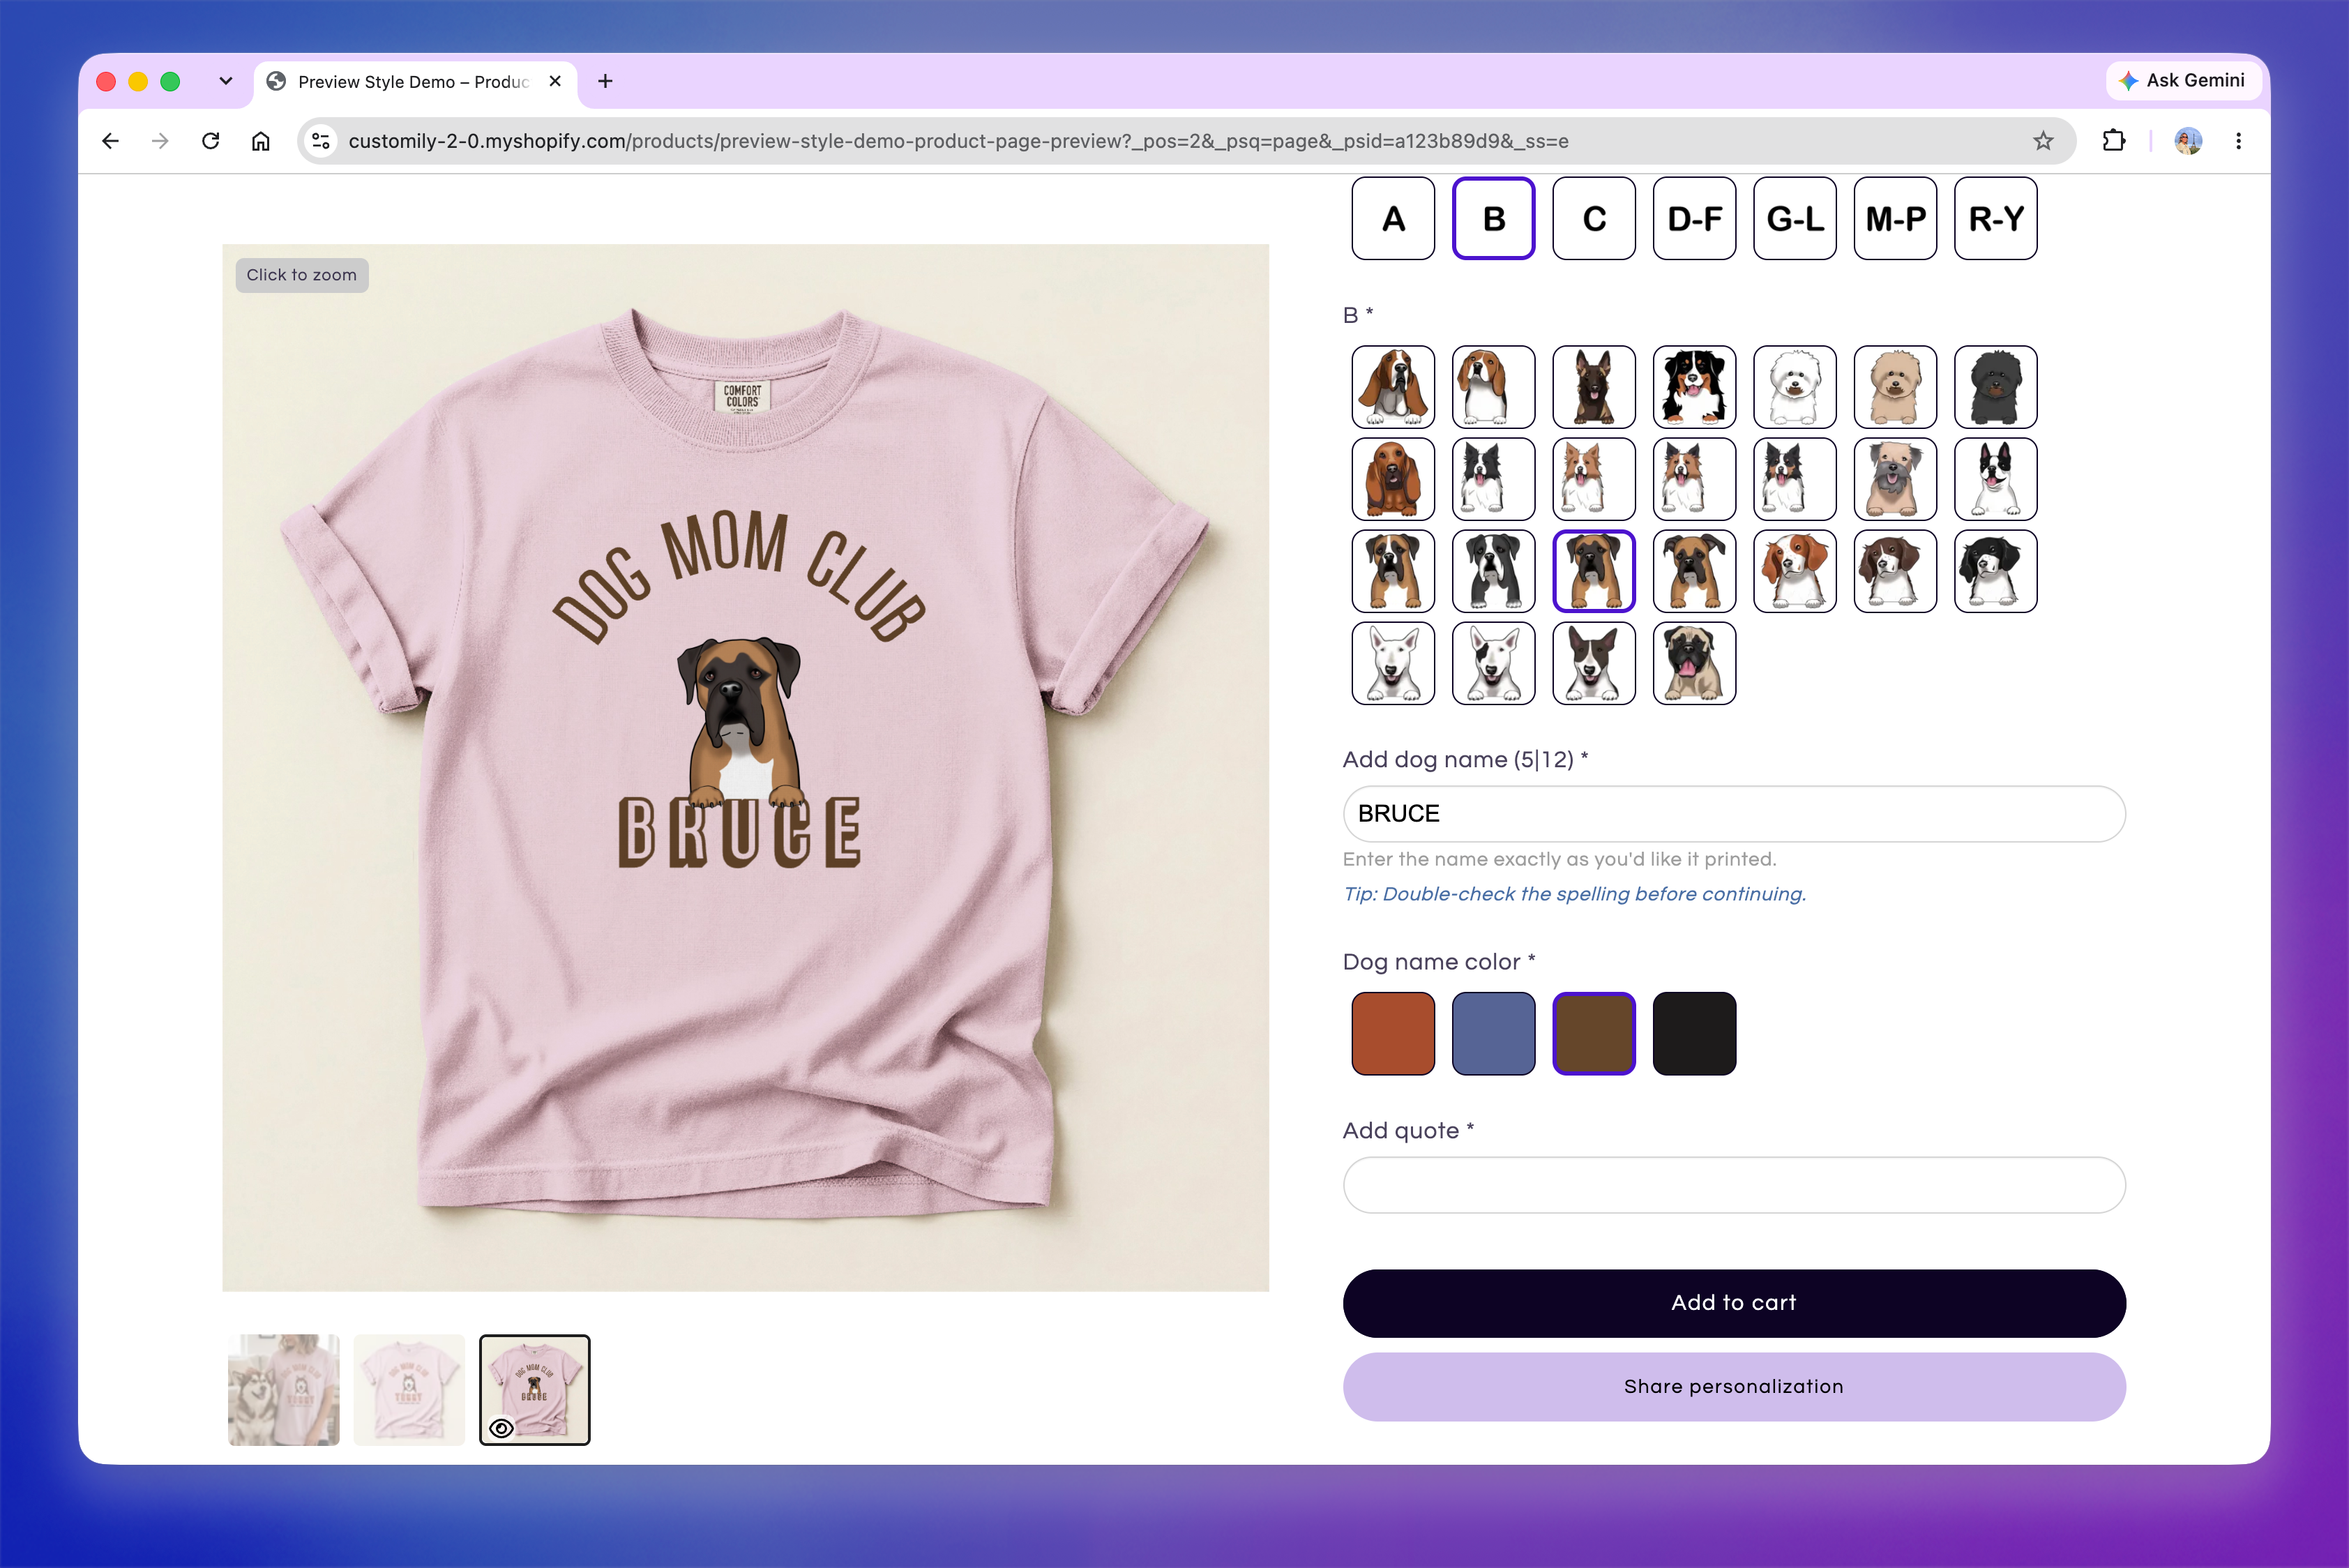
Use HTML to change the appearance of specific parts of your help text. For example, the following help text uses a different color and italics to make the tip stand out:
Enter the name exactly as you'd like it printed.
<em><span style="color: #4A6FA5;">Tip: Double-check the spelling before continuing.</span></em>
The HTML formatting is applied when the help text appears on the storefront, letting you emphasize useful information without changing the style of the entire personalization form.