Understanding Step 1
Last updated: April 30, 2026
Step 1 is the beginning of your template creation, it is where you'll configure all your print details such as size, format, color mode, and quality. It is also where you create your design on the canvas by adding the different design elements available in Customily.
The different things you can configure in this step are:
Remember the print file (also referred to as the production file) will have all the information that is used to generate the file ready for printing (or engraving/laser cutting) for every order you get, so keep that in mind when working on it!
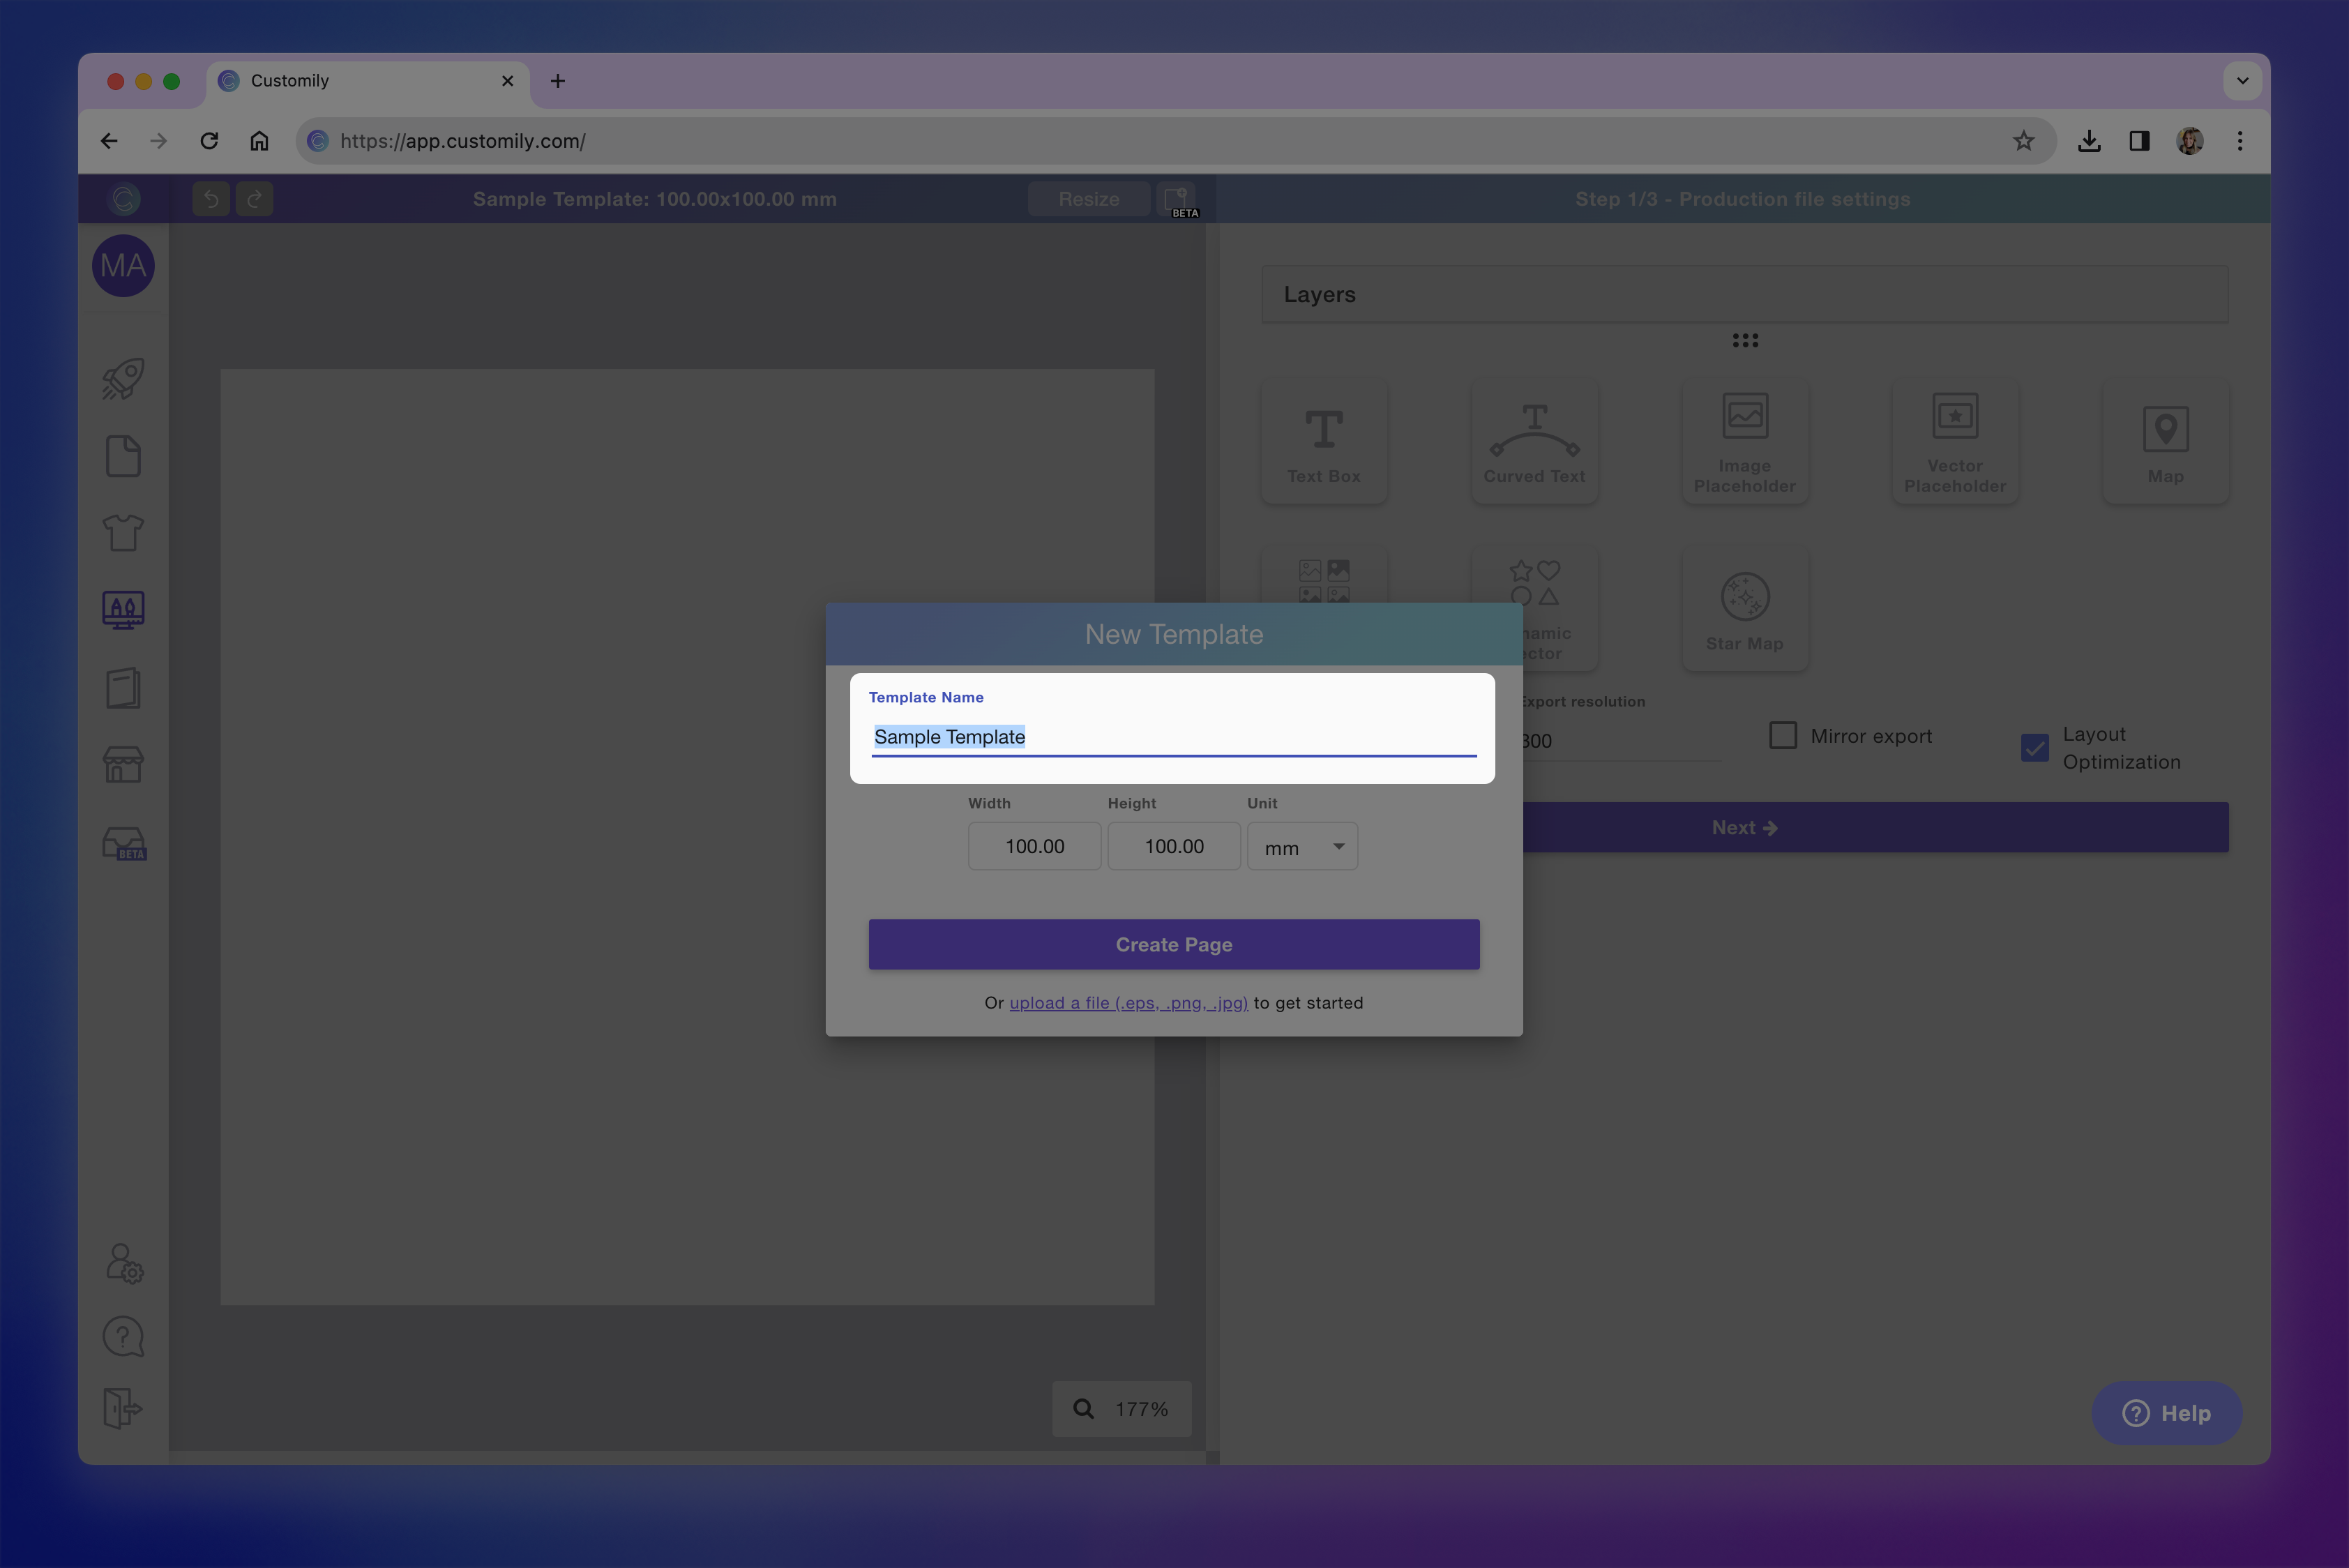
Naming your template
Since step 1 is the beginning of the template creation process, it is where you name your template. We recommend using a name that is easy for you to identify later. This name can be edited afterward.
Defining the size of your print file
There are two ways you can define the size of your print file:
Adding dimensions manually
This is the most common way of defining your print file size. You can set the width and height of your file in millimeters, inches, or pixels. If you choose pixels, you'll also be able to define the quality in PPI (pixels per inch).
When you add the dimensions manually, you will start your template with a blank page.
Choose your unit from the dropdown
Type in the dimensions, if you've chosen px also type in the PPI (pixels per inch)

Click Create Page
Adding dimensions by uploading a base file
If you have a file you want to work with, you can upload it to use as a base of your template. Your template will have whatever size your file has. File formats accepted are EPS for vectors, and JPG or PNG for images.
When you upload a file, you will start your template with whatever art is on your file, this art won't be personalizable.
Keep in mind
Whatever is present on your base file, will always be visible on your print file. So only have elements that are not personalizable there, such as any artwork that is fixed on your design, crop marks, etc.
Click upload a file to get started
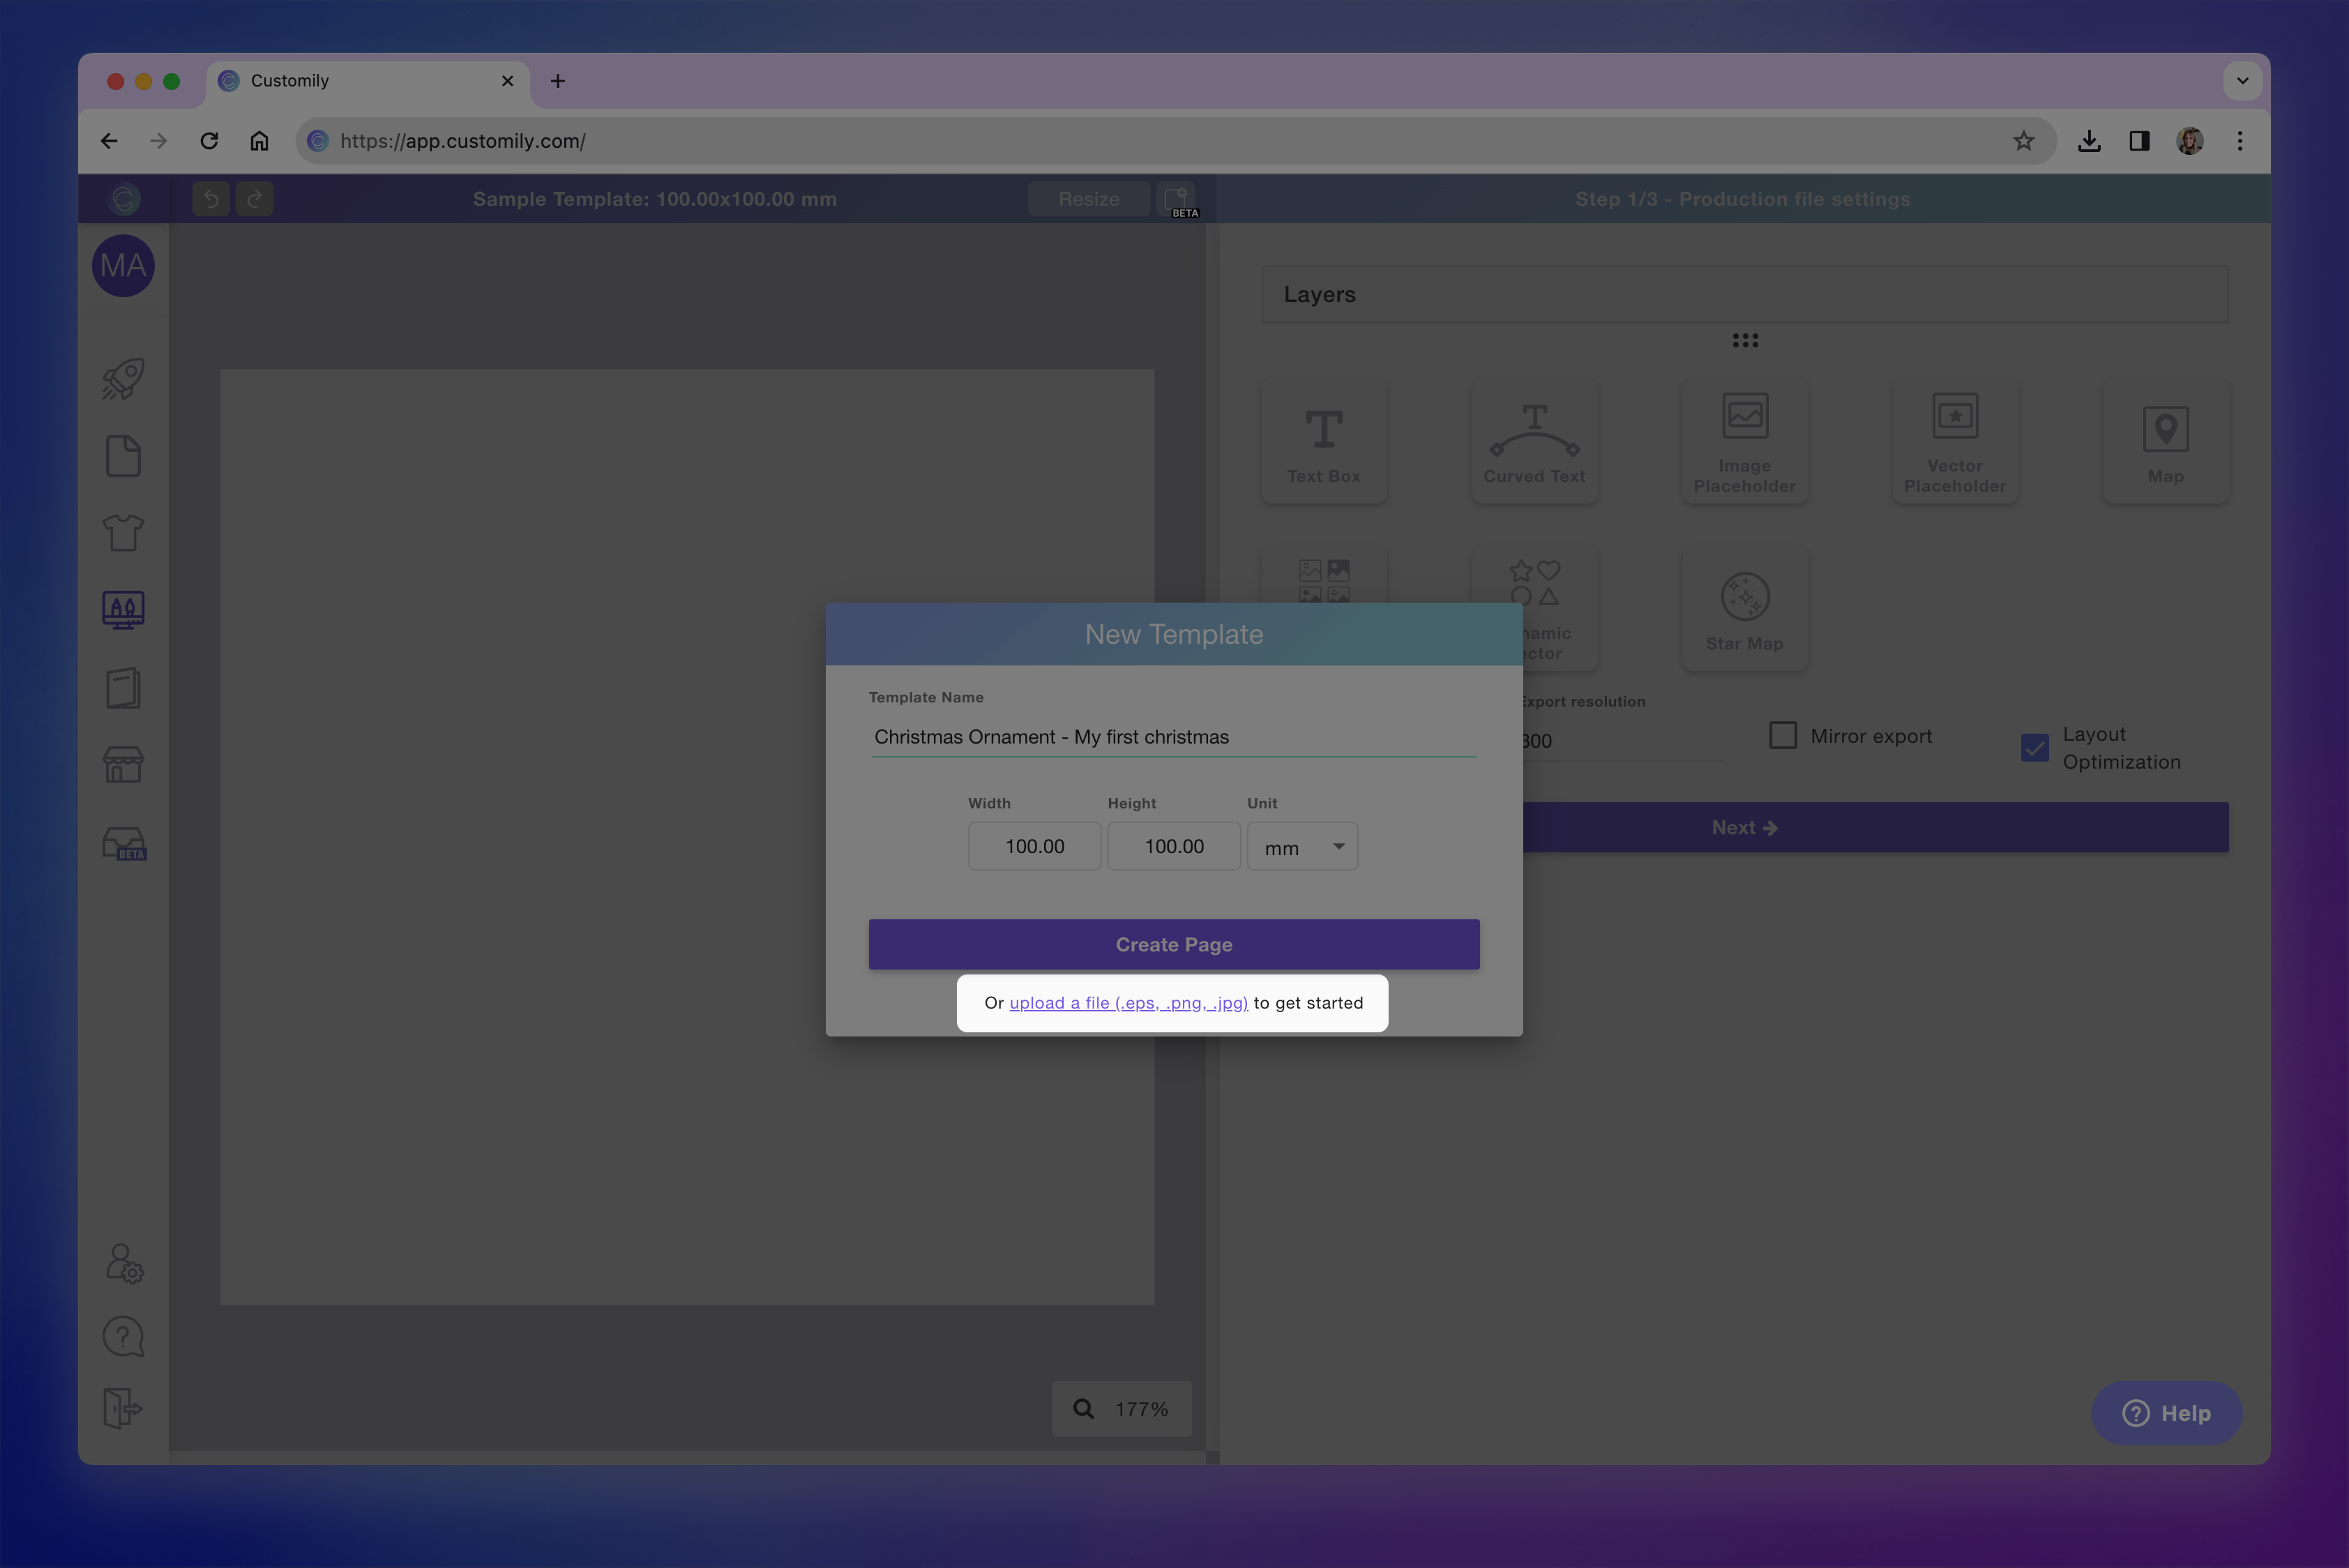
Select a file from your drive
You can learn more about base files and tips on how to work with them here.
Resizing your print file
You can resize your print file at any moment by clicking the resize button.
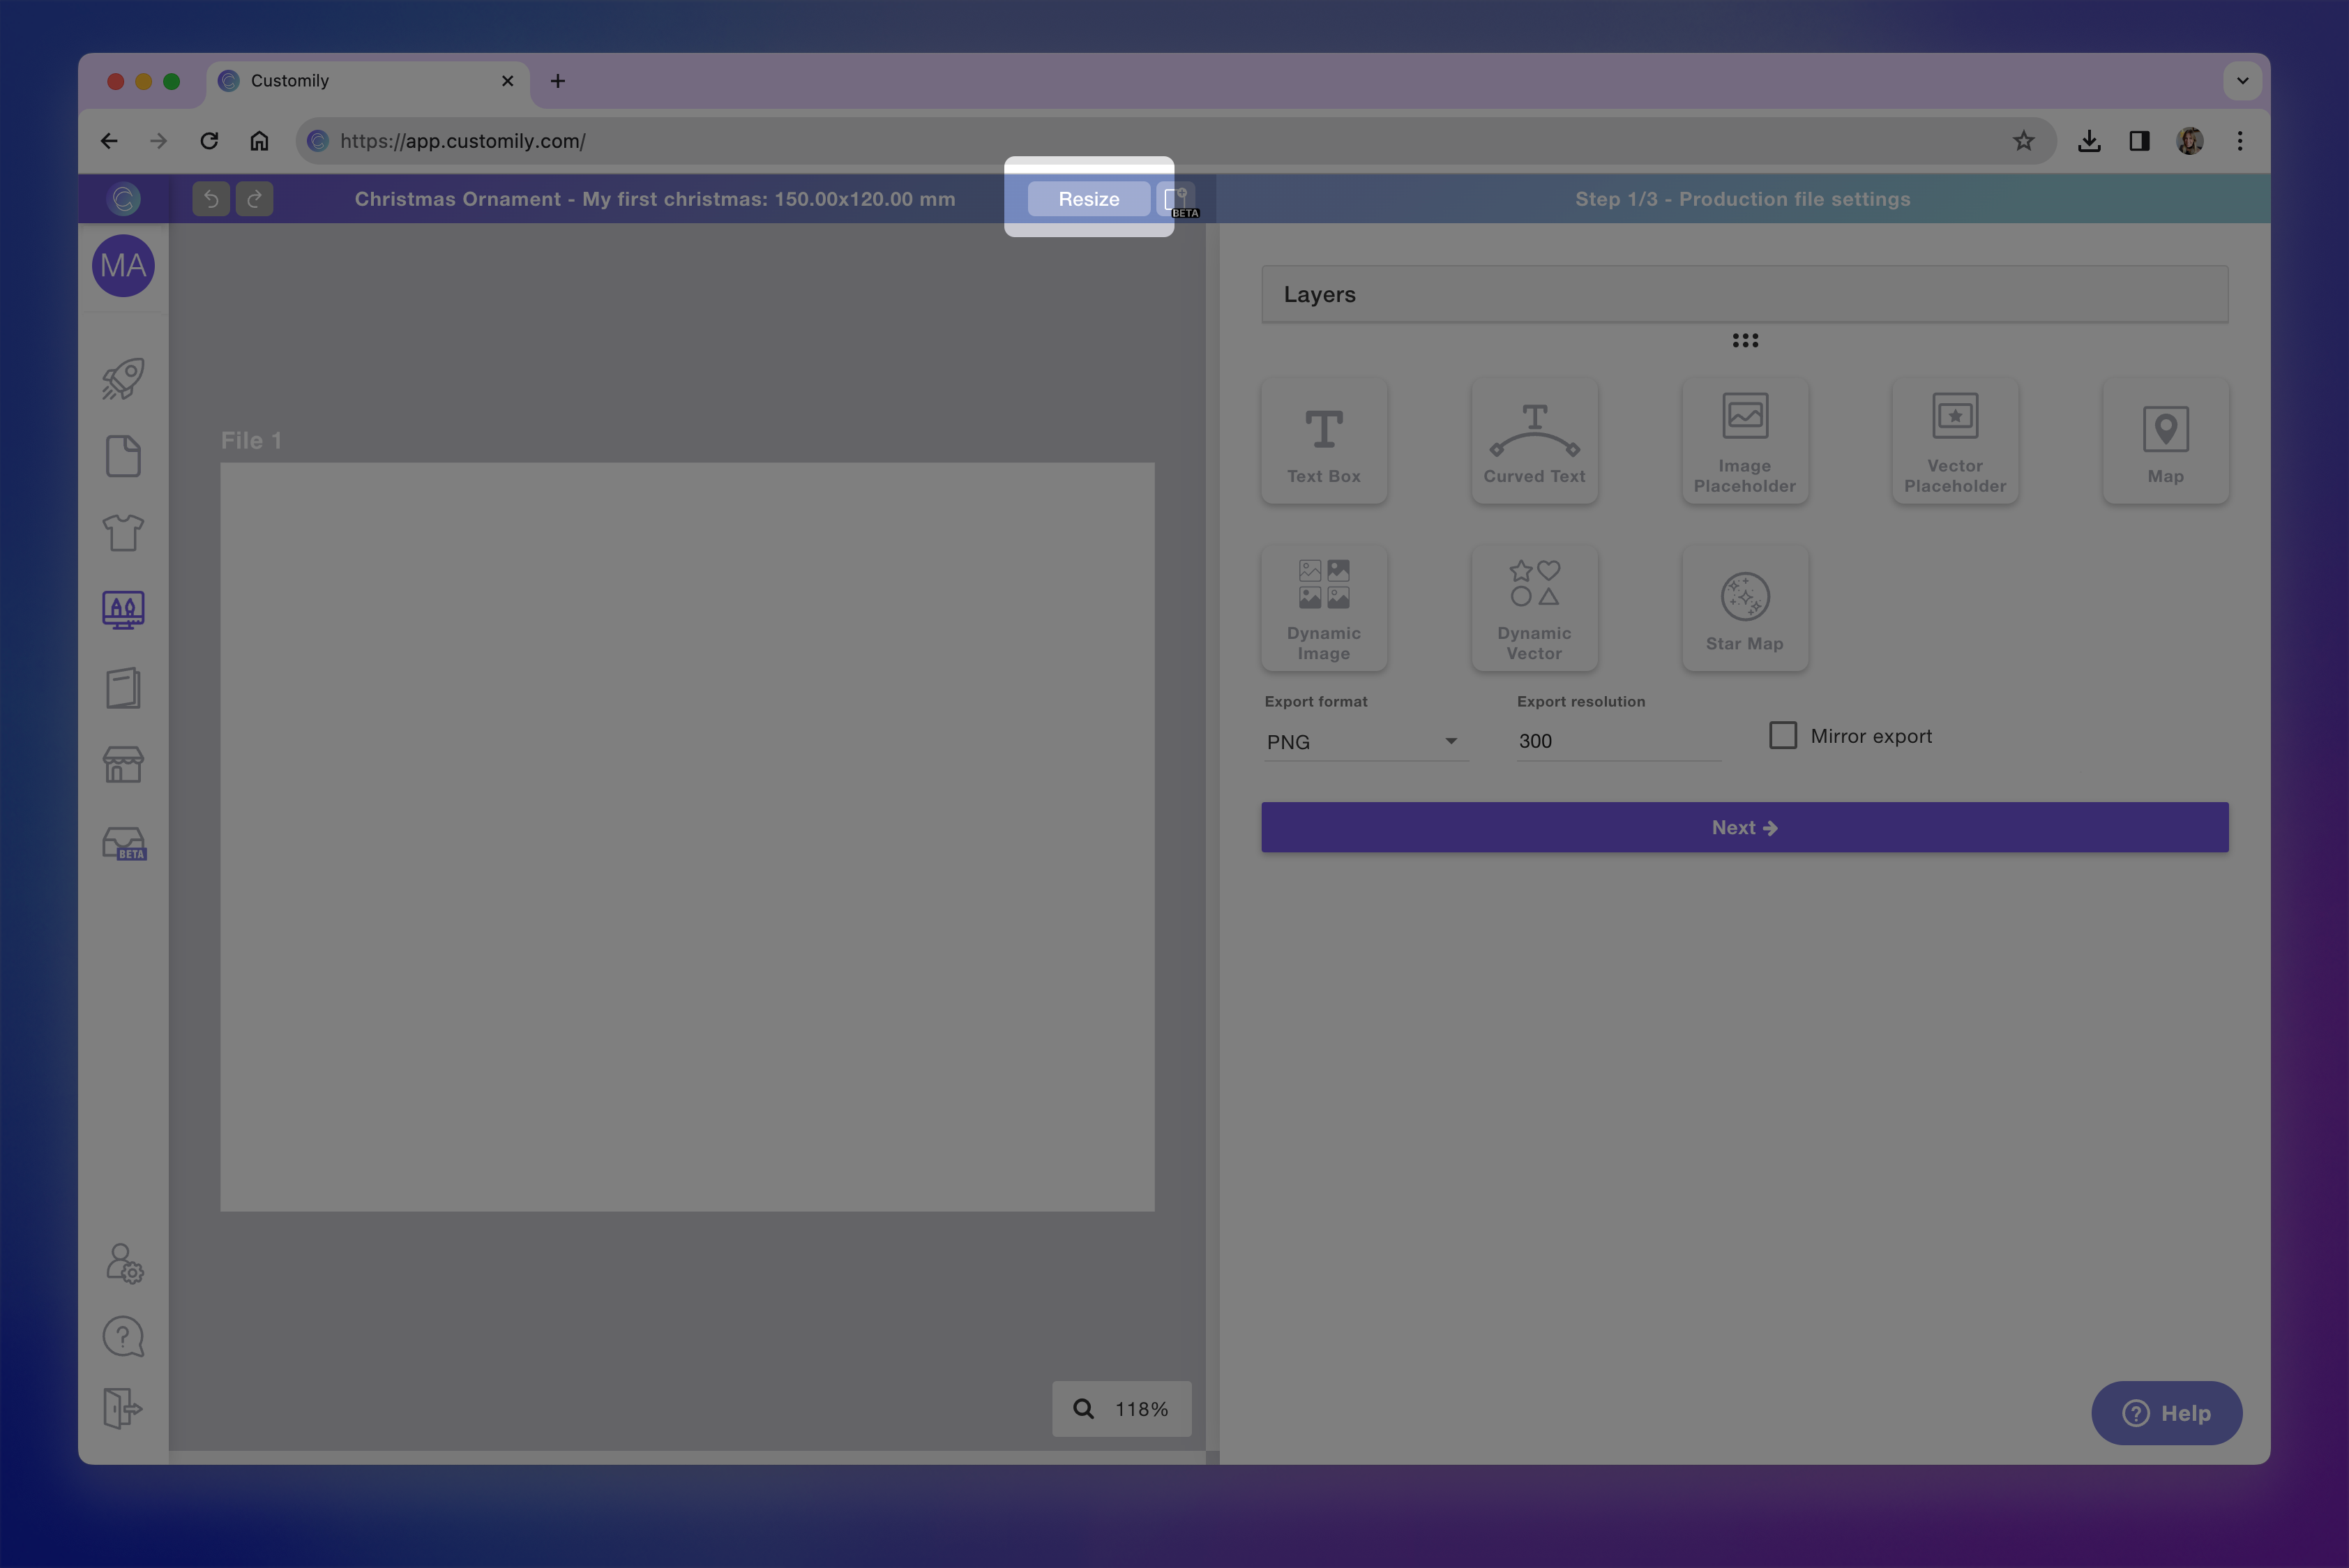
This will prompt the size dialog again for you to enter the new size you want. Keep in mind if you already have designs created on your file, you will have to reposition them to fit the new size properly.
If you've sized your template using a base file then to resize it, you will need to replace your base file.
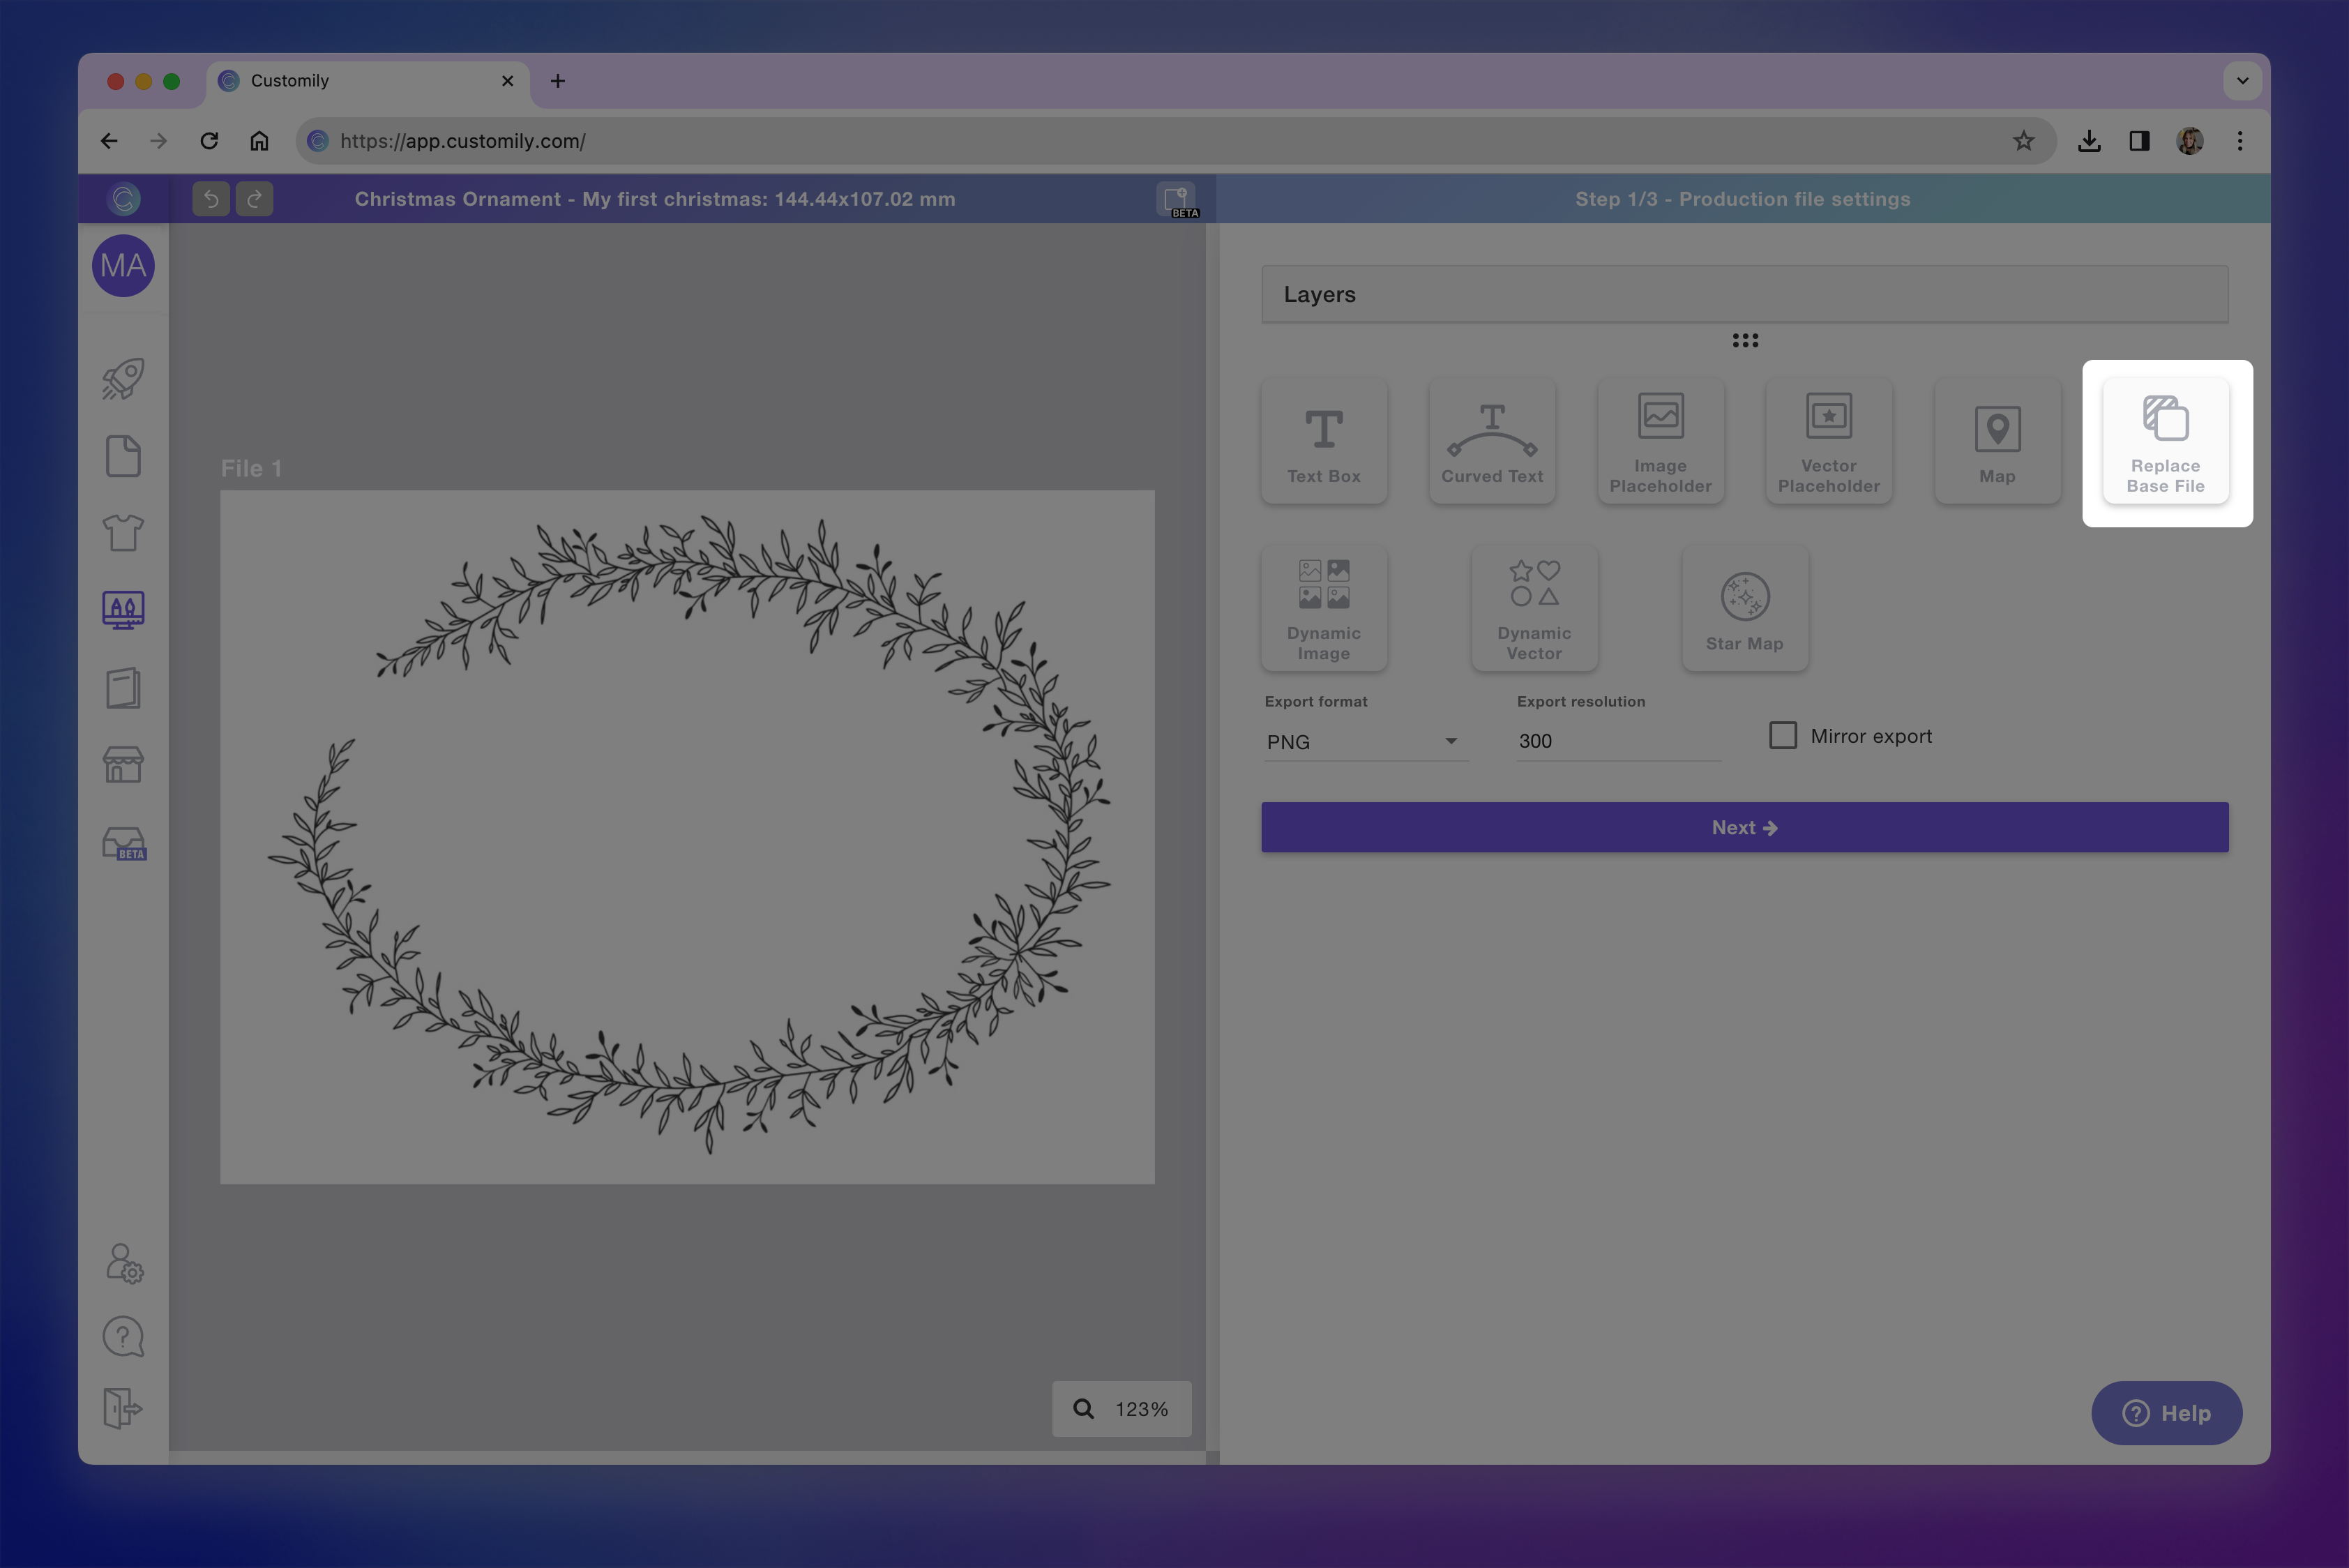
If you used an EPS as a base you will be able to replace the base file only for another EPS. If you used an image as a base file, you will be able to replace the base file only for another image.
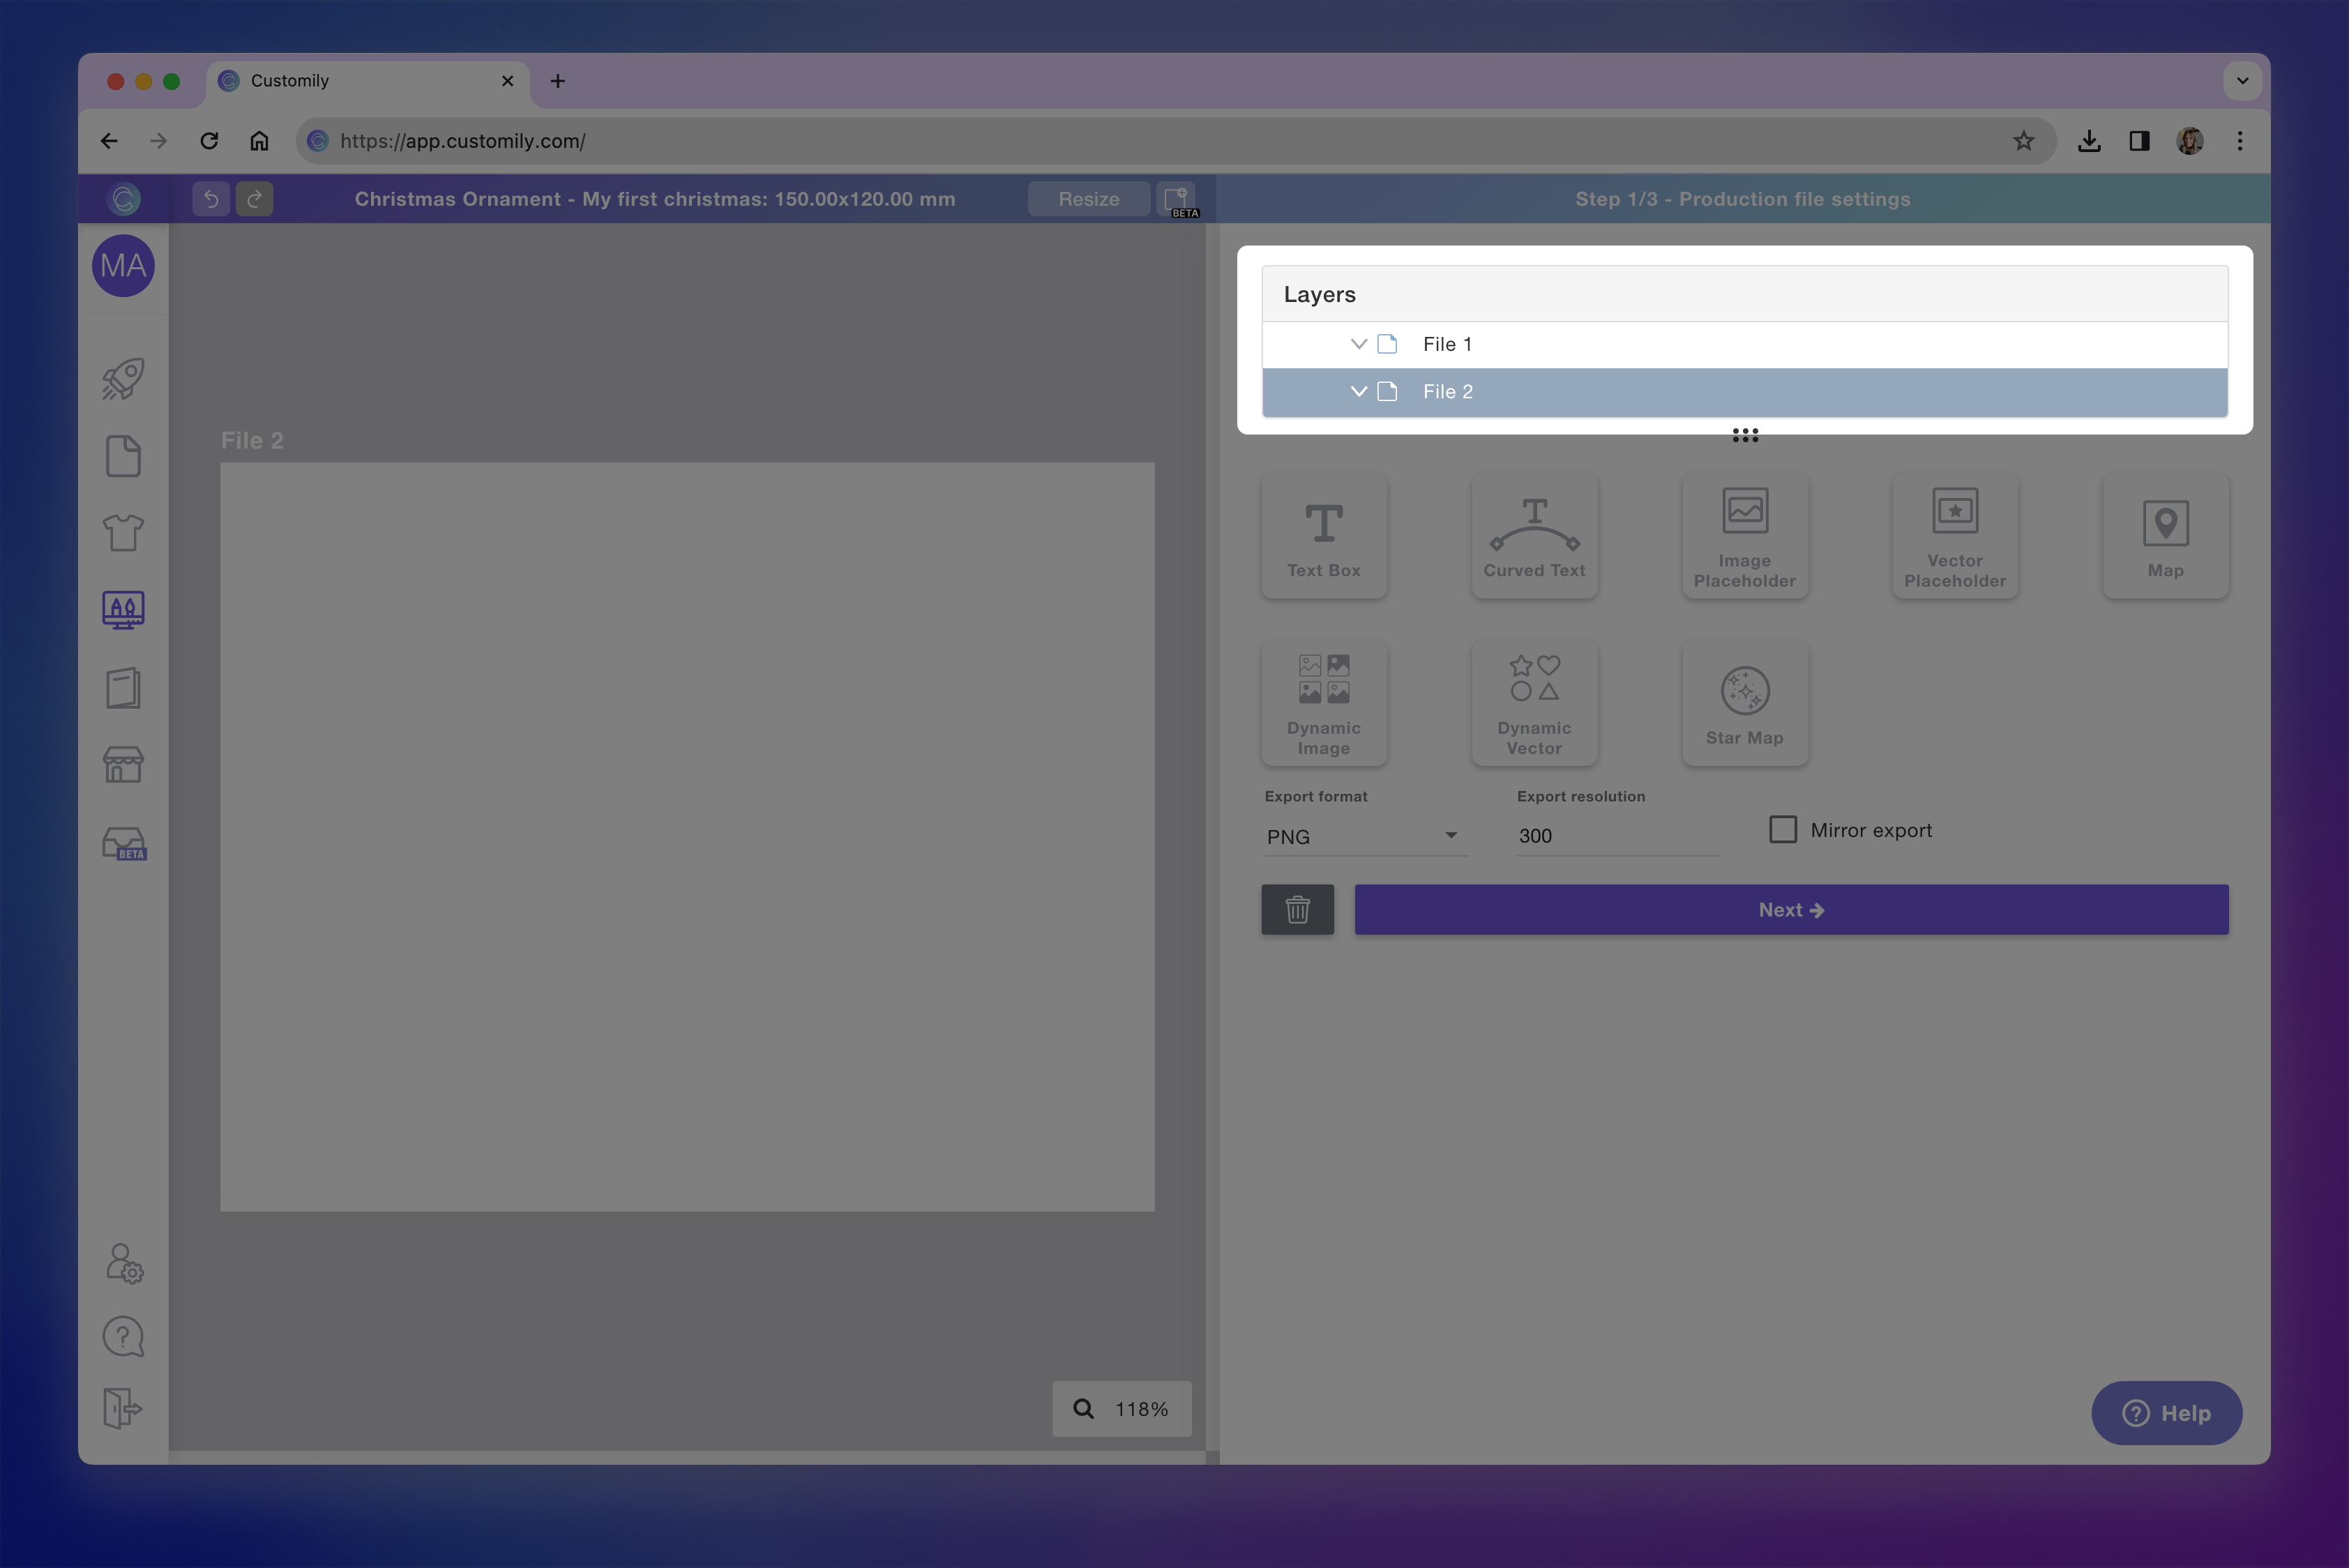
Adding multiple pages to your print file
By default, templates start with one page, but you can add more pages to it very easily. When adding multiple pages, each page will then be exported as a separate print file.
So for example, if you have configured your print file to be a PNG, and you have 3 pages. With every order, you'll get 3 PNGs attached to it, one for each page of your print file.
Important
Multiple files (pages) are only available for Shopify, Etsy and WooCommerce users.
Click on the add file button
A dialog will appear where you can set the dimensions of your new file.

Your new file will be created. It will be identified by File 2 (on the top left corner of the canvas) and will appear on the layer panel. You can change between your multiple files by selecting them on your layer panel.
You can learn more about templates with multiple files and how to work with them here.
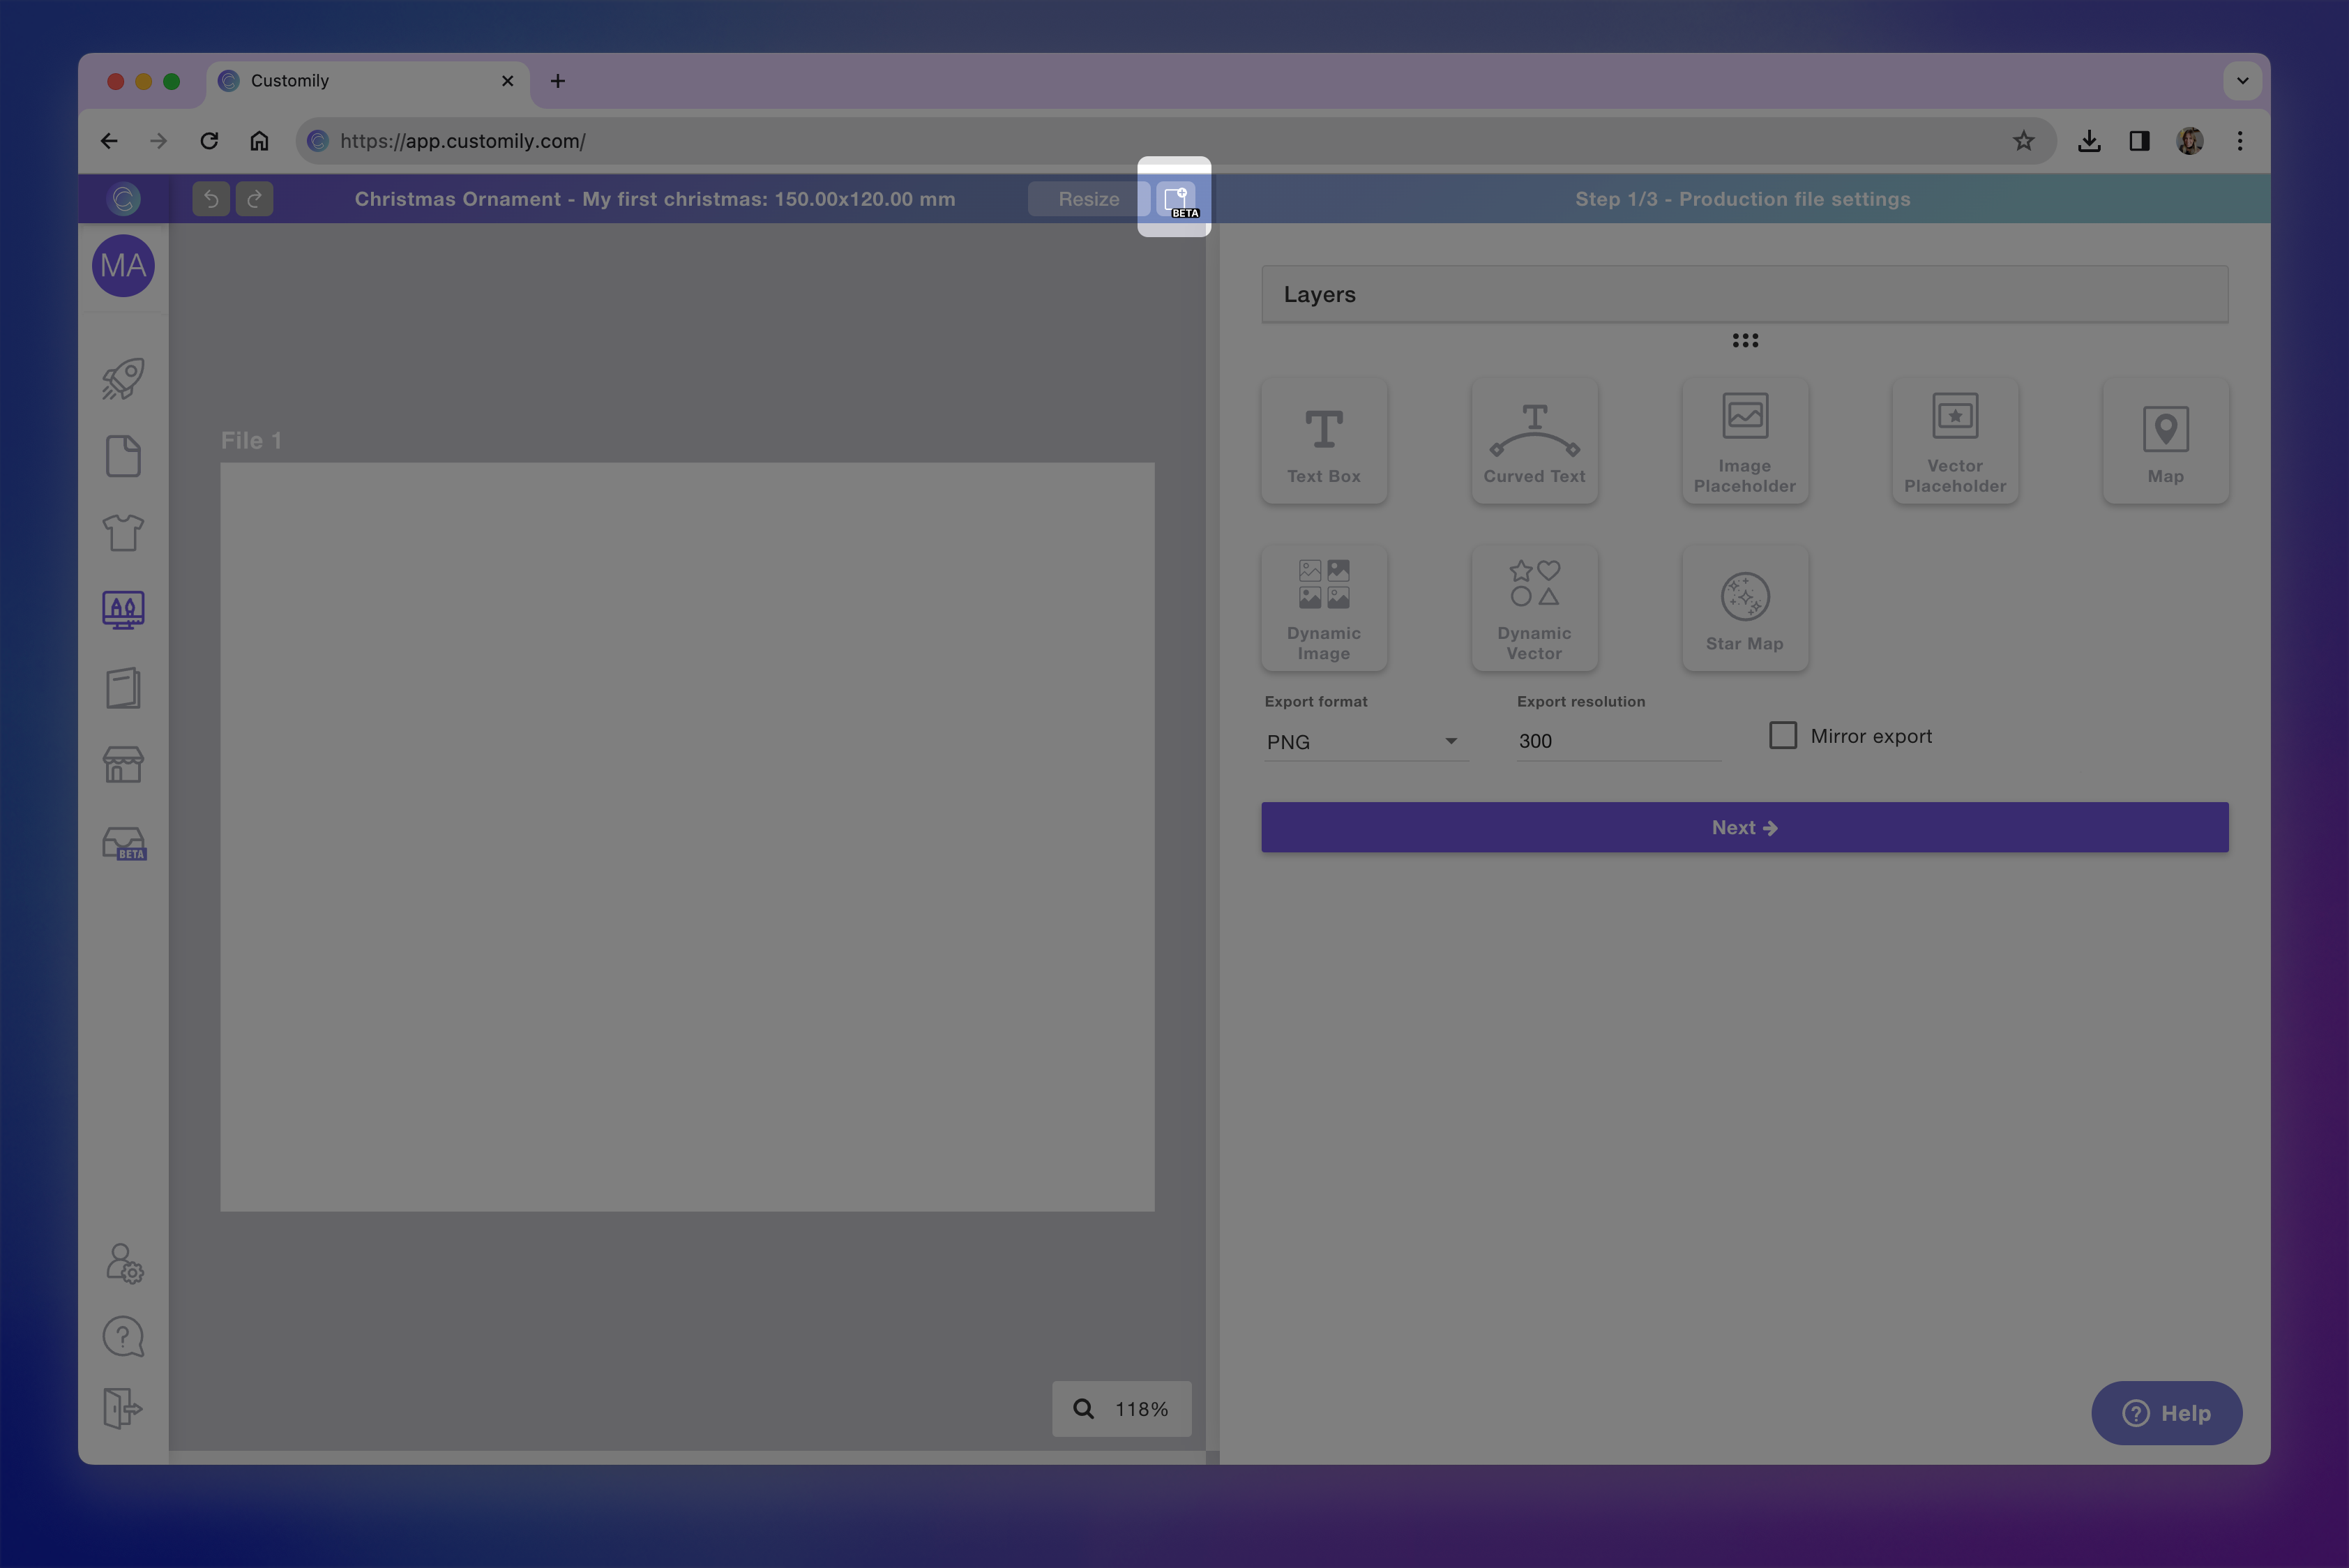
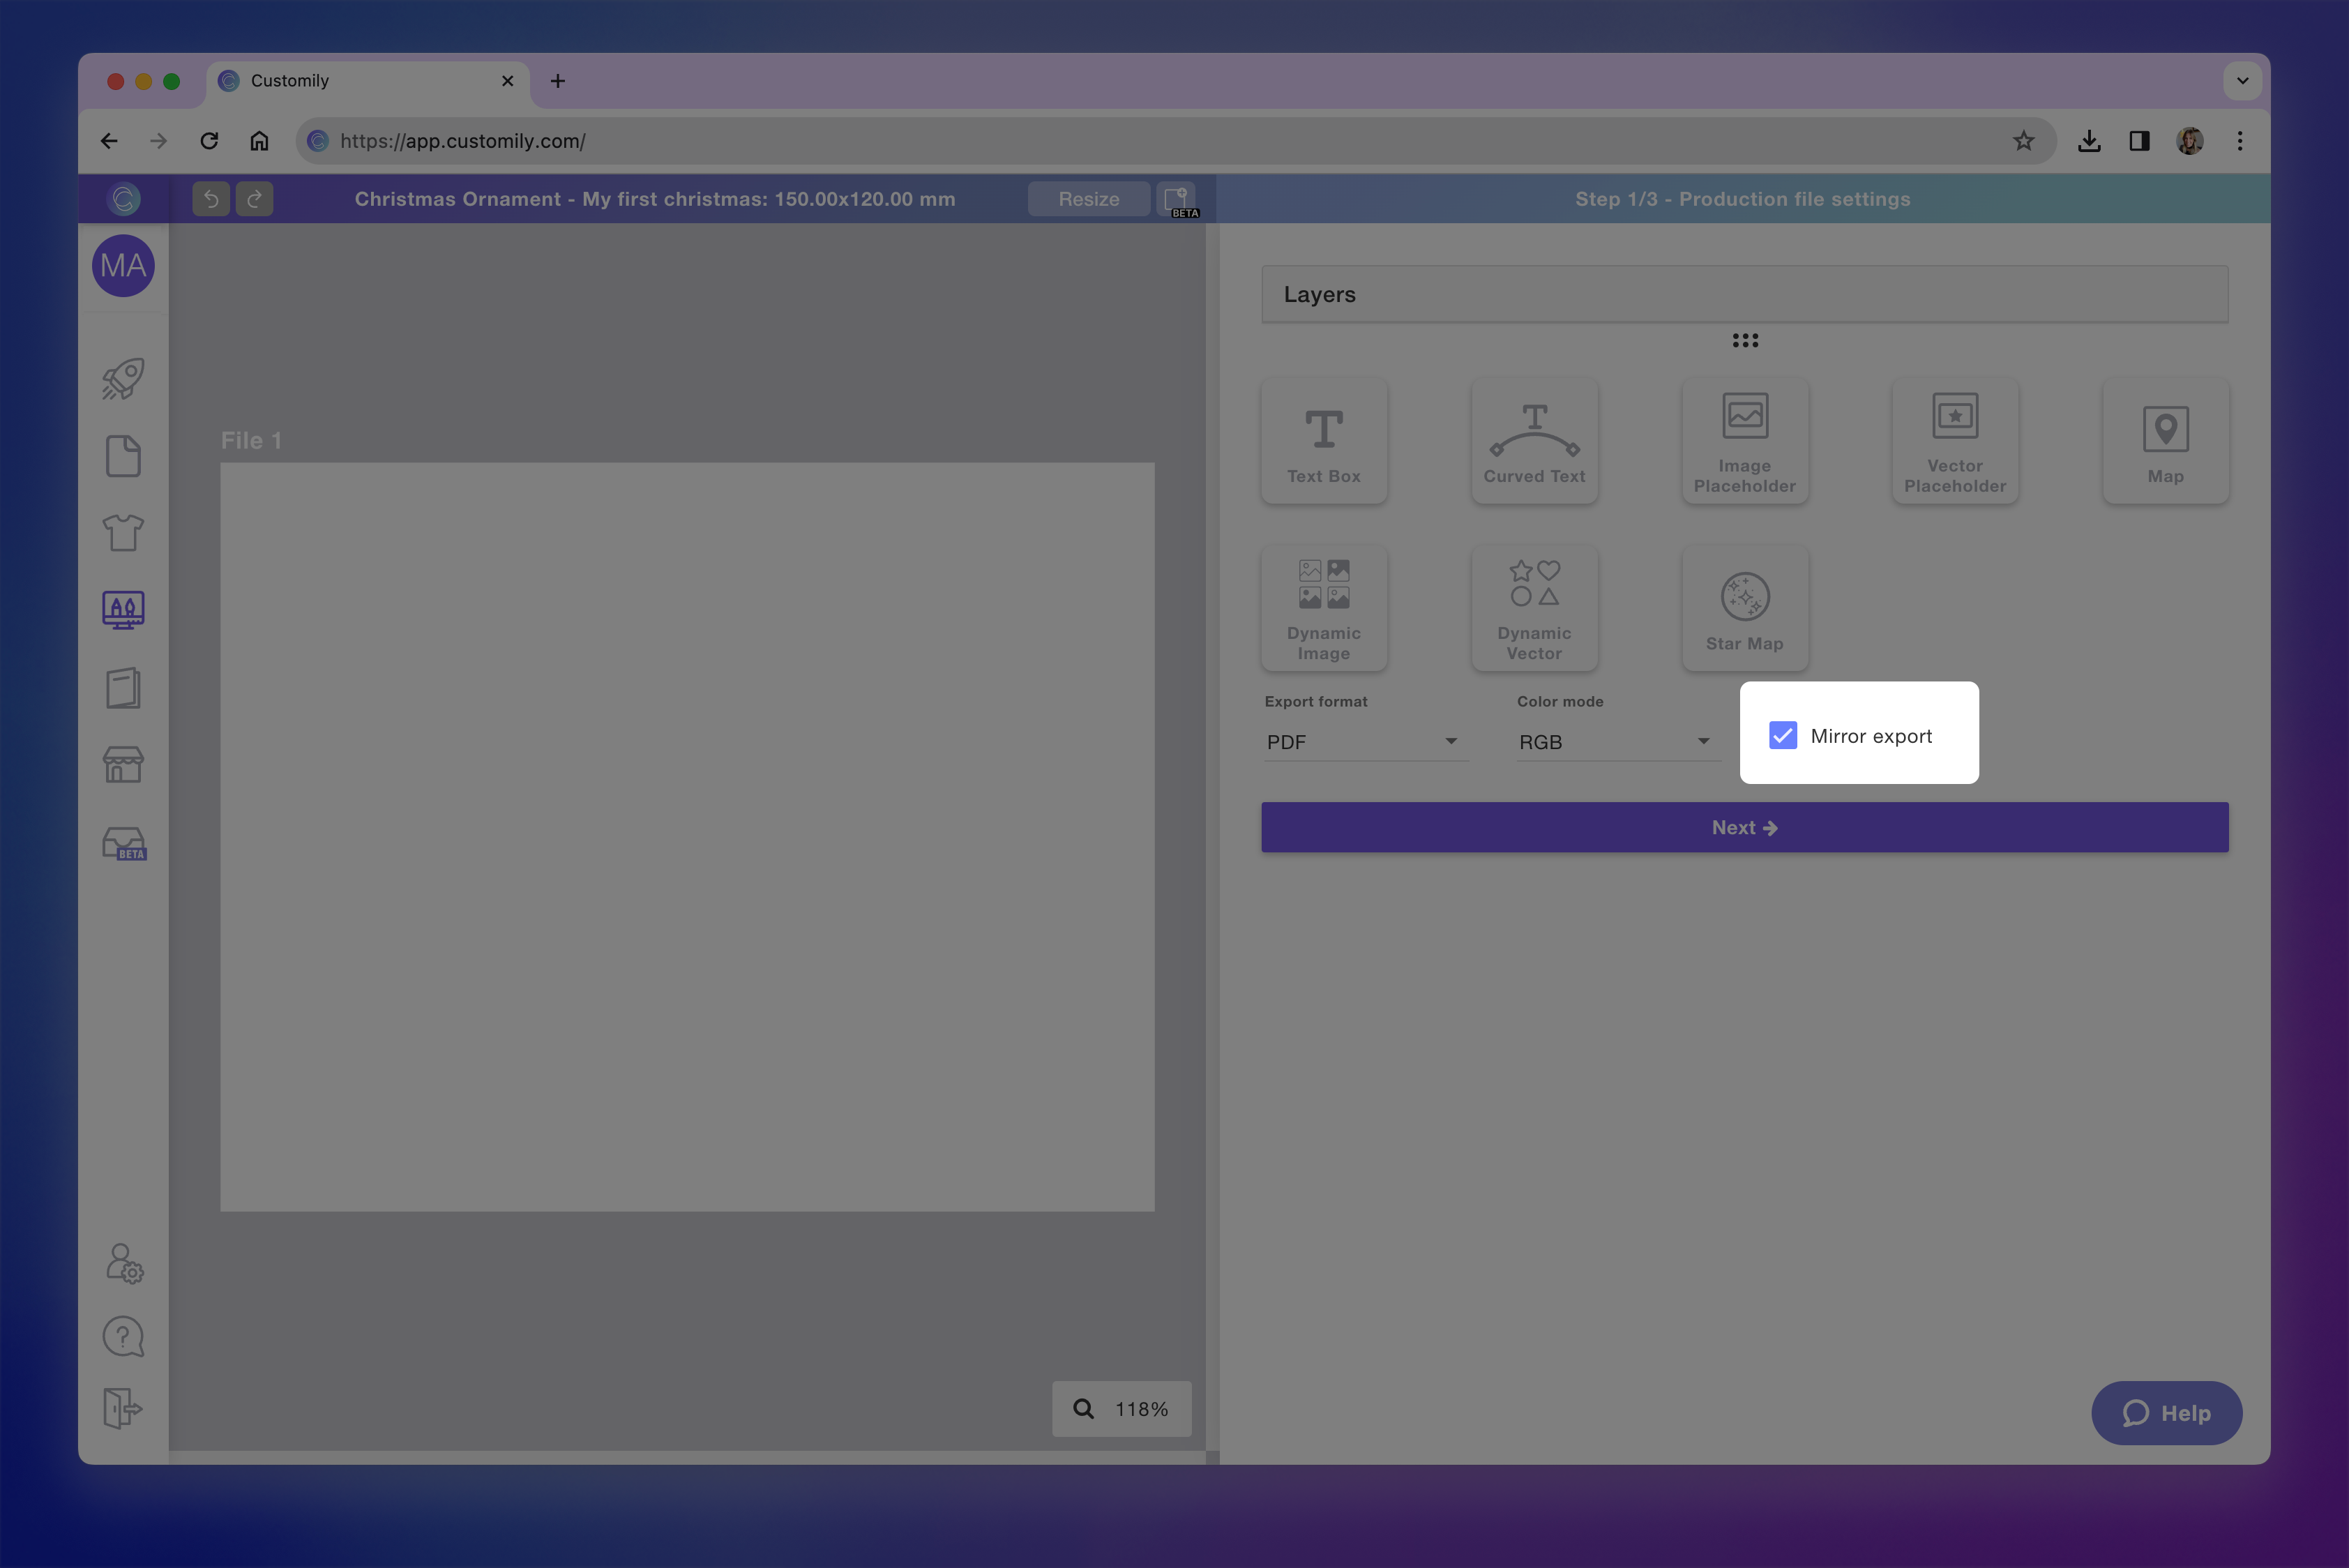
Choosing export format, quality, and color mode
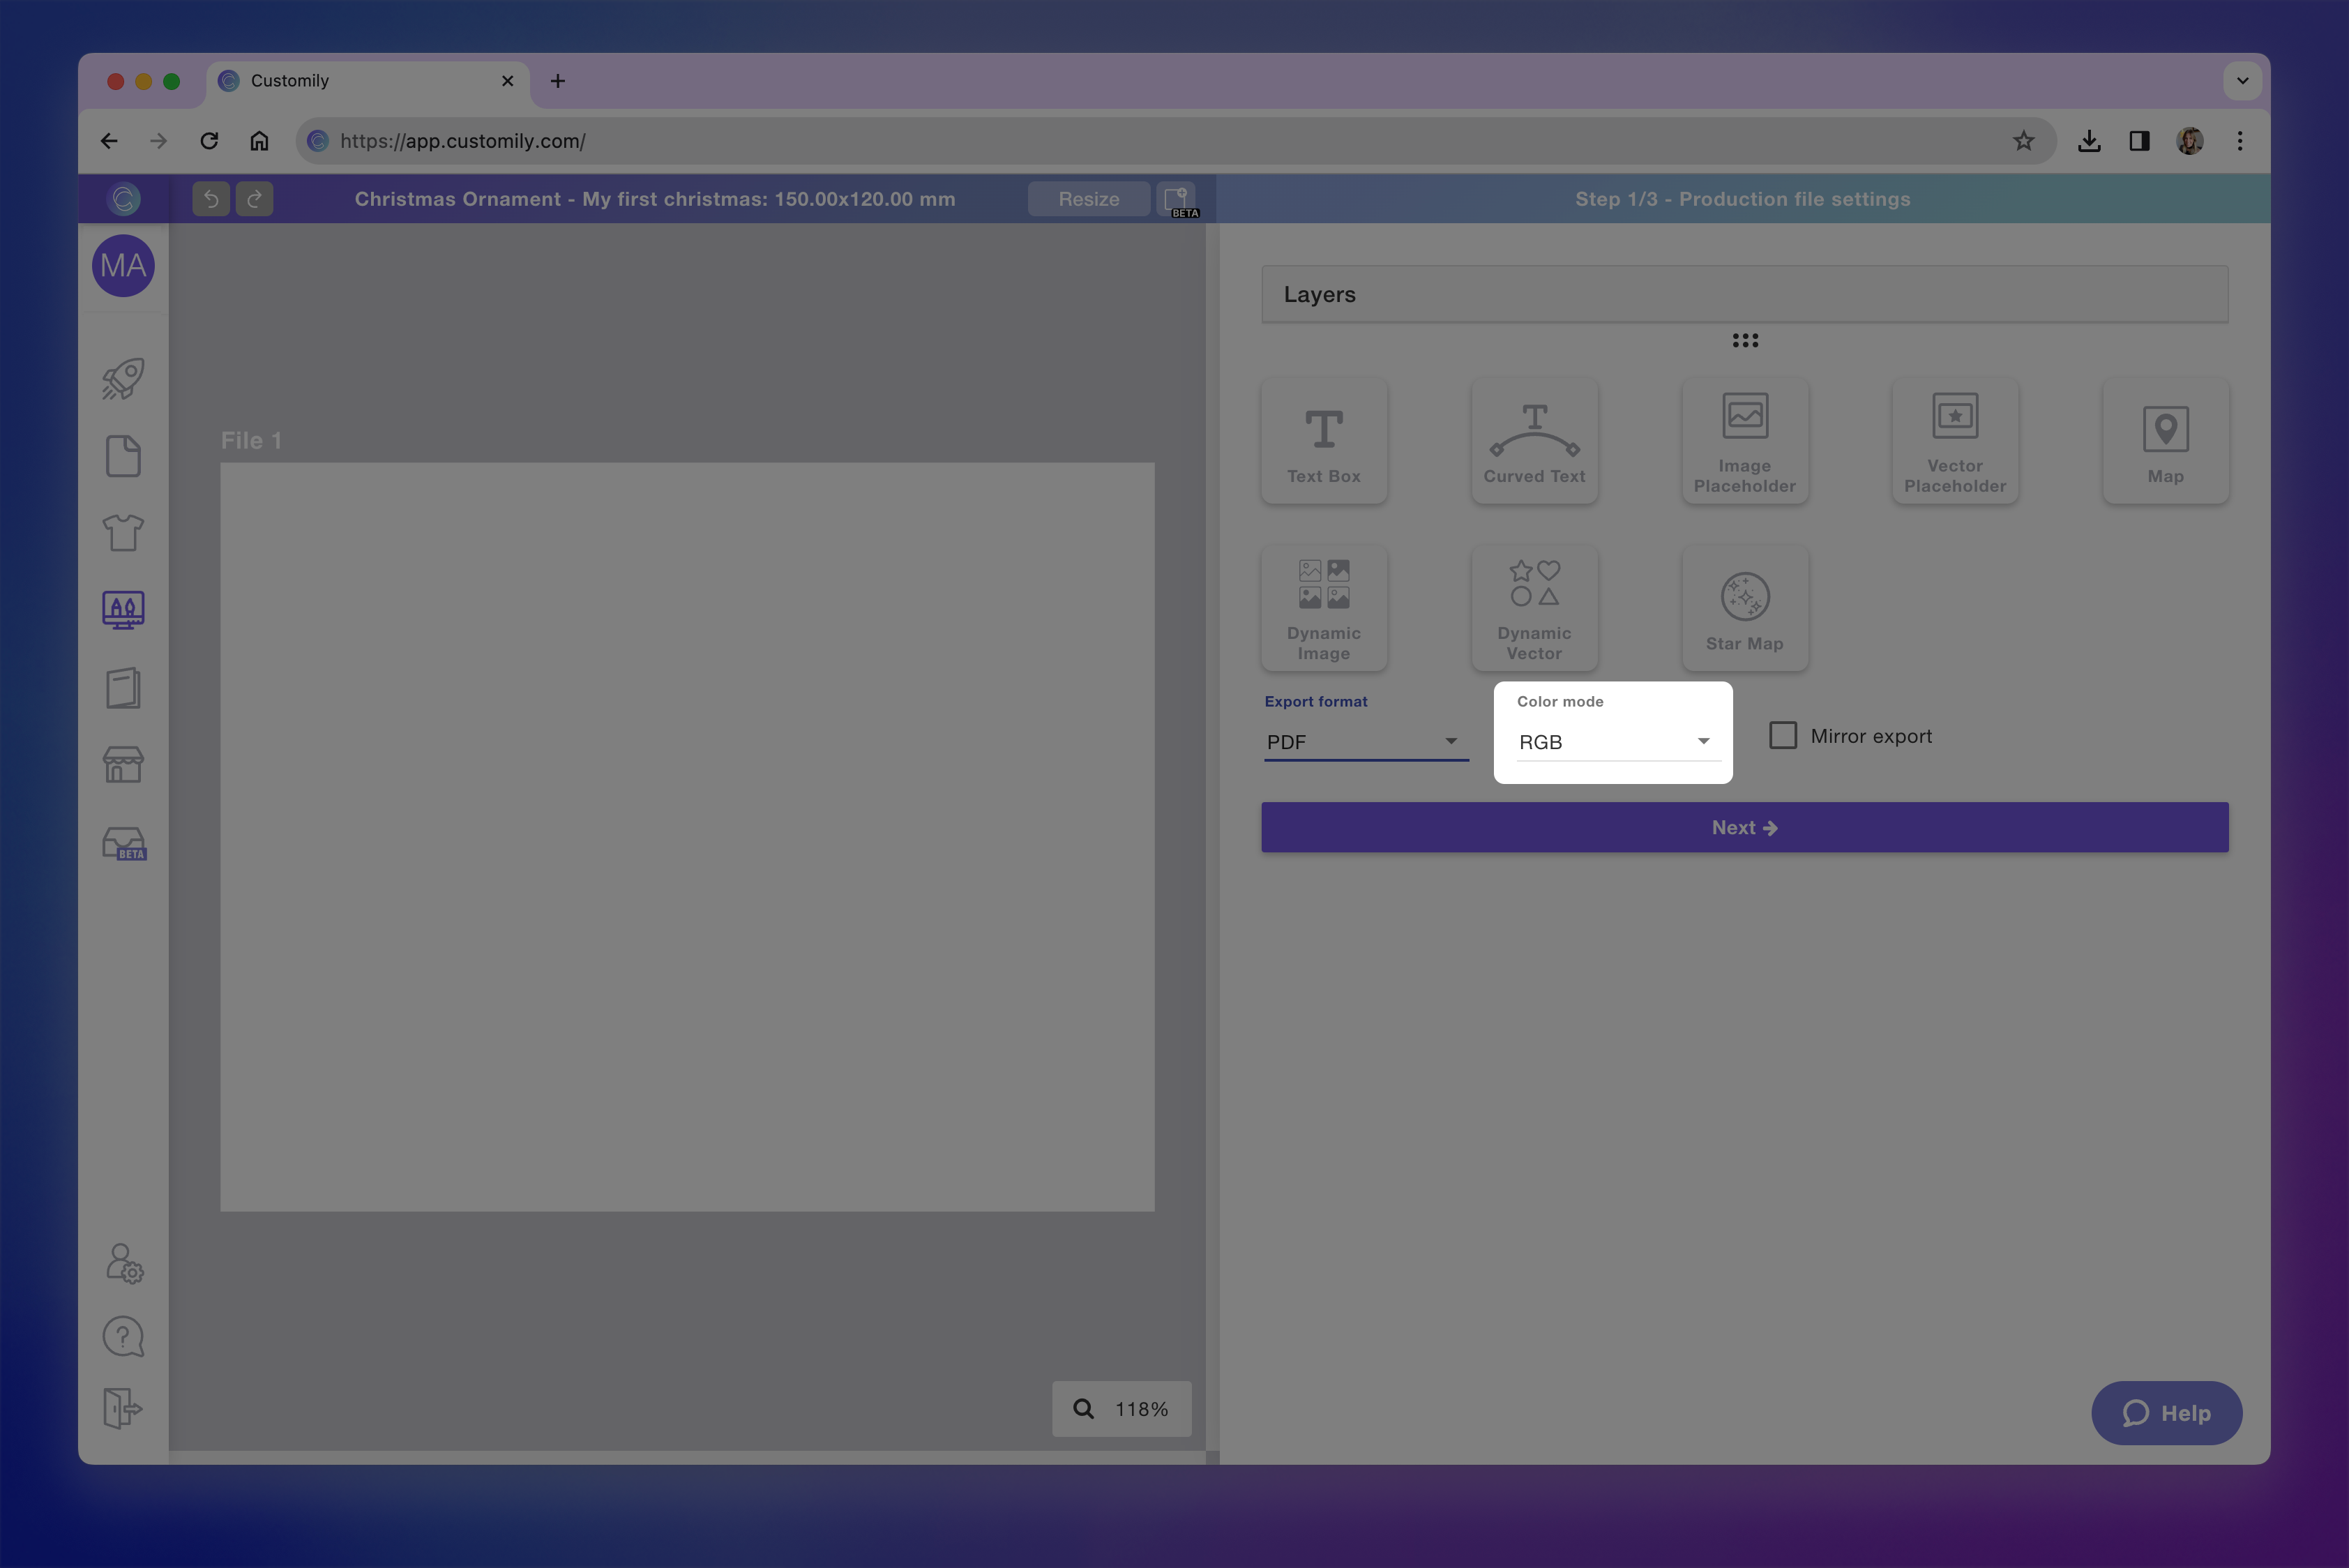
Choosing the export format is a very important aspect of configuring your print file. Formats available are: PNG, JPG, PDF, EPS (vector), DXF, and Ai (Adobe Illustrator). Depending on the format you use, you can also choose the quality (available for image formats) and the color mode (available for vector formats).
Choose a format from the dropdown
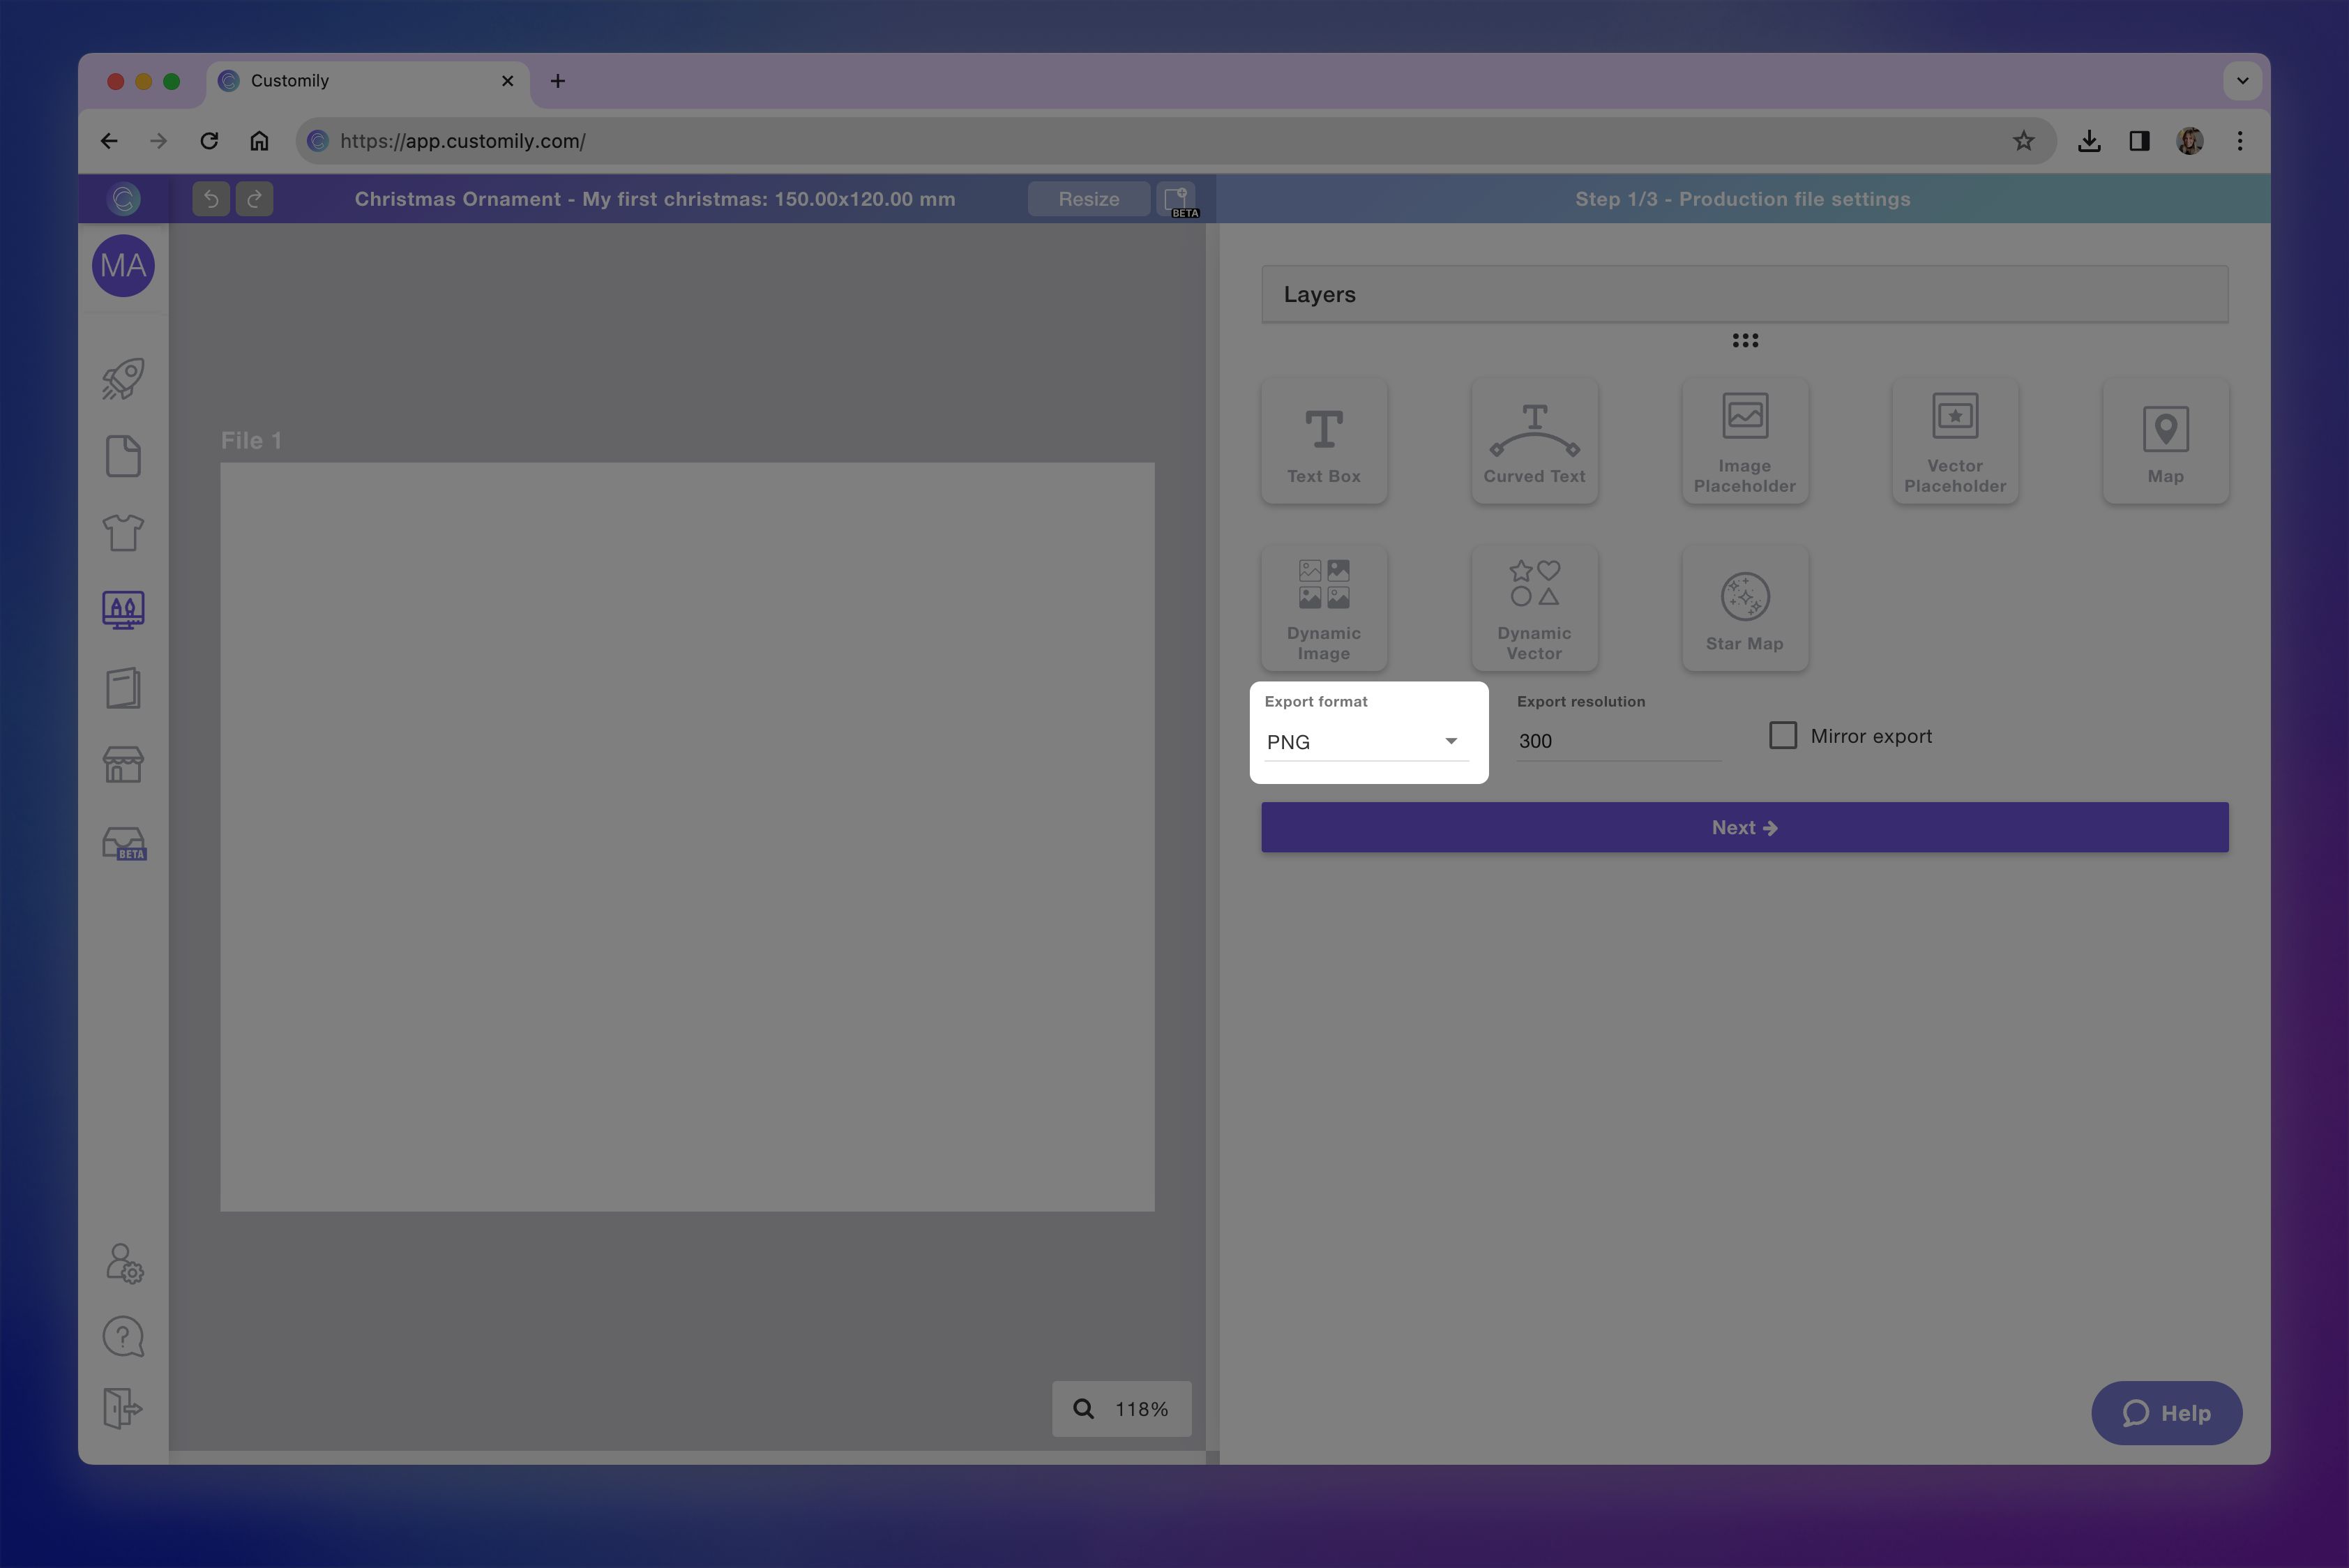
If you choose an image format, you can choose the export resolution (PPI). For printing, the recommended resolution is 300 ppi, or 150 ppi if you are working with large formats.

If you choose a vector format, you can choose the color mode, between RGB or CMYK.
You can also choose to mirror the export. This is useful for designs that will be transferred into a surface, so you need the print file to be mirrored.
Adding your design
Once you have your entire page configured, you should start creating your design. You'll do this by adding the different personalizable elements onto your canvas.
To add an element simply click its button. Once you click it, the element will be added to your canvas. Every time you click those buttons, a new element will be added.

Design elements available are:
Click on each one to learn more about what the elements can do and how they work.
Moving on to step 2
Once you have your design ready on the print file, it will look something like this:
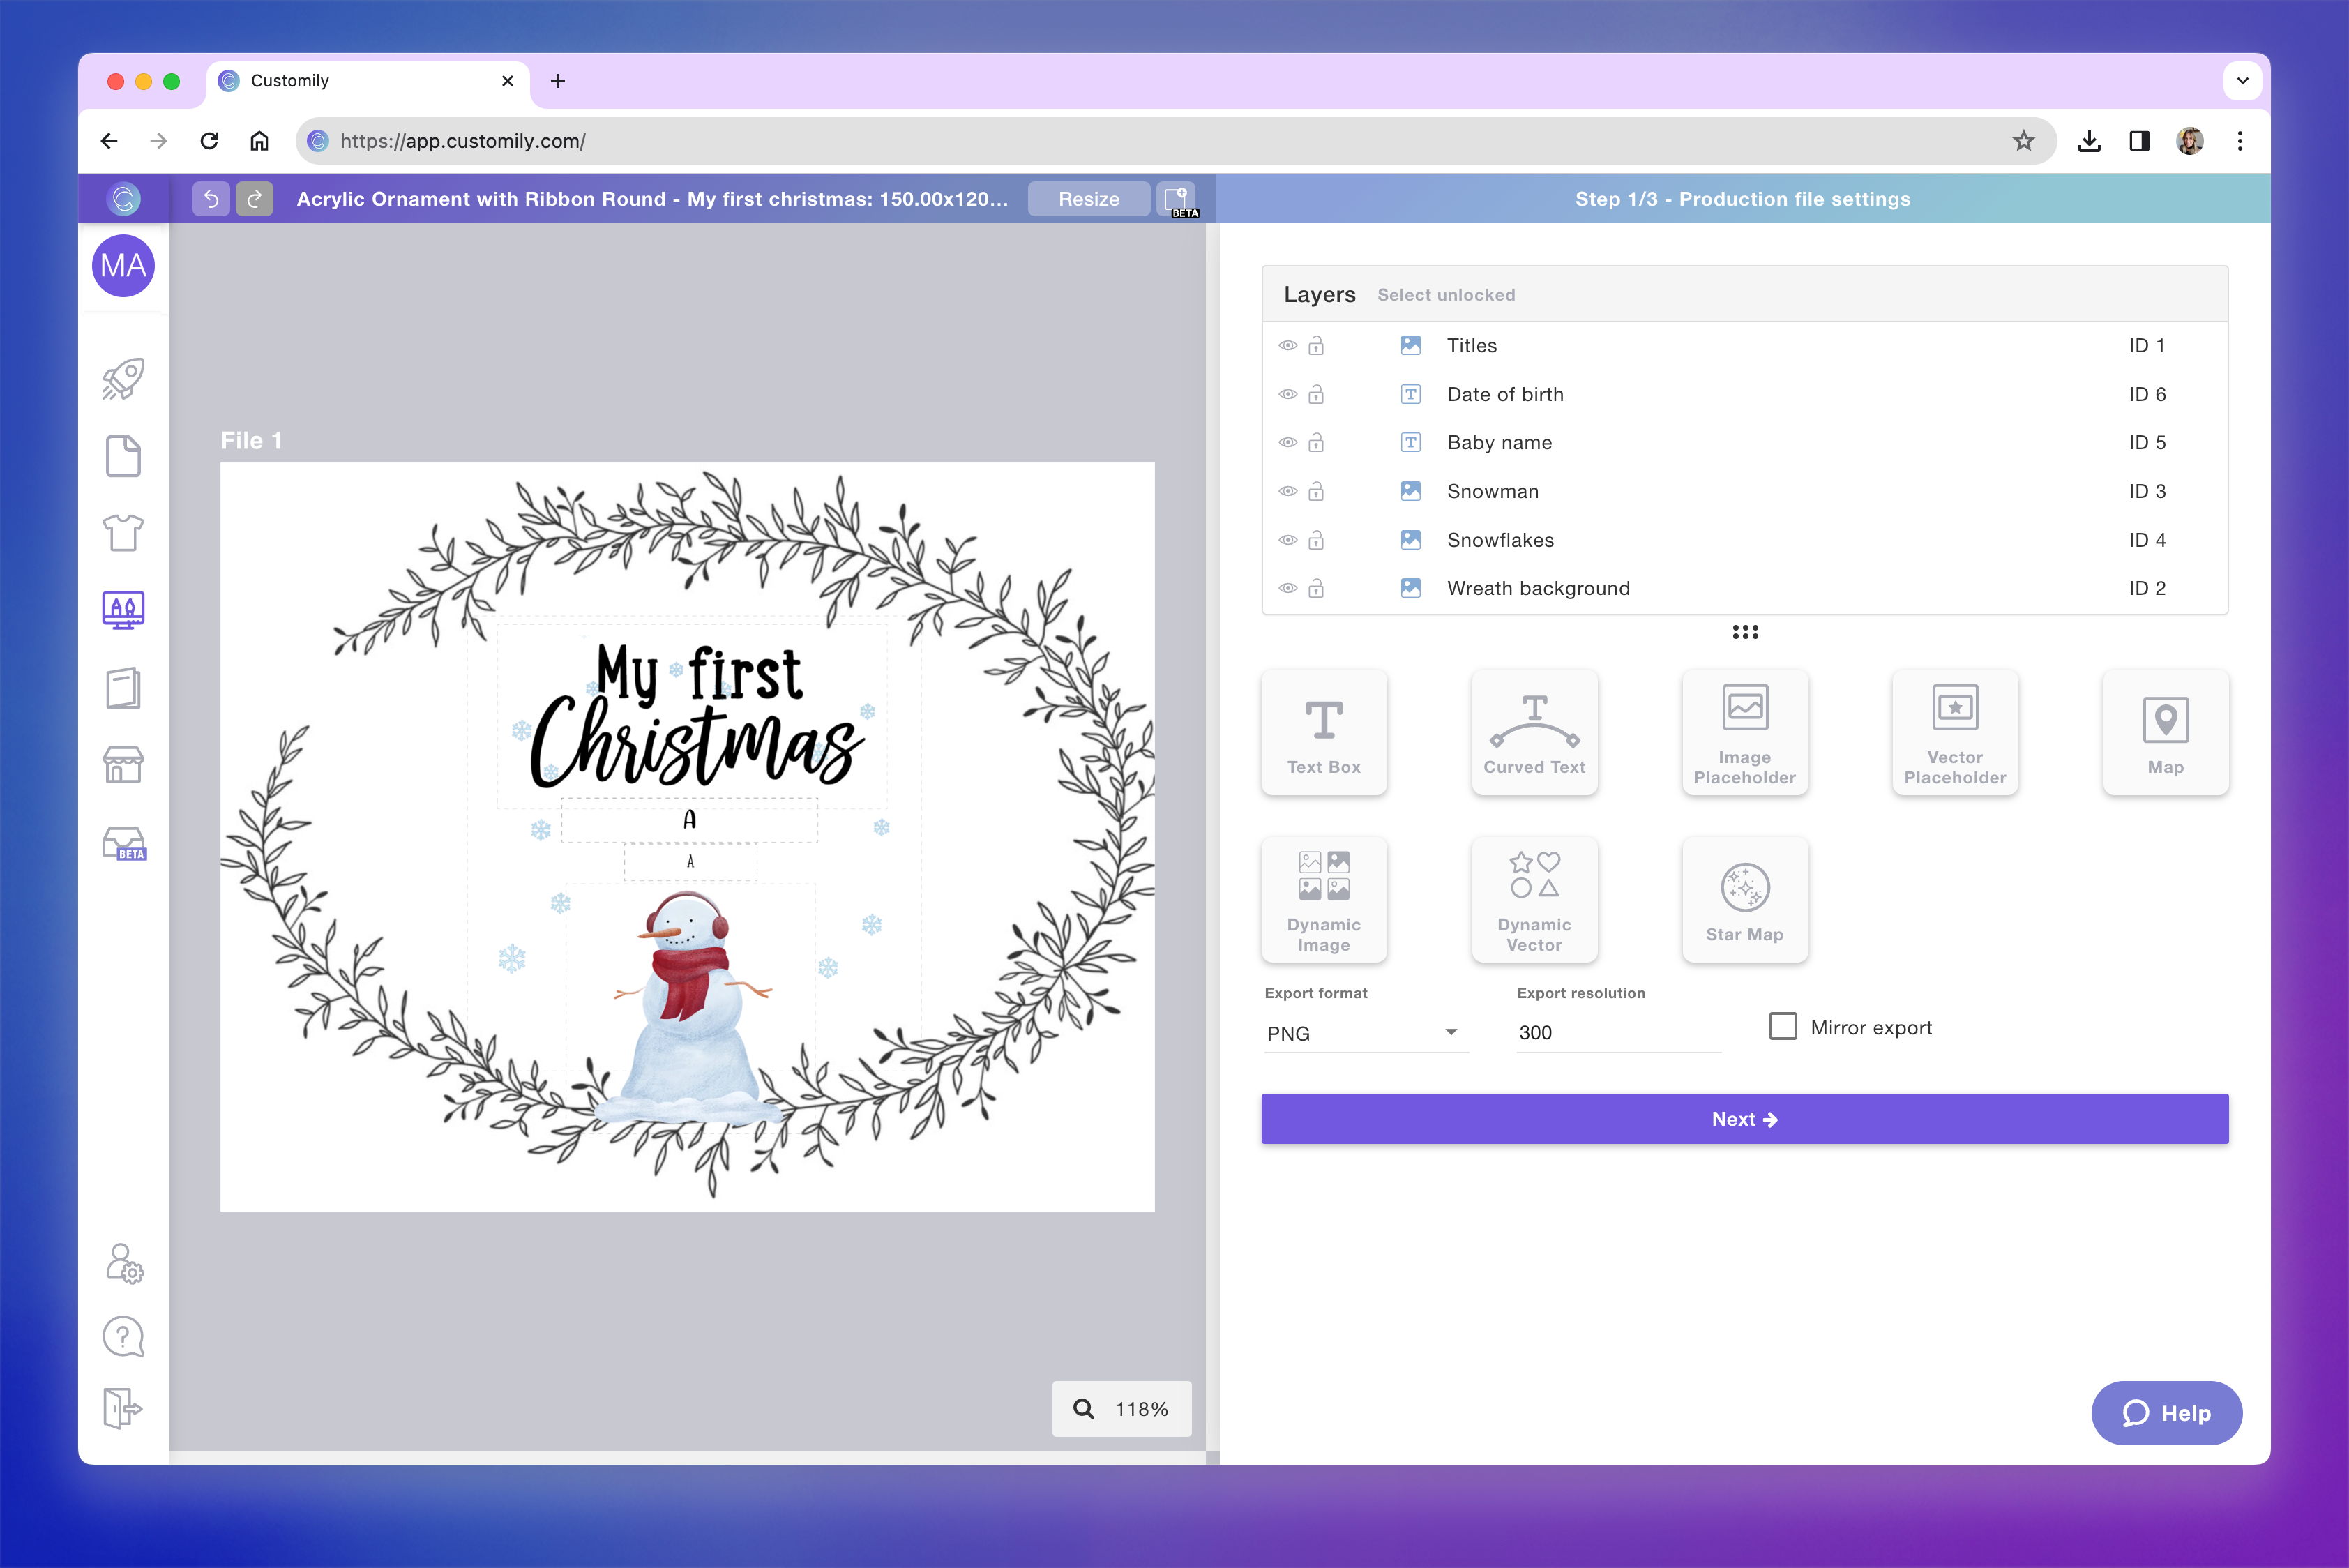
With the design visible on your canvas on the left, and the different elements shown on the layer panel on the right.
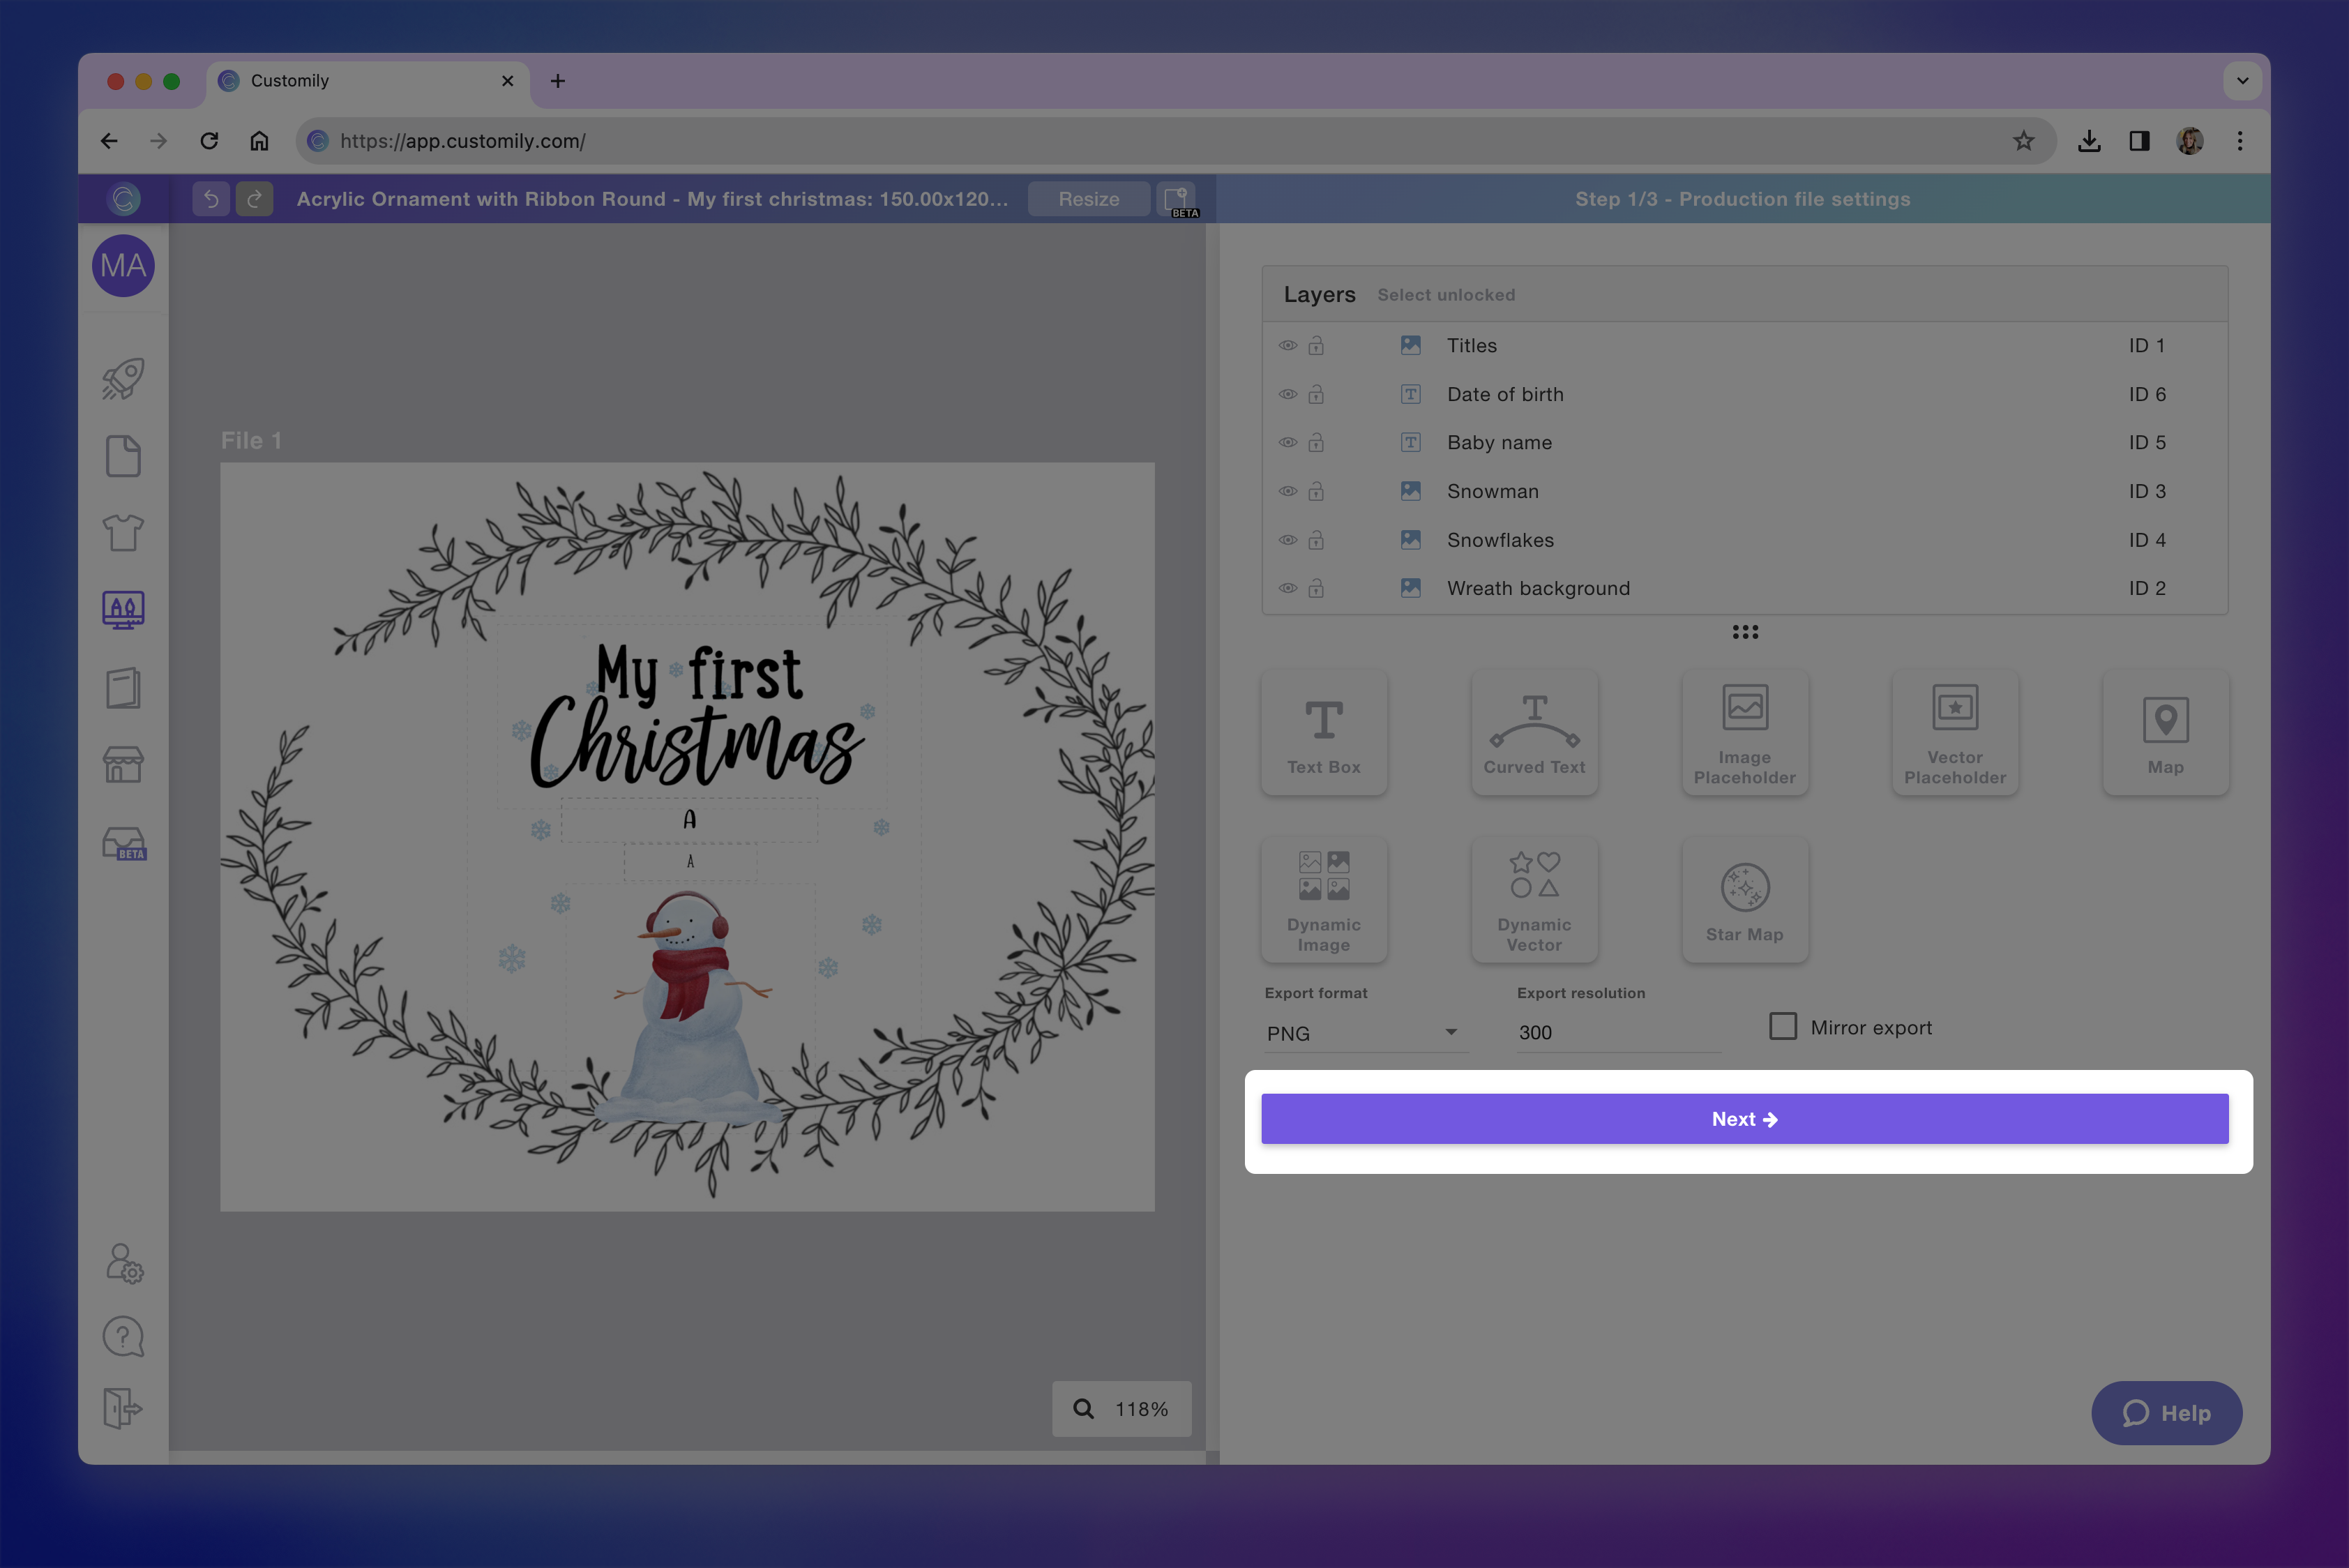
When ready, click next to move on to step 2 to work on the preview.
Tip
If you don't see the next button, it is probably because you have an element selected. Unselect it (either by clicking done, or clicking on the grey area in the workspace) and the next button will appear.